KodyWallice
Member
- Joined
- May 7, 2021
- Messages
- 123
- Reaction Score
- 1
- Points
- 23
- #1
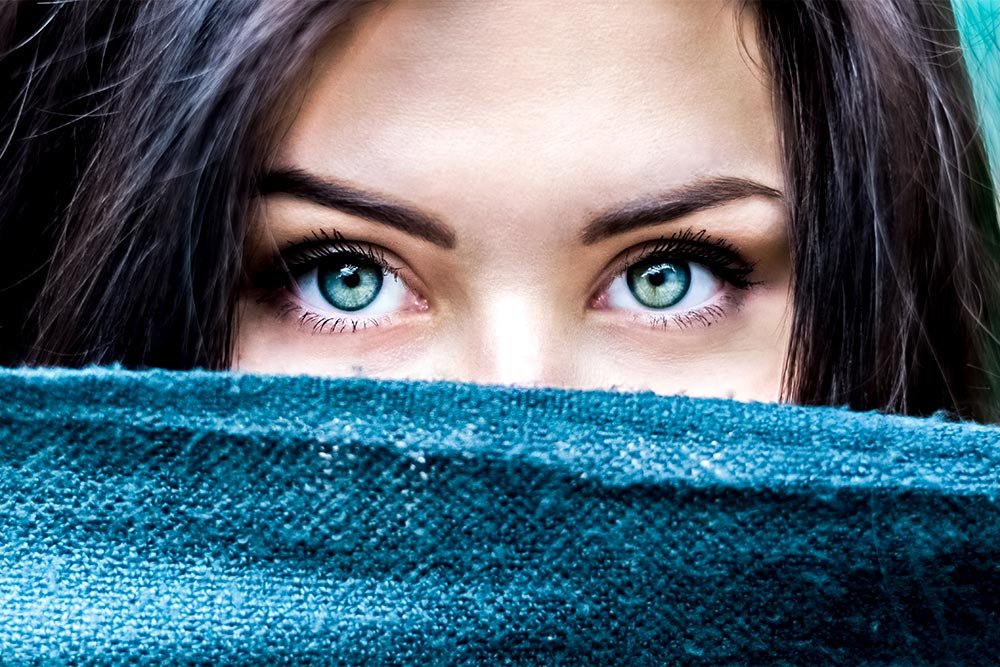
Oftentimes, if you would like to use a photo for something special or important, you'll need to sharpen in in post-processing. You can't count on your images being super sharp directly from your camera. Camera sensors sometimes slightly soften the scenes they capture as to avoid an annoying shimmering pattern effect that occurs if not processed, so by sharpening the image in post-processing, you'll be getting the best of the best. Obviously, if you take a photo that's out of focus or blurry, you won't be able to fix that. Taking a clean photo is the responsibility of the photographer. You can, however, remove any softening that's added by the camera.
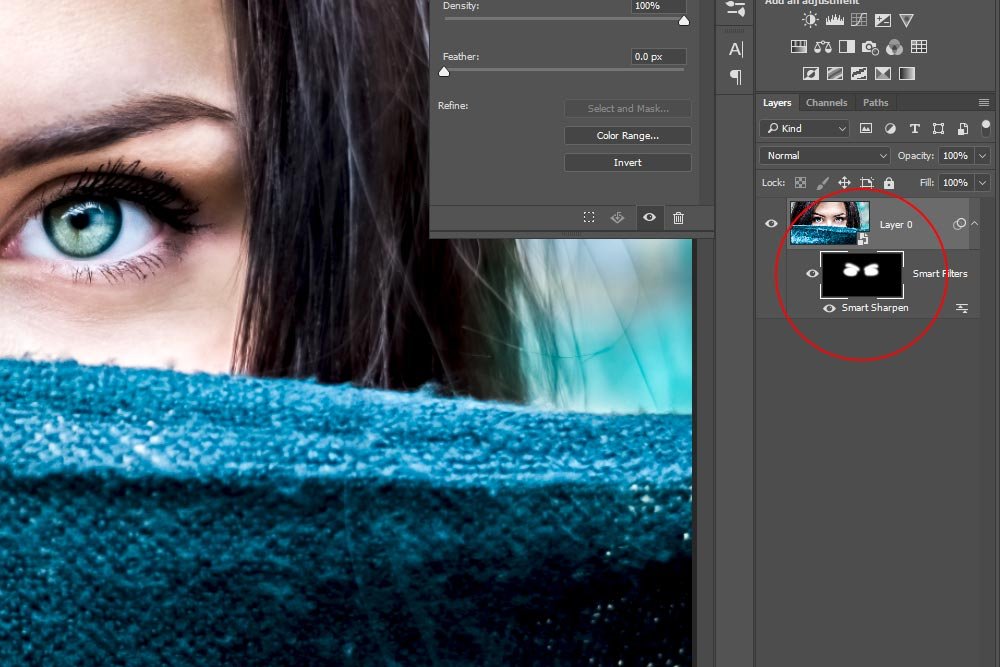
I'll be using Adobe Photoshop for this example. More specifically, I'll be taking advantage of the Smart Sharpen feature inside of Photoshop. This is a super simple tool that anyone can operate. No experience necessary.
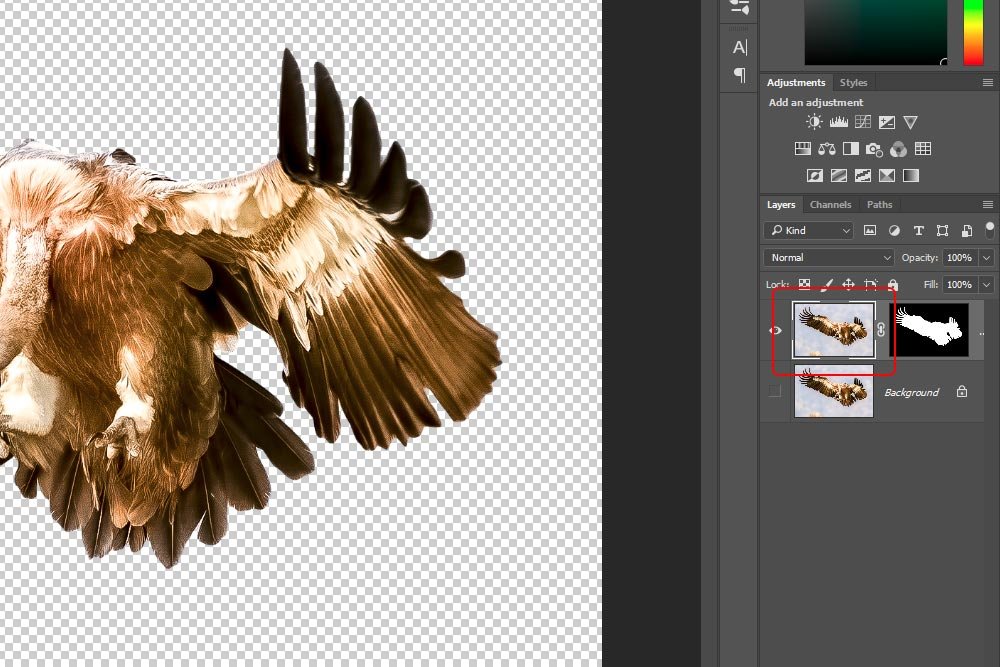
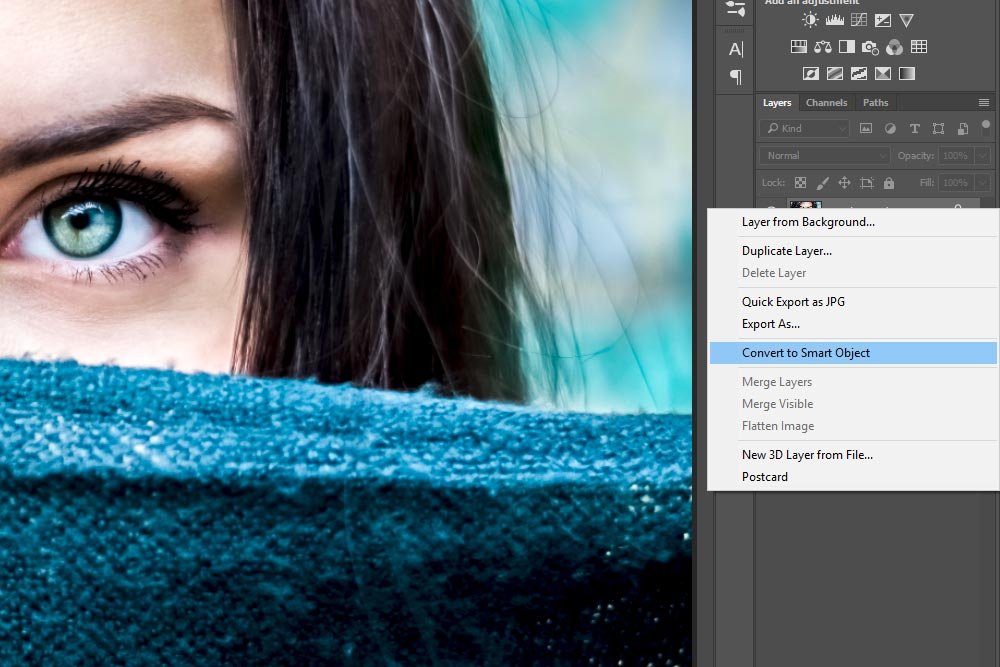
To sharpen today's demo photo, I'll first open it into Photoshop. Then, I'll right-click on the photo's layer in the Layers Panel and choose Convert to Smart Object.
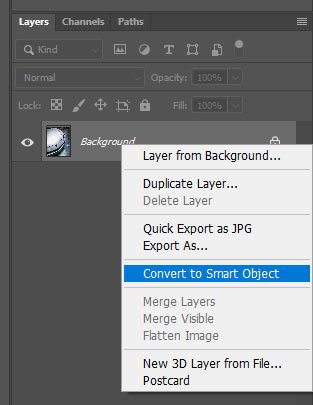
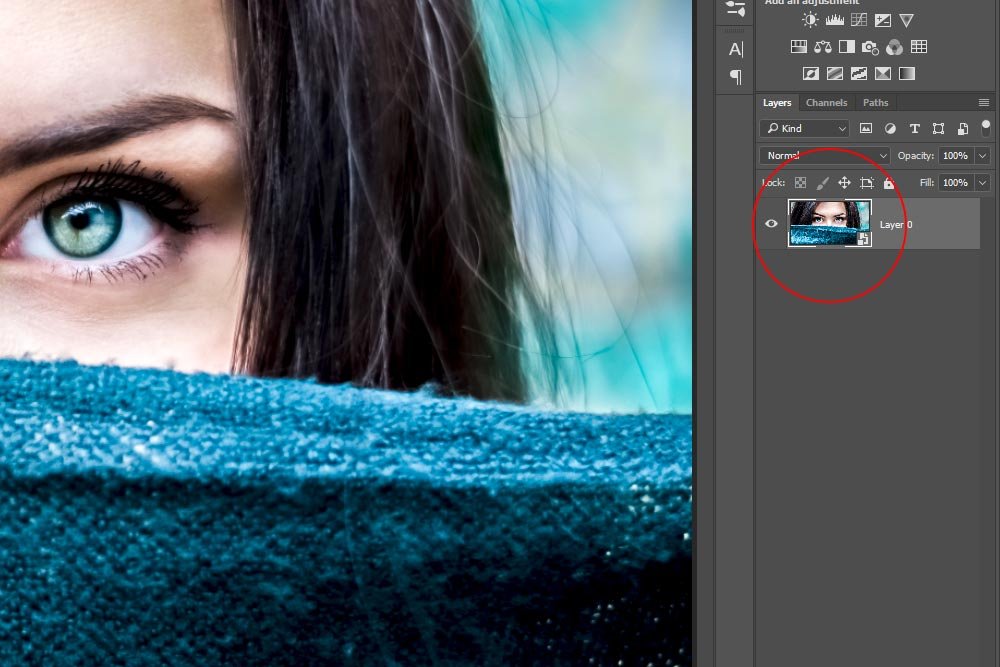
Doing this will protect the image, as this sharpening process is destructive. As long as the layer is a Smart Object, I'll be able to return to the original, if need be. After converting the layer to a Smart Object, I'll see the layer name change from Background to Layer 0. These names aren't important to the task. I just wanted to mention the occurrence.
I also want to mention that some people choose to simply duplicate their photo by copying and pasting the file itself instead of creating a Smart Object out of it. This is up to you, whether you want to do that or not. Smart Objects can create enormous files and duplicating the original is a good option sometimes. Either way, you'll need to save the original somehow. Chances are, if it's a valuable image, you'll want what came straight out of the camera at some point.
For today's image, I'll use the Lamborghini logo in the image as a measure of whether the image is sharp or not. Before doing any labor, it's always a good idea to assess what you're dealing with. Zooming in and magnifying a photo to check its quality is a good idea. And intricate details you're familiar with are good to look at.
Let's take a look at the emblem before I begin sharpening.

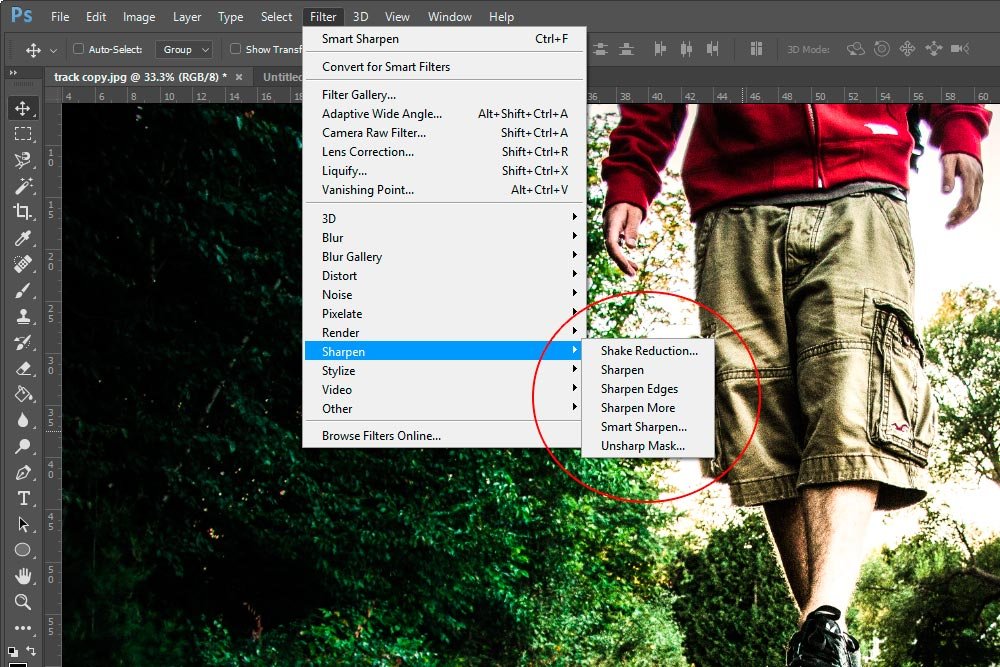
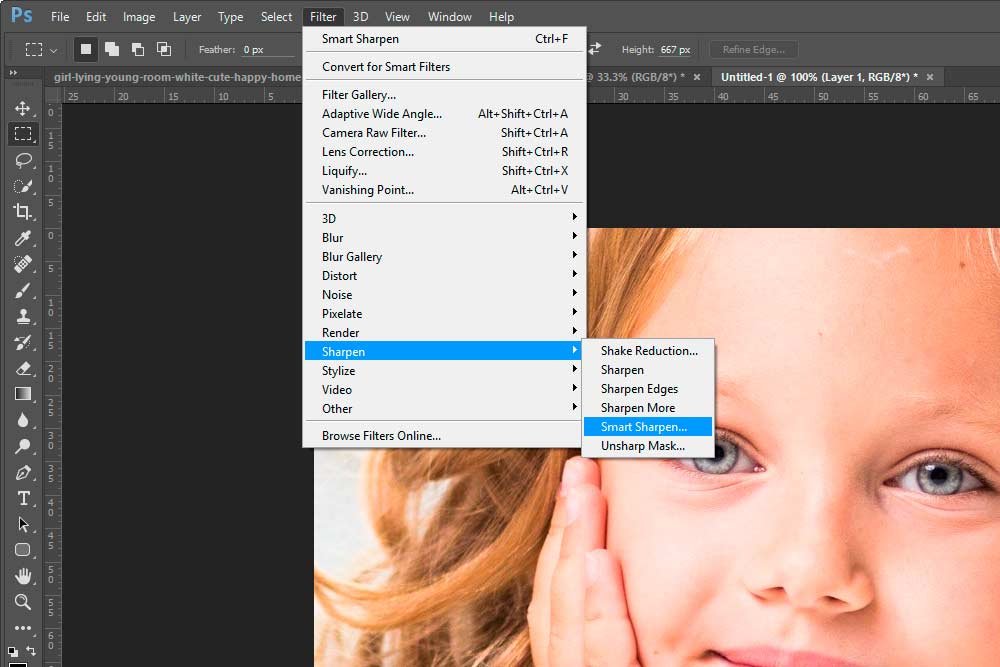
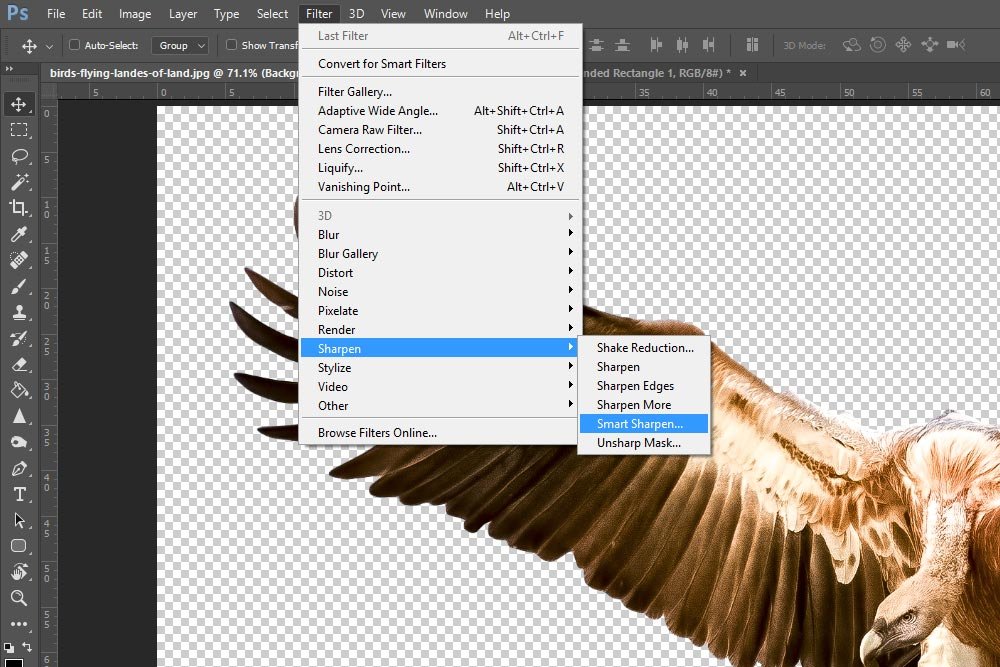
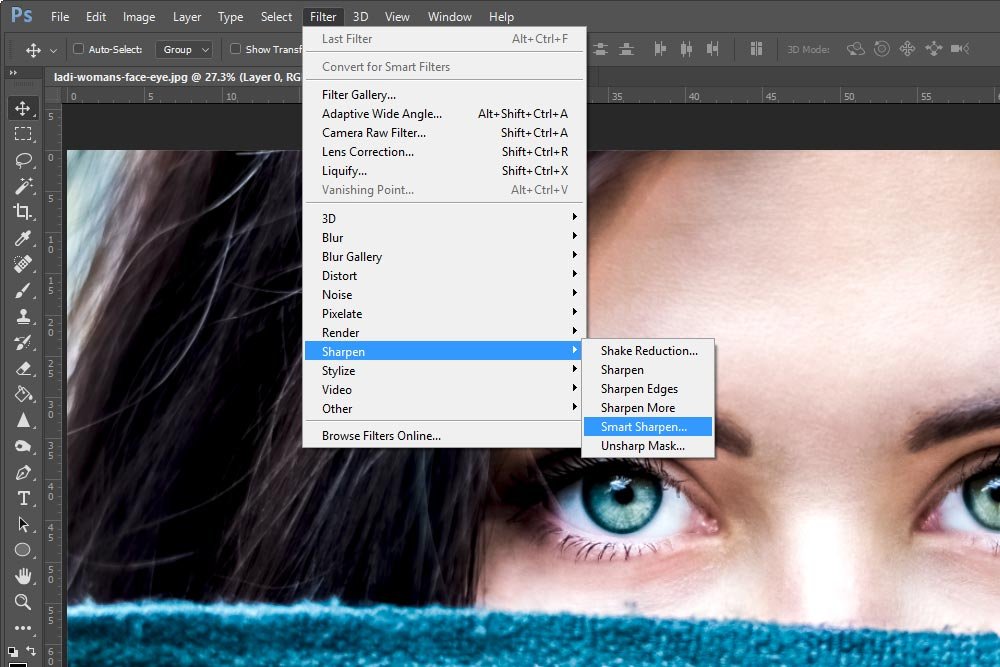
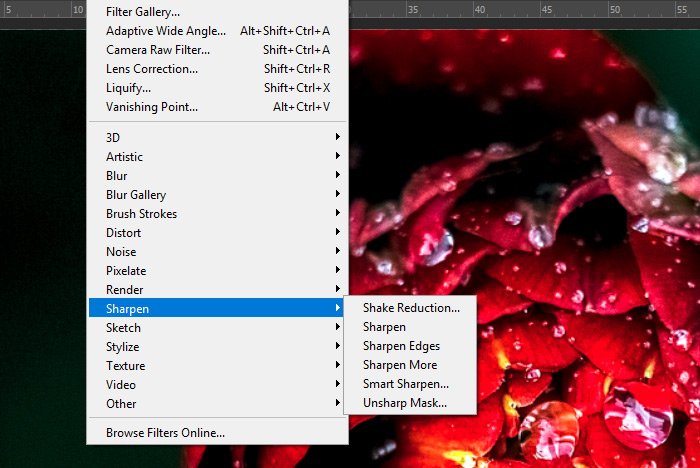
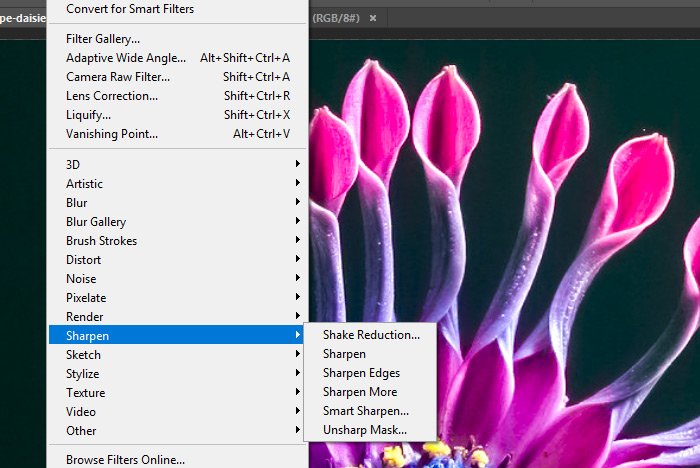
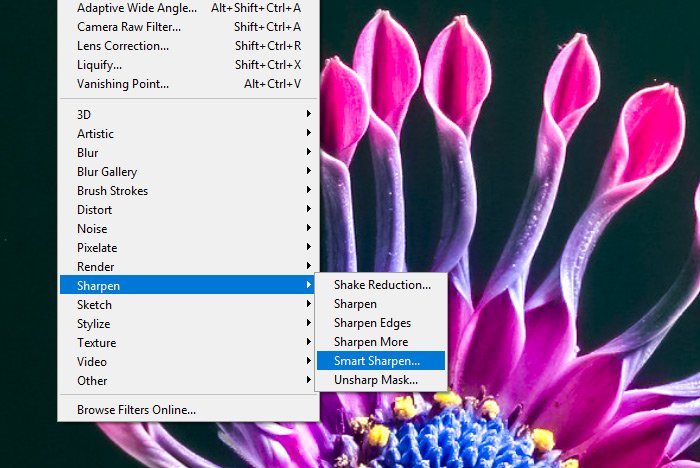
At this point, I'll head up to the top menu in Photoshop and click on the Filter > Sharpen > Smart Sharpen menu item.
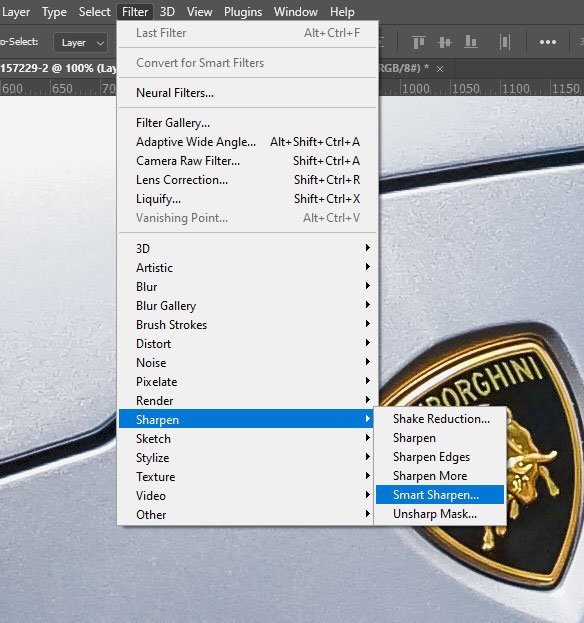
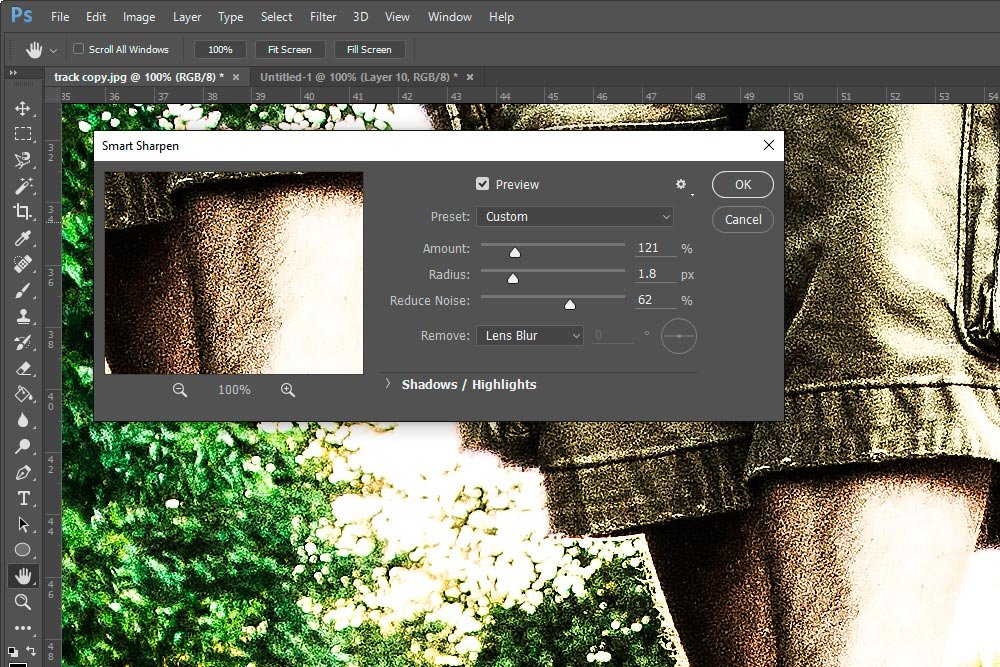
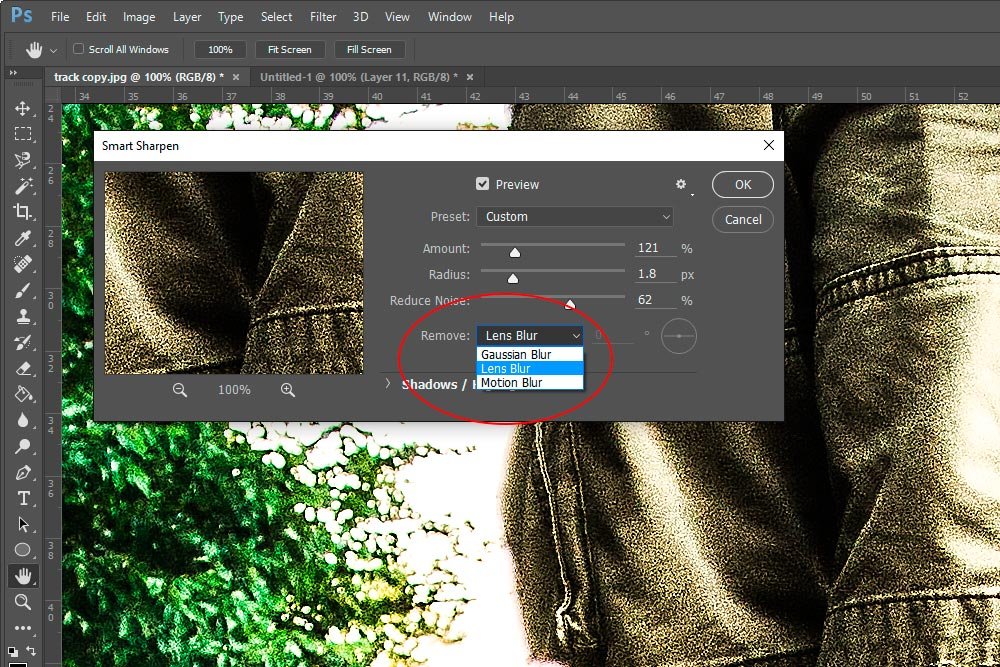
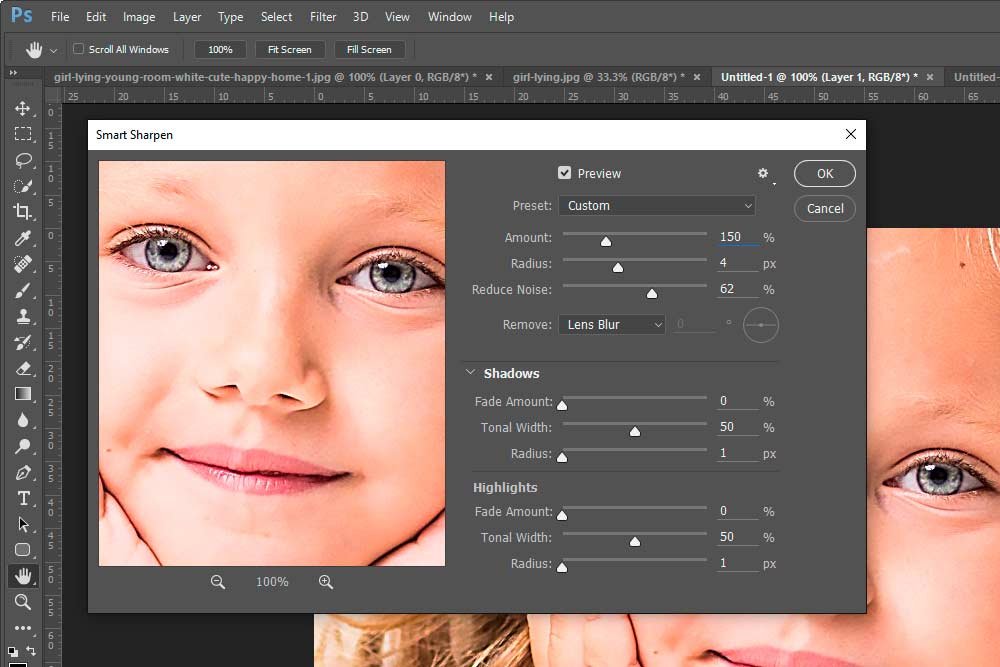
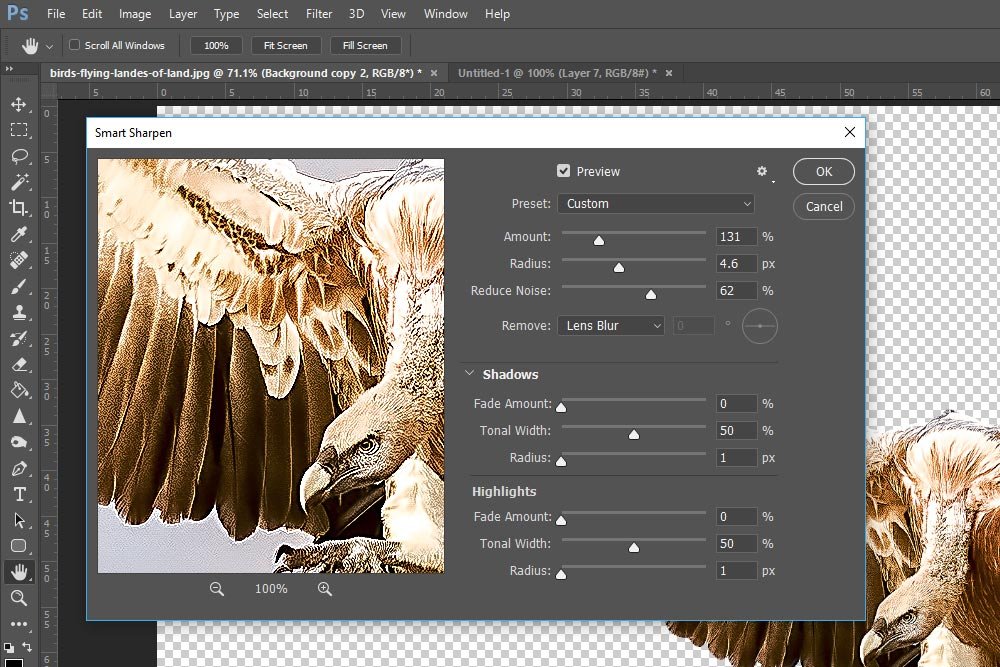
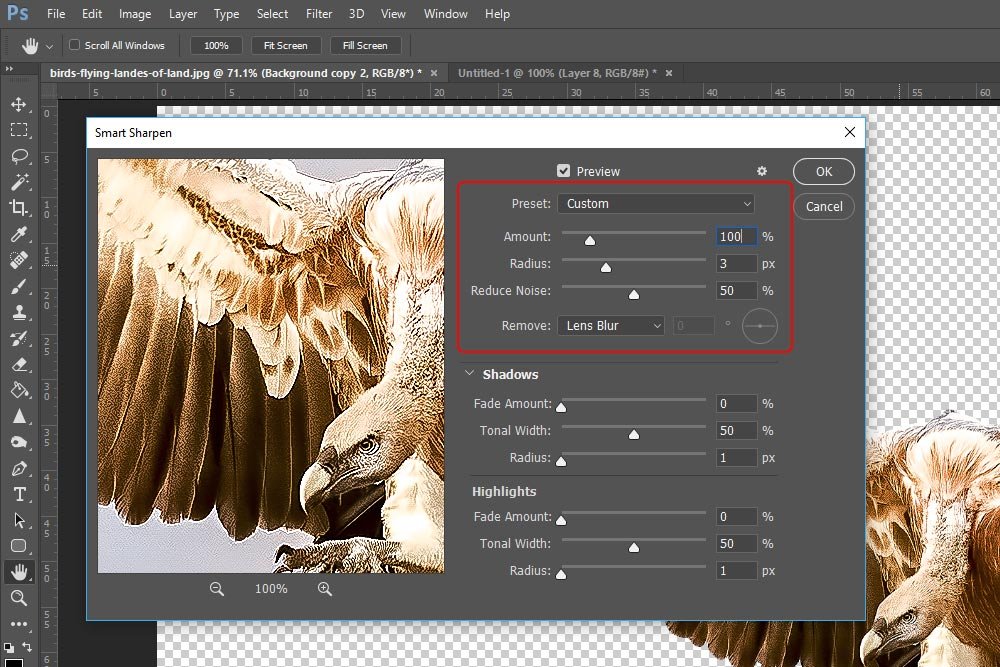
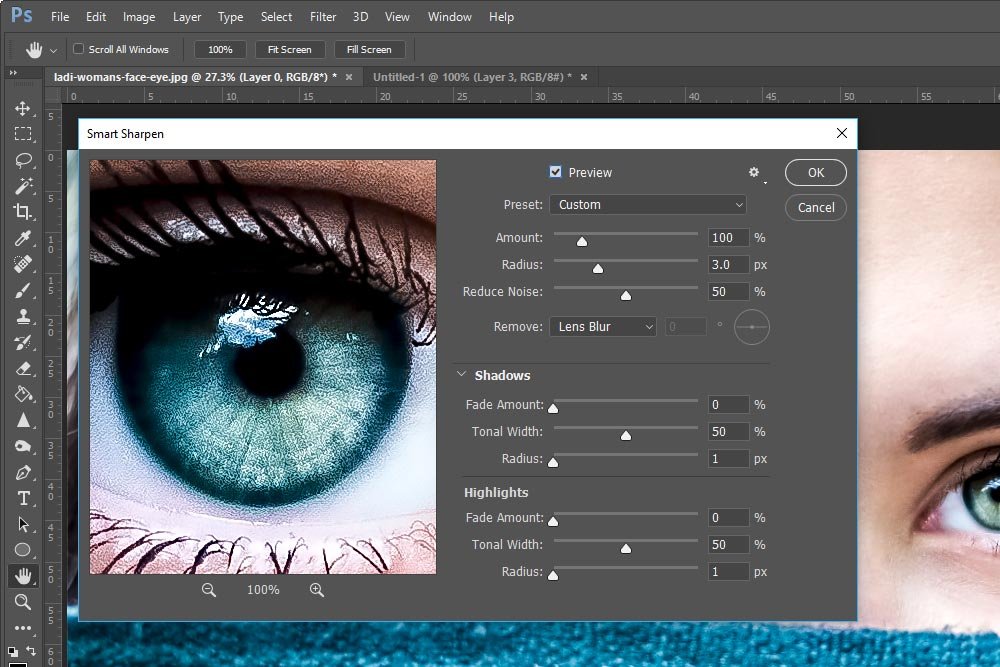
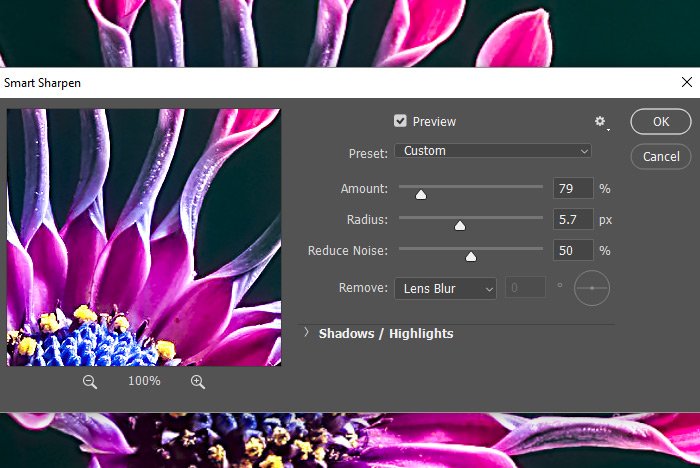
This will open the Smart Sharpen dialog box.
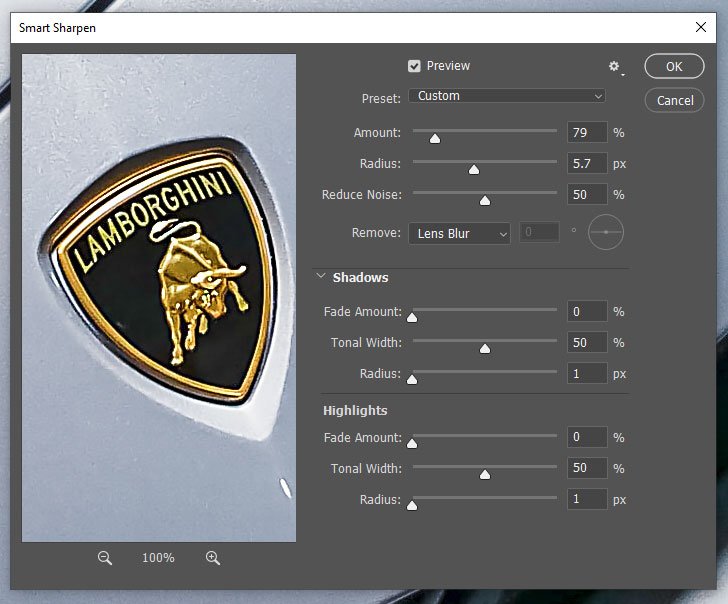
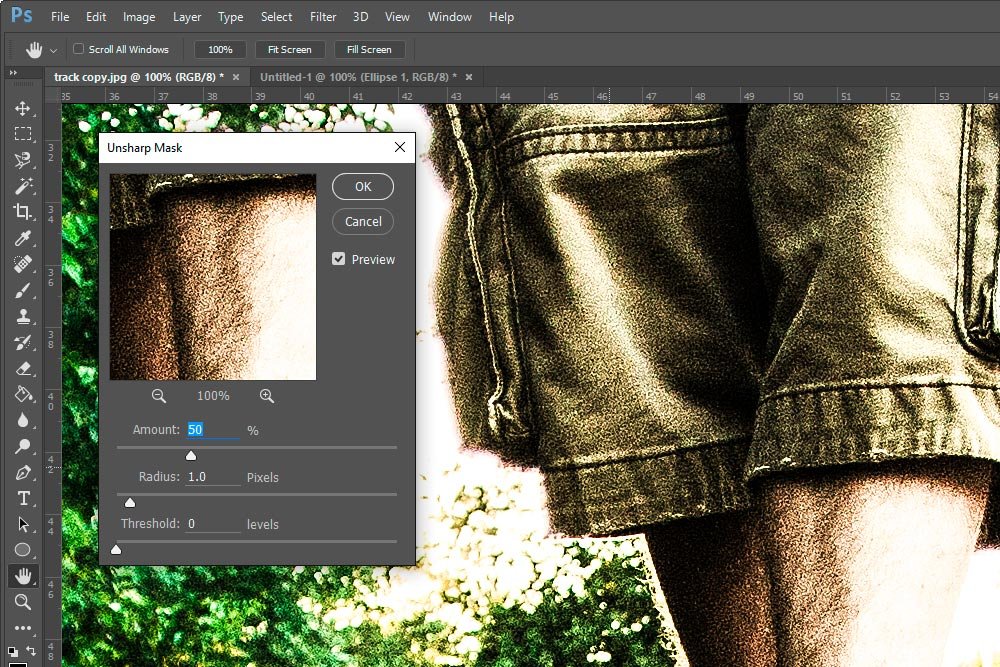
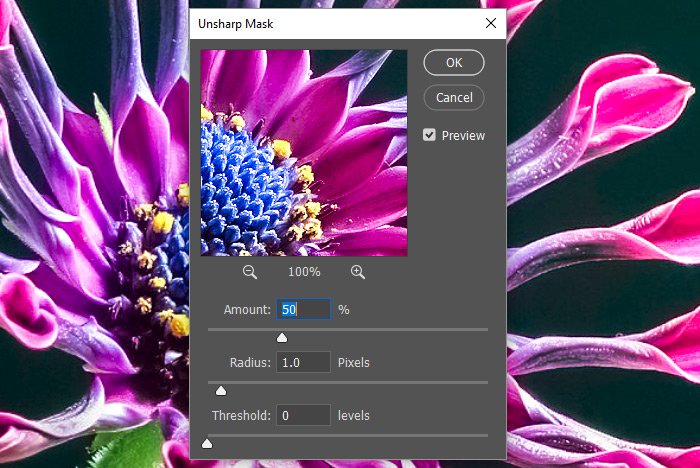
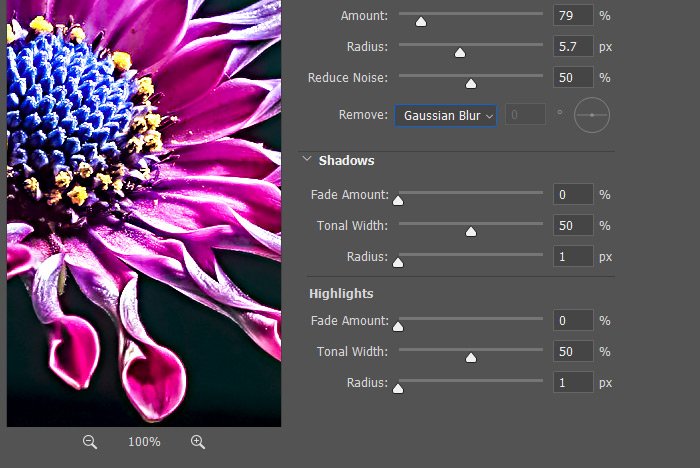
Inside this dialog, you'll see three primary sliders. They are Amount, Radius, and Reduce Noise. The Amount and Radius sliders will need to be moved as necessary, meaning, there's no set method for pushing these sliders correctly. It's sort of an art. Start with the Amount slider. By pushing this one to the right, you'll be increasing the contrast between adjacent pixels in your image. The more contrast, the more sharp the image will appear. After that, push the Radius slider to the right. This slider controls how far reaching the increase in contrast will be per pixel. Both of these sliders can be experimented with to get just the right effect.
Once you're set with both of those sliders, move on to the Reduce Noise slider. By sharpening an image in Photoshop, a byproduct may be some grain that's introduced to the photo. The slider in question will remove some of that grain. Pushing it to the right will remove it and pushing the slider to the left will add it back.
Remember, if you'd like to enlarge your view while sharpening, you can click on the small magnifying glasses below the preview window in the dialog box. One is a minus and one is a plus. Also, depending on the size of your photo, each change you make with each slider may take a few moment to take effect. Be patient as this is memory and processor intensive.
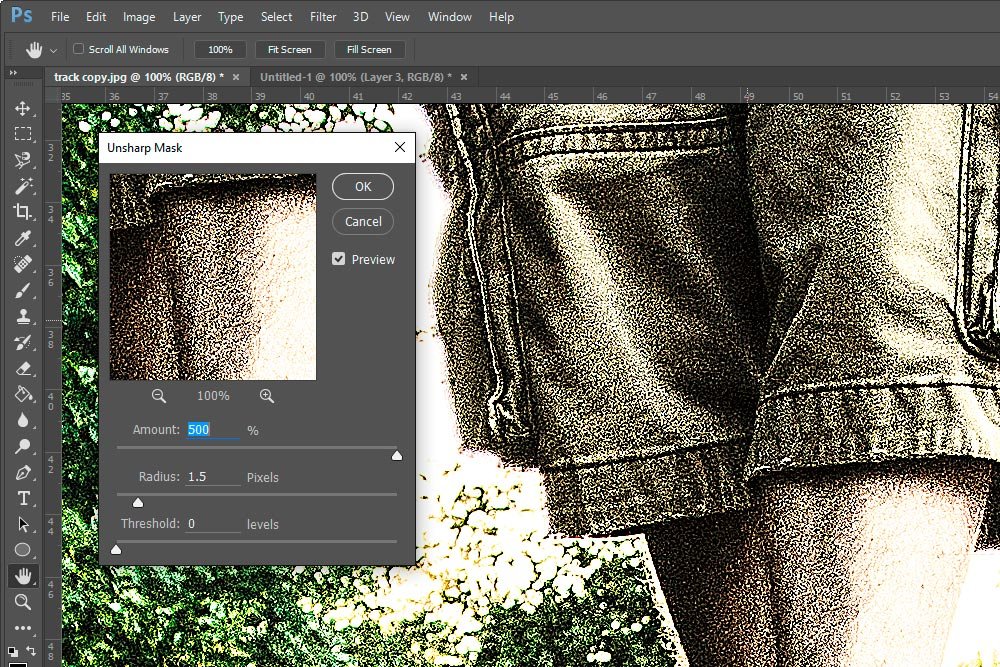
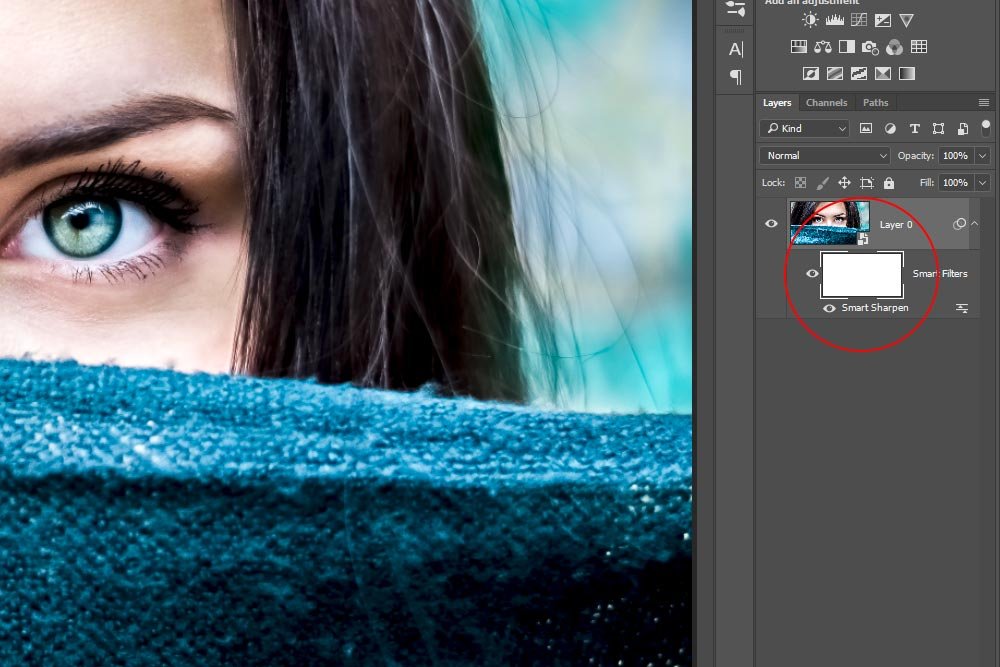
I'll go ahead and push these sliders until I'm happy with what I see. As a rule of thumb, it's best to under sharpen than to over sharpen. Everyone can tell when an image is over sharpened. To finish and exit this panel, I'll press the OK button. Let's see what I've come up with. This is just the emblem cropped from the entire image.

It's not too obvious, but it looks good.
Another alternative to using Photoshop for photo sharpening is to use the feature that's built into many DSLR and mirrorless cameras. While you can sharpen JPEG images though, you can't with RAW. RAW images come directly out of the camera the way they were captured. They're meant to be worked on in post-processing. If you're shooting JPEG though, give your camera's sharpening feature a try to see if you like it. It's worth a shot.
Do you have any image sharpening tips you'd like to share? Is there a better way to do this than what I just showed you? If so, please let me know down below. Thanks!
I'll be using Adobe Photoshop for this example. More specifically, I'll be taking advantage of the Smart Sharpen feature inside of Photoshop. This is a super simple tool that anyone can operate. No experience necessary.
To sharpen today's demo photo, I'll first open it into Photoshop. Then, I'll right-click on the photo's layer in the Layers Panel and choose Convert to Smart Object.

Doing this will protect the image, as this sharpening process is destructive. As long as the layer is a Smart Object, I'll be able to return to the original, if need be. After converting the layer to a Smart Object, I'll see the layer name change from Background to Layer 0. These names aren't important to the task. I just wanted to mention the occurrence.
I also want to mention that some people choose to simply duplicate their photo by copying and pasting the file itself instead of creating a Smart Object out of it. This is up to you, whether you want to do that or not. Smart Objects can create enormous files and duplicating the original is a good option sometimes. Either way, you'll need to save the original somehow. Chances are, if it's a valuable image, you'll want what came straight out of the camera at some point.
For today's image, I'll use the Lamborghini logo in the image as a measure of whether the image is sharp or not. Before doing any labor, it's always a good idea to assess what you're dealing with. Zooming in and magnifying a photo to check its quality is a good idea. And intricate details you're familiar with are good to look at.
Let's take a look at the emblem before I begin sharpening.

At this point, I'll head up to the top menu in Photoshop and click on the Filter > Sharpen > Smart Sharpen menu item.

This will open the Smart Sharpen dialog box.

Inside this dialog, you'll see three primary sliders. They are Amount, Radius, and Reduce Noise. The Amount and Radius sliders will need to be moved as necessary, meaning, there's no set method for pushing these sliders correctly. It's sort of an art. Start with the Amount slider. By pushing this one to the right, you'll be increasing the contrast between adjacent pixels in your image. The more contrast, the more sharp the image will appear. After that, push the Radius slider to the right. This slider controls how far reaching the increase in contrast will be per pixel. Both of these sliders can be experimented with to get just the right effect.
Once you're set with both of those sliders, move on to the Reduce Noise slider. By sharpening an image in Photoshop, a byproduct may be some grain that's introduced to the photo. The slider in question will remove some of that grain. Pushing it to the right will remove it and pushing the slider to the left will add it back.
Remember, if you'd like to enlarge your view while sharpening, you can click on the small magnifying glasses below the preview window in the dialog box. One is a minus and one is a plus. Also, depending on the size of your photo, each change you make with each slider may take a few moment to take effect. Be patient as this is memory and processor intensive.
I'll go ahead and push these sliders until I'm happy with what I see. As a rule of thumb, it's best to under sharpen than to over sharpen. Everyone can tell when an image is over sharpened. To finish and exit this panel, I'll press the OK button. Let's see what I've come up with. This is just the emblem cropped from the entire image.

It's not too obvious, but it looks good.
Another alternative to using Photoshop for photo sharpening is to use the feature that's built into many DSLR and mirrorless cameras. While you can sharpen JPEG images though, you can't with RAW. RAW images come directly out of the camera the way they were captured. They're meant to be worked on in post-processing. If you're shooting JPEG though, give your camera's sharpening feature a try to see if you like it. It's worth a shot.
Do you have any image sharpening tips you'd like to share? Is there a better way to do this than what I just showed you? If so, please let me know down below. Thanks!


