LukeLewis
Member
- Joined
- May 7, 2021
- Messages
- 134
- Reaction Score
- 0
- Points
- 21
- #1

If you read my post that covered how to zoom and pan in Adobe Photoshop, you’re pretty much all set here. Both Photoshop and Camera Raw (a plugin inside of Photoshop) are virtually identical in this respect. Photoshop naturally has more bells and whistles, but Camera Raw’s zoom and pan tools hold their own.
In this post, I’m going to discuss how to maneuver around your photos in Camera Raw. I’ll talk about the multiple methods of zooming in and out of a photo as well as how to go about panning around the photo to get a better view of what you’re working on.
Introducing the Zoom & Hand Tools
The two tools I’m going to cover in this post are located in the top toolbar all the way to the left. The first one – the zoom tool – is in the shape of a magnifying glass. The second one – the hand tool – is in the shape of, you guessed it, a hand. You can find both tools inside the red circle in the screenshot below.NOTE: If you’d like a larger view of any example image in this post, simply right click on it and choose “Open Image In New Tab.”
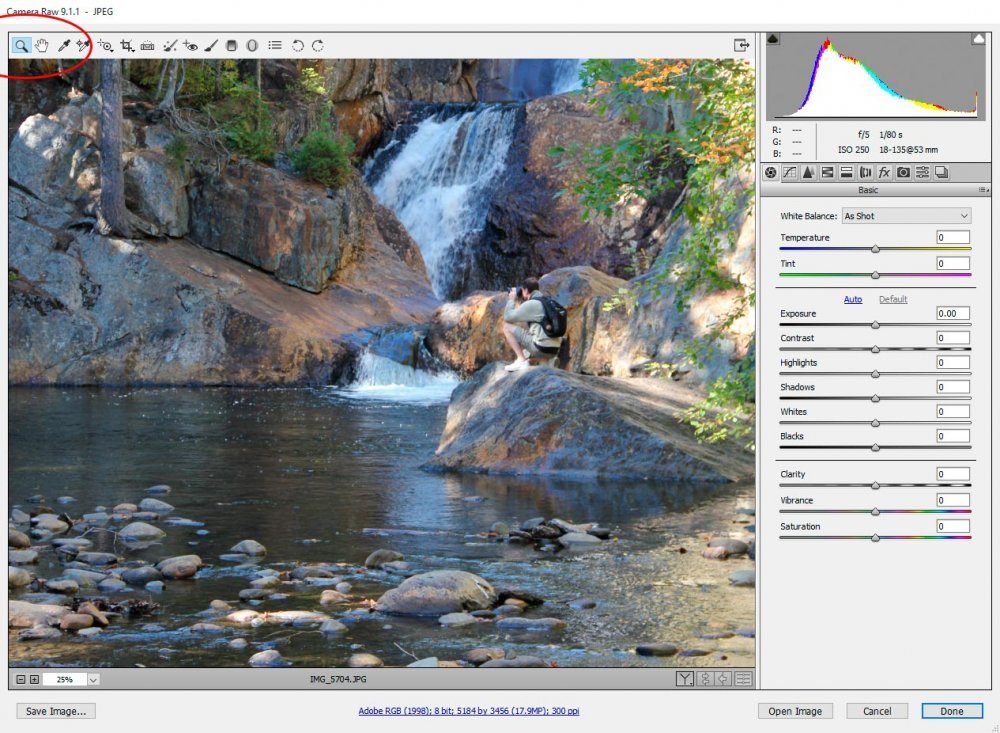
By the way, the sample photograph I’m using for this post was taken this past Tuesday at Smalls Falls in Maine. The area has an number of small waterfalls that are candy for photographers and aspiring photographers alike.
Zooming in on a Photo
Let’s kick things off by zooming in on a specific area of this photo. Since I’m in it, let’s get a little closer, so we can see what I’m up to. If I click on the zoom tool and place it over my body and click my left mouse key, the photo will get bigger and center the spot I clicked on in my work area. If I click again, the same thing will happen. The photo will get even larger and the spot I clicked on will again center. Take a look at the result of my clicking with the zoom tool.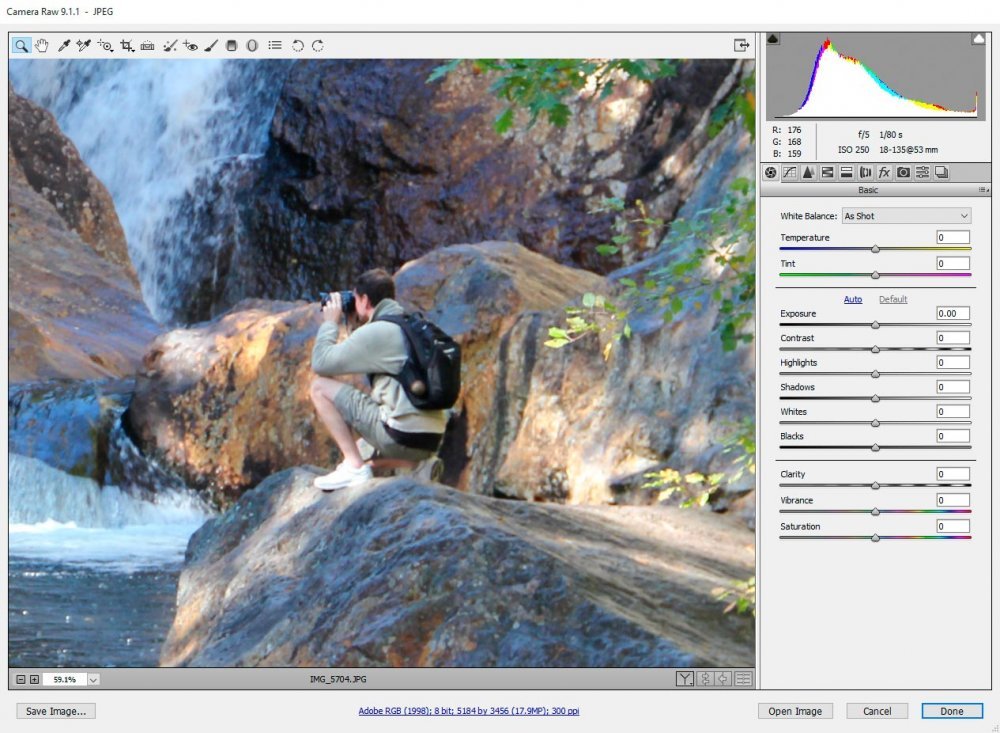
If I’d like to see exactly how large the photo is in relation to it’s full size, all I have to do is to take a look at the small drop-down box that’s located on the left side of the gray bar below the image. In this case, I zoomed in to 59.1%.
Speaking of that drop-down box – if I go ahead and click it, I’ll see that it opens up and gives me some zoom choices, a “Fit in View” selection as well as something called “Scrubby Zoom,” which I’ll go over later on. If I click on 66%, my photo will instantly zoom to that size. It doesn’t matter if the photo is currently over 66% or under it.
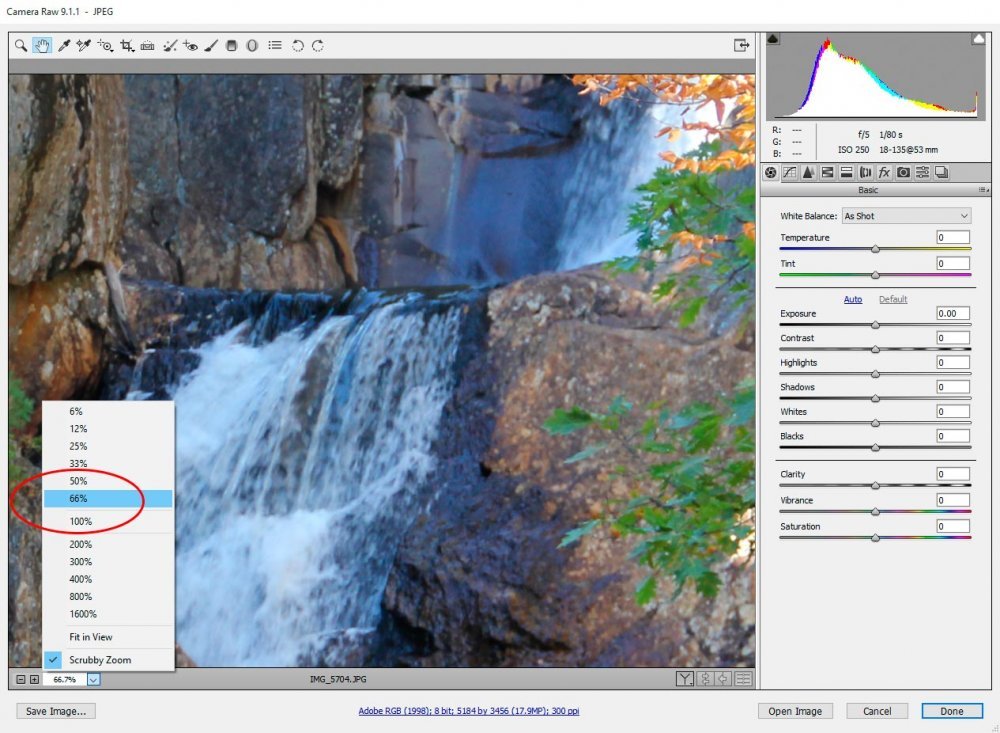
If I click the “Fit to View” selection, my image will instantly fit to the current size of my working area, no matter what size I’ve got it at.
One more thing – if I click on those little “+” and “–” buttons that are located to the left of the drop-down box, I can zoom in and out, just like I did with the zoom tool. The only difference is that the photo won’t center like it did with that tool.
This next method of zooming in is very fast and a lot of fun to use. It’s called “Scrubby Zoom” and it’s quite powerful. Using the zoom tool, if I place the magnifying glass over a specific area of my photo and click and drag to the right, my photo will enlarge and center that spot of the photo on my screen. Well, it’ll try to center it depending on how much I zoom.
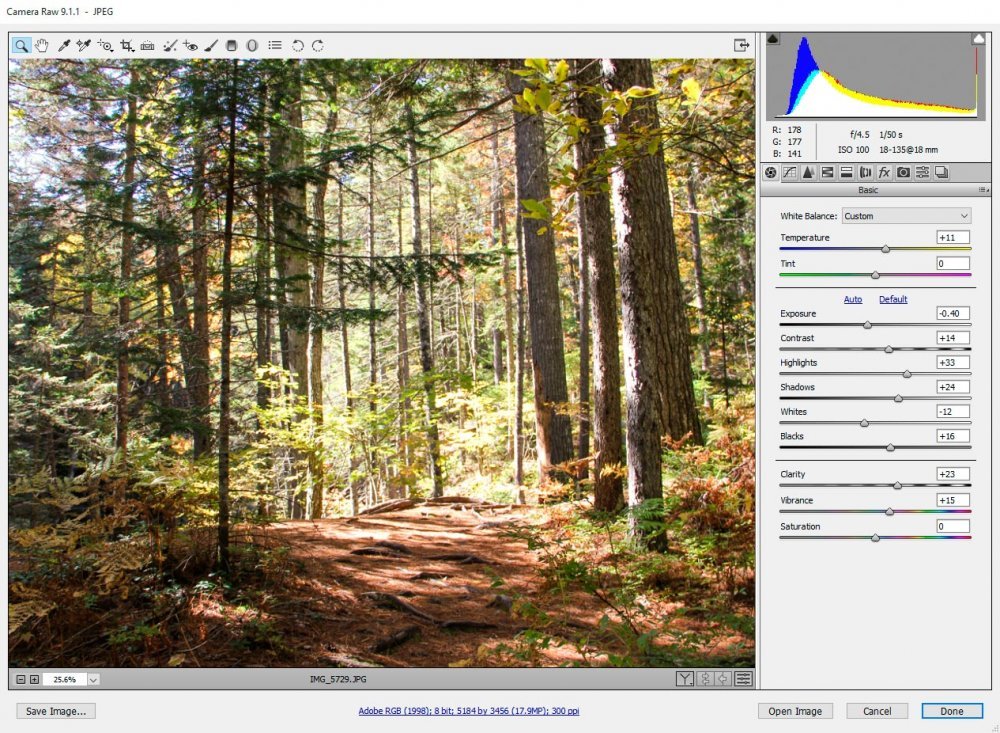
These tools are great, but to be honest, I use keyboard shortcuts the most when I’m zooming in and out of a photo. The shortcut I’m referring to are activated by clicking the “Ctrl +” and “Ctrl –” keys on my keyboard. These shortcuts are really fast and very intuitive.
Lastly, if we’re interested in zooming in to 100% very quickly, all we need to do is double click the zoom tool icon that’s located in the tool bar up above our photo.
Zooming Out of a Photo
We’ve got a few tricks at our disposal for zooming out of a photo. I’ve already mentioned a few of them, such as using the drop-down box at the bottom left of our work area, using the “–” button that’s located to the left of the drop-down box and clicking “Ctrl –” on our keyboard. But even as plentiful as these alternatives are, we’ve got more.To zoom out of a photo, we can use scrubby zoom. Just as we clicked and dragged to the right in the previous section of this post to grow our view, we can click and drag to the left to shrink it. If you do this, you’ll find the zooming in and zooming out actions are very similar.
Also, if we double click the hand tool icon up in the toolbar, the image will appear just as it would if we clicked the “Fit in View” selection in our drop-down box. Basically, the image will either grow or shrink to fit in whatever size work area we’ve got.
If you’re used to using the zoom tool and would like to take advantage of it in your projects, that’s great. To zoom out using the zoom tool, simply hold down your “Alt” key on your keyboard and watch as the “+” inside the magnifying glass turns into a “–.” Holding down the “Alt” key and clicking on your photo will shrink the view of your photo.
Panning Your Photo
Panning around an image is super easy. To do this, all you need to do is to click the hand tool from the top tool bar and click and drag your photo wherever you wish. In the case of the screenshot below, I zoomed in on my photo a bit and then grabbed it and moved it around. It’s that simple. Now, I get a nice, close-up view of some beautiful autumn foliage in Maine.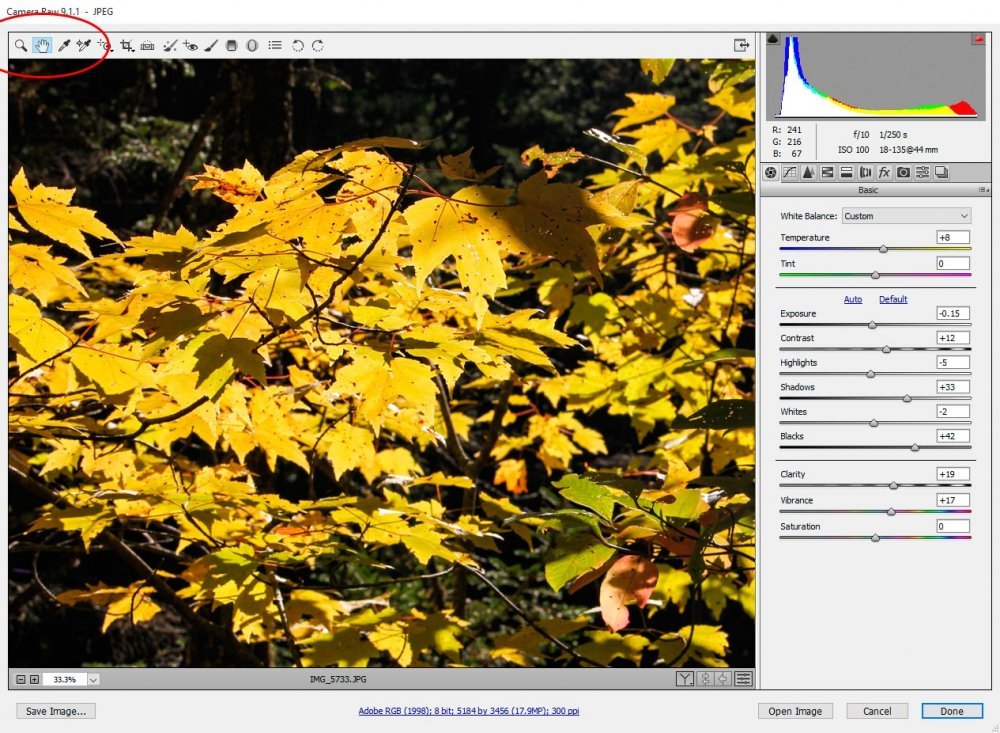
If you’ve enjoyed today’s post and found it helpful, please share it with a friend. Thanks!
