CraigHardy
Member
- Joined
- May 11, 2021
- Messages
- 223
- Reaction Score
- 2
- Points
- 18
- #1
This is definitely one of the coolest features of Camera Raw. When I first used it, I fell in love with it and have been using it ever since. And sometimes, I don’t even need to. I already alluded to this feature when I wrote my post about how to use the basic panel in Camera Raw, but I plan to cover it in much more detail here.
In this post, I’m going to talk about how we can view our changes in Camera Raw, side-by-side our original photos. Camera Raw gives us a myriad of options to help us accomplish this and I’ll cover most of them here. With all the methods available to us, we can pretty much slice and dice our before and after work any which way we want.
Opening & Adjusting an Image
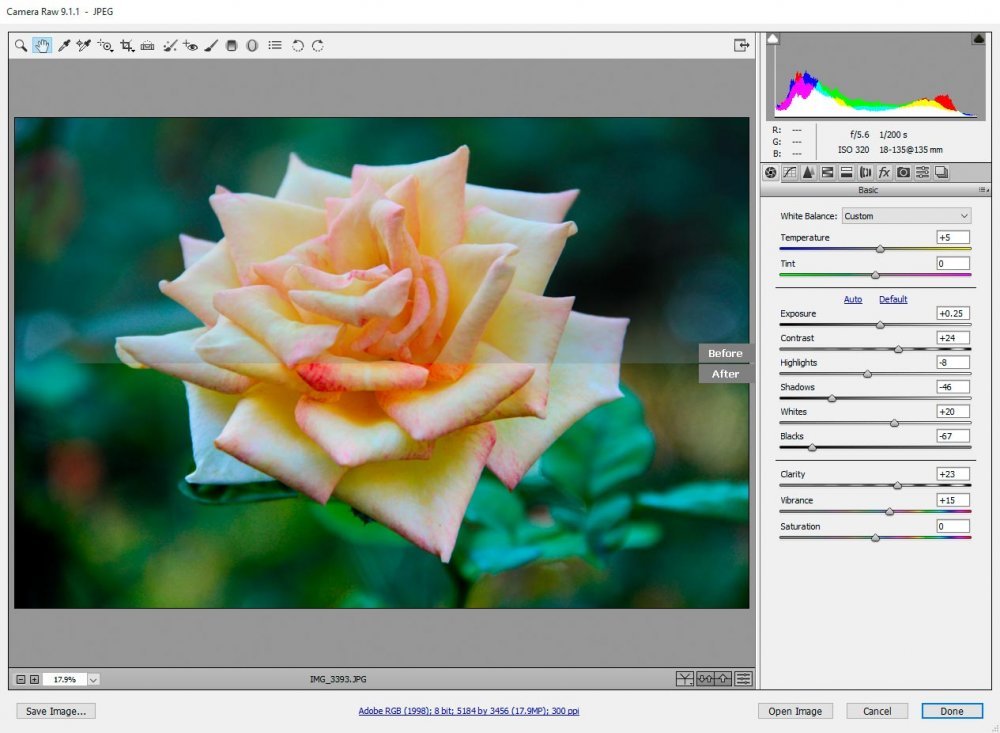
The first task I’m going to complete in this example is to open and adjust an image in Camera Raw. I need to do this in order to have an altered image to compare with the original. If you take a look at the screenshot below, you’ll find my photo of a rose I shot while I was living in Palm Coast, Florida.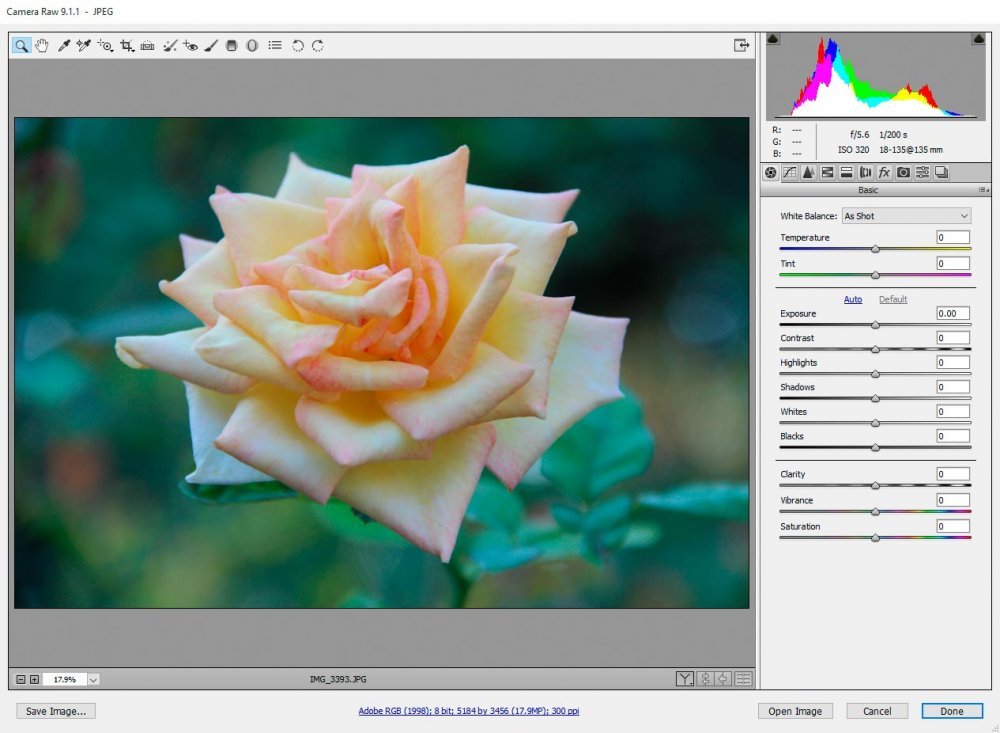
Now, if I go through a few of the panels and make some adjustments, my before and after shots will look distinct from one another.
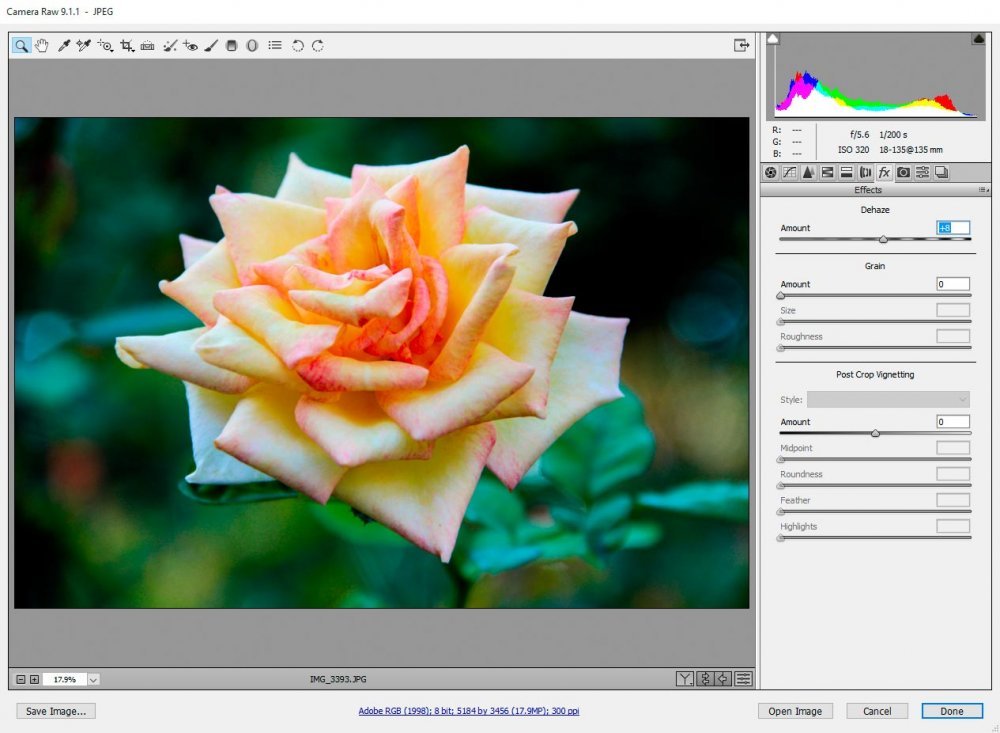
As you might notice, I went a bit overboard with brightening up the colors in this photo. If the photo was taken in raw format, I believe it would look much better with the adjustments I applied today. But really, I wanted to make the adjusted image look different enough to use as a comparison for this post.
Before & After Comparison Preview Controls
When I edit images, I often get lost in my edits. I adjust so many areas that I lose sight of what looks good and when I’ve gone too far. Luckily, Camera Raw has a really robust preview utility that allows us to get a look at some nice variations of our shots.If you view the screenshot below, you’ll see that I circled a small button in the toolbar below my image. This button is pressed, in sequence, to cycle through the preview modes.
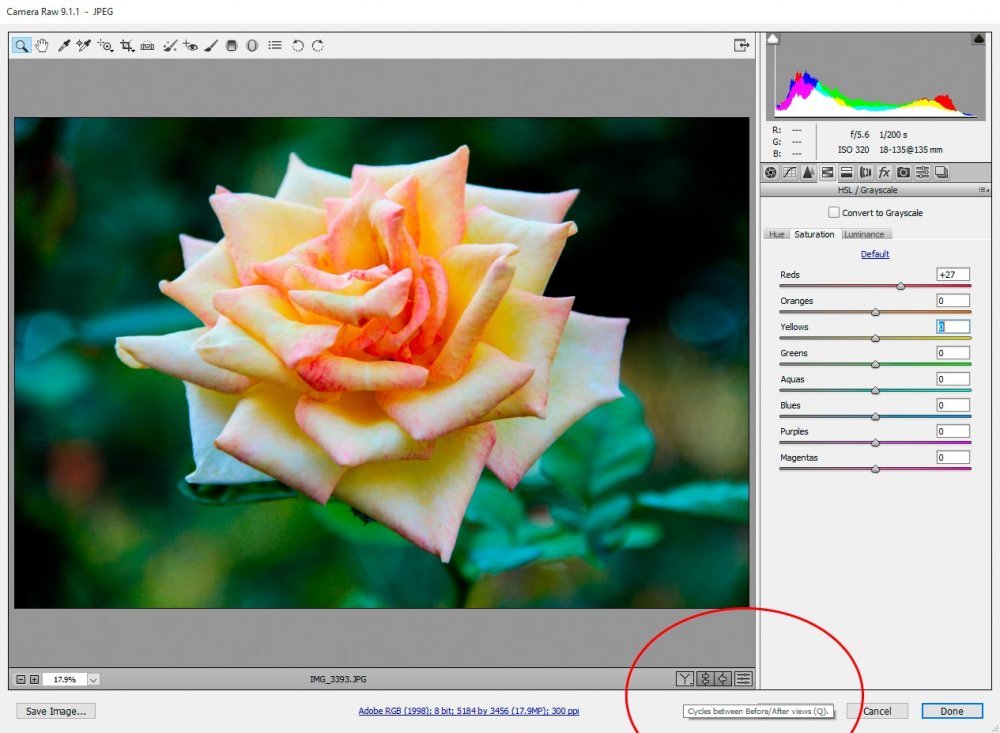
The button I’m referring to is the one with the “Y” in it. I used a large red circle because I wanted to capture the roll-over text as well. In this case, it says “Cycles Between Before/After Views (Q).” So, when we see a letter after instructions like that, it means there’s a keyboard shortcut available. In this case, instead of clicking the button, we can simply press “Q” on our keyboard to have the same effect.
Also, if I click and hold the button I’m referring to here down, a menu pops up that tells us what preview modes are available.
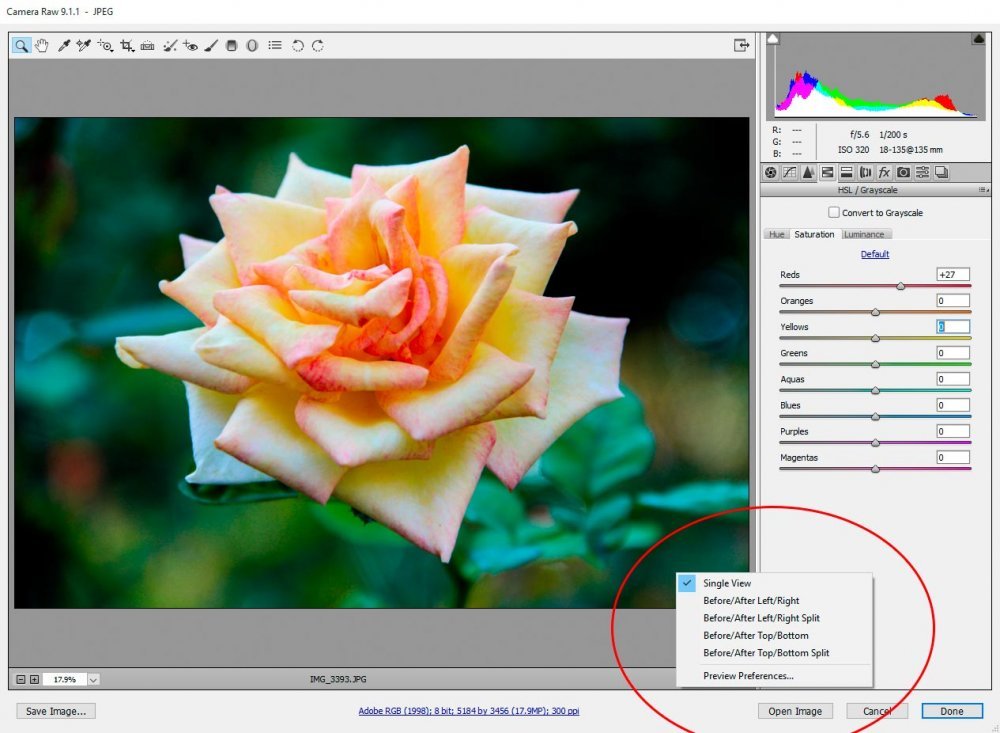
Before/After Comparison Previews
I’ll cycle through and offer some screenshots of each comparison preview mode here so you can see what they look like.
Before/After Left/Right Comparison Preview
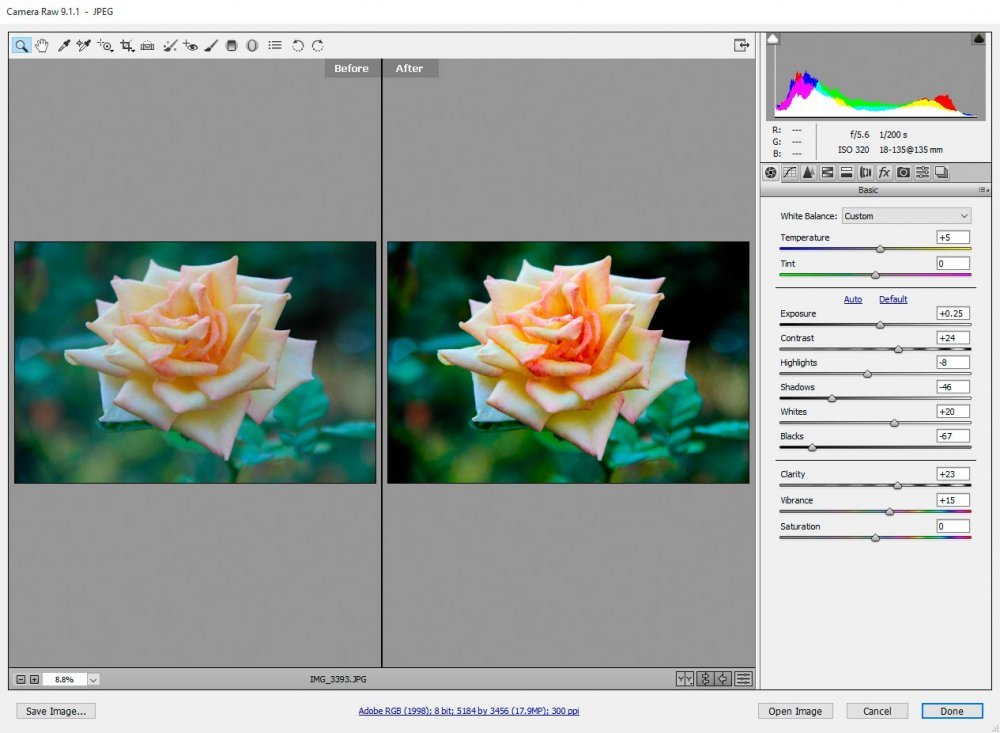
Before/After Left/Right Split Comparison Preview
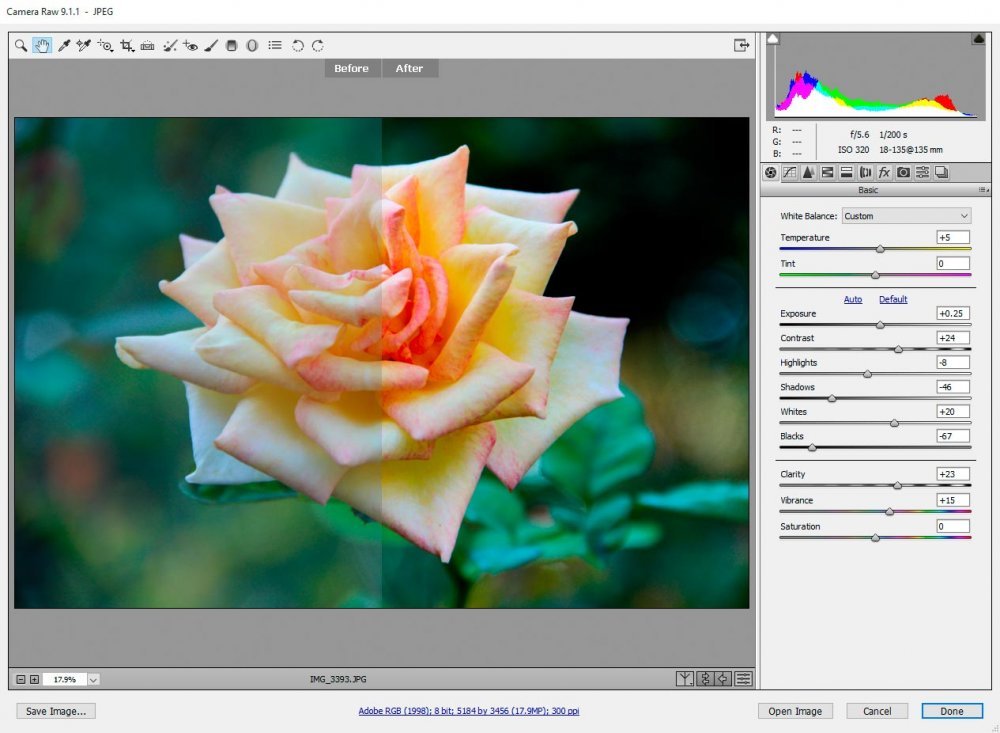
Before/After Top/Bottom Comparison Preview
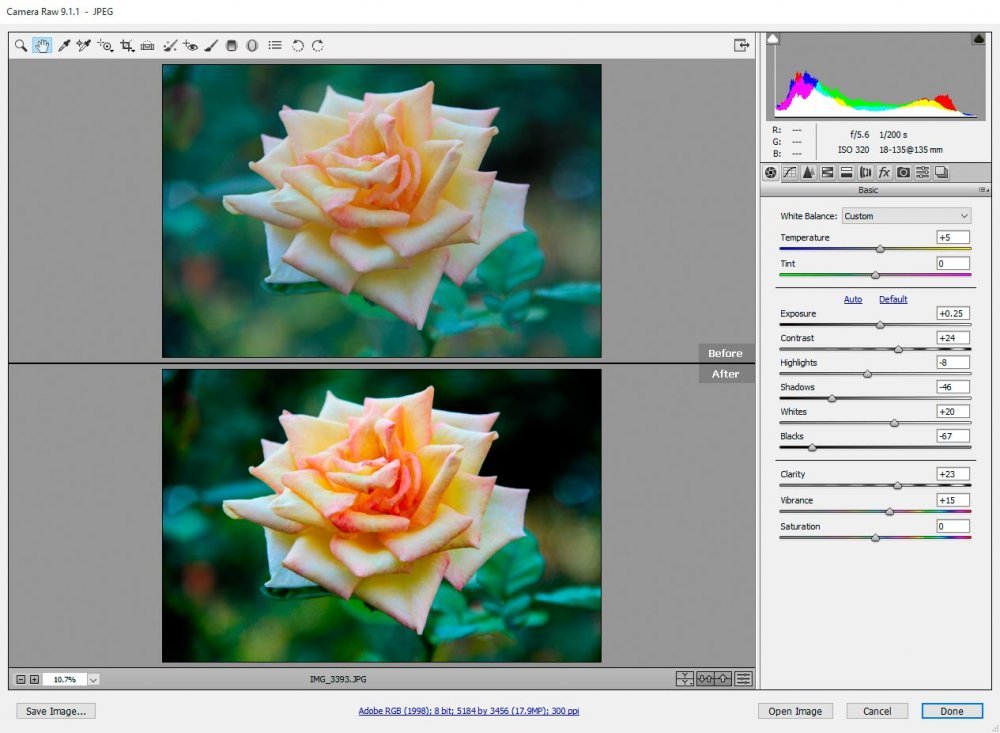
Before/After Top/Bottom Split Comparison Preview
Preview Preferences
By far, my favorite before and after preview is the left/right split. The top/bottom split just doesn’t do it for me and when I see the entire photo comparison, both photos shrink too much for me to get a nice, up-close, look at things. Over time, I’ve become attached to the split view. so really, I don’t need the others and would like to turn those options off. In order to accomplish this, I can click and hold the preview button to make the menu pop up again.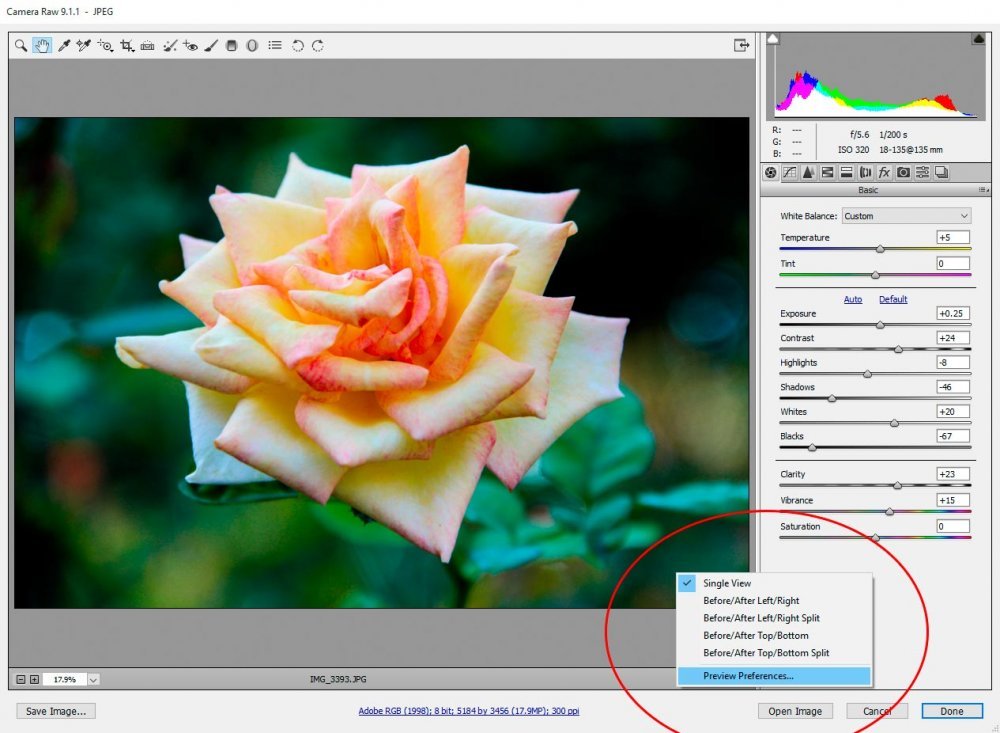
And when I click “Preview Preferences,” I’ll see a dialog box appear.
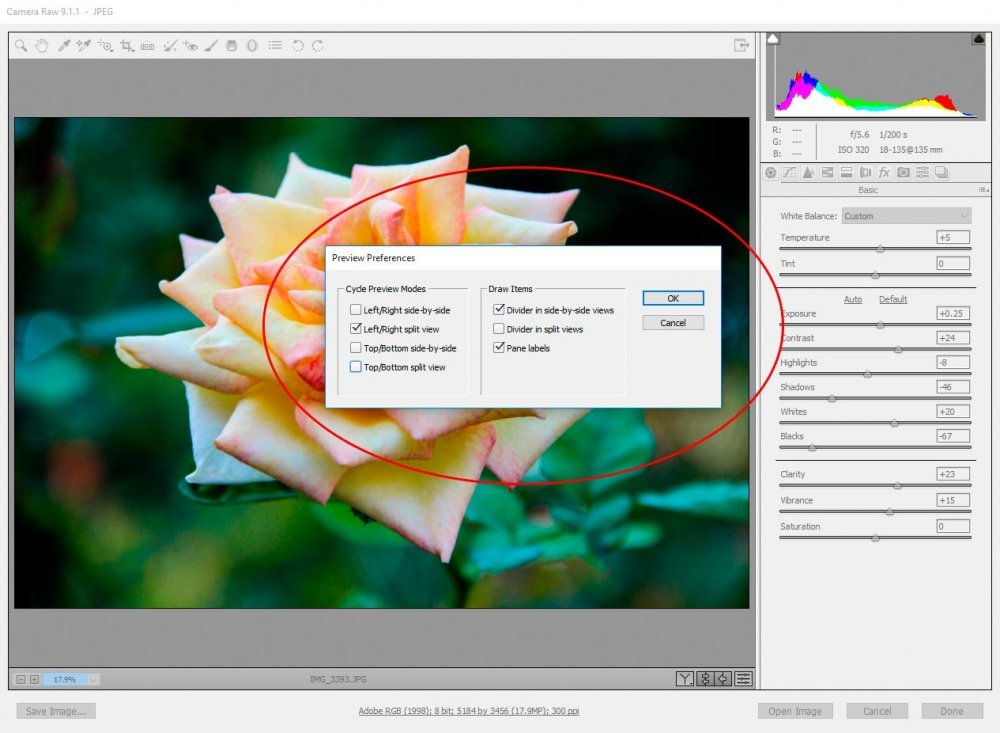
If I go ahead and uncheck the options I don’t want to see anymore (like I did already in the screenshot above) and click “OK,” those will not appear when I either click the preview button or hit “Q” on my keyboard.
Swapping Previews
The second button from the left (right next to the preview button) is called the “Swap” preview button. All this does, when clicked, is merely swaps whichever view you’re currently looking at. So if you see a left/right split and click the swap button, you’ll see a right/left split. It’s that simple. This button is the one that has two opposing arrows inside of it.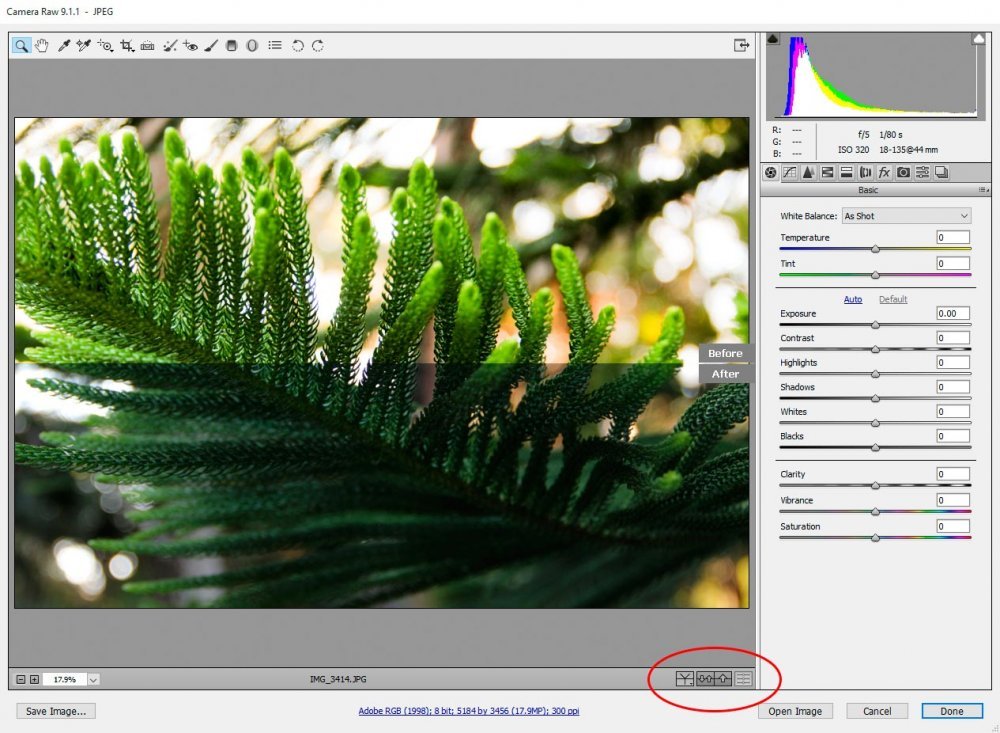
Setting a New “Before” View
Let’s say that I’ve got a photo that’s really under-exposed, sort of like the shot of the pine in my example. I know that I need to increase the exposure and once I do, I’d like that to be my “before” point. Once I make that adjustment, I don’t want to compare any changes I make after that to the original photo anymore – I want to compare them to the photo where I increased the exposure so I can get a more accurate view of my changes.If you take a look at the screenshot below, you’ll see just how under-exposed my photo is. It’s rather dark and its lack of exposure is evidenced by the left leaning histogram.
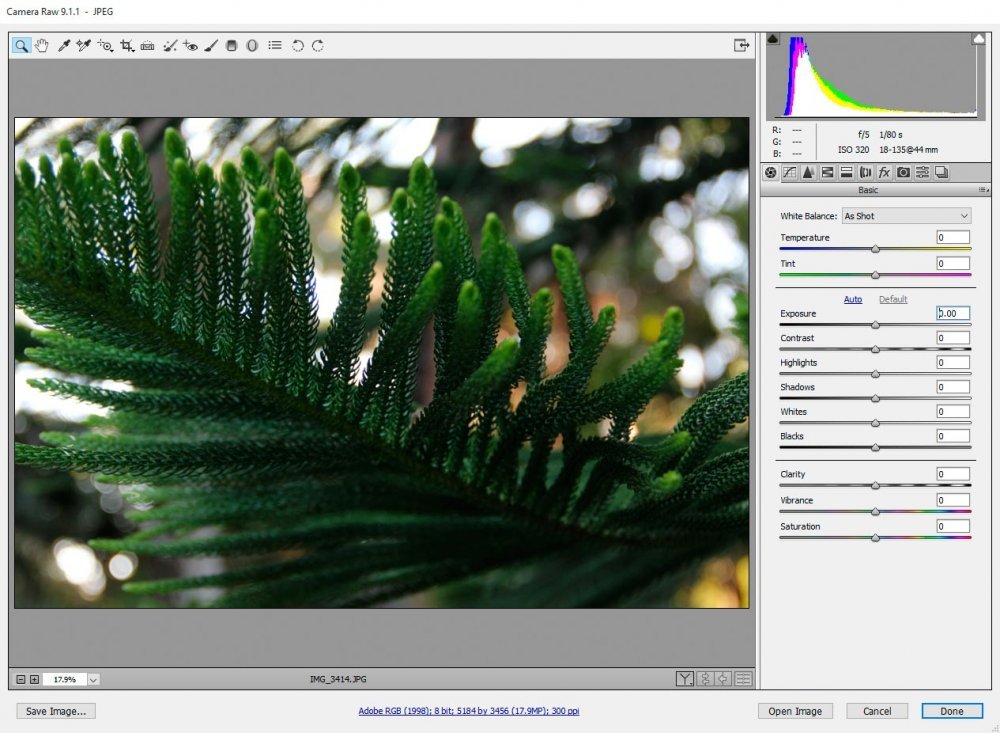
I’m going to go ahead and increase the exposure in this shot to brighten things up a bit and to center the histogram somewhat. I’m not going to make any other adjustments.
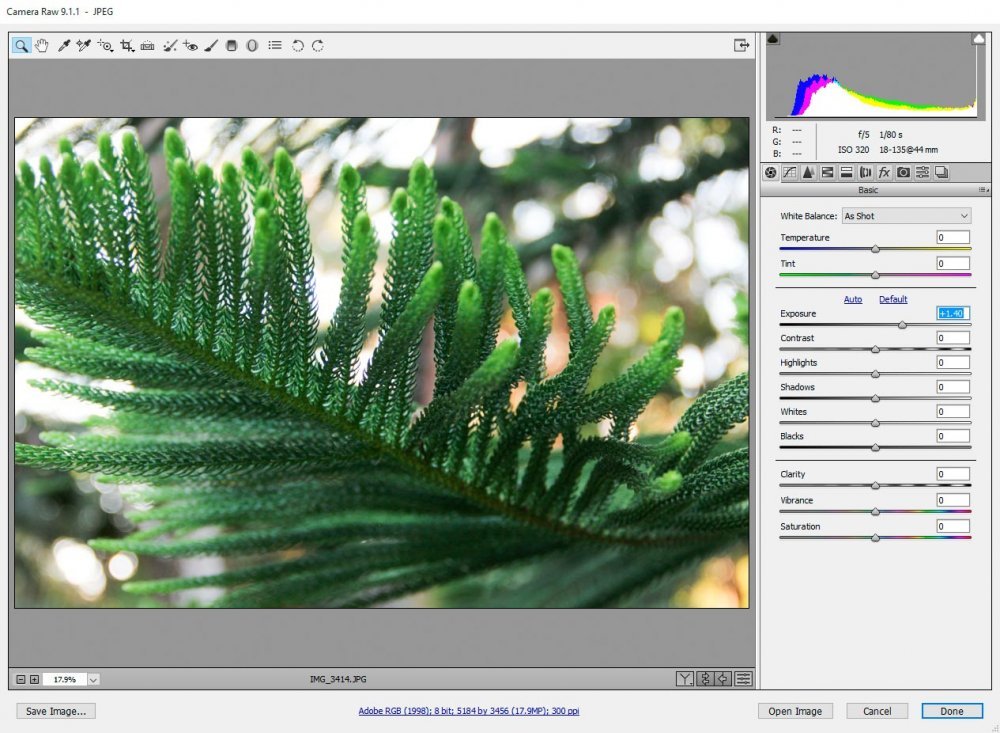
Ah, that’s better. I think you’ll agree that we don’t need to go back to the original as we’re previewing any further edits. The under-exposure was a mere defect of the original that’s now corrected.
If I go ahead and click the third button in the series of preview buttons below (the one with the arrow that’s facing to the left), I’ll see that the old before view has vanished and my better exposed view is now the new “before” view.
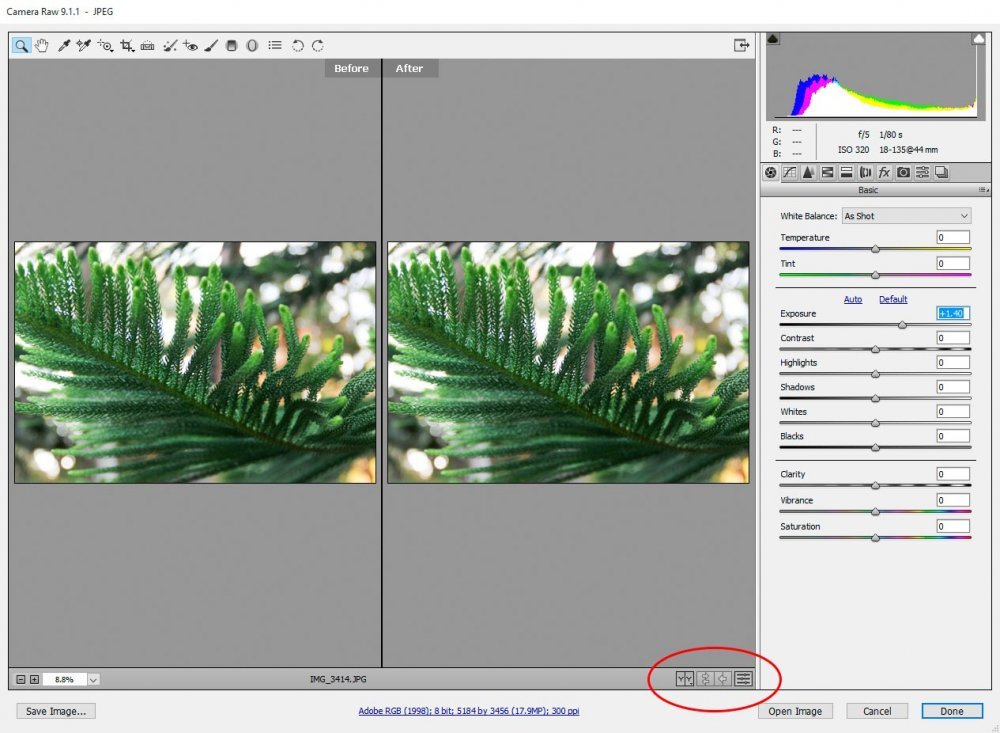
At this point, if I make any further edits, those edits will show against this new view.
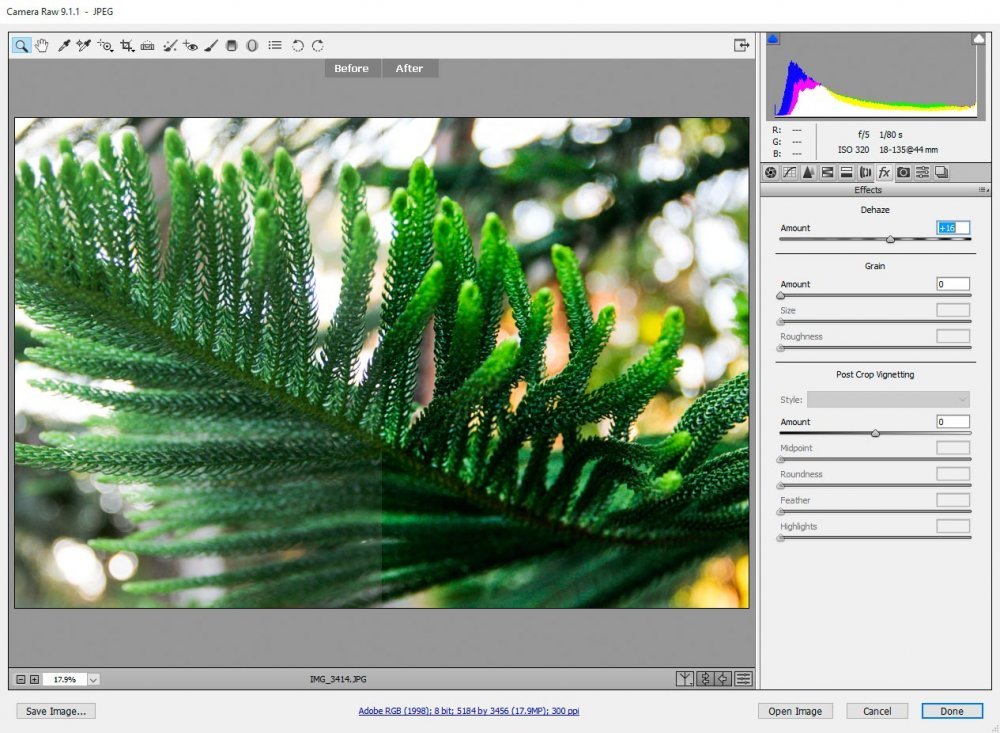
Look at those oranges in the background pop!
——
If you’ve enjoyed today’s post and found it helpful, please share it with a friend. Thanks!
