CampFireJack
Member
- Joined
- May 9, 2021
- Messages
- 118
- Reaction Score
- 1
- Points
- 16
- #1

I was talking to a friend of mine a few days ago when they asked me a photography related question. It was “What do those dots mean on my camera lens mount? There are two of them; one is circle and red and the other is square and white. I know one of them is there to help line the lens up when it’s being attached to the camera, but what about the other one?”
I though this was a great question. I know folks who have been photographing for years and years and have no idea what the answer would be. Luckily, I do know and in this blog post, I’ll share it with you. Before that though, I’ll share a few other juicy tidbits and tips regarding camera lenses and how to keep them, as well as camera bodies, clean. Things like that.
Body & Lens Caps
Cameras get dirty. I’m not sure why this is. Perhaps it’s a natural law of the universe. One that says whatever is supposed to stay spotless shall accumulate dust like it’s nobody’s business. If you only knew how much dust I have to Photoshop out of photos for posts such as this. It’s the most time consuming task. And this is true for really new, out of the box, cameras as well. Nothing is immune.Because the manufacturers of cameras recognize the dust and dirt issue, they’ve created numerous body and lens caps for us to take advantage of. The first one I’d like to talk about is called the Body Cap.
The body caps screws on the lens mount of the camera body. Here’s a photo of the Canon cap we have for our trusted Canon Rebel T2i.
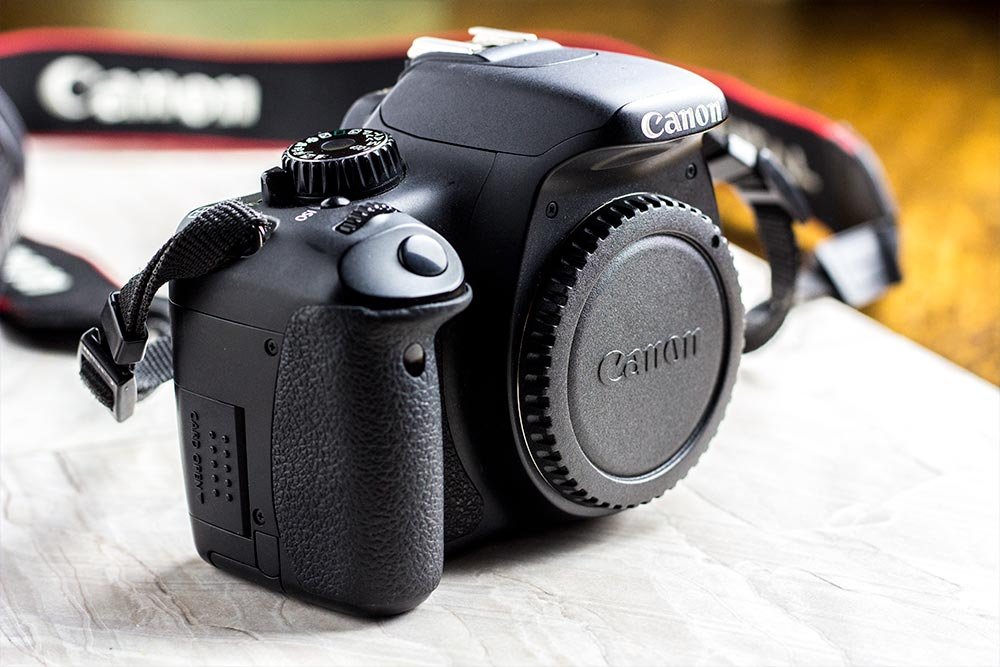
As you can see, there is no lens on this camera, only the cap.
The rule here is that if you don’t currently have a lens attached to your camera, you must use this body cap. It’s what protects the internals of the camera, including the sensor, from being inundated with foreign material. Trust me when I say this – you’d rather avoid getting the sensor dirty than having to clean it. Use the body cap.
The second cap I’d like to show you is called the Rear Lens Cap. This cap covers and protects the part of the lens that connects to the camera body. While keeping this area of your equipment clean isn’t as critical as keeping the actual internals of the camera clean, it’s still vitally critical. This is because dust and dirt that accumulates on this rear side of a lens can be easily transferred to the inside of the camera. Again, it all ends up in the same place making your photography adventures less than stellar.
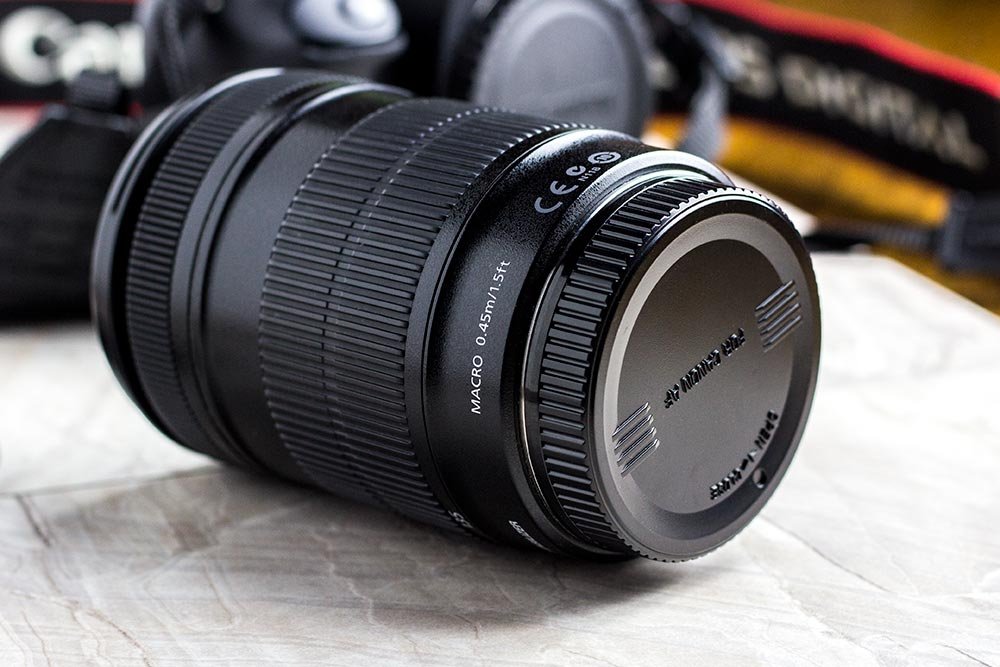
I think we’ve made some headway here. There are problems on the horizon though. Let me explain. Let’s say you’re out in the field and, up to this point, have been very responsible with your caps. They’re all in the right places. The body cap is attached to the camera body and the rear lens cap is attached to the rear of the lens. You see a shot. You pull the camera body out of your bag with the lens close behind. You twist off both caps, toss them in your pocket or your bag, attach the lens to the camera and start shooting away. Sounds good, right?
Wrong.
Do you see what just happened? If you think back just a few lines, you’ll remember that I talked about something called transference. Transference the action of transferring something or the process of being transferred. Do you know how much dirt and lint you have in your pocket? What about in your bag? Can you guess how much of that dirt and lint will stick to the insides of both of these caps as they’re jiggling around wherever you tossed them? Can you guess how much of that material will end up inside your camera body or on your sensor when you attach the caps again? I don’t even want to think about it.
I have another rule for you. When the body and rear lens caps aren’t in use, twist them together. Take a look at the next photo.
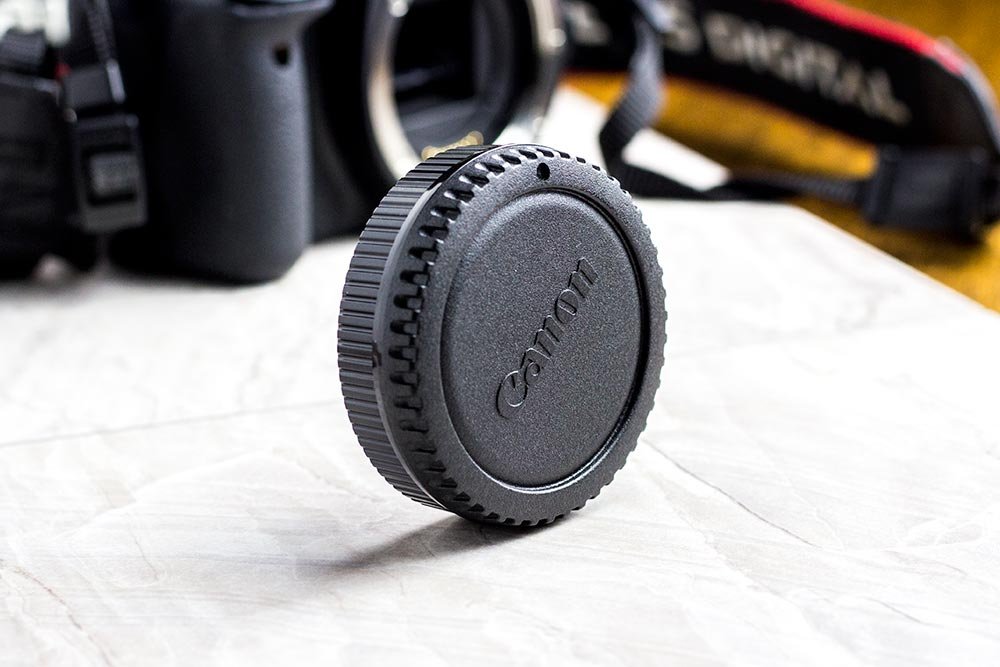
If you do this, the insides of both caps will be protected from the elements. And what’s even better, you’ll be able to store them anywhere you want – pocket or bag.
Aligning the Dots to Attach the Lens
Attaching a lens to a camera is easy. All you need to do is make sure both of the caps I just wrote about are removed, line up the dots and twist. Take a look at the dots I’m referring to: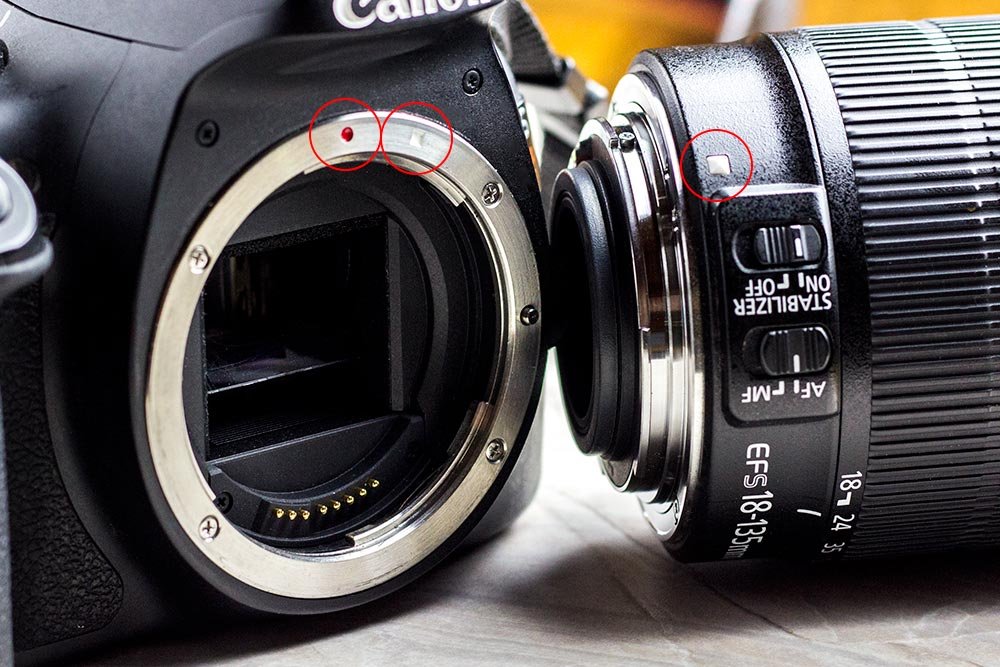
Since the lens I’m using is a Canon EF-S type (more on that later), it has a white dot on it. And since the camera body I’m using has a cropped sensor, it has both red and white dots.
Once you put the two together properly, they’ll be attached and ready for use.
Removing the Lens
Removing the lens is even easier than attaching it. To remove the lens, simply push in the Lens Release Button and twist the opposite way you twisted to attach the lens. Here’s a photo of the lens release button on our Canon Rebel T2i: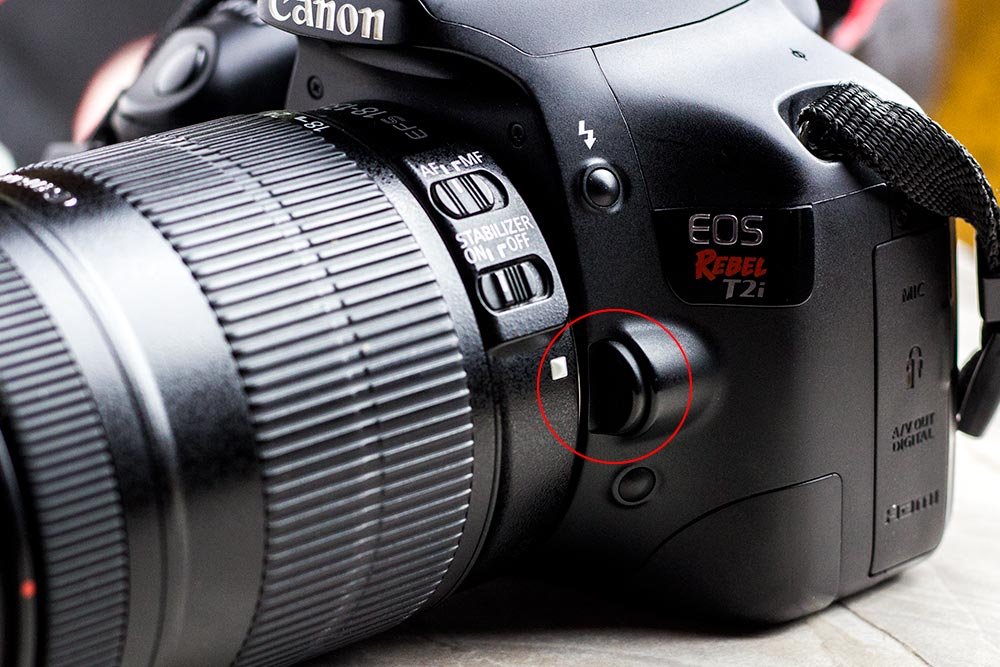
What Do the Red & White Dots Mean?
This is the good part that not many people know about. It’s actually the reason I wanted to write this post, but I got sidetracked from the information above.If you have a Canon camera that uses a full size sensor, it means that you’re using a full frame DSLR. These types of cameras use EF lens mounts. EF stands for “Electro-Focus” and full frame cameras can only use EF lenses. They also have a red dot only on both the camera and lens.
Conversely, if you’re using a Canon camera with a cropped (smaller sized) sensor, this means that you’re using an APS-C sized image sensor (Advanced Photo System “classic”) DSLR. These types of cameras use an EF-S (Electro-Focus Small image circle) lens mount. This type of camera’s lens mount includes both a red and a white dot because they’re backwards compatible with full frame camera lenses. What this means is that you can take your pick, depending on the characteristics of a lens you like. If it’s an EF lens with a red dot, you can use it and if it’s an EF-S lens with a white dot (square), you can still use it. The only difference is what color dot is on the lens and where you line those dots up. As you can imagine, these types of cameras have greater flexibility than their full frame counterparts in this department.
Currently, I have two Canon camera bodies. One of them is a Rebel T3i and the other is a Rebel T2i. Both use cropped sensors and both came with EF-S kit lenses. Recently, I purchased a 50mm EF lens that has a red dot and that fits perfectly with both cameras.
