CampFireJack
Member
- Joined
- May 9, 2021
- Messages
- 118
- Reaction Score
- 1
- Points
- 16
- #1
It seems that as people hear about the power of Adobe Photoshop and become interested in learning how to use the application, one of the primary questions is “How do I make things look cool?” Basically, they’re asking how to use layers and layer effects and styles. Well, that’s not entirely true – there are tons more methods of creatively altering images so they “pop.” Layer effects and styles are only one of them. The thing is, working with layers in this manner is fairly basic, so it’s a good place to start.
In this post, I’m going to talk about how to apply various effects and styles to layers in Photoshop. I’ll show you how to create them, display and hide them and delete them if you don’t wish to include them in your working file any longer.
My Original Image
I’ve already chosen a photograph to use for this post. I added two additional text layers with colors of white and green. I haven’t added any effects or styles to any layers yet.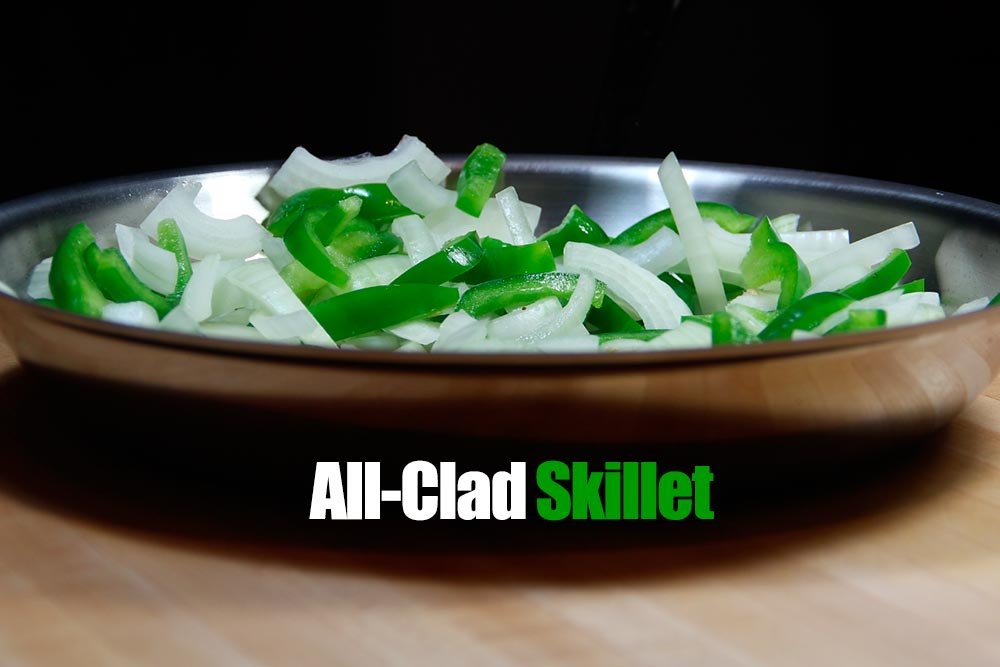
I actually took this photo only a few evenings ago. I purchased a new All-Clad skillet and was having a grand ol’ time including it in one of my photo shoots. I must say, it photographs remarkably well.
Reviewing Layer Order
It’s important to understand the concept of layer order when working inside Photoshop because a lot depends on it. If we take a look at my image, we can see that I’ve got four layers. The bottom layer is a background, the next one up is the photograph itself and the two top layers are text.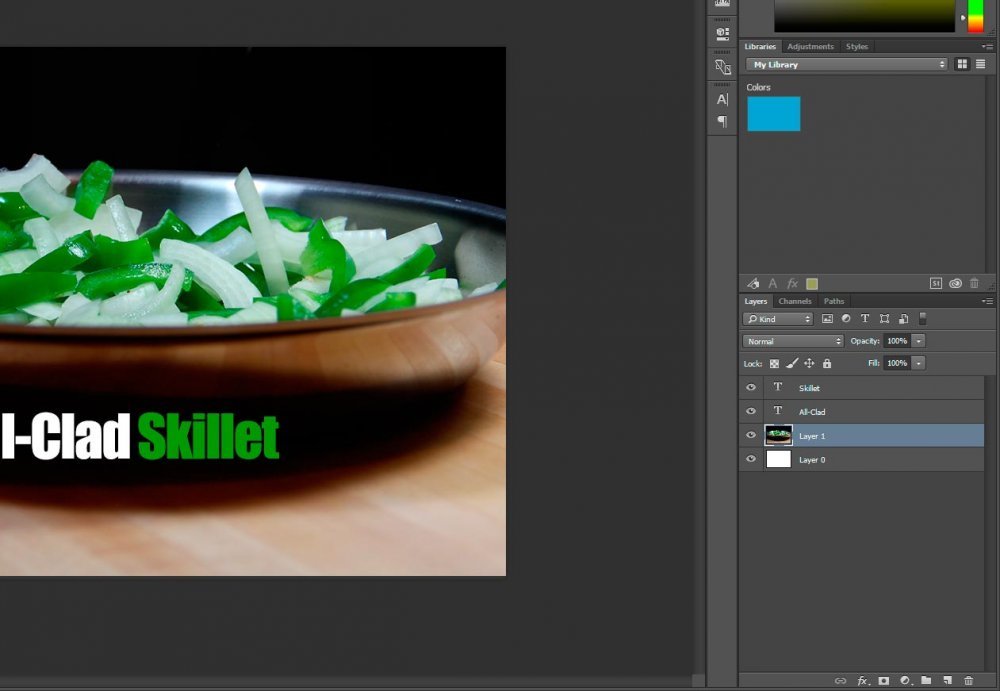
If I wanted to reorder the layers, all I would need to do is to click and drag them on top of and underneath each other.
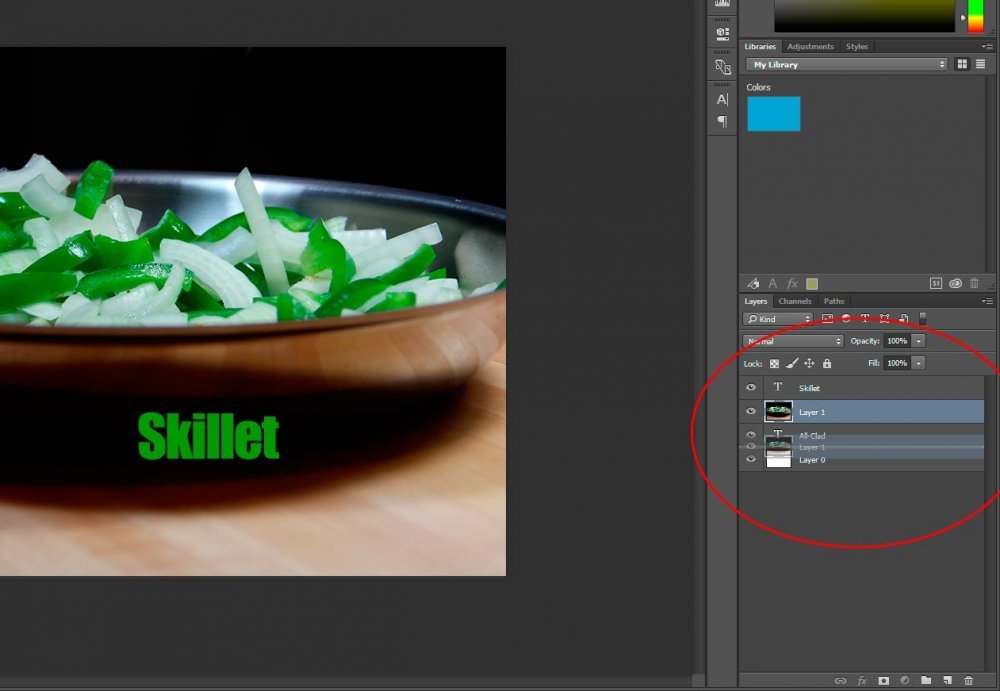
If you look closely at the screenshot above, you’ll notice that the text layer “All-Clad” is no longer visible. That’s because I moved the photo layer on top of it. If you think of layers as pieces of paper laying on a table on top of each other, you’ll see why the text layer no longer appears. It’s covered by something else.
Opening the Layer Style Dialog Box
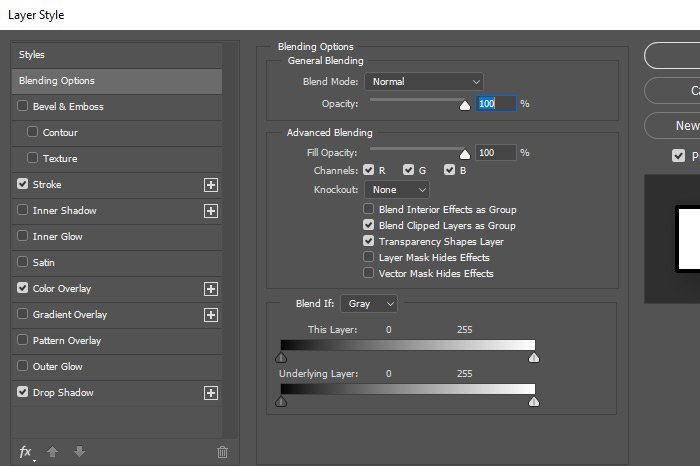
This is where the fun starts. There are a few methods of opening the “Layer Style” dialog box. If you already know which effect you’d like to apply to the layer (such as a stroke), you can select the layer in question from the “Layers” panel, click the “Fx” icon from the bottom of that panel and then select the effect you’d like to apply.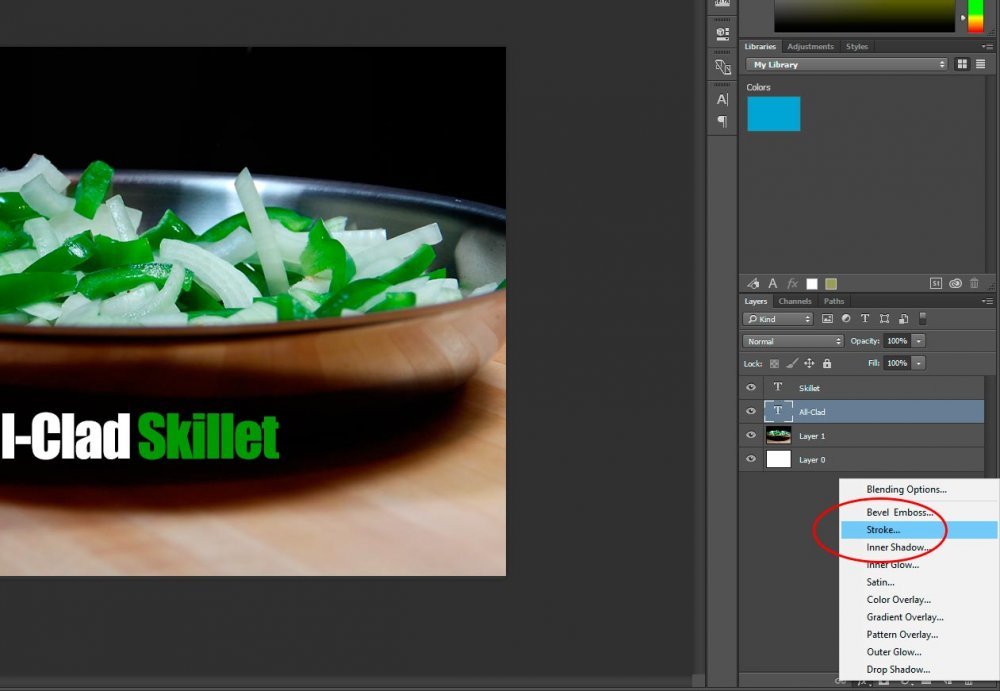
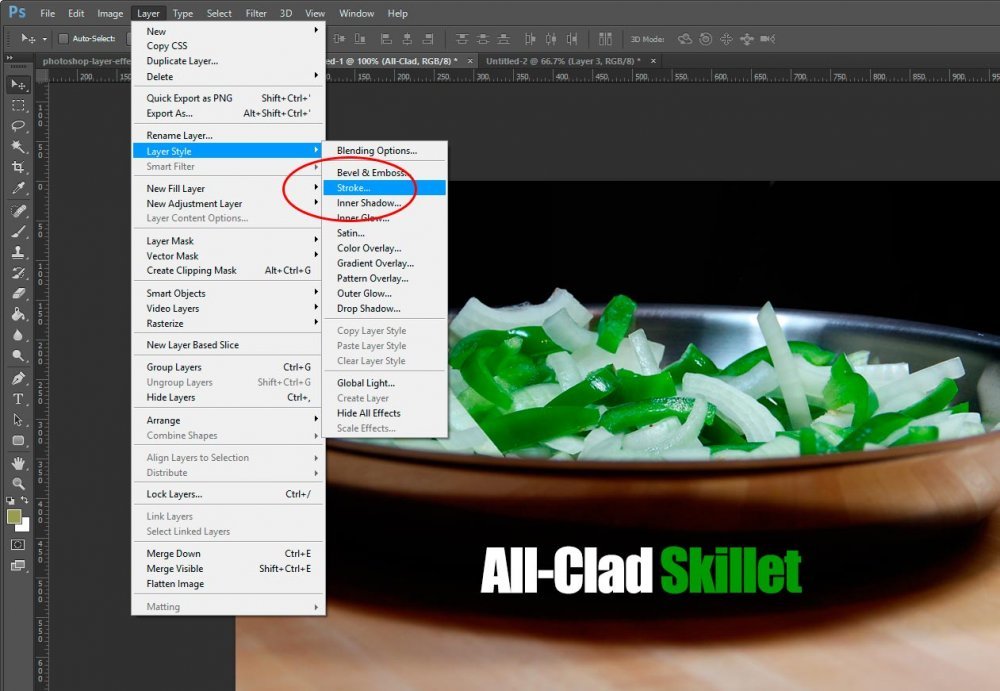
If you’d like an alternative method (but still know which effect you’d like to apply), you can again select your layer, but this time, you’d head up and click into “Layer > Layer Style” from the top menu.
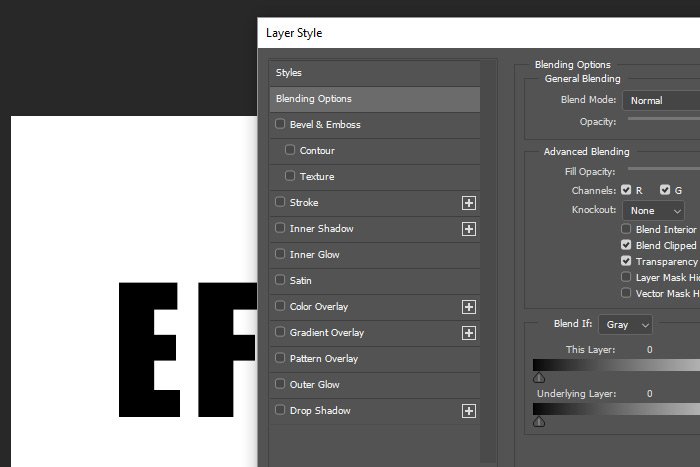
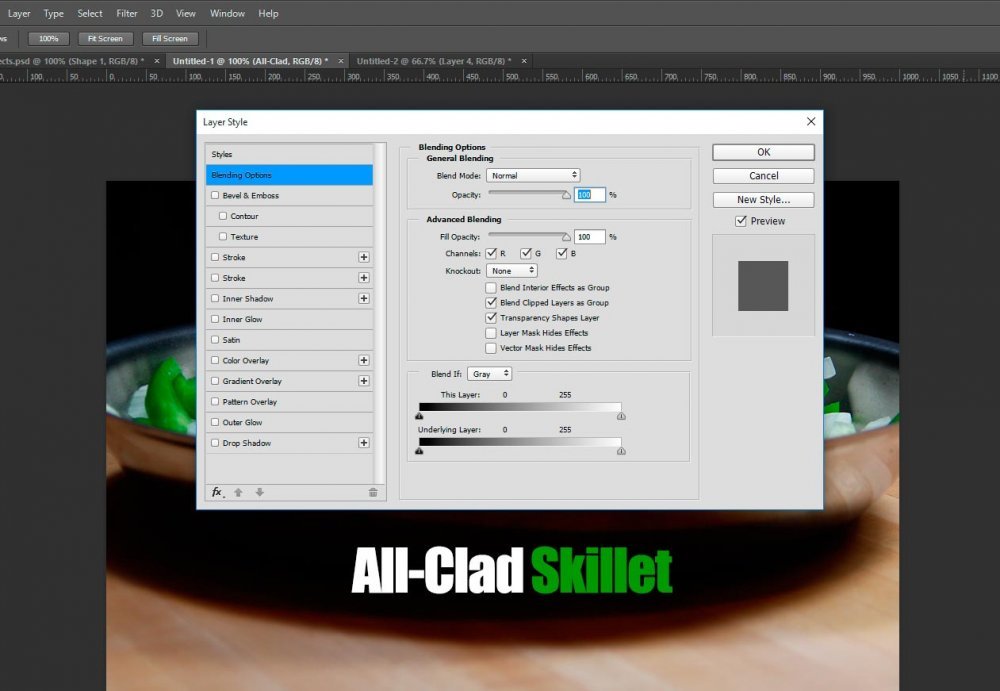
If you have no idea what type of effect you’d like to apply to your image and want to shop around a bit, all you need to do is double-click on the layer you’d like an effect applied to. This will merely open the “Layer Style” dialog box. All three methods will open this same box. The only difference is that the first two will apply a specific default effect. The last one won’t apply anything.
Applying Layer Styles
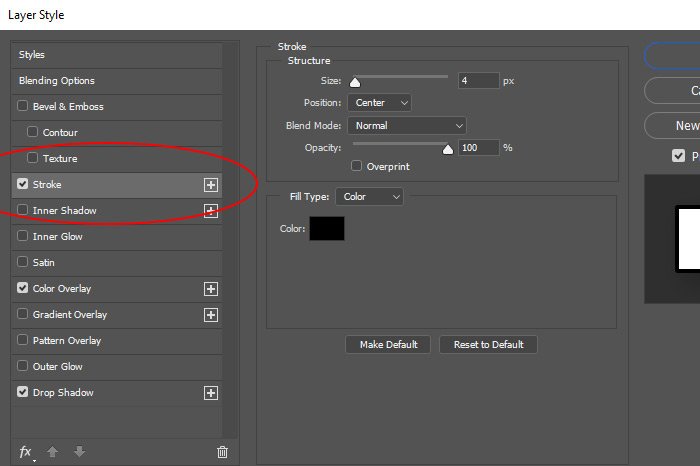
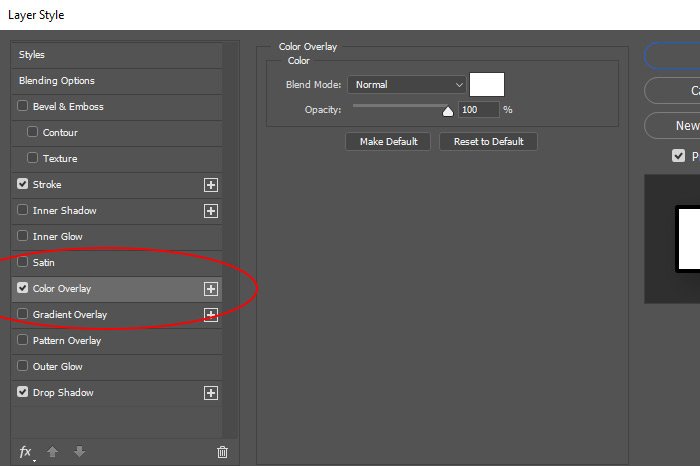
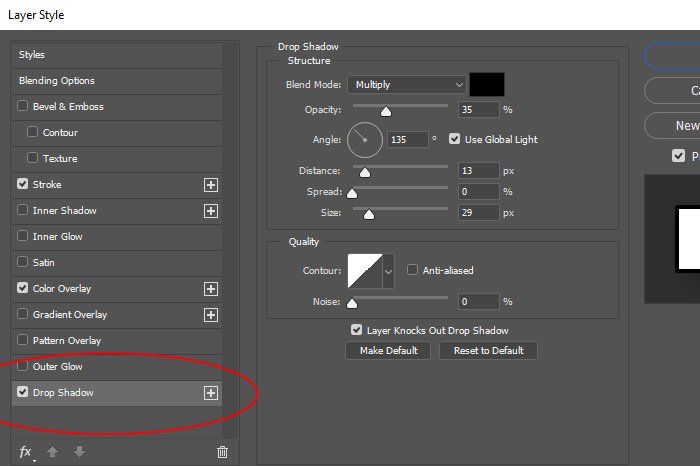
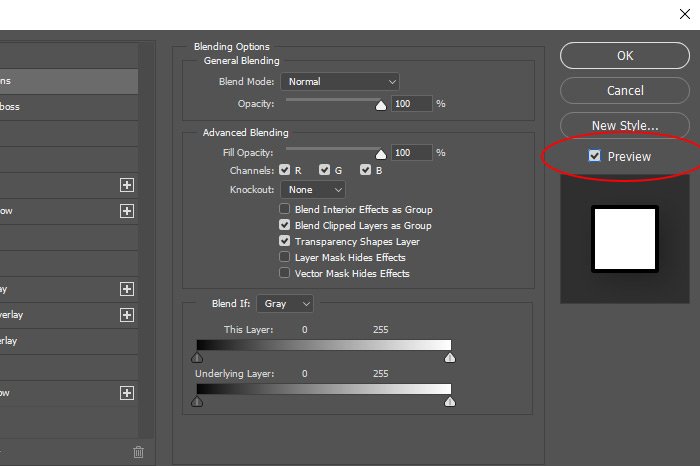
I’m not going to go over how to apply every single layer effect in this post. It’s rather intuitive. All you need to do from here is to check off the effect you’d like to apply over in the left column and then adjust the specifics in the right column. The only thing I want to warn you of is that once you tick the check box in the left column, you also need to click on the effect name itself. If you want to reduce that to only one step, simply click on the effect name to begin with. You can actually click anywhere in the box the name resides, but I’m trying to be super clear here.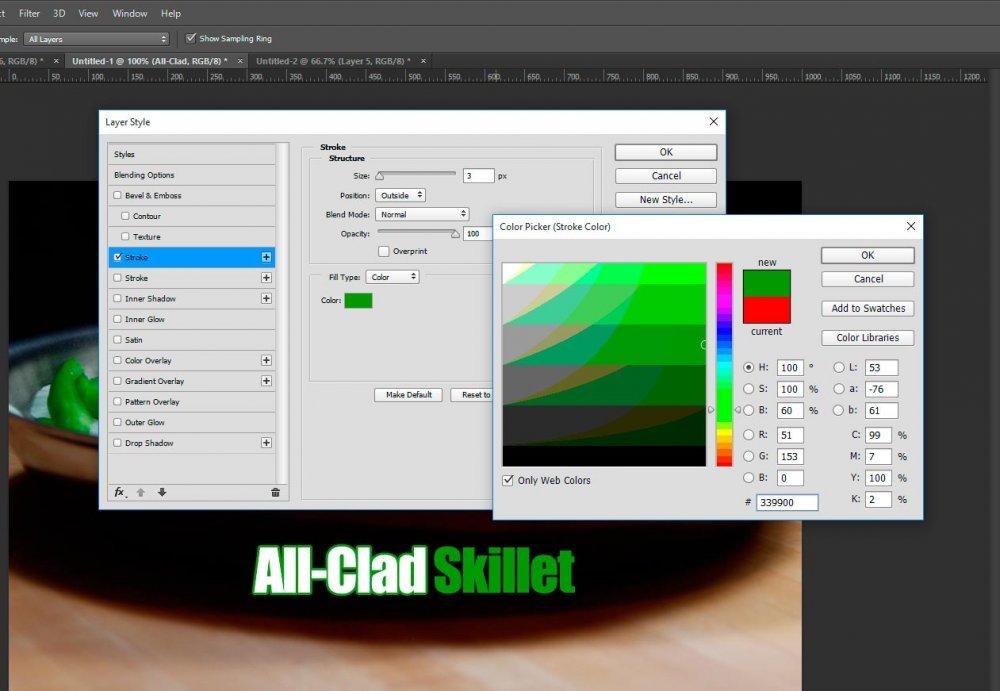
As you can see from the screenshot directly above, I clicked on the “Stroke” effect and then I clicked on the “Color” area (the small green box in the right column of the Layer Style dialog box). Once the “Color Picker” box opened up, I used my dropper (which automatically appears once I hover over my image) to select the same green as the “Skillet” has. That changed the color of my stroke to green as well. I clicked “OK” in the Color Picker box and then “OK” again in the Layer Style dialog box to apply the effect to that specific layer.
To become familiar with all effects and all effect options, go ahead and play around with them a bit. It’ll only take a few minutes until you feel experienced enough to comfortably include them in your editing arsenal.
Viewing & Editing Layer Effects From the Layer Panel
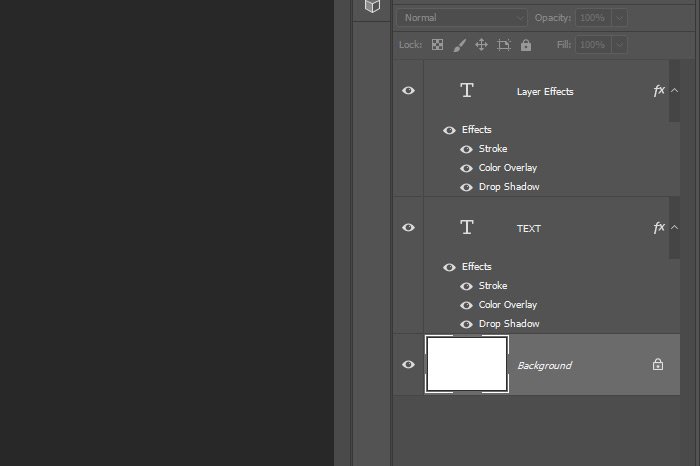
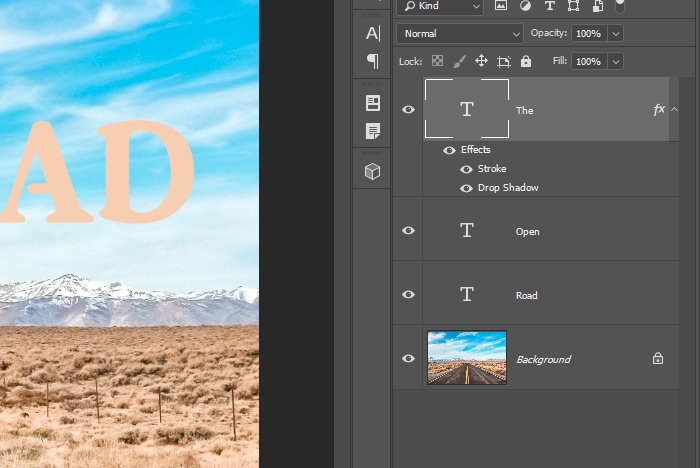
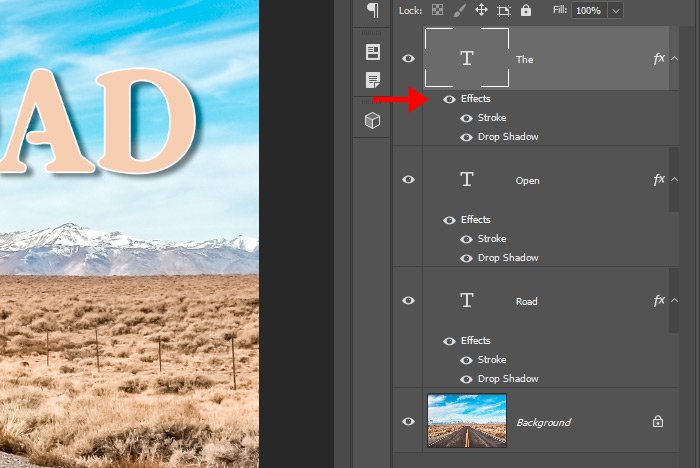
Once layer effects are applied to a layer, they appear in the Layers panel under or “inside” the layer itself. Take a look at what I’m referring to in the screenshot below.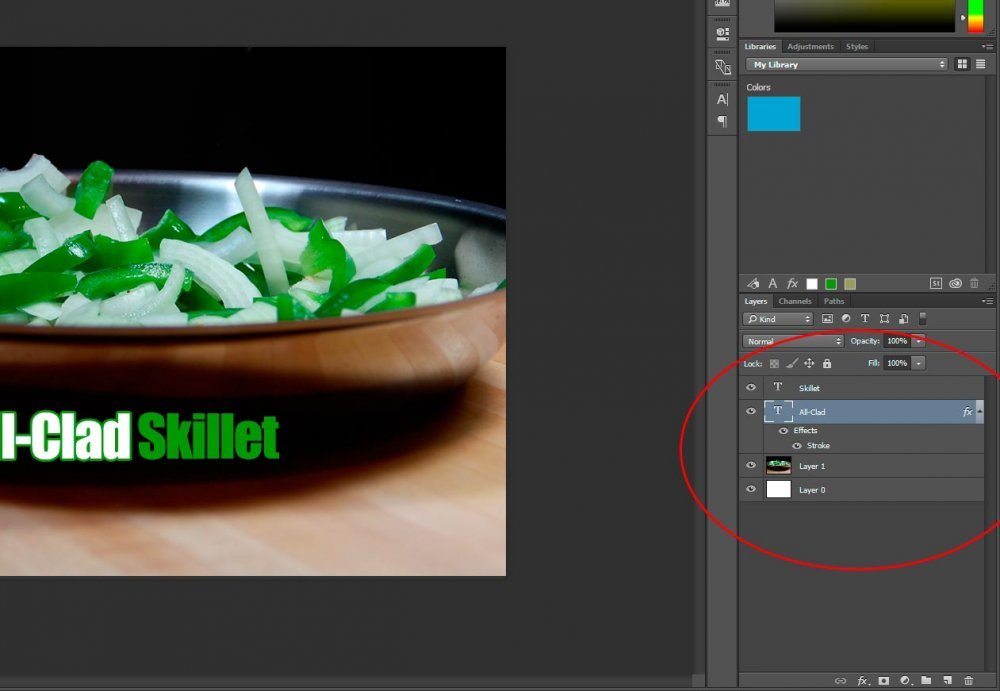
Now, these “effect” layers operate similarly to regular layers. To hide all effects, simply click on the small eye icon that’s to the left of the word “Effects.” To hide a specific effect, click the eye icon that’s to the left of that particular effect. To remove an effect, click and drag that effect from the Layers panel to the small garbage can at the bottom of the Layers panel and to edit an effect, simply double-click that effect and the Layer Styles dialog box will open directly to that effect.
Collapsing Layer Effects
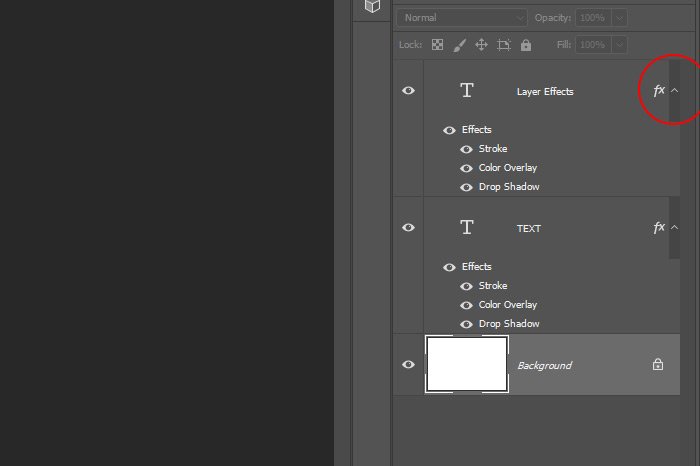
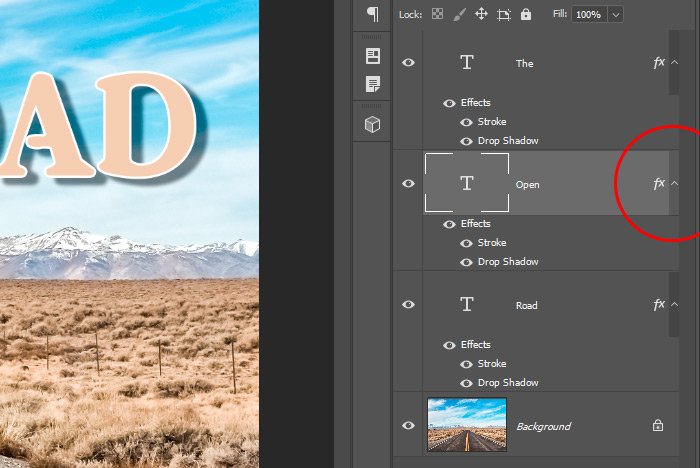
Layer style effects can become quite cumbersome inside the Layers panel. Oftentimes, there will be dozens of them and having them all in view can become quite confusing. It’s oftentimes better to hide the effect layers. To do this, you simply need to click the small upward facing arrow that sits all the way to the right inside the actual layer. If you click the arrow, the layer will collapse, storing all effects neatly inside.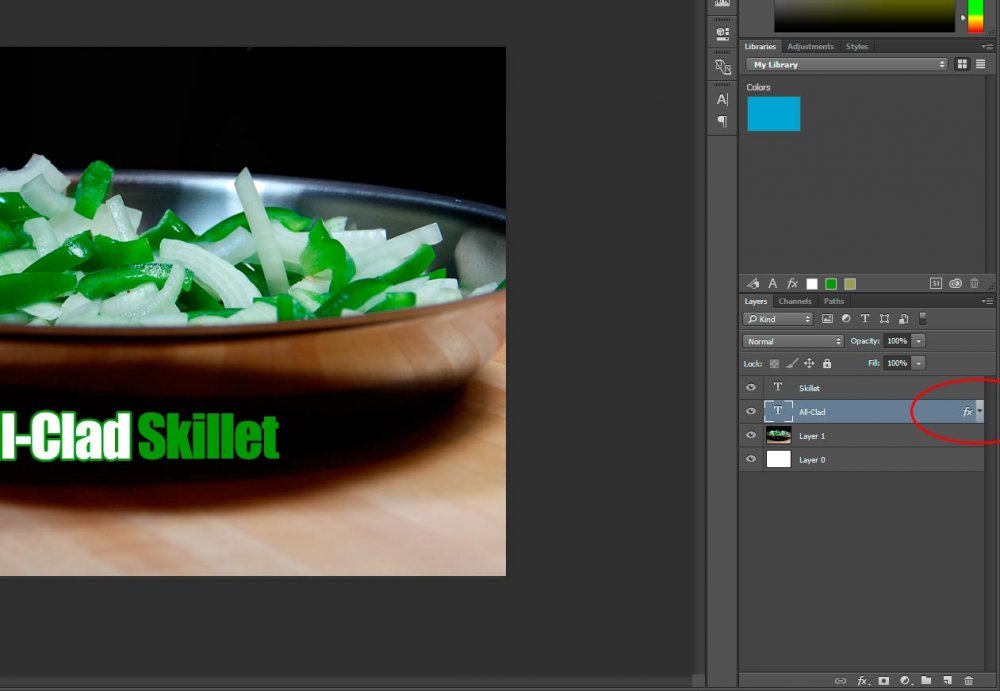
If you look inside the red circle in the screenshot above, you’ll see that the arrow has changed direction and the small “Fx” text remains. That indicates that there are effects applied to that layer. To view them, just click the arrow again.

