LukeLewis
Member
- Joined
- May 7, 2021
- Messages
- 134
- Reaction Score
- 0
- Points
- 21
- #1

Have you ever taken a whole slew of photos only to spend hours going through them on your computer, one by one, in an effort to find which ones were best? I have. Actually, I have a lot. It’s really not one of my favorite activities. I prefer to shoot and then edit – in that order. Photo selection is something I wish would move along a bit faster.
Luckily, there’s a really great method of reviewing photos right in Adobe Bridge. It’s simple and fast and it’s actually kind of fun. It takes away all that image opening and closing and then opening again, while attempting to see which photo had exactly what you were looking for.
In this post, I’m going to cover how to use Bridge’s “Review Mode” to tremendously hasten the pace of shuffling through loads of photos. Like I said, it’s fun and easy and it’s a great workout for your fingers.
My Photo Shoot
Today, I’m going to be using my trusted “Washington Oaks” photo shoot as an example of how to go about this process. Let’s take a look at the thumbnails in Bridge.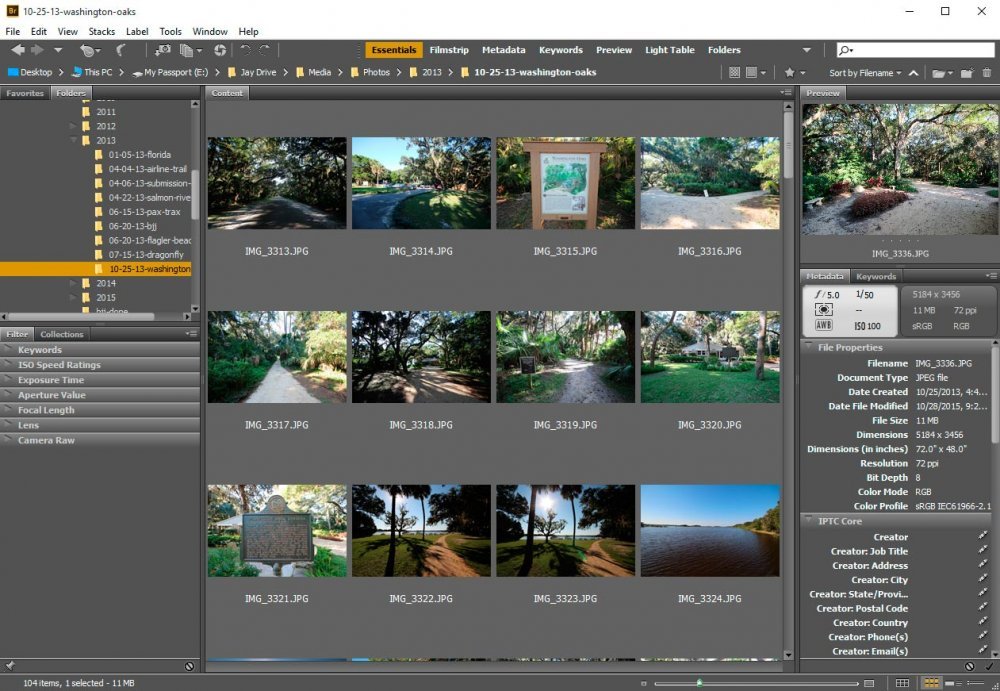
Now remember, the goal of this exercise is to browse through the photos to reduce the number I will eventually work with. I want to get rid of the bad and keep the good.
Launching Review Mode
To move into Review Mode, I first need to select which thumbnails I’d like to review. I can do this with virtually any amount. If I only select two images, I’ll be limited them them. If I select all of my images, I’ll review everything. In this case, I’m going to select all of my images by pressing “Ctrl A” on my keyboard.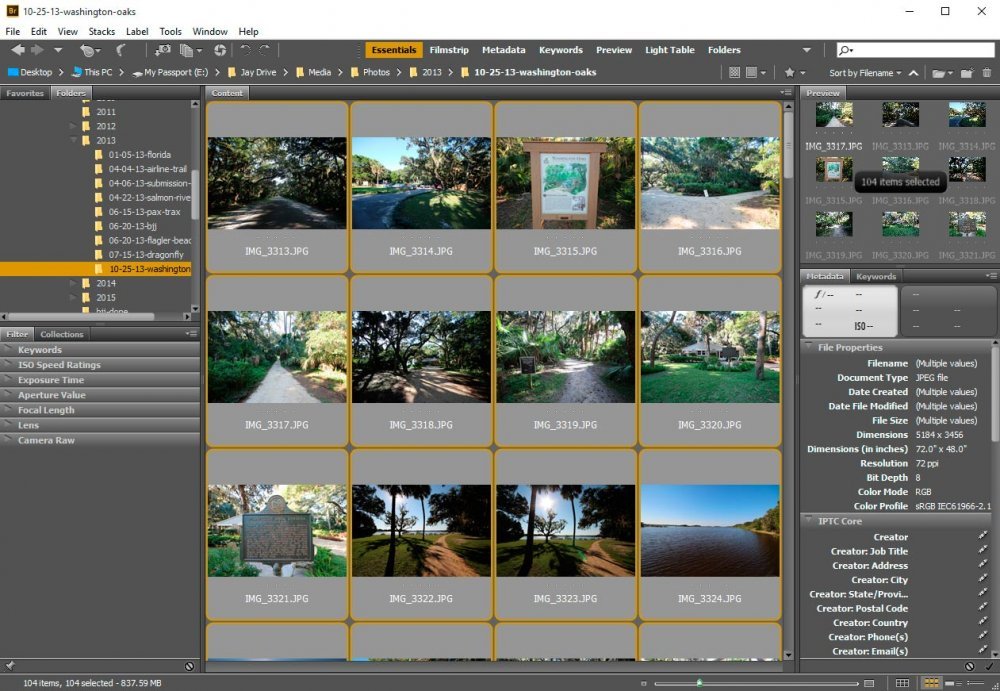
See that? In just a second or two, I selected 104 items. Not bad.
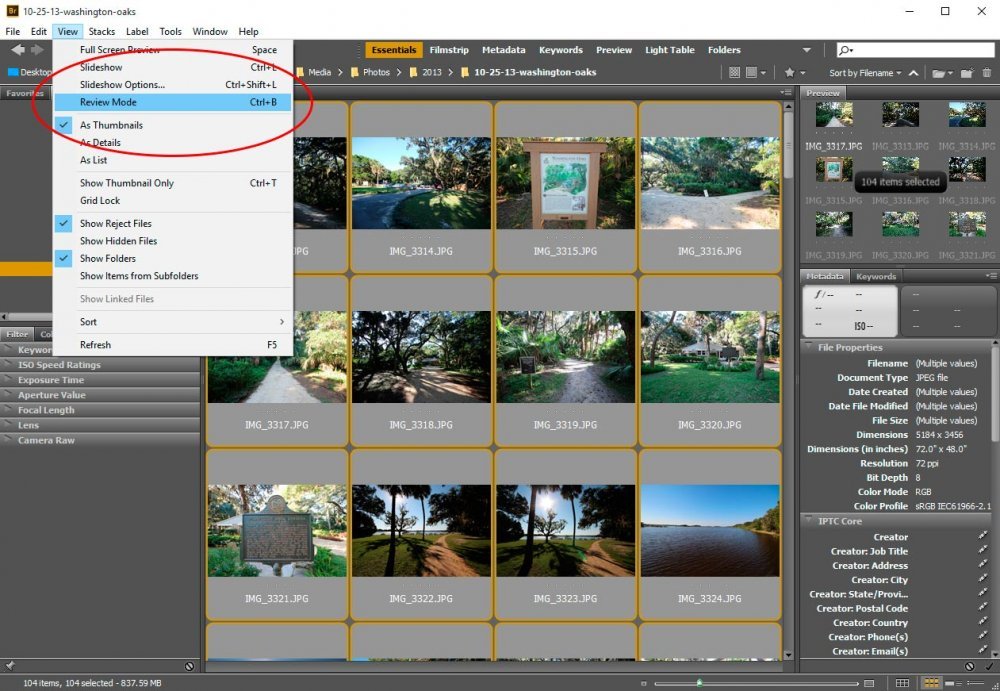
To enter Review Mode, I can use two methods. I can simply press “Ctrl B” on my keyboard or I can head up to the “View > Review Mode” menu item and click that. Either way, I’ll end up at the same place.
Using Review Mode
One area I really have difficulty with is comparing very similar shots. If I’m onto a good subject, I snap, snap and snap away. Trying to choose between these images looking at them individually is a chore, to say the least. Let’s check out how Review Mode cures this little problem.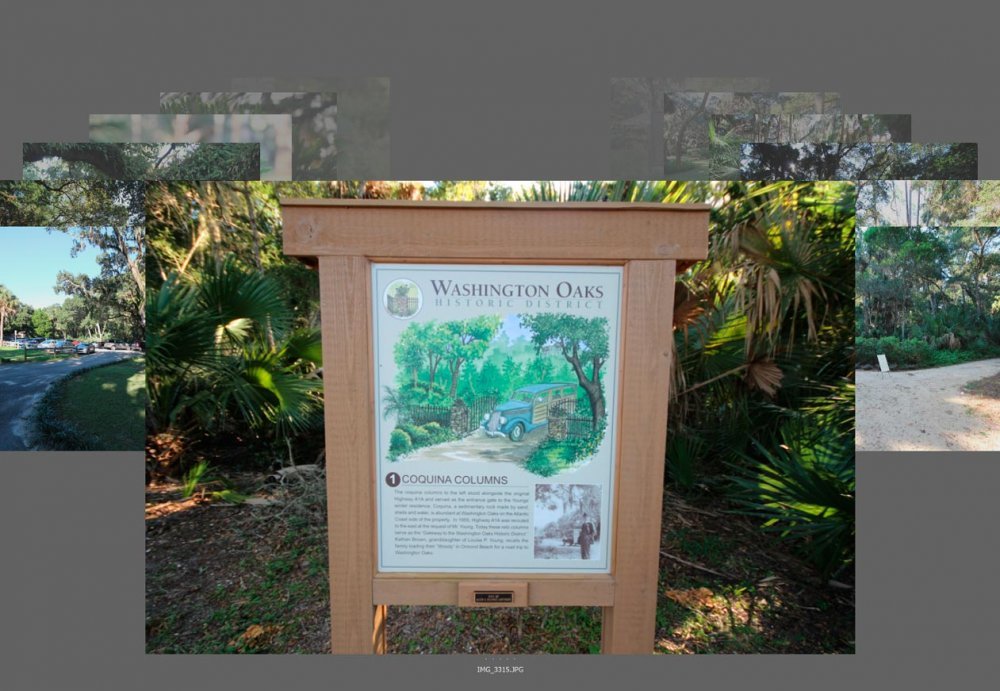
Well. would you look at that. We’ve got ourselves a carousel of images. And this isn’t even the entire screenshot. I had to trim it a bit because the whole thing didn’t fit in my file. If you take a look at it, you’ll see a rotating cluster of photos. I can see the centered image, as well as each image to either side. This is really great for comparing shots.
To rotate the carousel, all I need to do is press the left and right arrows on my keyboard. If I want to remove an image from the selected bunch, I’d just need to press the down arrow. This finger work is why I mentioned it would be a good workout above.
As an example, I’m going to browse through these images a bit and remove a few of them by pressing the down arrow. Now, it’s important to note that by removing my undesired pictures from Review Mode, I’m not deleting them. I’m only “unselecting” them. You’ll see what I mean below.
Looking at my Selection
As you can see in the screenshot below, the number of selected thumbnails has changed. I’m left with randomly selected images. How did I get here? Well, as I browsed through my photos in Review Mode, I pressed the down arrow when I got to a few photos. By pressing that arrow, the image immediately became unselected. Basically, I’m left with my good images still highlighted and the ones I don’t want not highlighted anymore. Also, I got out of Review Mode by pressing the “Esc” key on my keyboard.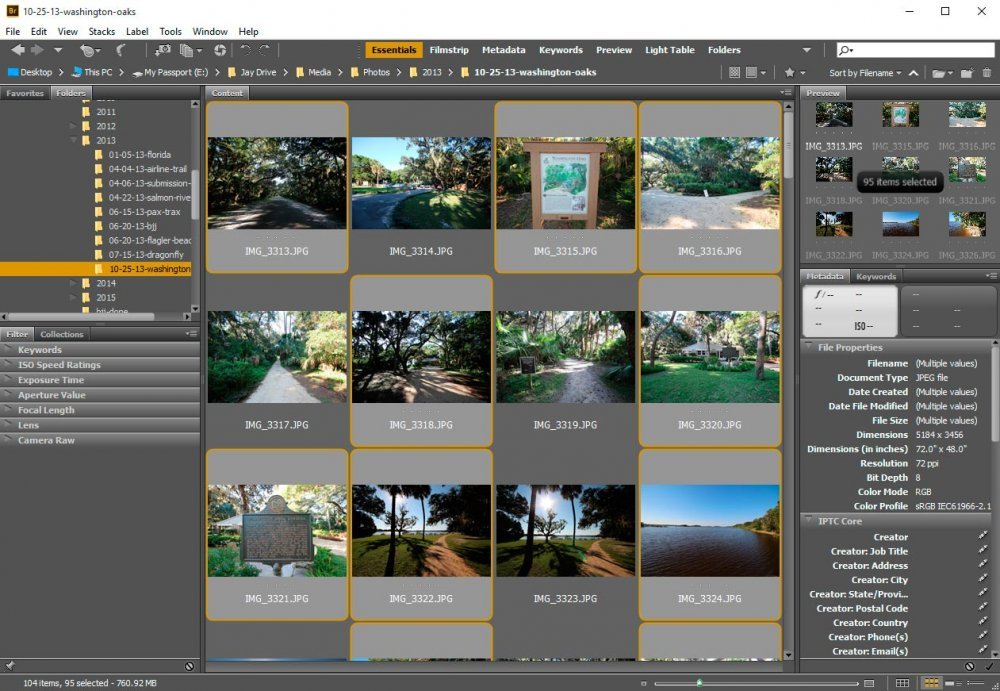
Magnifying in Review Mode
Before I get into what I can do with my remaining selected photos, I wanted to show you one neat trick to magnify parts of photos while in Review Mode. Basically, if I click anywhere in an image, a loupe will appear.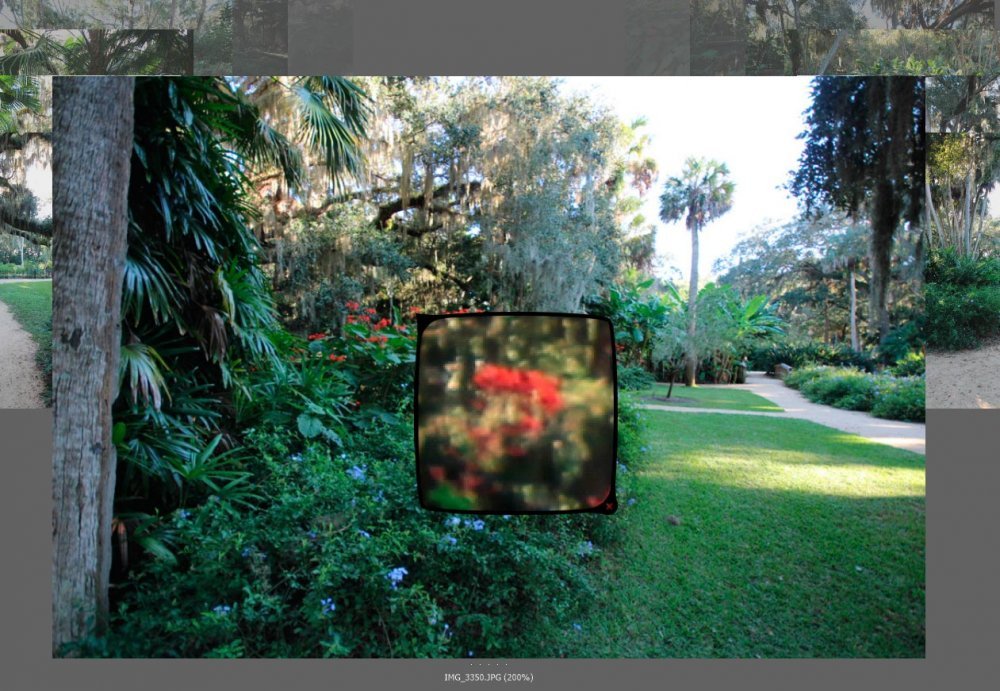
If I click and drag, I can move the loupe around the photo. To close the loupe, all I need to do is click on the lower right corner. That’s it.
What To Do With the Remaining Selected Thumbnails
This next section is really up to you. Many folks like to rate or label their selected thumbnails. This differentiates them from the rest and allows them to work in a simpler fashion later on. To apply a rating, just head up to the “Label” menu and choose what you’d like. I’m going to be covering this aspect of Bridge in later posts.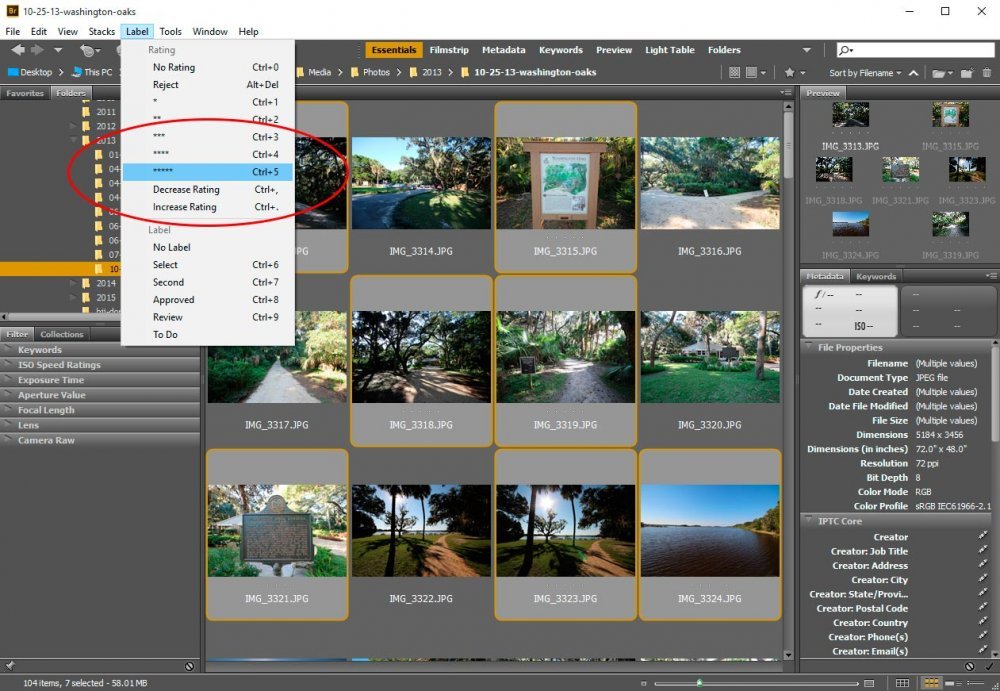
While this is a good idea, I personally like to do something much more definitive. When downloading photos from my camera, I’ll create two folders. One folder for the original photos (all of them) and another folder for my filtered photos (the highlighted thumbnails). So my folders will look something like this:
Washington-Oaks-Original
Washington-Oaks-Final
Both of these folders will appear in the “Folders” panel in Bridge. So, after I escape from Review Mode, I can simply grab the highlighted thumbnails by clicking on just one of them (be sure to only click once or you’ll unselect all of them) and drag them over to my “Final” folder. After that, I’ll delete the entire “Original” folder and I’m left with only the good photos. I’ve found this to be the most straightforward method of deleting photos I don’t want anymore. But again, I’ll discuss other options in later posts.
