15Katey
Member
- Joined
- May 10, 2021
- Messages
- 130
- Reaction Score
- 0
- Points
- 23
- #1

Adobe Lightroom has a lot going on collection-wise. The application is actually quite robust in that regard. Believe it or not, Bridge is pretty much just as robust in the collection arena. You can do many of the same tasks as what you can do in Lightroom and what’s very pleasant is that the two applications are almost identical when it comes to setting things up and managing them. If you’re interested in collections as they pertain to Lightroom, please feel free to read the following posts:
Creating Collection Sets in Adobe Lightroom
Targeted & Smart Collections in Adobe Lightroom
How To Create a Collection in Adobe Lightroom
Some of the information in the above posts overlaps with itself, but rest assured, you’ll get your fill on the topic.
In this post, I’m going to kick off the conversation about collections in Adobe Bridge. Bridge has quickly become my favorite photo manager and organizer over the past few months and it seems that every time I turn around, I’m learning something new about it. It’s seamless and truly helps my workflow.
The Collections Panel
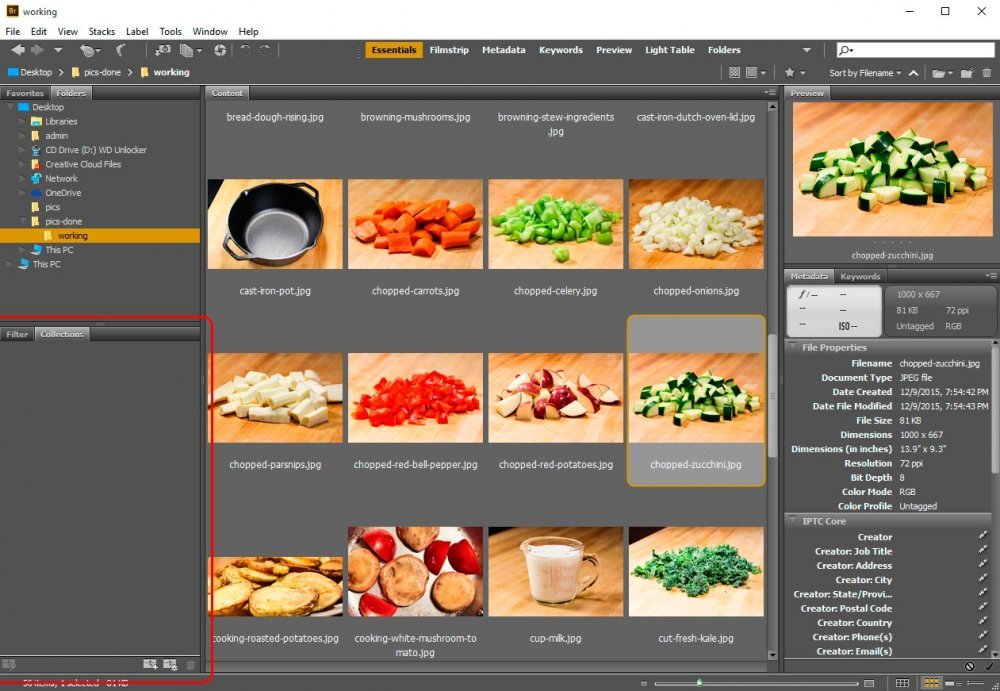
The first thing we have to do when dealing with collections in Bridge is to locate the “Collections” panel. If it’s not already exposed over on the left side, you can go up to the “Window > Collections Panel” menu and click. That will display it – most likely nested with the “Filter” panel.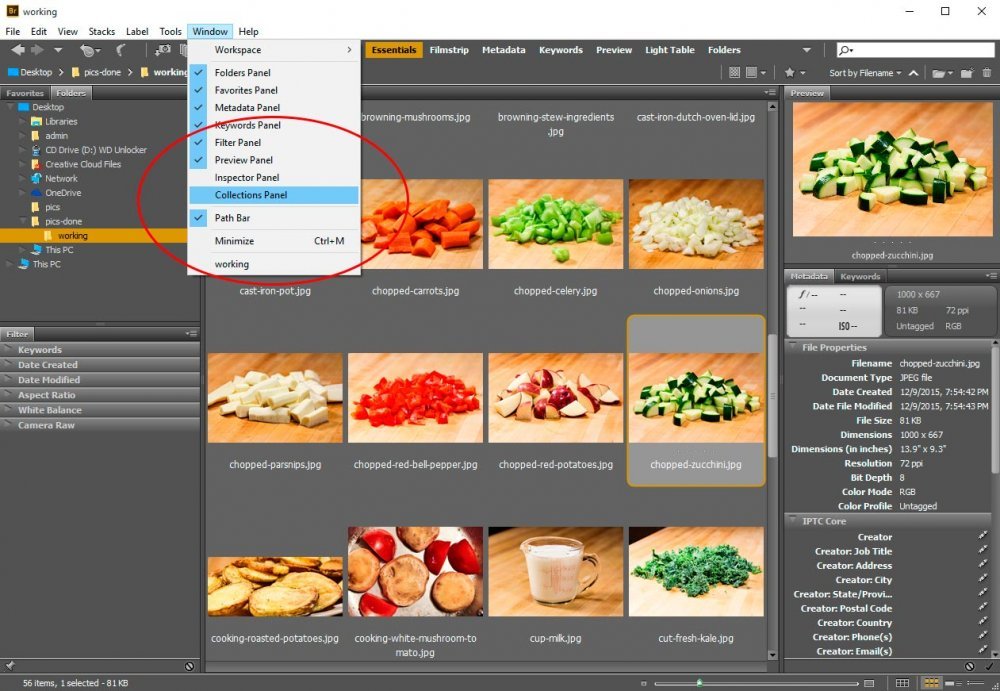
Creating a Collection
Let’s go ahead and create our first collection. This is super easy, so it should be fun. If you take a look at the bottom of the Collections panel, you should see a few small icons. If you roll over the one towards the center, you’ll see a small notification pop up that says “New Collection.” Click that and you should see an empty collection appear in the panel. If you see a popup box that asks whether or not you’d like to include the selected thumbnails in the collection, for now, say no. In the next screenshot, I’ll highlight the new collection as well as the icon you’d press to make this appear.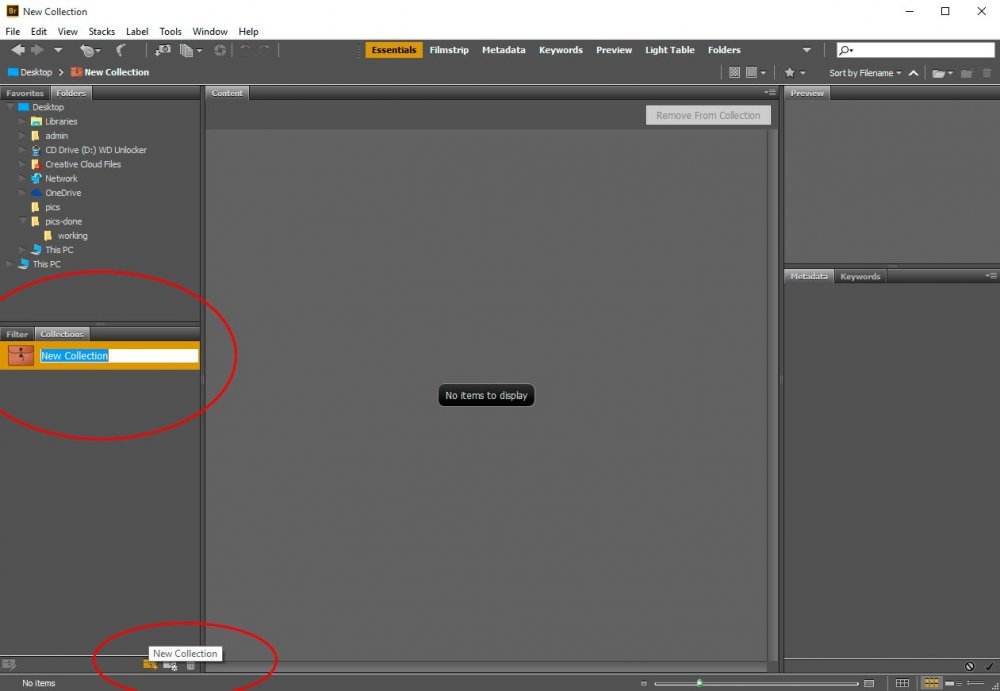
Naming the Collection
To name the collection we just created, simply click into the area that holds the name and begin typing. When finished, hit “Enter” on your keyboard. To edit the name, simply click into the name area again and do the same thing. This is a very flexible feature.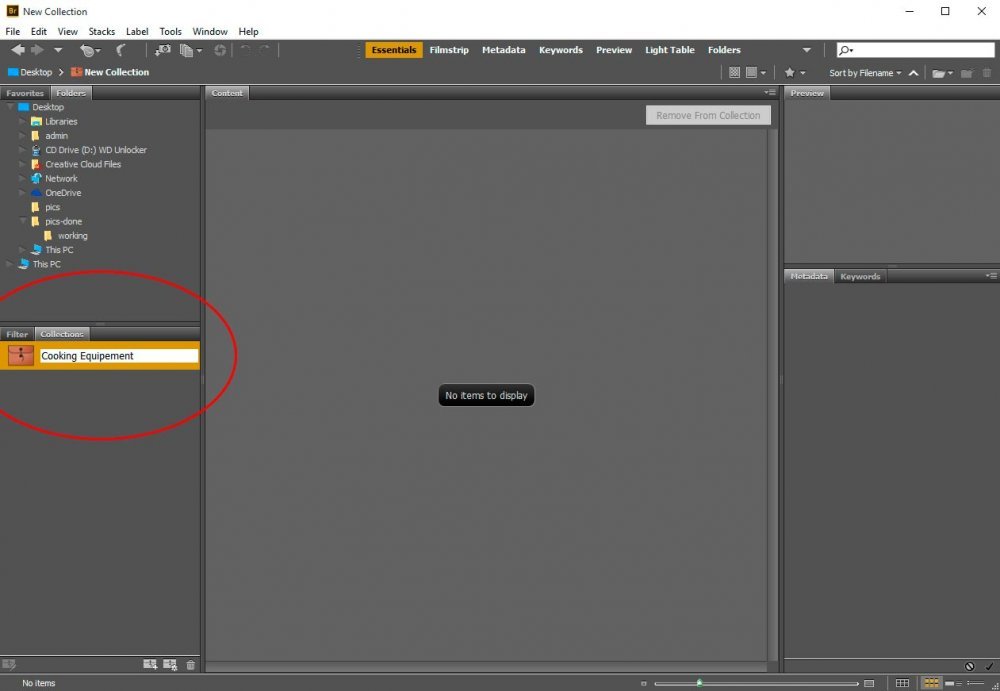
Deleting a Collection
If you don’t want a collection anymore, you can easily delete it. To do so, click on the collection you’d like to delete and then click the small trash can icon at the bottom of the Collections panel. Once you do this, a small popup box will appear, asking you if you’re sure. Click “Yes” and your collection will vanish.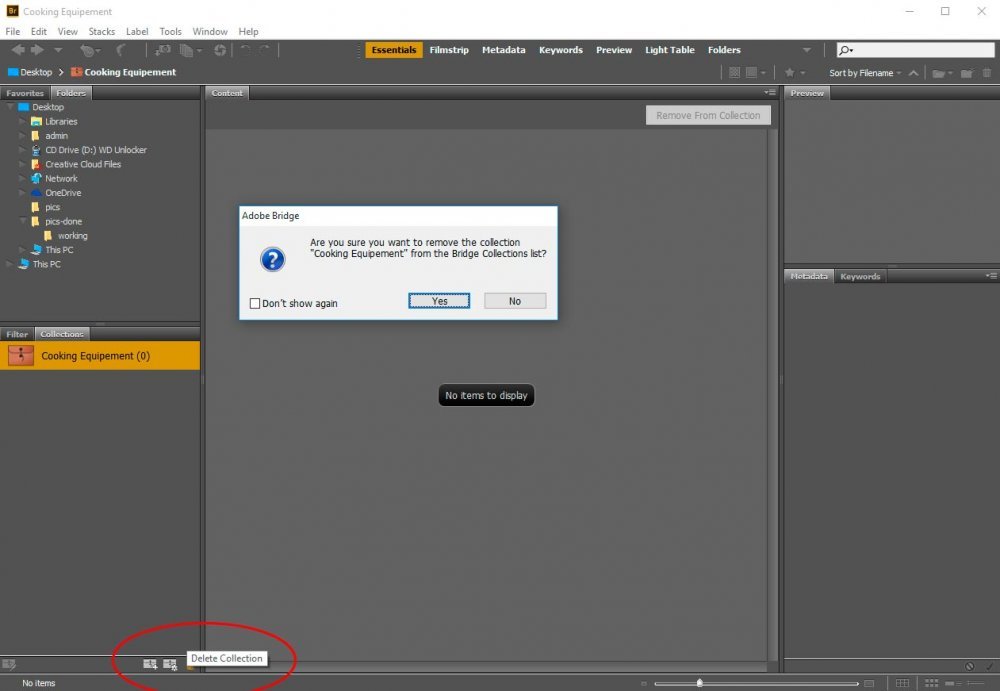
At this point, I want to make you aware of something – any photos you add to any collection aren’t actually stored there. Every photo remains in its original folder location on your hard drive. You can create and delete collections all day long and never affect any photograph. When you create a collection and store photos in it, you’re merely storing “references” to those photos for organization’s sake.
Adding Photos To a Collection
There are a few different methods for adding photos to a collection. The first is to add them as you’re creating the collection itself. I’ll start off with a blank slate here and show you how to do this.The first thing I’m going to do is to select the thumbnails I’d like to add to a new “Kitchen Equipment” collection.
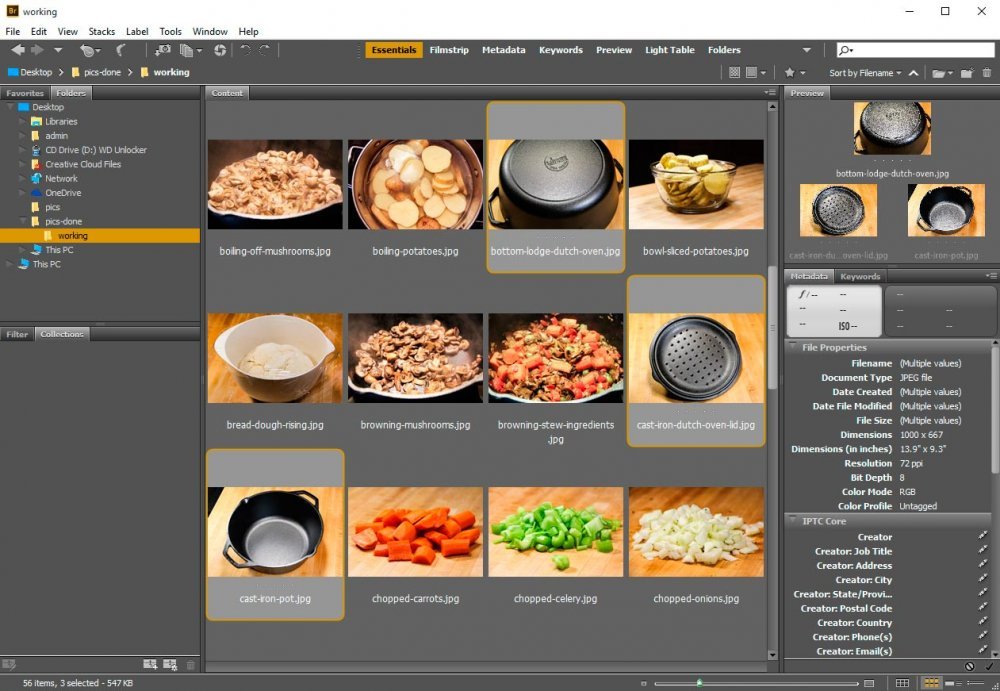
Once those thumbnails are selected, I can click on the “New Collection” icon and wait for the popup to appear. When asked if I’d like to include the selected photos in the new collection, I would click “Yes.”
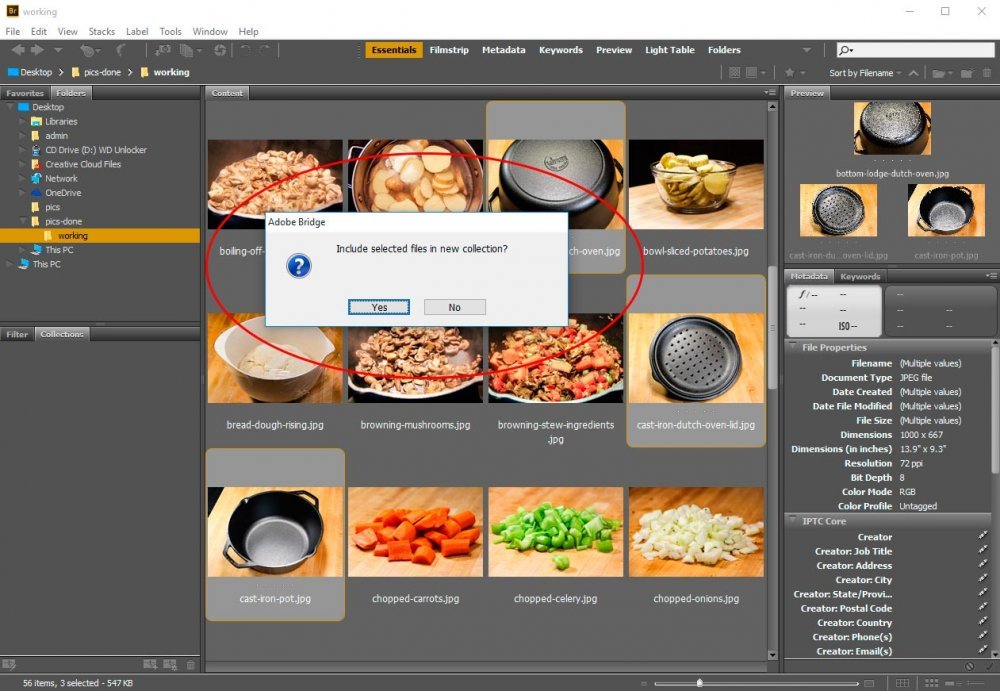
Once I do that, I’ll name my collection the same way I did in one of the previous sections and hit enter. I’ll then be left inside the new collection, looking at the photos I had selected earlier.
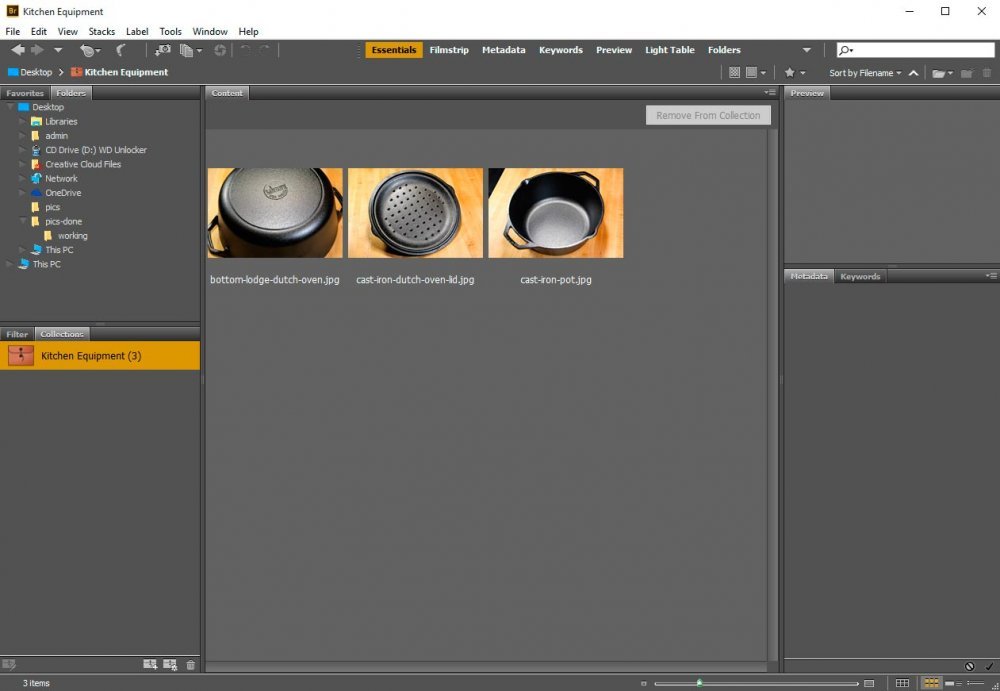
Another method of adding photos to a collection is to create the collection first, just like we did originally in this post and then select and drag any thumbnails into it. Let’s go back to the screen with all the thumbnails and work from there. If I already have the collection created and waiting for me in the Collections panel, I’ll merely click and drag those three thumbnails into it.
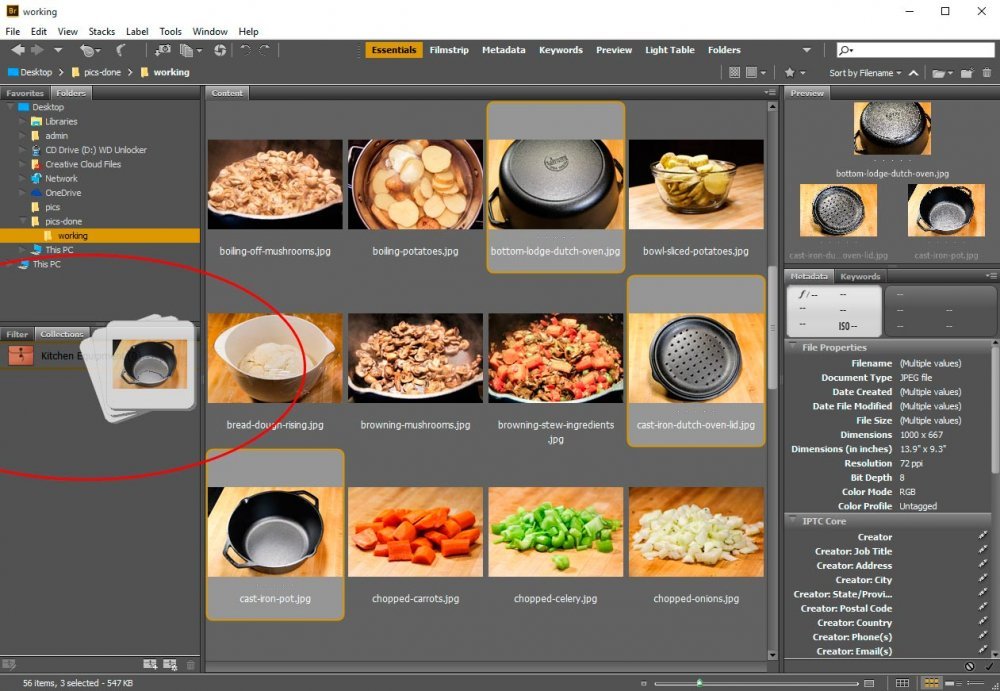
This type of action is very similar to clicking and dragging files around inside your operating system.
So, the lesson here is: if you have thumbnails that are selected, you can easily add them to a collection that isn’t created yet or add them to a collection that’s already existing. It’s up to you, depending on your situation.
Removing Photos From a Collection
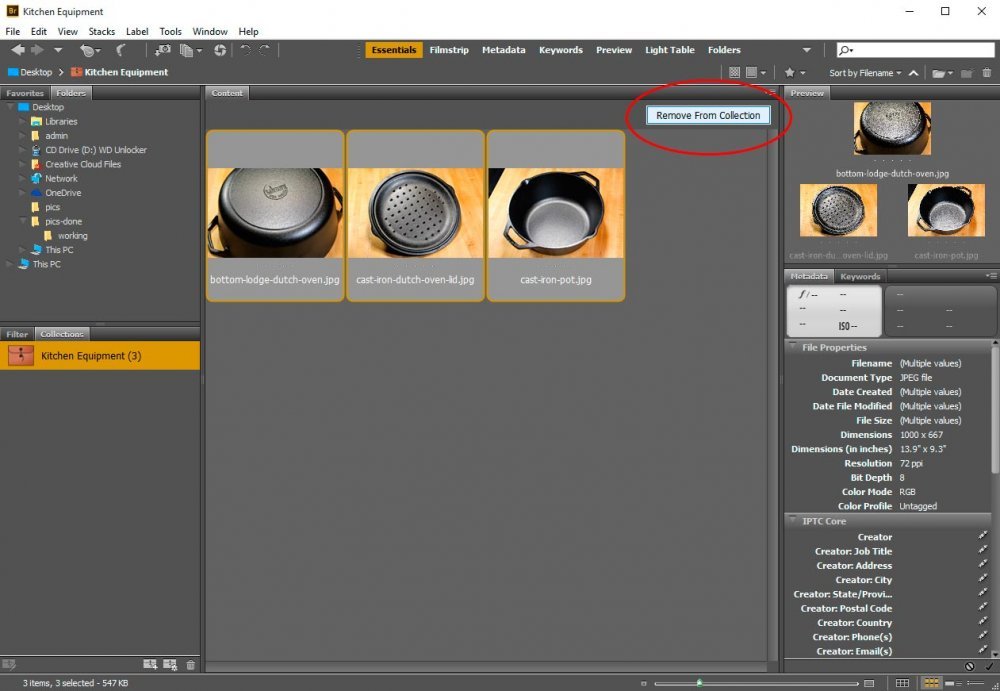
If you’d like to remove photos from a collection without deleting the entire thing, all you need to do is, while inside the collection, select the thumbnails you’d like to remove and then click on the button up top that says “Remove From Collection.” This will immediately remove any photos that were selected.