KristinaW
Member
- Joined
- May 7, 2021
- Messages
- 127
- Reaction Score
- 0
- Points
- 18
- #1
White balance, in regards to photography, is one of those areas that’s sort of confusing for people to grasp. I think you can wrap your head around it a bit if you think of white balance as the method cameras use to adjust for color temperature. I’ve written about white balance on this site, so you should definitely read up on it.
Fixing White Balance in Adobe Camera Raw
The thing about digital cameras is that sometimes they don’t get their white balance settings correct. Perhaps there’s not enough light or there’s a mixture of temperatures of light. In order for a camera to take a photo, it needs to make a color temperature selection. Once it does, the photo is captured. If the setting the camera chose if off, the resulting photo can look off as well.Dealing with white balance issues in Adobe Camera Raw is a painless endeavor. And really, once you’ve got your photo open and ready to edit, it’s only a matter of seconds until the picture looks just as good as you’d like it to. In addition to Camera Raw’s white balance tools being a utilitarian feature, they’re also a creative feature. You can accomplish many pretty neat styles and looks, simply by adjusting the color temperature of a photograph.
In this post, I’m going to show you exactly how to go about adjusting white balance and color temperature in Camera Raw. Like I said, once you’re open and ready to edit, it’s as easy as pie.
A Word About White Balance
I want to mention one thing about the topic of white balance as it refers to photography. It’s important to understand that the color temperature of a photograph doesn’t always necessarily need to be accurate. When I edit many of my own photos, I like to increase the temperature a bit, in order to portray a warmer mood. I enjoy warm photography and oftentimes, it just looks better. But while I say that a good white balance is in the eye of the beholder, it should also be somewhat accurate to begin with. Once you grasp what the photo is “supposed” to look like, you can move on and get creative from there. The eyes like to play tricks during photo editing and life gets much easier if you start at the beginning.My Photo
Oddly enough, I took some photos a few nights ago that ended up with horrible white balance. When I first looked at them, I just thought the photo came out bad. It wasn’t until I realized that my camera had selected the wrong auto-white balance setting that things began to come together. The photos I took were of salmon (fish) and were on top of my stove in a frying pan. My light source was merely the stove light, which is only a 40 watt equivalent CFL bulb. I guess that low light, mixed with a dark background confused my camera. Here, take a look at the original.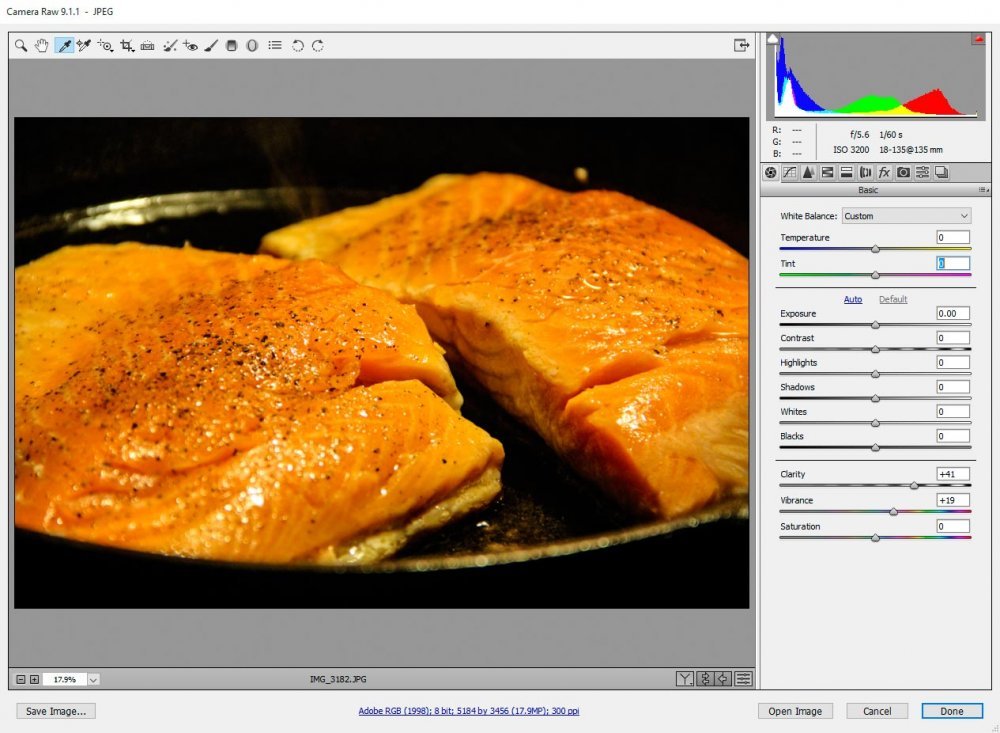
I think we can all agree that this photo looks really bad.
The White Balance Tool
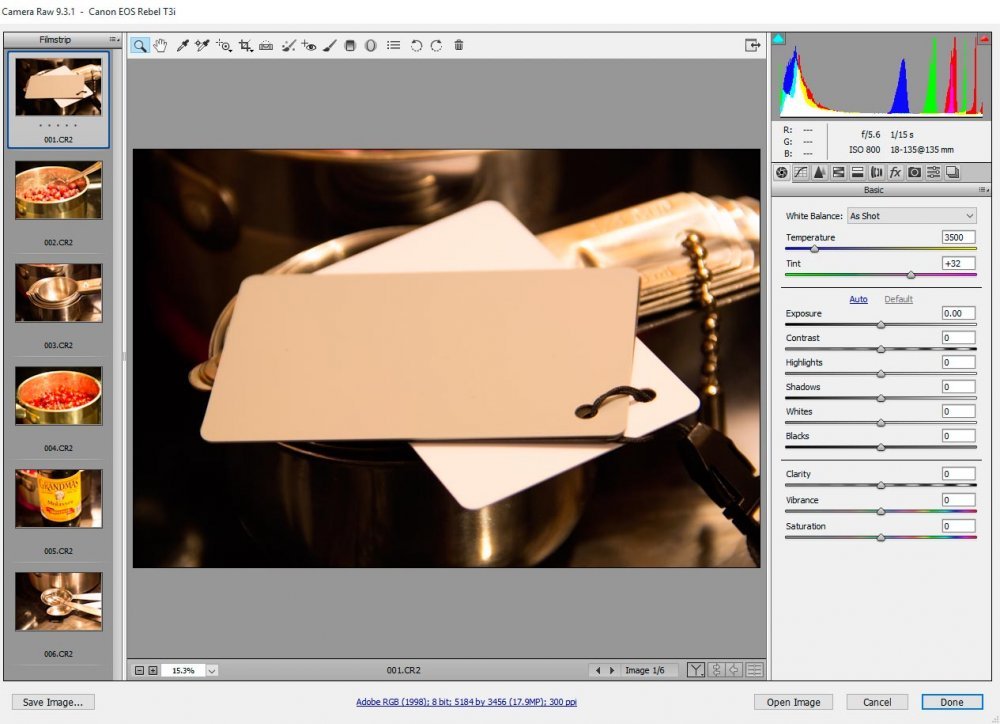
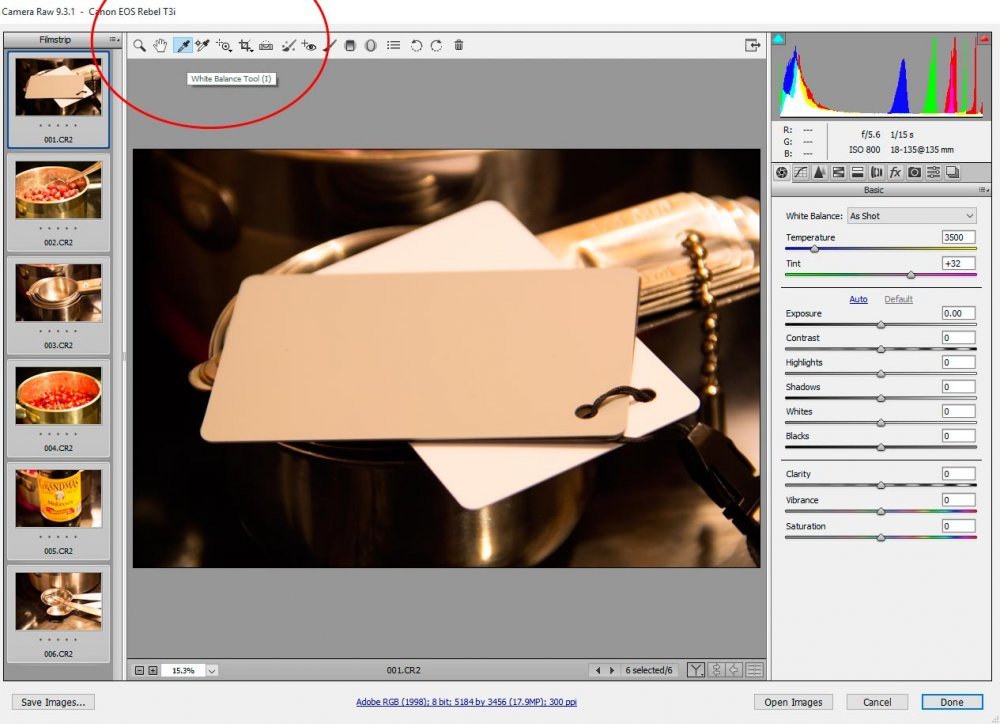
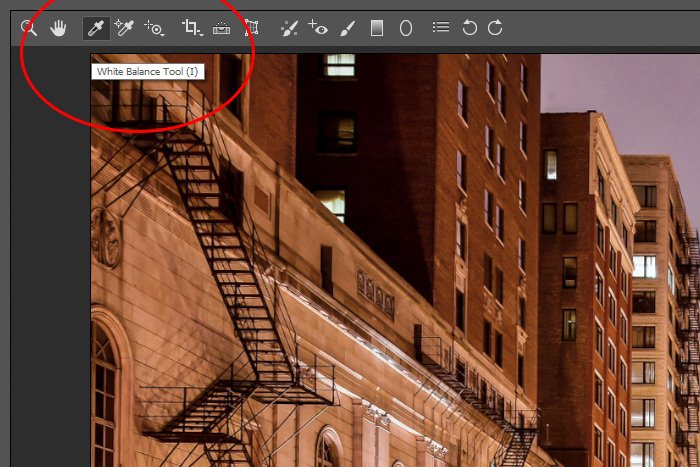
Camera Raw has got a really handy tool that can help fix white balance issues – fast. It’s called the “White Balance Tool” and it’s located up in the top tool bar. To access it, you only need to click the icon. If you like keyboard shortcuts, can you simply click “I.”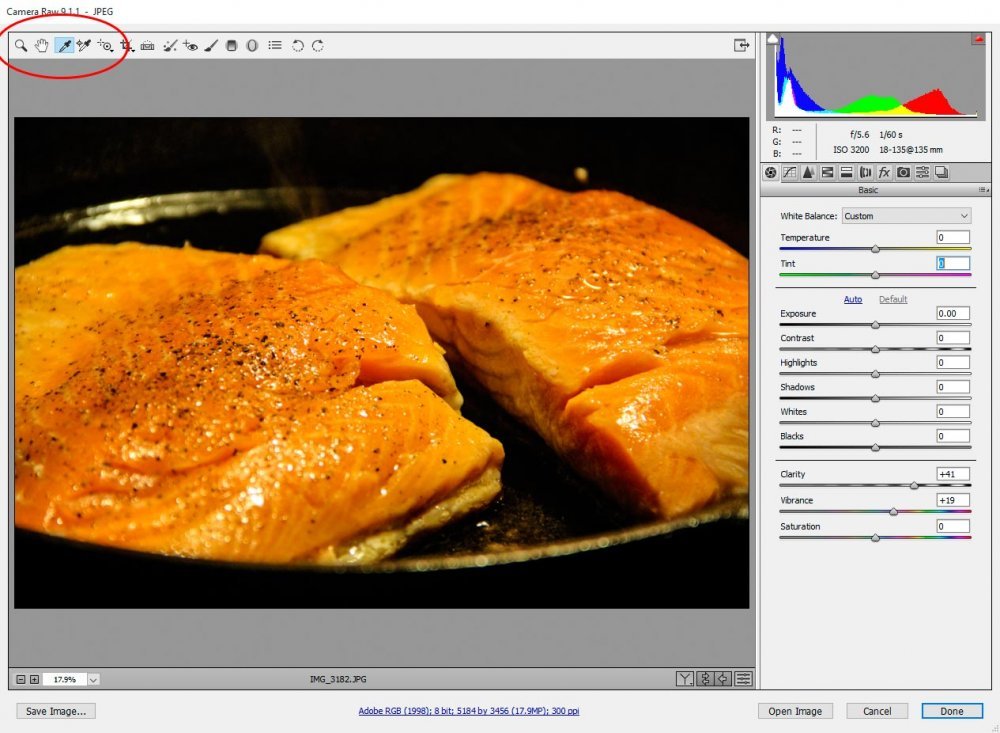
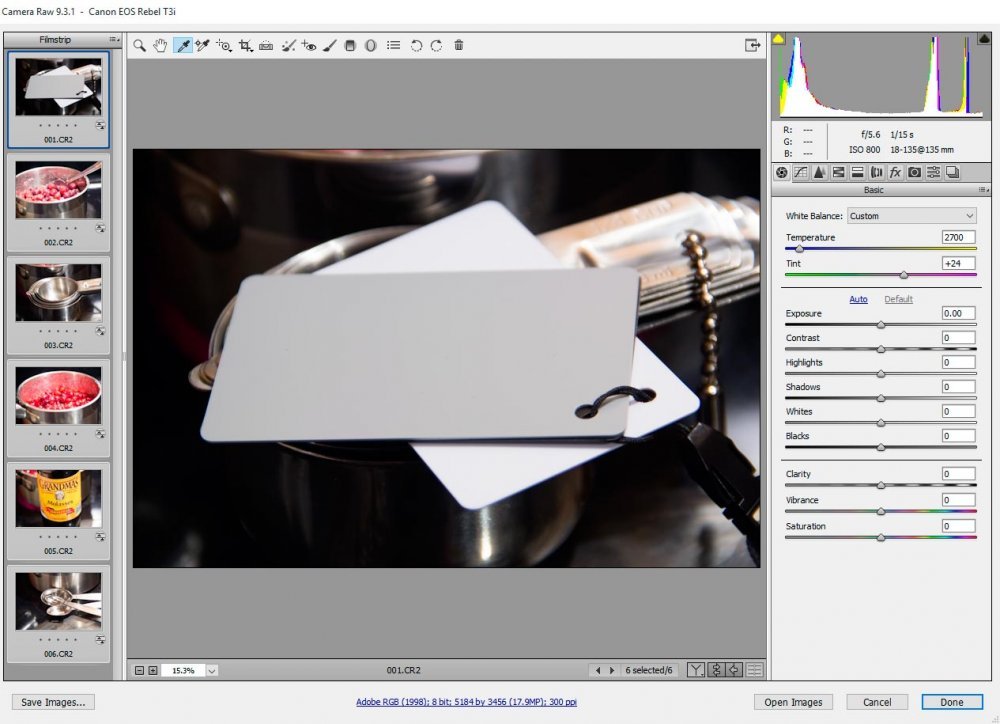
Now, the trick about using the white balance tool effectively is that you need to find something that’s neutral in your photo. Something that’s supposed to be grey or white is perfect. If you activate the white balance tool by clicking the icon and then use the dropper to choose an area of the photo that’s supposed to be white, you’ll see the entire coloring of the photo change to a (hopefully) more accurate representation of what the color temperature is supposed to be.
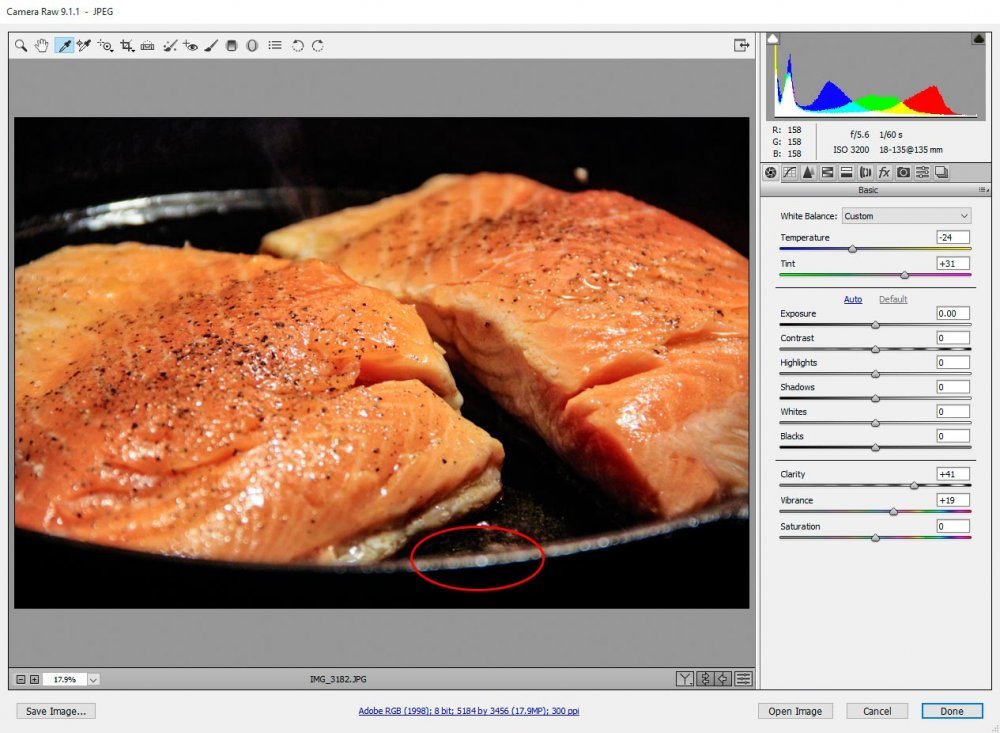
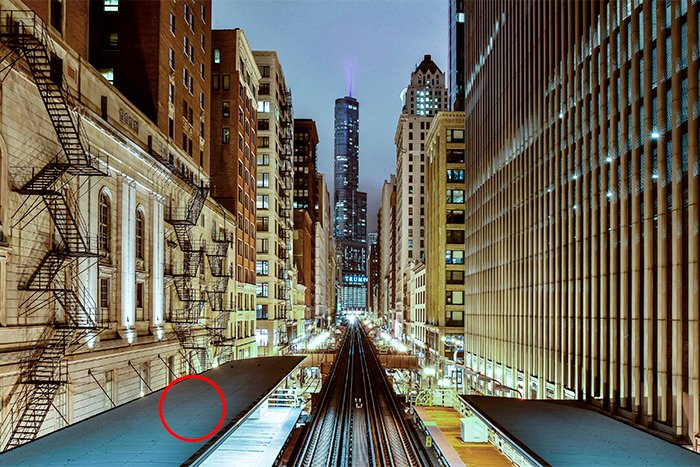
Since I didn’t really have any neutral areas in my photo, I chose to click on the edge of the pan (circled in red), which had some light reflecting off it. While the photo white balance was adjusted and looks a lot better, it’s still not perfect. I’m going to go ahead and adjust a few more sliders.
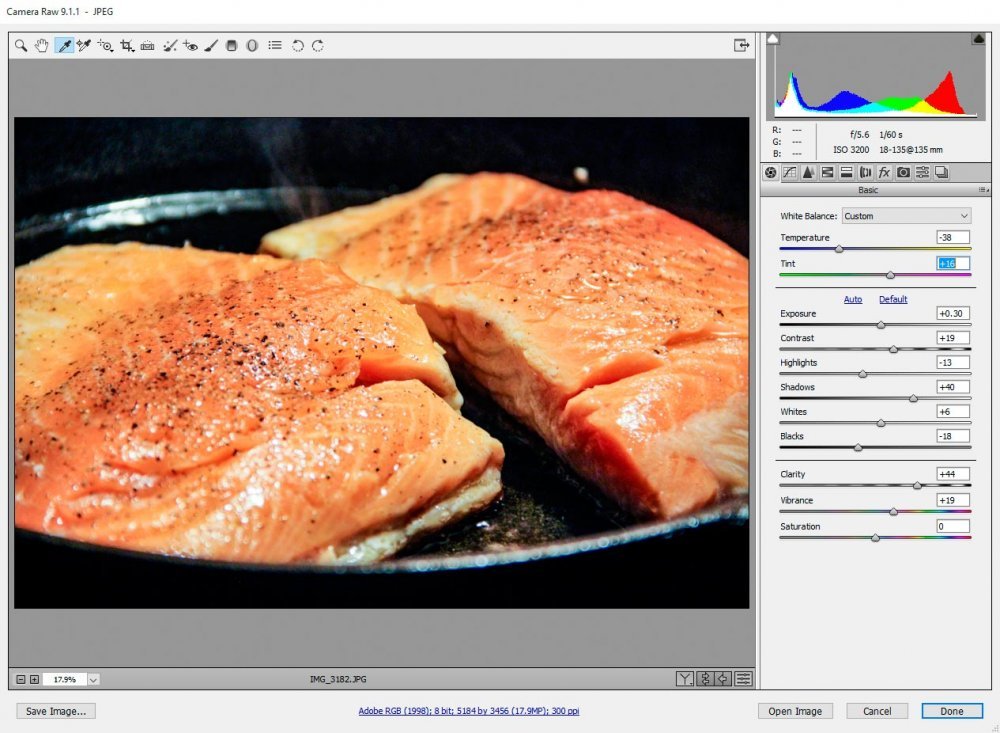
I think this is about as good as I’m going to get it. I’d say it looks pretty good.
Pre-Set White Balance Options
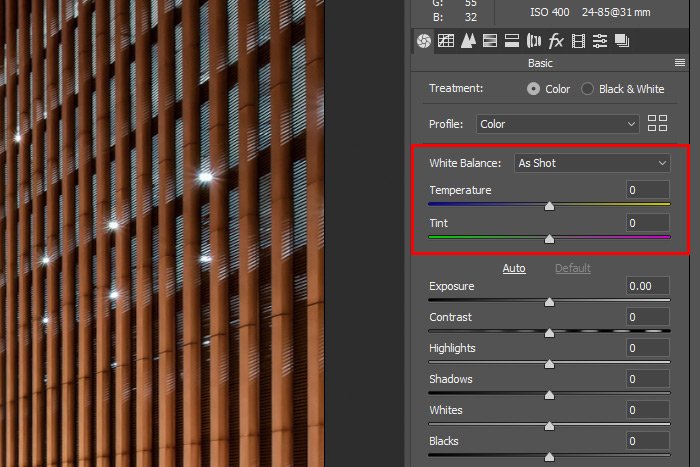
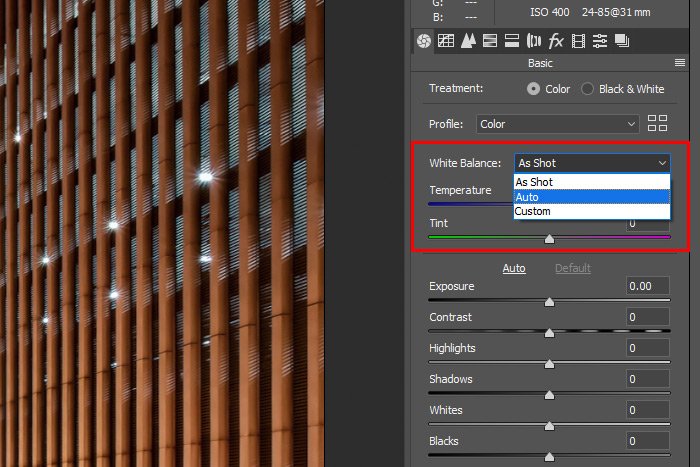
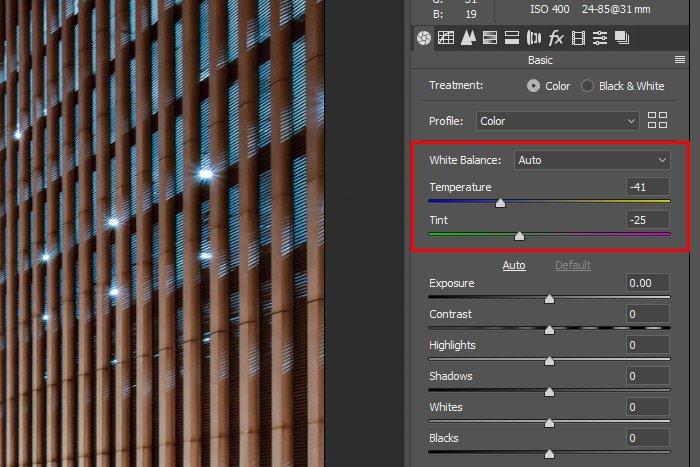
Since I’m working with a JPEG file in this post, all the pre-set white balance options aren’t available. But if they were, they would be quite similar to the options available in a DSLR camera. Unfortunately, all I have to work with are three options – “As Shot,” “Auto” and “Custom.” We’ve already seen the As Shot option in the original photo above. We’ve also seen the Custom option. That was just me editing the white balance by eye. Now, let’s take a look at the Auto option and see what Camera Raw thinks the white balance should look like.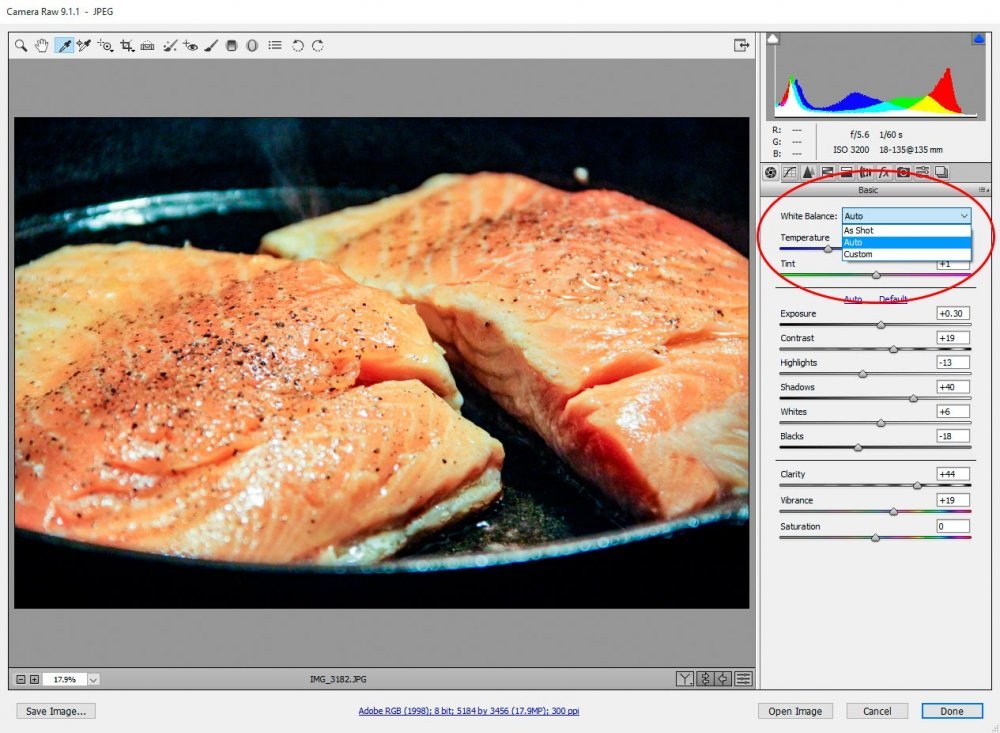
I’m going to be honest with you here when I say that this looks the best of all. Sometimes Camera Raw doesn’t get this one right, but in this case, it did. I think this photo now looks as accurate as it’s going to get (again).
The reason the Auto white balance option can be the best choice is because Camera Raw searches the image for something neutral. When it finds it, it bases the color temperature off that piece of data. Sometimes, a computer can analyze better than a human, as we can see in this case.
Using a White Balance Grey Card
As I mentioned above, finding the correct neutral area of a photograph can be a tricky task. You can see how I missed the mark with my effort in doing so. Wouldn’t it be nice if we had some way to take the guesswork out of doing this? Well, you happen to be in luck because photographers have already devised a method that offers extremely high accuracy when working with color temperature. It’s called the “Grey Card” and the solution only costs a few dollars.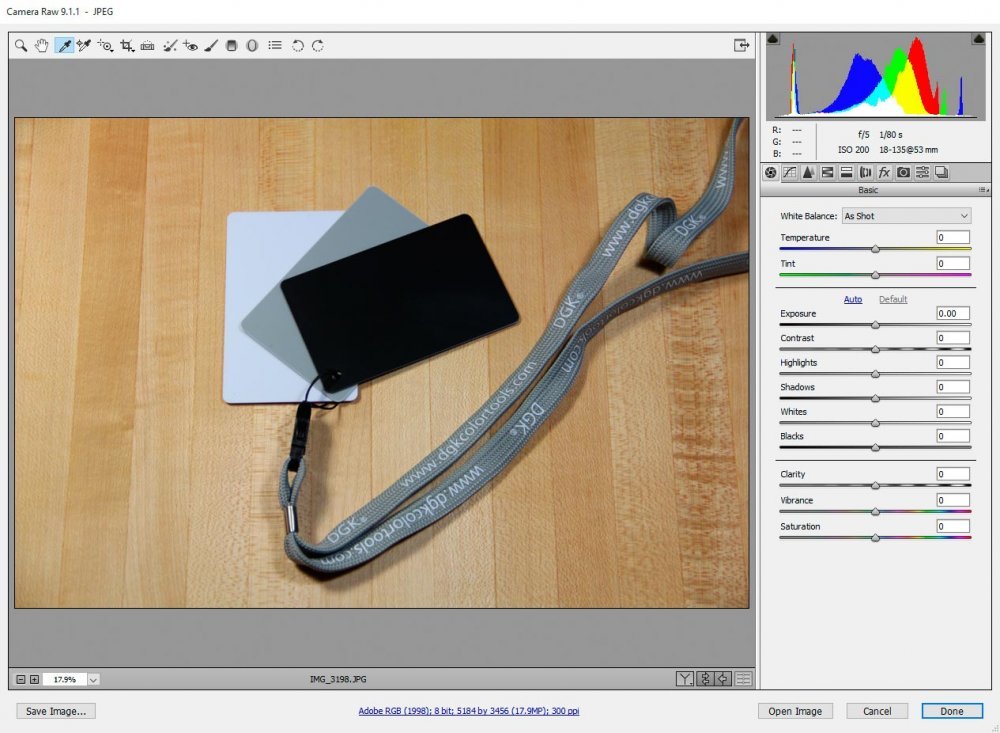
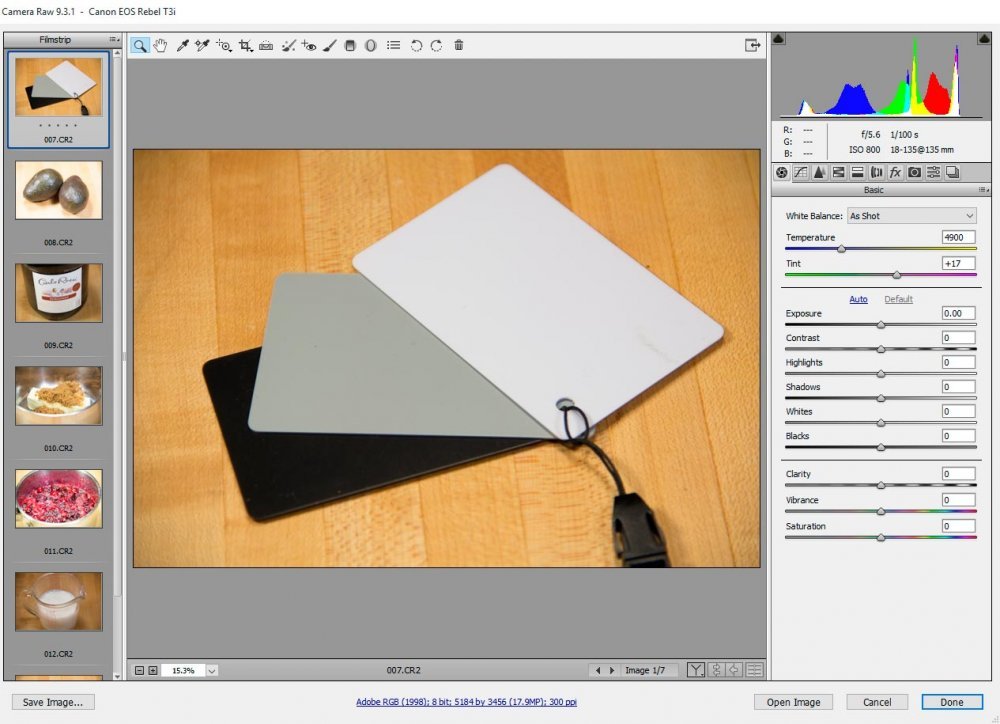
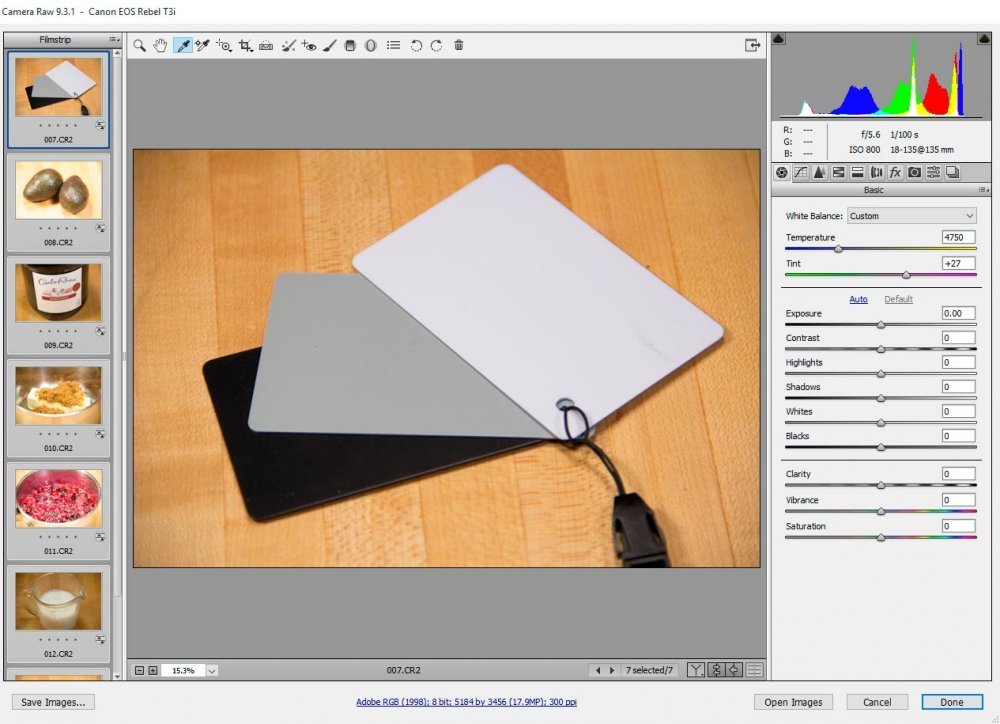
The card I purchased cost around $10 or $20 and is made by DGK Color Tools. As you can see from the photo above, you can choose from three cards – white, grey or black. For our purposed in this post, grey will work fine.
If I had thought ahead while shooting my salmon photos, I would have taken the first picture while holding up the grey white balance card. This way, I would have something I knew was neutral in the photo. After that, I could click away as much as I’d like because, during my shoot, the lighting wasn’t going to change. Just FYI – if you’re going to use the grey card approach, it’s important to take a new photo with the grey card in it every time you change lighting.
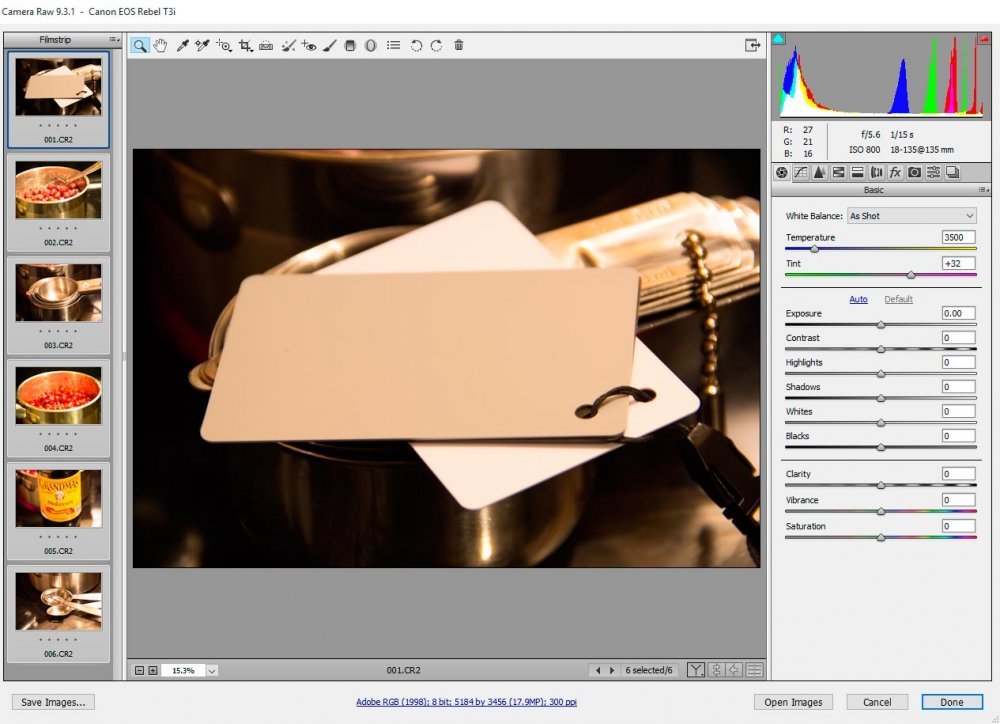
The photo I took above with the cards in it can be used as an example of how this method works in Camera Raw. If I use the white balance tool, all I need to do it take a color sample anywhere on the grey card. That’s my neutral area. I’ll do that so we can see what happens.
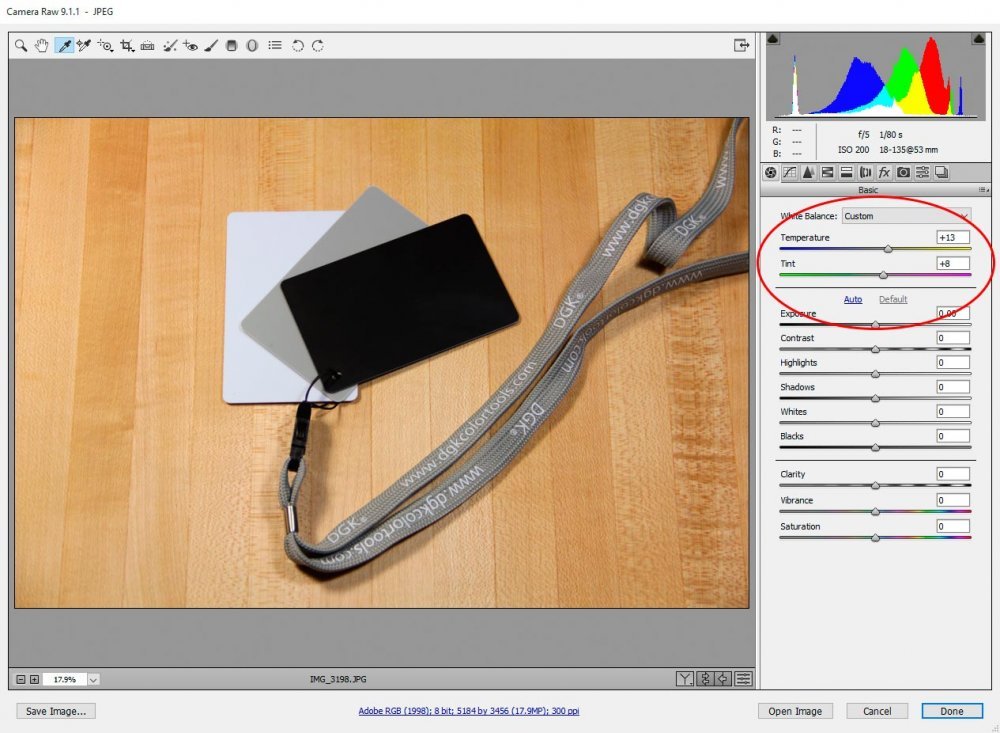
As you can see, nothing drastic happened, but the color temperature and tint was changed. Instead of “” values, we’ve now got “+13” and “+8,” respectively. And I’d say the color looks better because of those changes.

