KristinaW
Member
- Joined
- May 7, 2021
- Messages
- 127
- Reaction Score
- 0
- Points
- 18
- #1
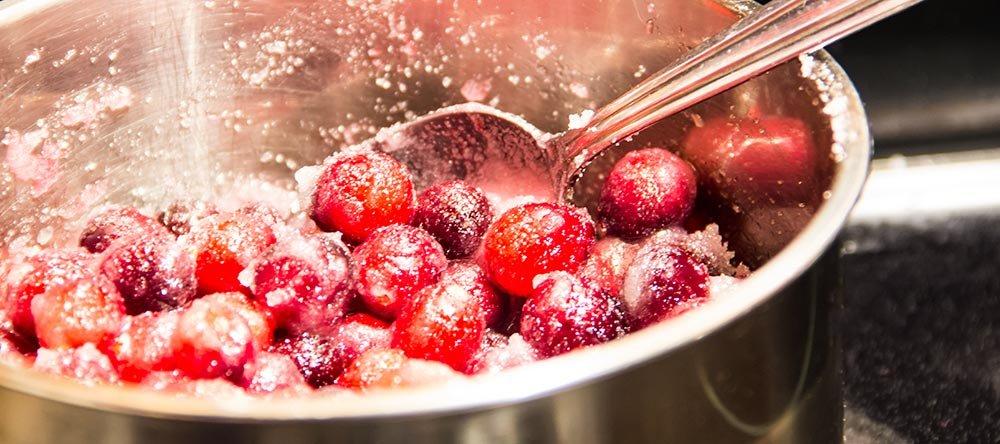
I’ve got a small project to take care of. I took a few example photos last night for my previous post that I’d like to add some text to. One of the photos (the cranberries in the small saucepan) would look great with some descriptive text in the lower portion of the photo. This is one of those images that you’d see up-close in a recipe book, so I’d like to practice my method. I hope you’ll follow along.
Now, in this post, since it’s just practice, I’m not going to worry about margins, resolution or anything like that. I’m merely concerned with practicing some work with the Shape Tool, adjusting the opacity of any shape I add to the photo and then adding some text as well. But before any of that happens, I need to edit the white balance and add some enhancements to the photo itself.
Editing the Original Photo
I’ve already opened the photo I’ll be working with, along with my gray card image, in Camera Raw.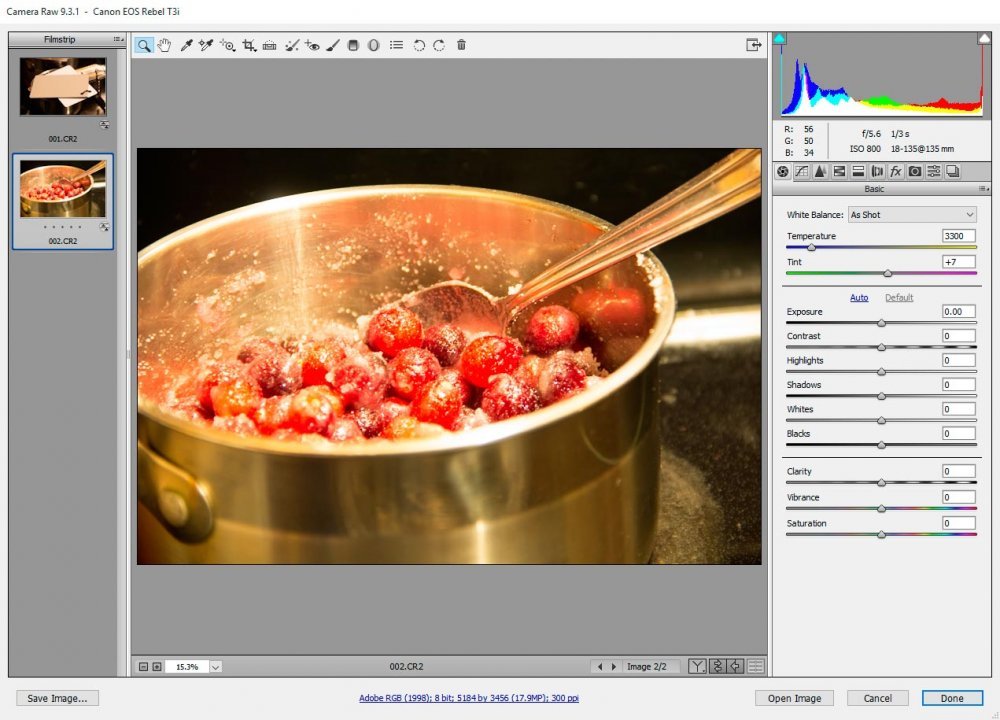
As you can see, I’ve opened the photo with the cranberries in the saucepan as well as the one I took of my gray cards. These photos obviously have an issue with white balance. I’ll go ahead and fix that in Camera Raw. I’ll also adjust anything else I think the photo may need.
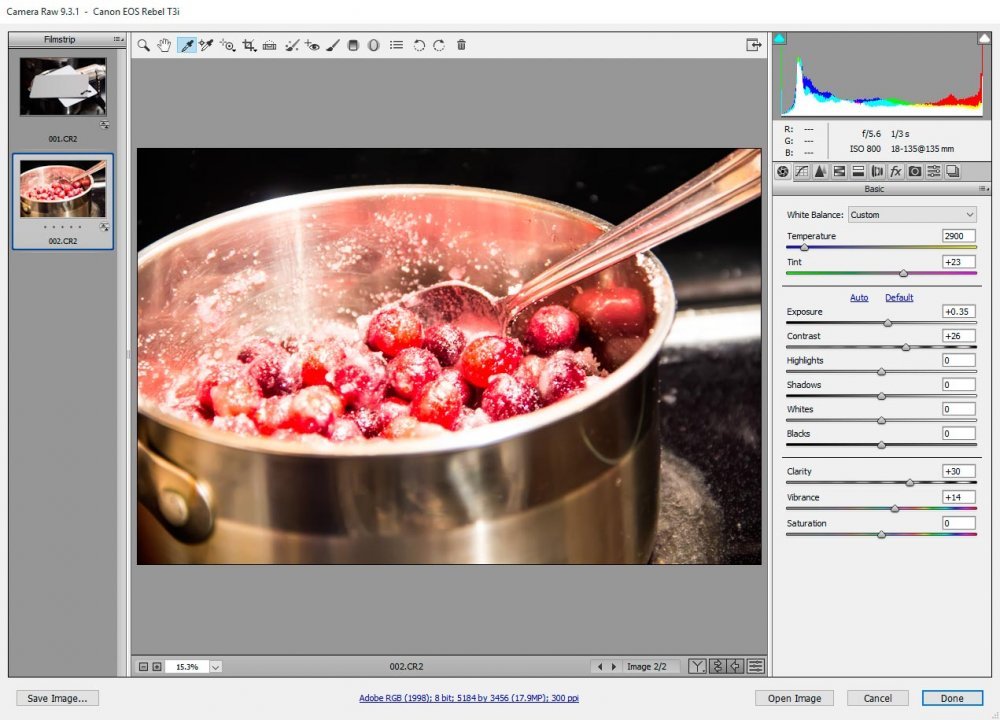
There, I’ve edited the photo. I adjusted the white balance with assistance from the gray card photo, I adjusted the exposure, contrast, clarity, vibrance, noise reduction and I dehazed it. I’d say that looks a bit better. At the very least, it’s more of an accurate representation of what the photo and subject should look like.
Since I’m finished with Camera Raw, I’ll go ahead and launch the image in Photoshop by clicking the Open Image button that’s down in the lower right corner.
Using the Shape Tool in Photoshop
Now that I’ve got my photo open in Photoshop, I’ll go ahead and click on the Shape Tool to activate it.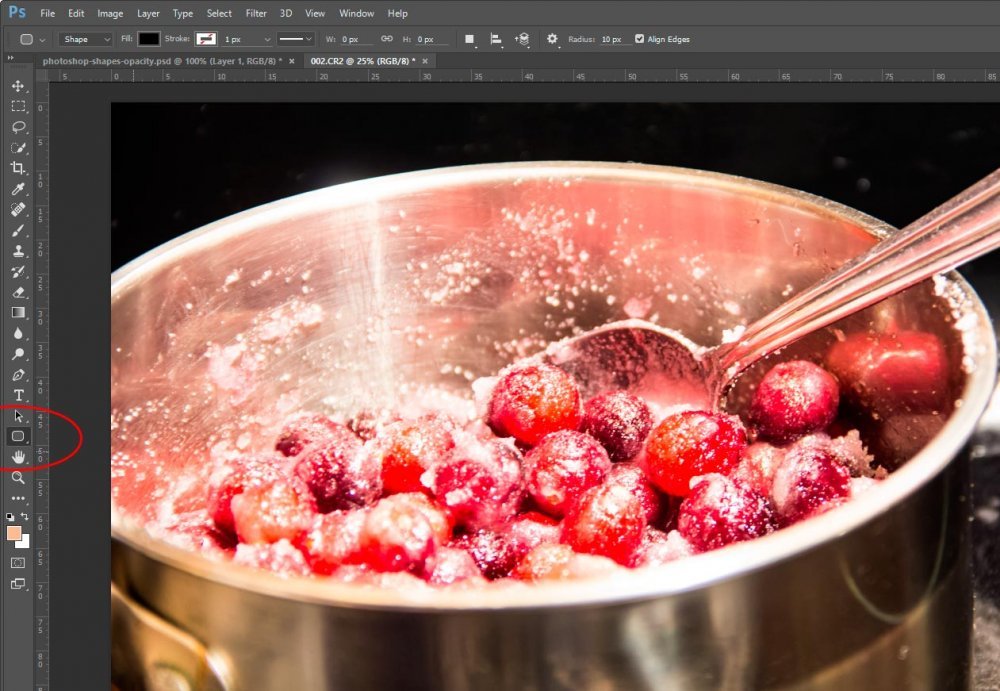
I clicked on the tool in the left side toolbar and dragged out. From there, I was presented with various shape tools. I chose the Rounded Rectangle Tool.
After clicking the Rounded Rectangle Tool, I went up to the upper left corner and right-clicked on the small rounded rectangle icon. From there, I reset the tool so I was working with fresh options as opposed to options I’ve previously worked with in other projects.
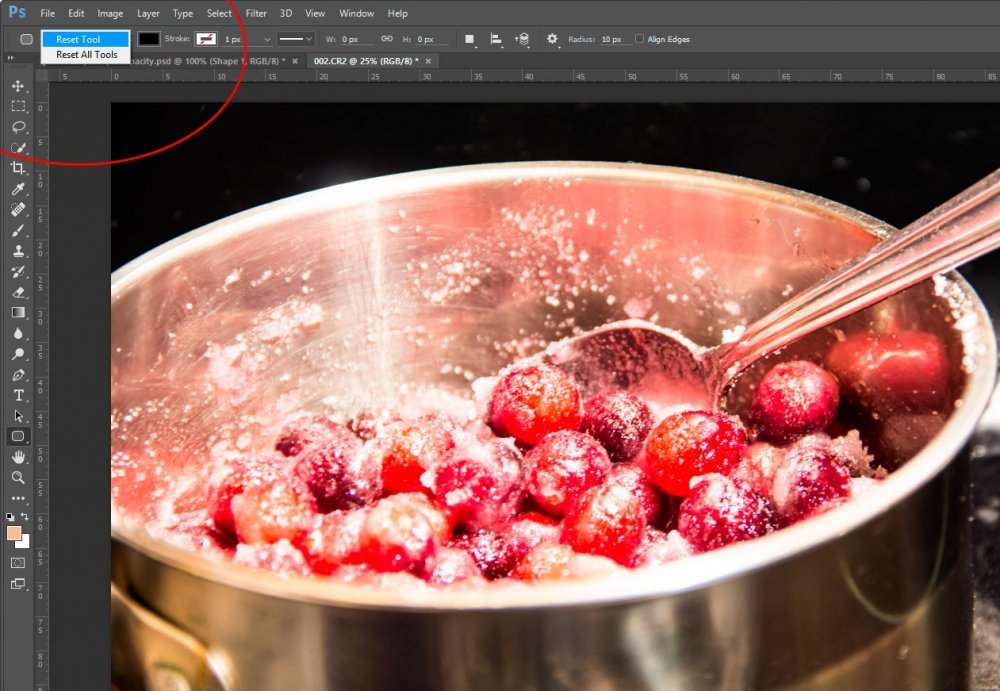
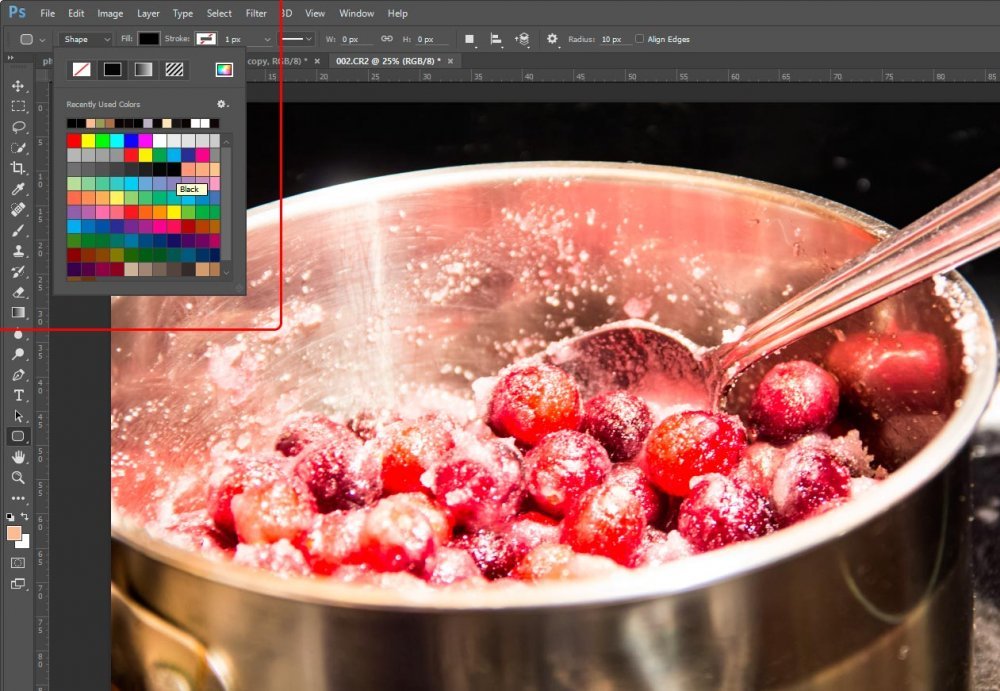
As you can see in the upper options bar, the Shape Tool has a lot available to it. Today, all I’ll be adjusting is the fill color. I clicked on the fill color and then clicked on a black square. I did this just to make sure it was really black.
Once I use the Rounded Rectangle Tool to draw my shape at the base of the photo, I can see that the Shape Properties panel pops out.
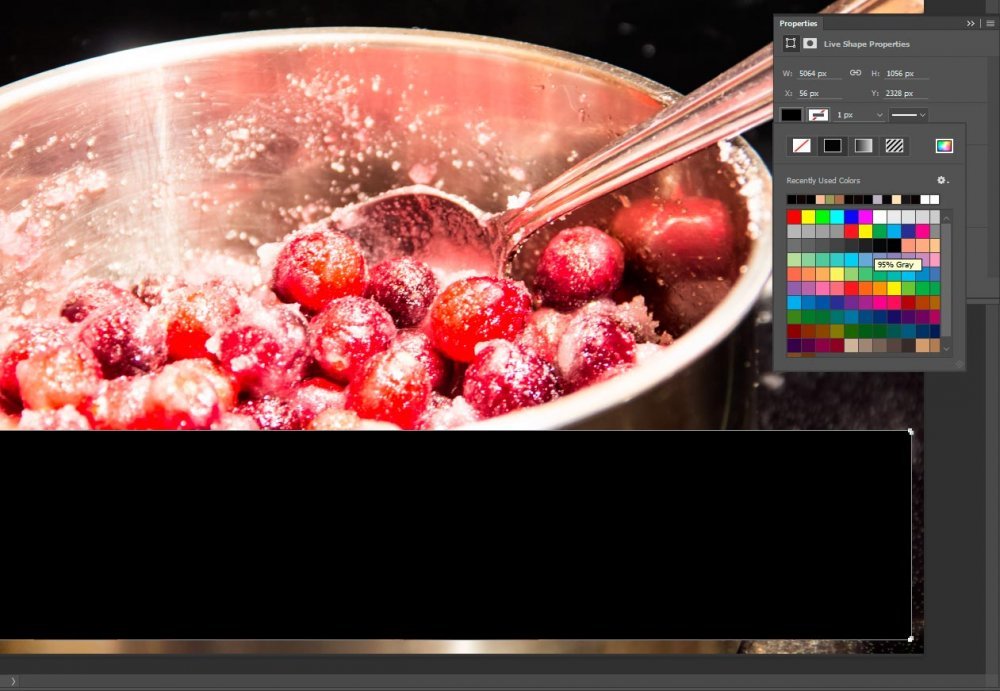
As you can see, I’m adjusting the color again. For some reason, my shape didn’t look black. I made sure it was.
Adjusting Opacity
Now that I’ve drawn my shape, I want to make it somewhat transparent. Since any new shape I draw creates a new layer, I can easily go to the Layers panel and adjust this property from there.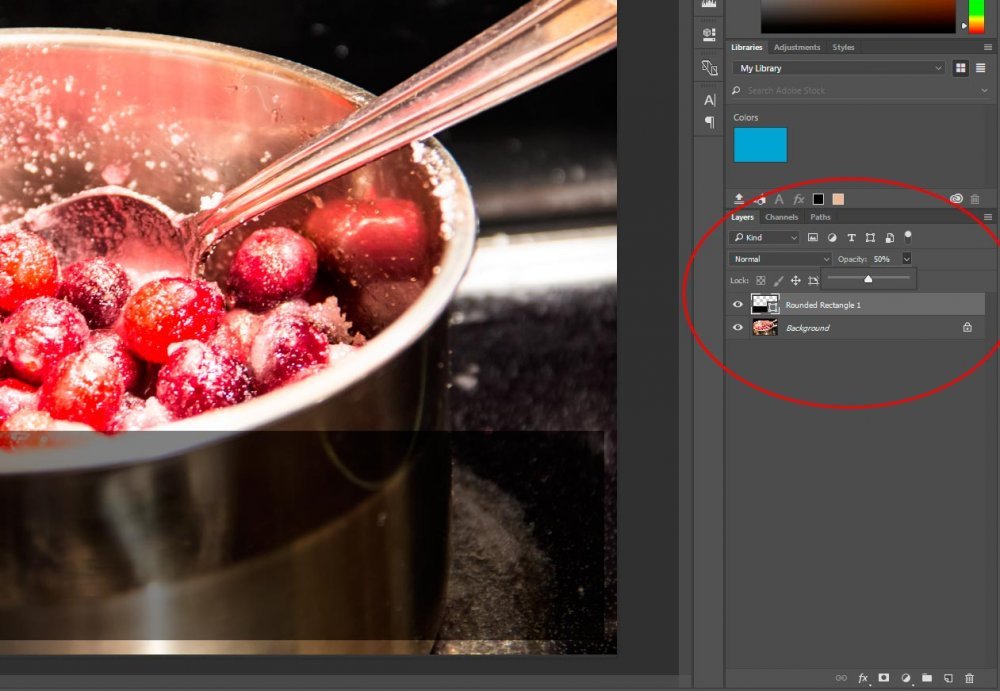
I made this change by selecting the layer I’d like to edit and then by clicking on the small downward facing arrow to the right of the opacity value. I could have also clicked inside the actual percentage number and typed a new value in. In this case, I slid the slider notch down to 50%. You can see the result in my shape. It’s lighter and I can partially see through it now.
Writing Text
Adding text results in a new layer, much like adding a shape does. I just need to be sure I’ve selected the shape layer in the Layers panel because any new layer that’s created will appear directly above the selected layer. Since I want to read my text and have it visible on top of the shape, I need to be cognizant of my whereabouts.I’ll head back to the vertical toolbar on the left and choose the Horizontal Type Tool.
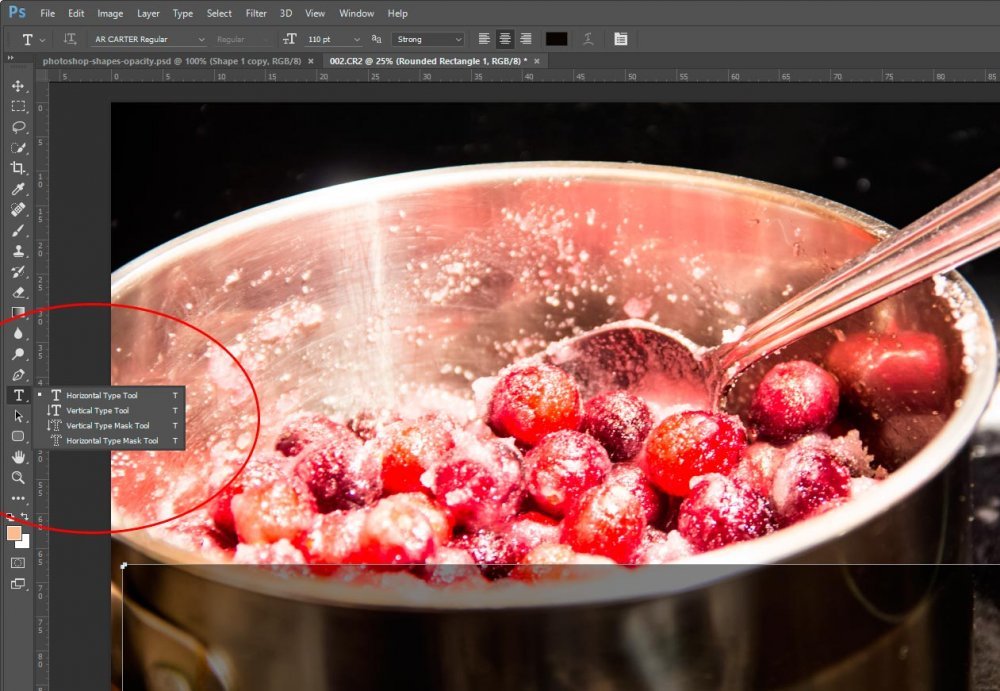
From here, I can click where I’d like to add the text, type it and then open the Character panel that’s in the vertical toolbar on the right. In my case, I edited the font, font size and color. I then added another line of text below the original, which created its own layer as well. I also edited the properties of this new line.
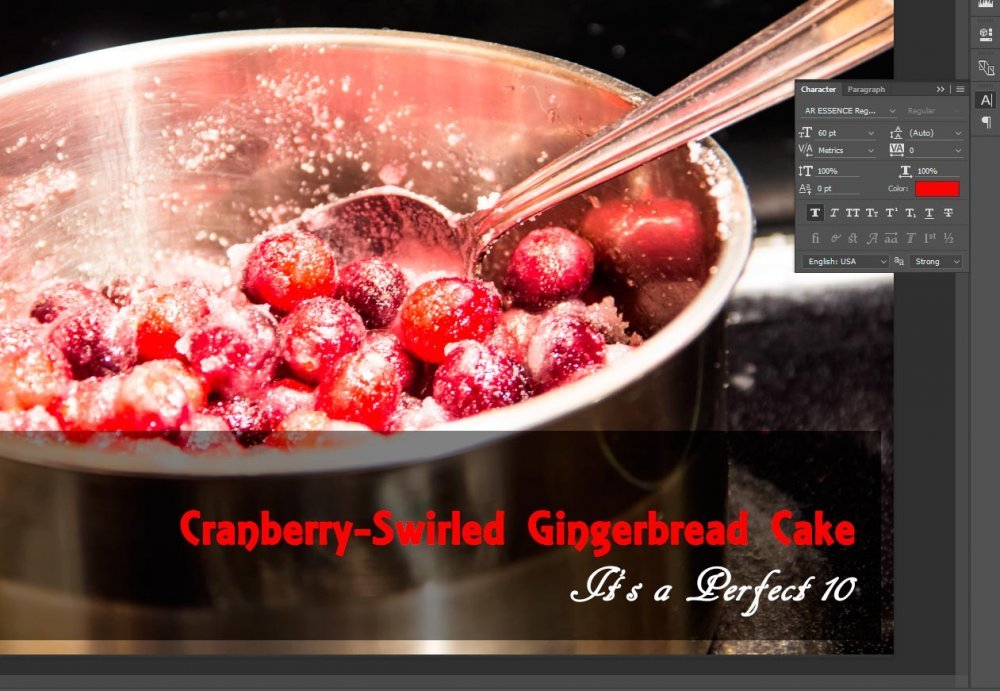
And now, my project is almost finished. Obviously, this was a quick one that didn’t require all too much work, but I think it exemplified what the possibilities are.
The Final Product
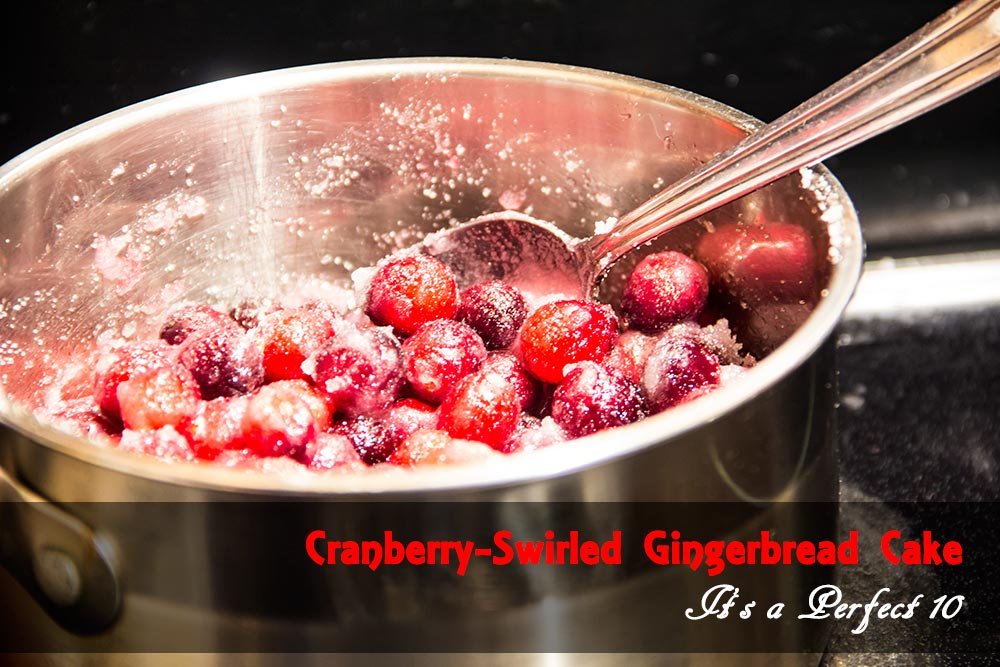
I did a touch more editing and saved the final image. You can see it below. Please let me know what you think.