CraigHardy
Member
- Joined
- May 11, 2021
- Messages
- 223
- Reaction Score
- 2
- Points
- 18
- #1
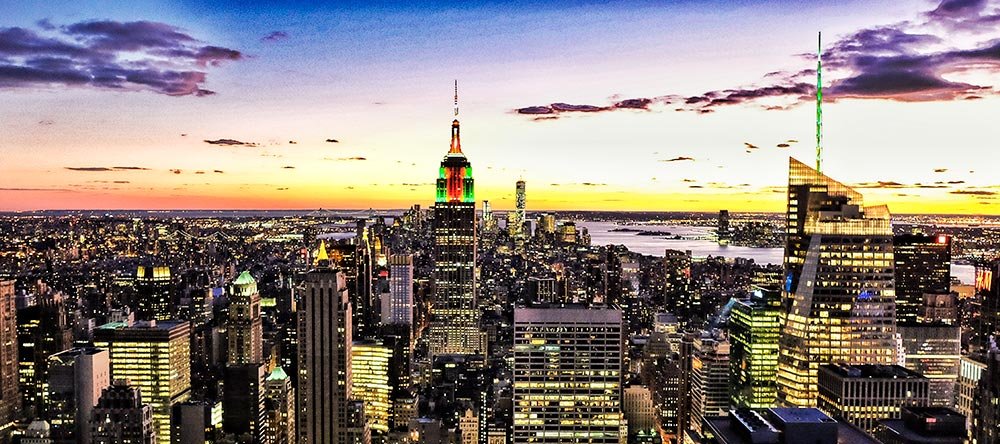
To be honest, I flip back and forth between the “Straighten Tool” in Camera Raw and the same one in Photoshop. They both work pretty much the same way. I guess it depends on my mood. If you’re interested in how to straighten a photo in Photoshop, check out this post:
How To Straighten a Photo Using Adobe Photoshop
If you’re interested in how to straighten an image in Camera Raw, read on.
In this post, I’ll be covering the “Straighten Tool” (Ctrl A) in Adobe Camera Raw. With my example photograph, I’ll show you exactly how to go about fixing a crooked horizon. I’ve got the perfect image too – the sun setting over NYC. If there was ever anything level, it’s the background in this picture.
My Image
First, I’ve got to show you my crooked image. To be fair, the horizon line in this photo used to be level and straight. I purposefully rotated it so it was ultra obvious that our work was actually correcting something. For the rest of this post, keep your eye on the background.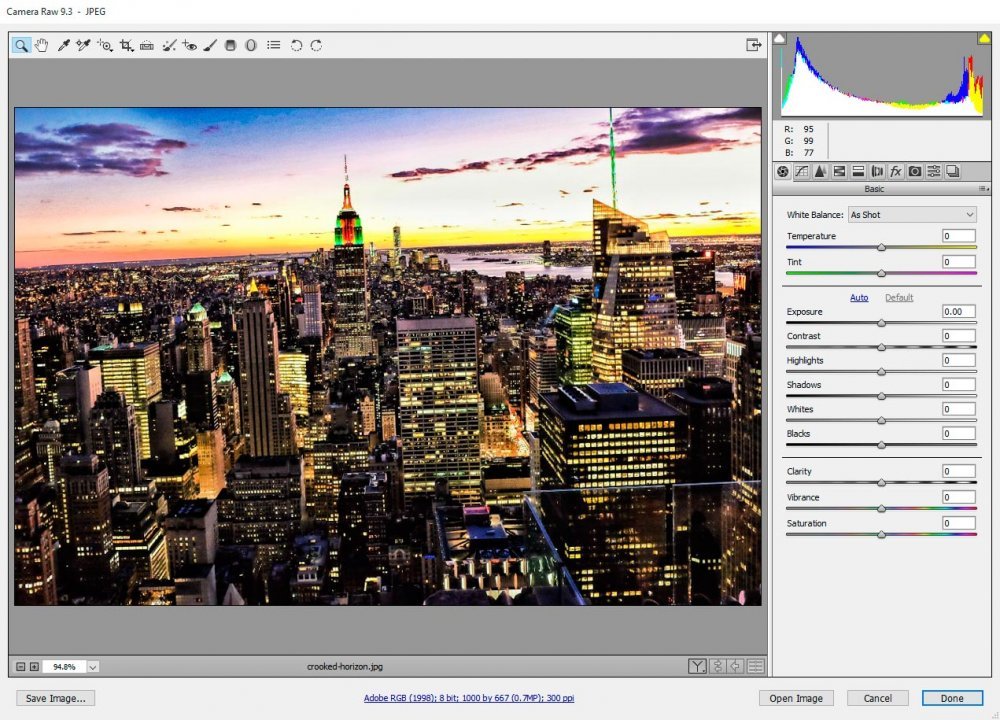
The Straighten Tool
The Straighten Tool in Camera Raw really comes with two parts. One straightens an image automatically and one straightens manually. I always prefer to fix anything I’m working on like this manually because I actually find it fun. Also, if there isn’t a distinct line in a photo, Camera Raw can have trouble discerning which areas it’s trying to level out.Auto-Straighten
If I head up to the top menu and find the Straighten Tool, I can click it twice to straighten my photo. In this case, it did a very good job.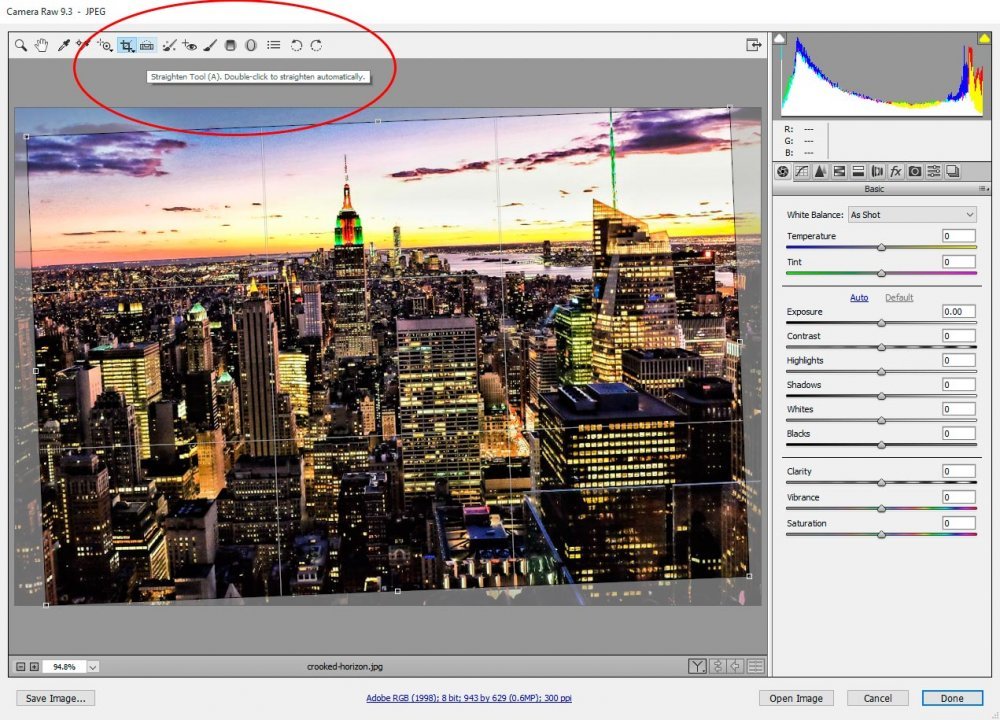
In the above screenshot, I circled the Straighten Tool. I also left the image with the Crop Tool still in effect. If I wanted to apply the auto-correction, I would simply hit “Enter” on my keyboard or double-click my mouse pointer somewhere inside the crop area. I’m not going to do that right now because I want to show you the manual straightening option first.
Manually Straighten
If I return to the Straighten Tool up top and click just once on the tool, I’ll find that my cursor changes to a small triangle. If I go to one side of the horizon and move the left point of the triangle as close as I can to the actual horizon line and hold down, I can drag over to the other side of the horizon. When I do this, Camera Raw creates a line that extends with the pointer. When I get to the other side of the line I’m attempting to straighten, I can let go, which makes the image look just like it did above with the auto-straighten option.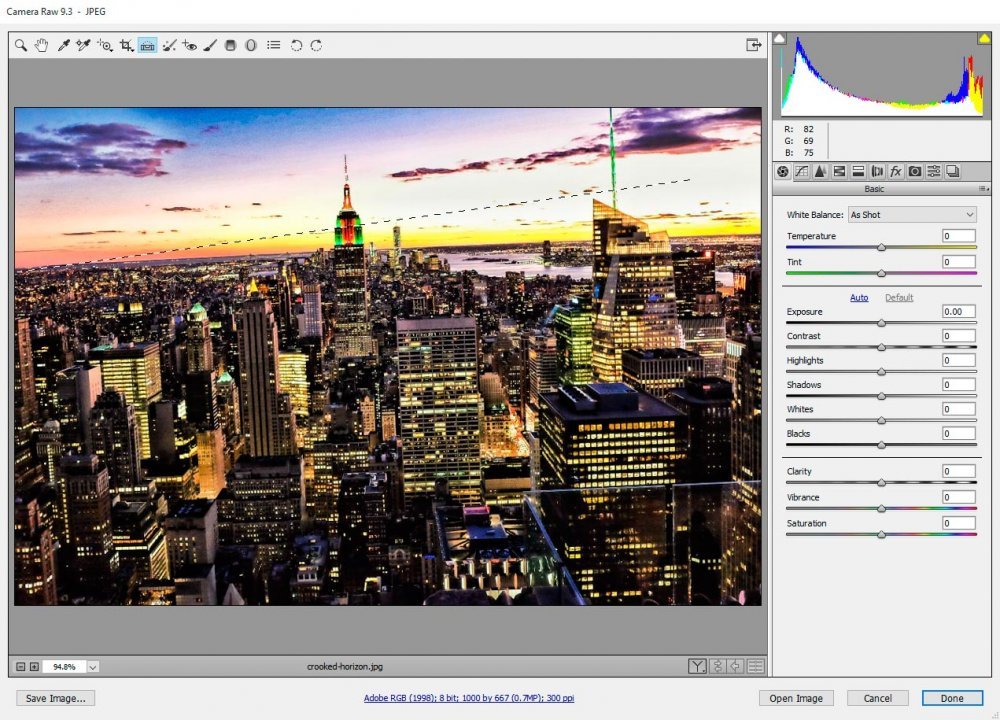
In the above screenshot, I left the line hanging out in the sky so you could see it. Right after I grabbed the shot, I dropped it in the proper area. When Camera Raw made the crop area, I double-clicked inside of it and here is the resulting image.
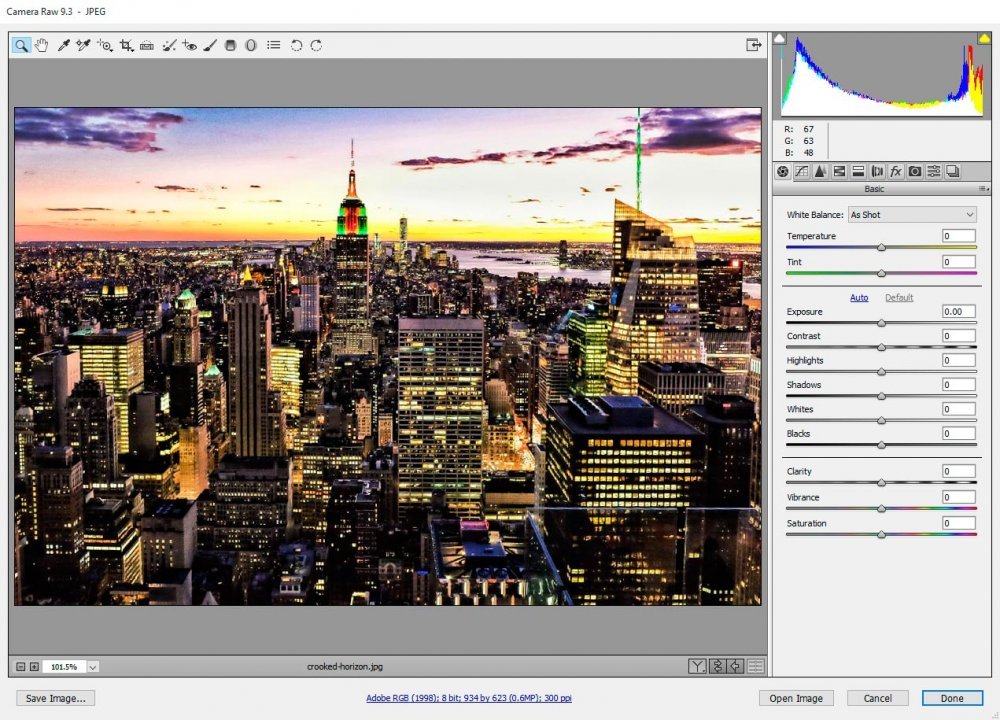
I think that looks pretty good.
Rotating the Crop Tool
We do have another option when it comes to straightening photographs in Adobe Camera Raw. This is the one I used to take advantage of all the time, before either Adobe released the Straighten Tool or before I realized it was available to me. Basically, if I click on the Crop Tool up in the top menu and highlight the horizon area inside the image, I can move my mouse outside of the crop area. Once I do that, my mouse pointer will change into a semi-circle, which I’m able to rotate.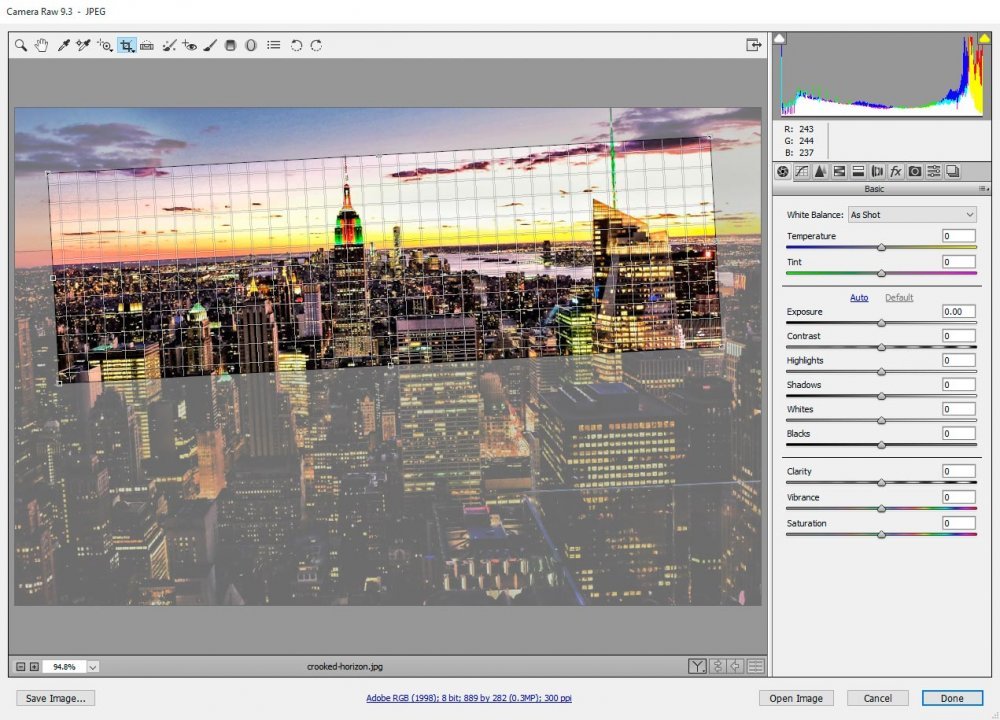
As you can see, the moment I begin rotating, a grid appears that lets me see how the crop area relates to the horizon line.
Now, once everything lines up, I can grab the handles of the crop area and pull the sides to the edges so I maintain as much of the photo as possible.
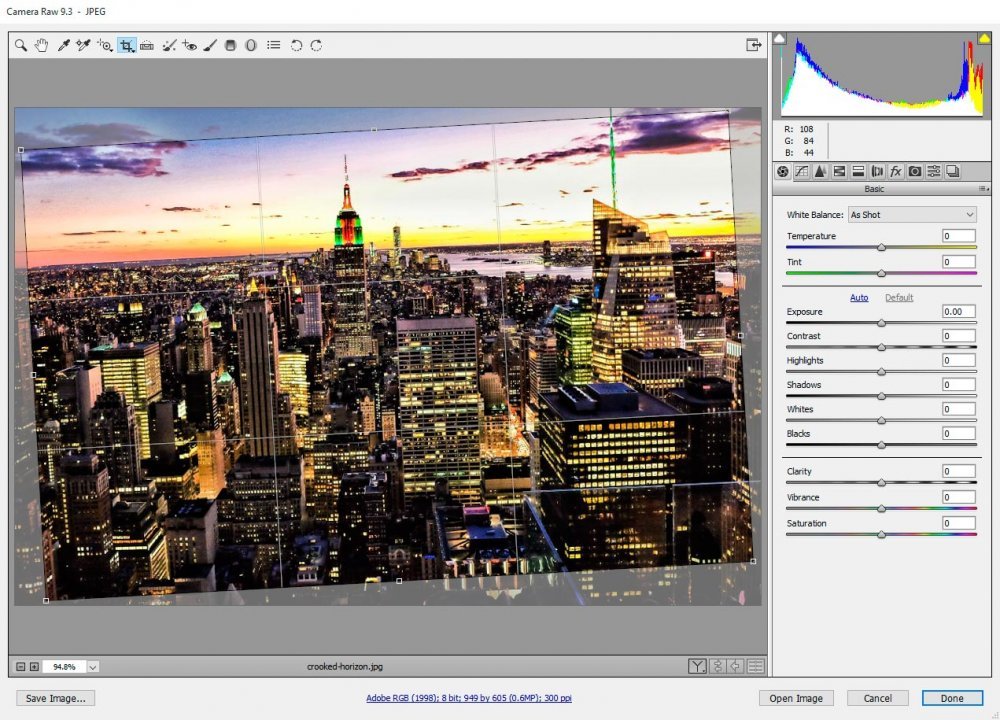
Finally, I’ll double-click inside the crop area again and end up with the straightened image, just as I did in the previous section.
Using the Upright Tool
If you remember back to my post on lens correction, you’ll recall the “Upright Tool.” This is an extremely handy tool that can easily straighten out a horizon, such as the one in my photo.To find this tool, go to the “Lens Corrections” panel and then the “Manual” tab. From there, you’ll see a small button in the “Upright” section that says “Level: Apply Only Level Correction” if you roll over it. Currently, it’s the center button.
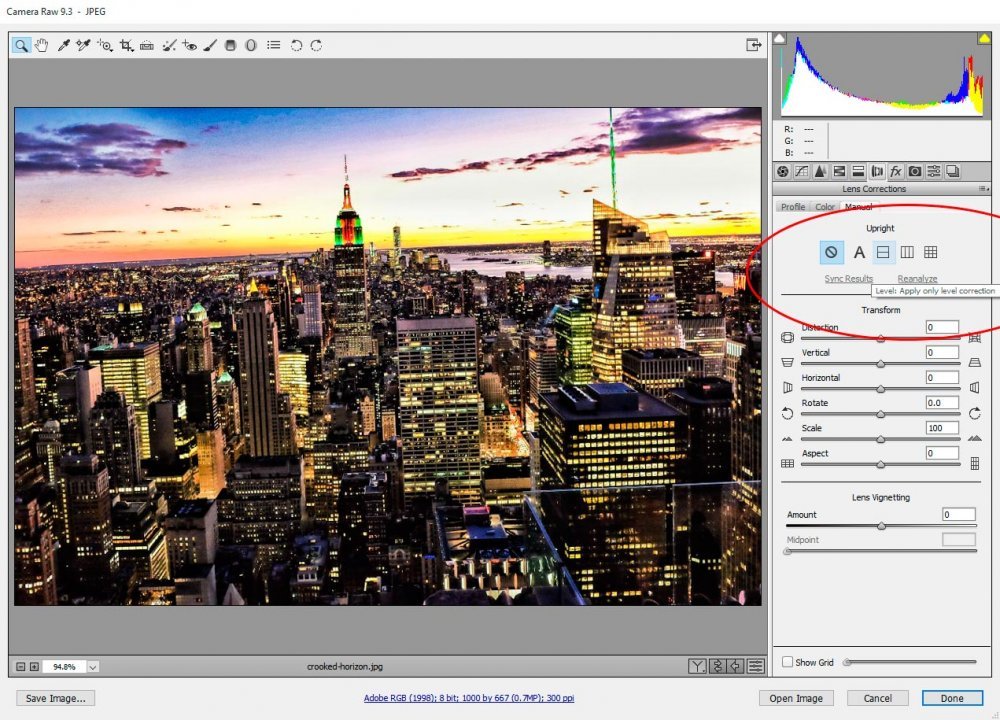
If I click that center button, Camera Raw will level out my photo automatically.
Using the Rotate Tool
Lastly, we can use the “Rotate Tool” to straighten a crooked photo. If we stay in the same panel, but go all the way down to the bottom, we’ll see a small check box that says “Show Grid.” It’s right next to a slider that allows you to adjust the grid box size.If we check that box off and then go up a bit to the “Rotate” slider, you’ll see that we can drag that slider back and forth in order to rotate the image. This slider, coupled with the grid, makes it really simple to see when the image is level.
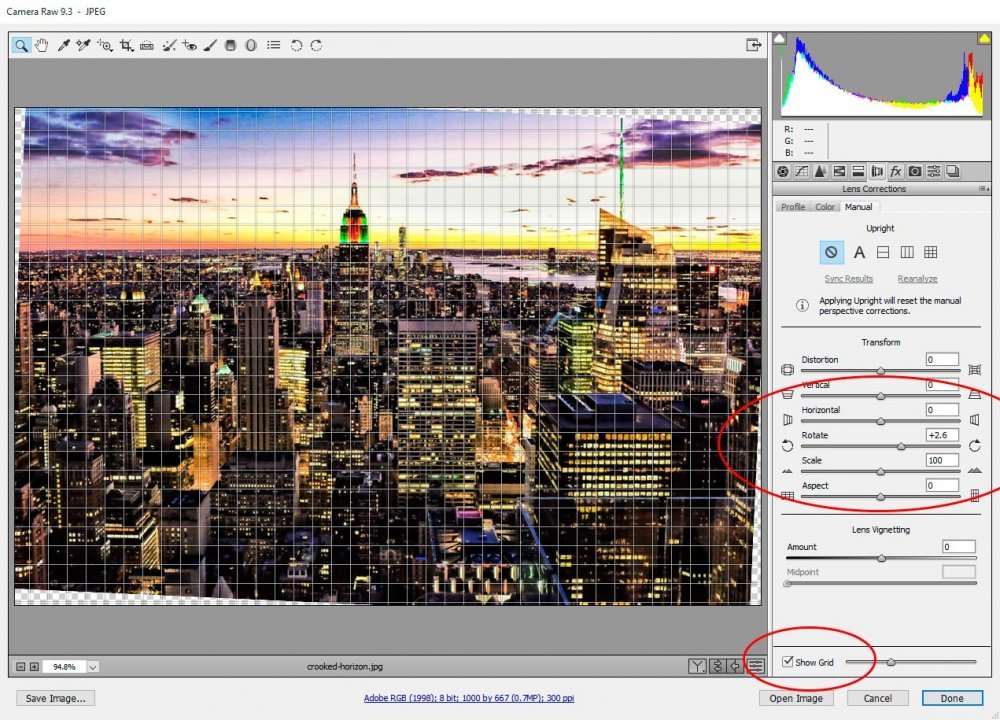
After the photo is leveled the way we want, we’ll need to use the Crop Tool to crop out those empty corners.
