LukeLewis
Member
- Joined
- May 7, 2021
- Messages
- 134
- Reaction Score
- 0
- Points
- 21
- #1
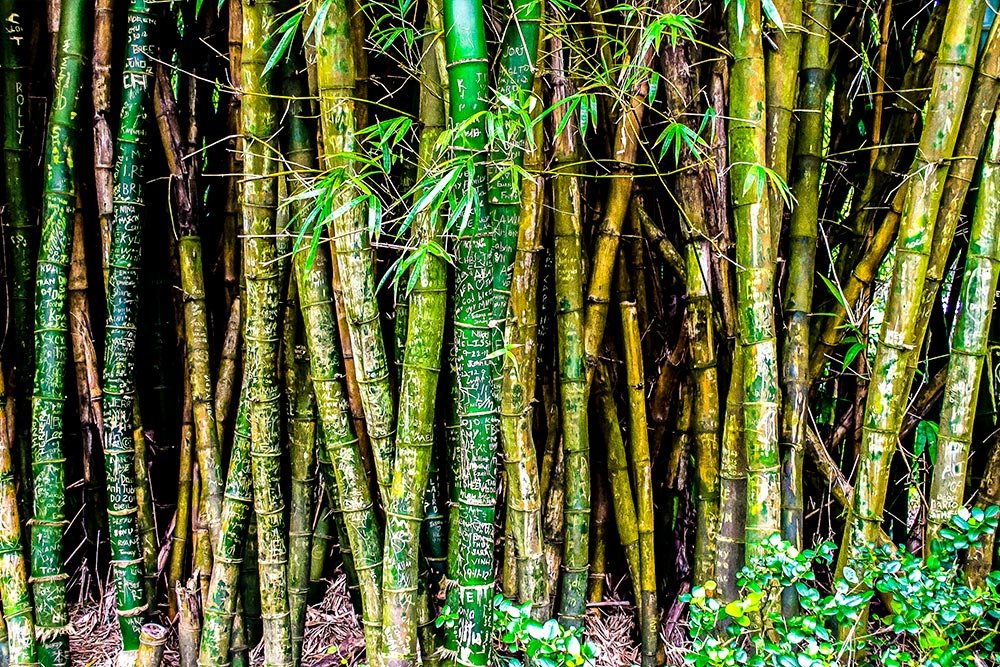
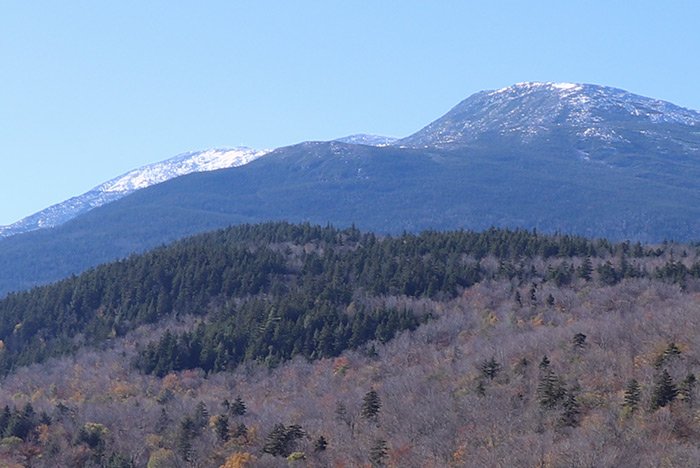
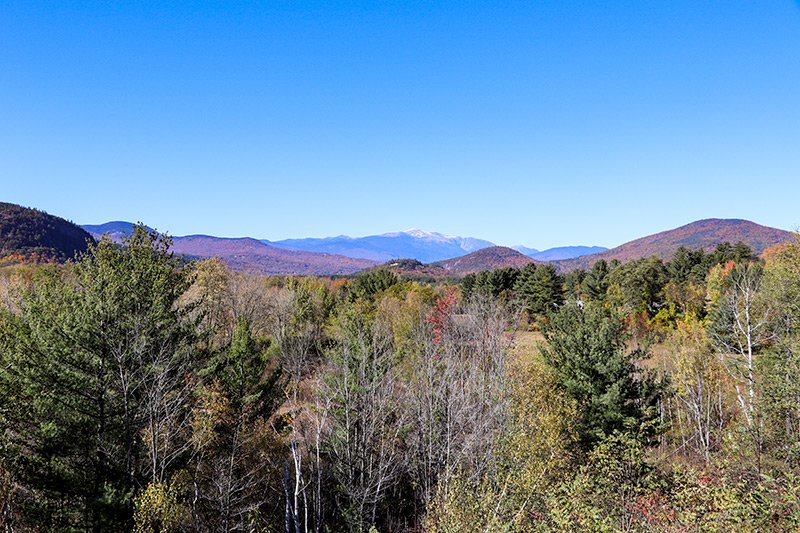
A popular project photographers frequently undertake is to create one panoramic photo of multiple shots they’ve taken. Perhaps they didn’t have a wide angle lens on hand or perhaps they wanted to capture a really, really large area. This is mostly used for landscape photography, but is becoming more and more popular with all types. For instance, the photo above is the center section of a wider picture. I merely cropped it for use in this post.
Today, I’ll be talking about how to create a panoramic photo using Adobe Camera Raw. As long as the pieces of the overall shot were taken using the same camera settings, it’s actually a very simple task.
Panoramic Pieces
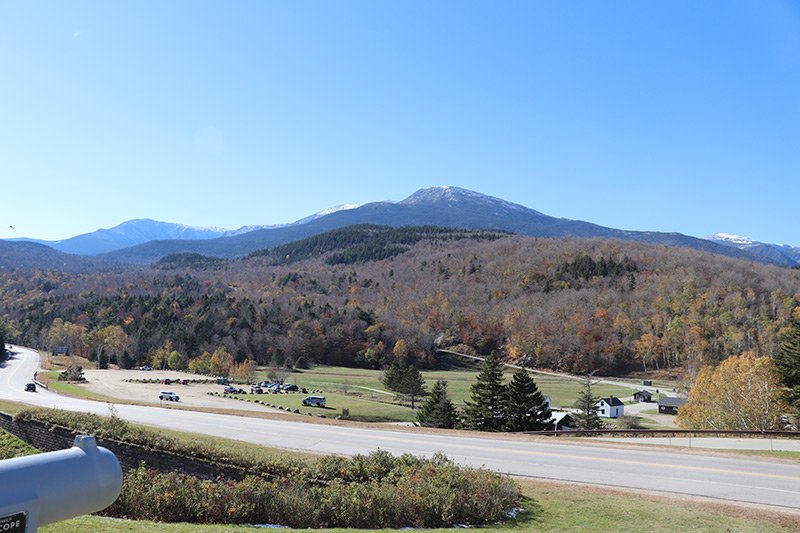
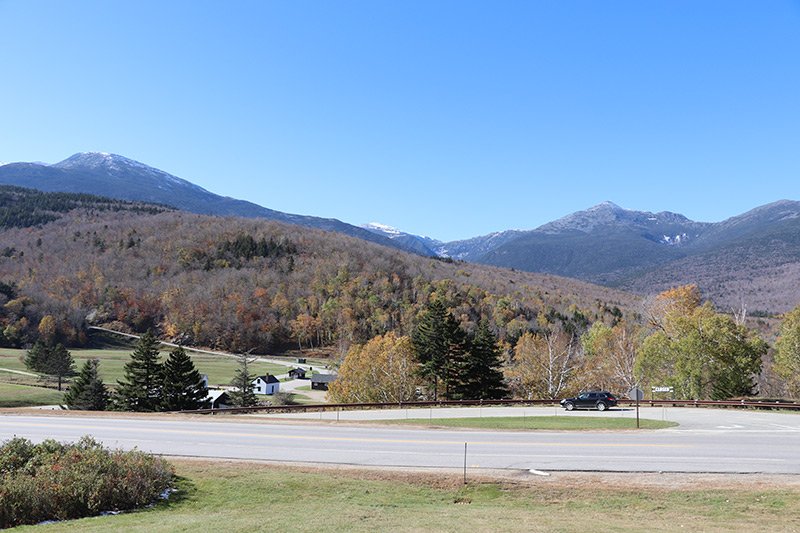
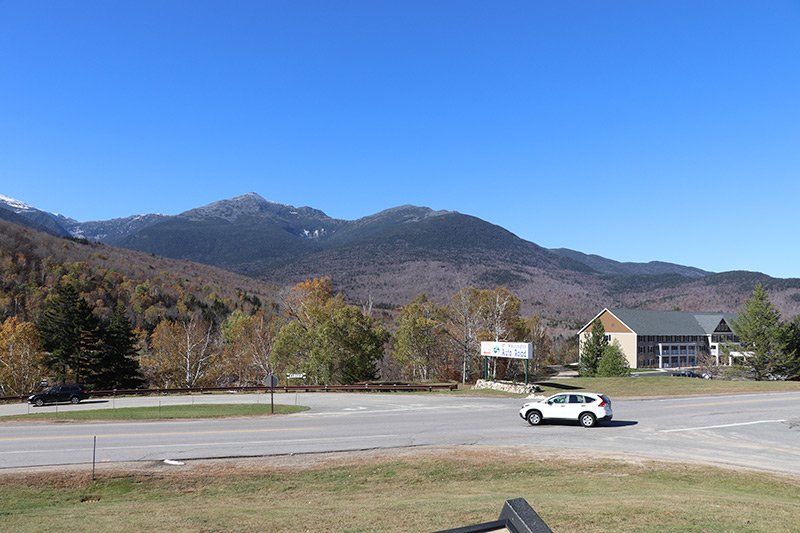
The photo I’m using for this post was originally wide. I cropped it into 5 overlapping pieces to demonstrate how Camera Raw can put them back together. I also created a graphic to show the pieces below.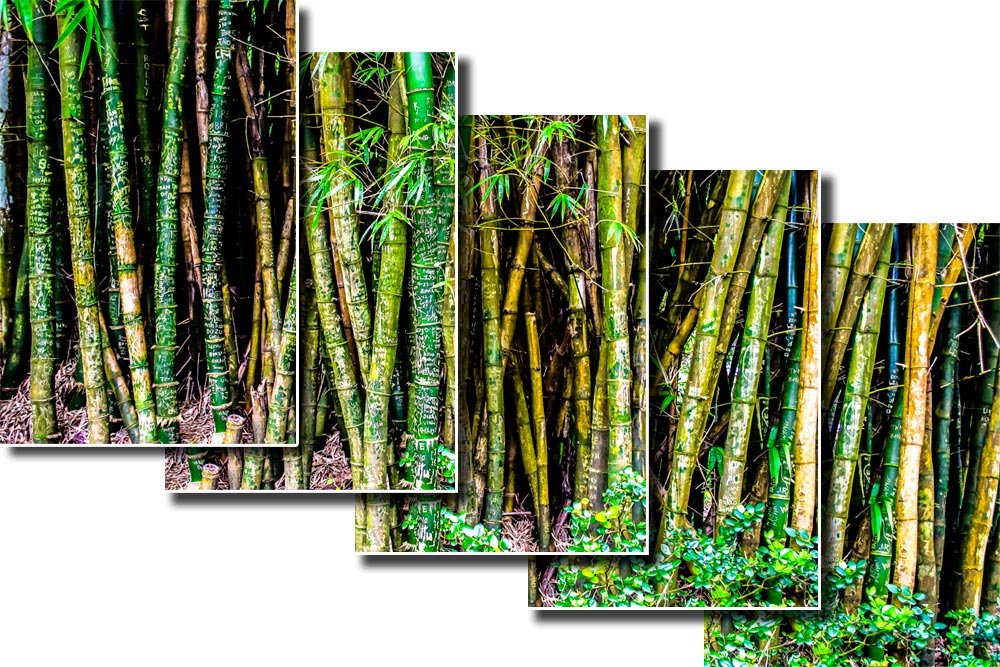
Open Photos into Camera Raw
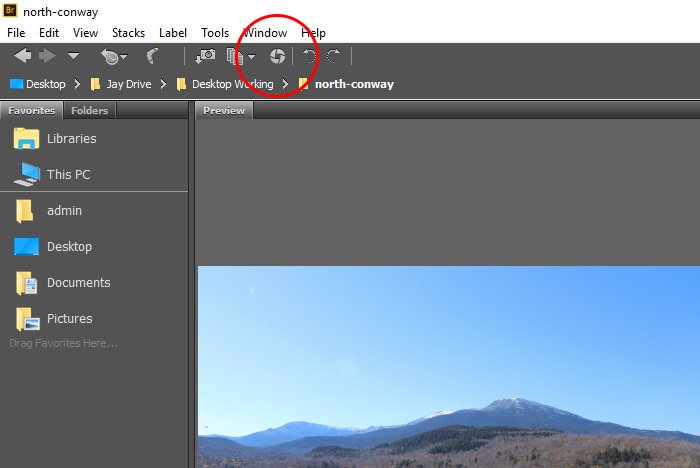
I’m going to use Adobe Bridge to open the 5 photos at the same time into Camera Raw. If you have another method of opening your files, go ahead with that.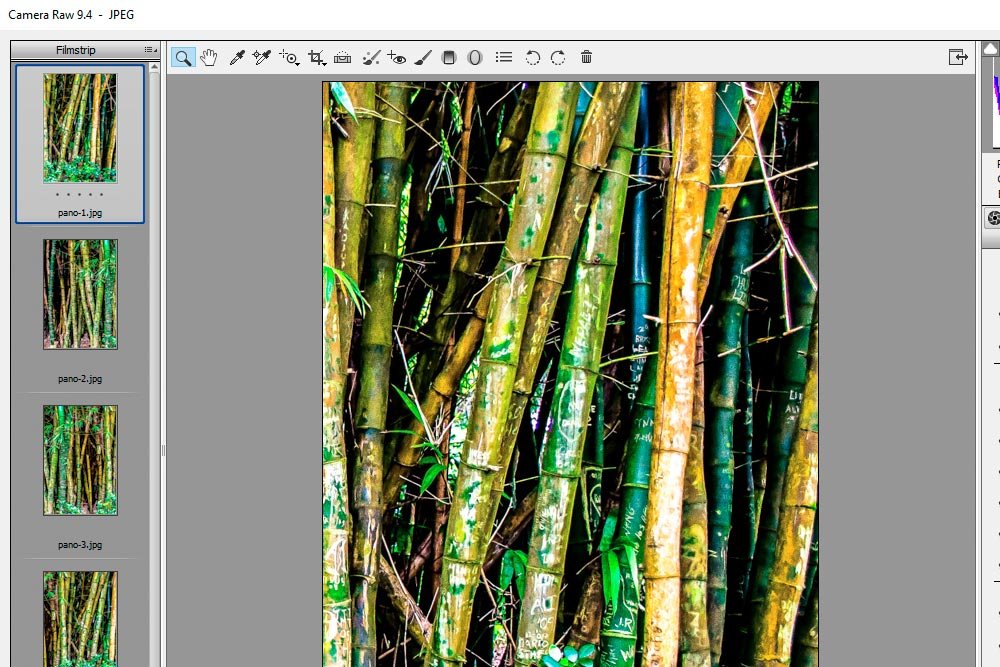
If you’re not familiar with opening multiple photos from Bridge into Camera Raw, you can check out my post on the topic:
How Can I Open Multiple Photos From Adobe Bridge Into Camera Raw?
Edit the Photos
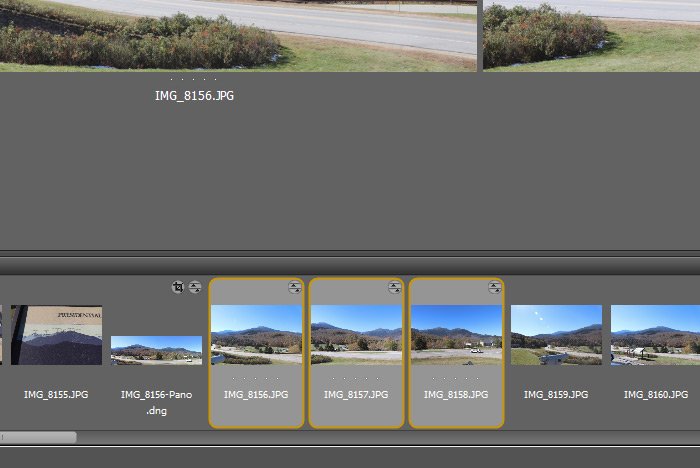
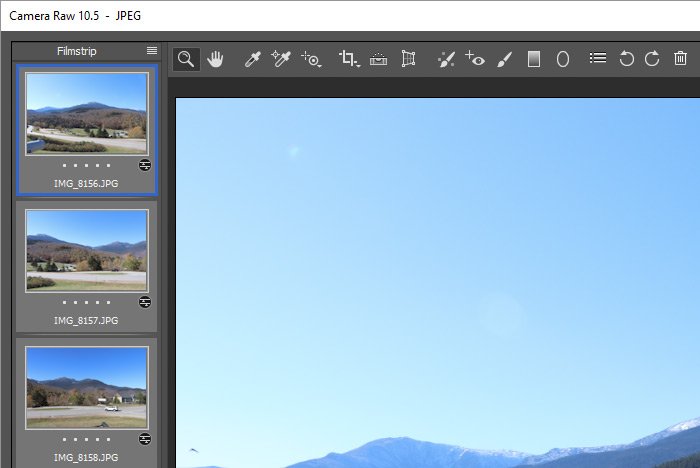
Chances are, the photos you want to put together as a panoramic aren’t edited yet. There’s a trick to this part, so be sure you follow it. When editing the pieces of a panoramic photo, you need to be sure to edit them all at the same time. This will ensure consistency across all the files. You certainly don’t want to edit one photo one way and another one another way. That would look odd after they’re placed together as one.To edit all images simultaneously, I clicked the first one in the left column, held down the Shift key on my keyboard and then selected the last one. In the screenshot below, you can see they the thumbnails are now selected.
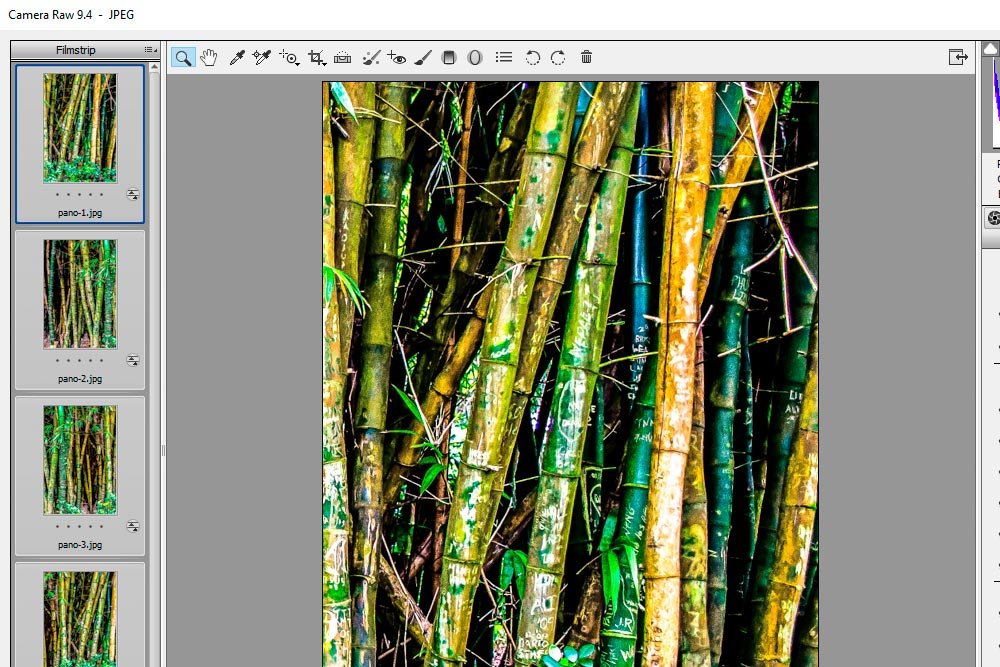
Once that was finished, I moved a few sliders around until the photos were to my liking.
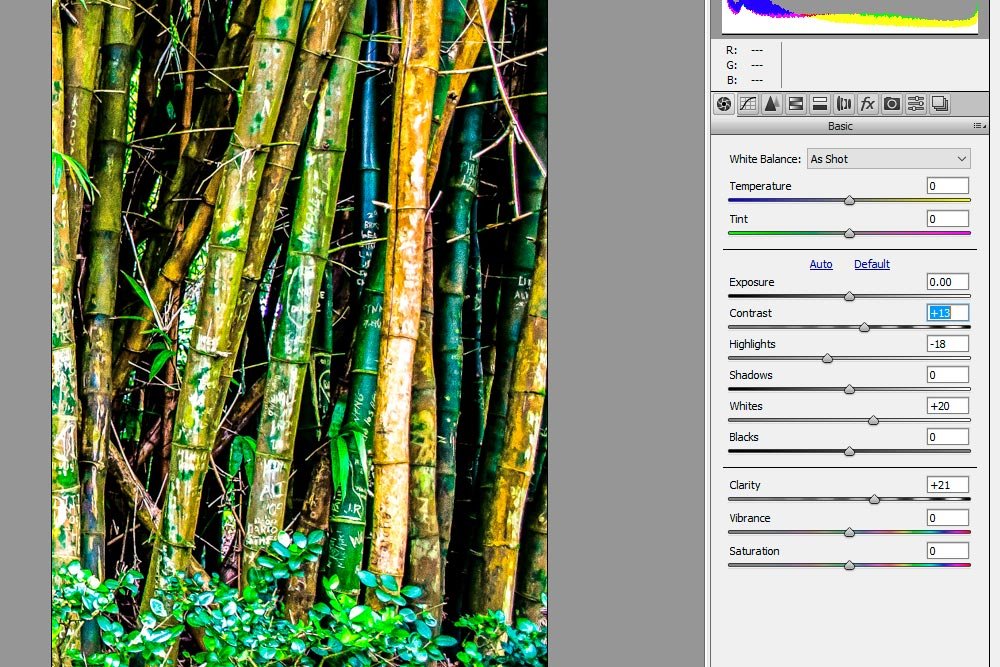
Any change I made was applied to all files.
Merge to Panorama
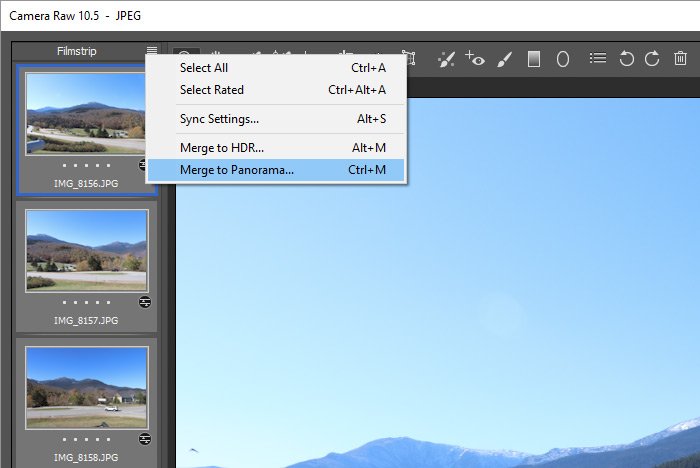
Once the editing is completed and you’re ready to merge all the photos together as one, you can click the icon at the top of the left Filmstrip panel. This will open a drop-down menu box. Roll over and select Merge to Panorama.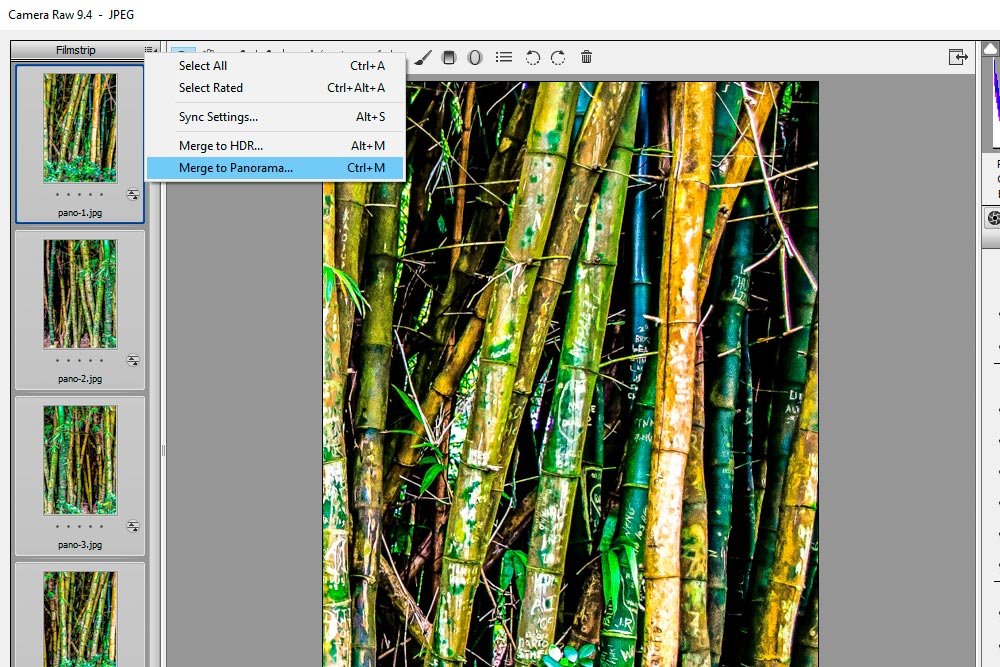
After that menu item is clicked, a Merge to Panorama Preview window will appear.
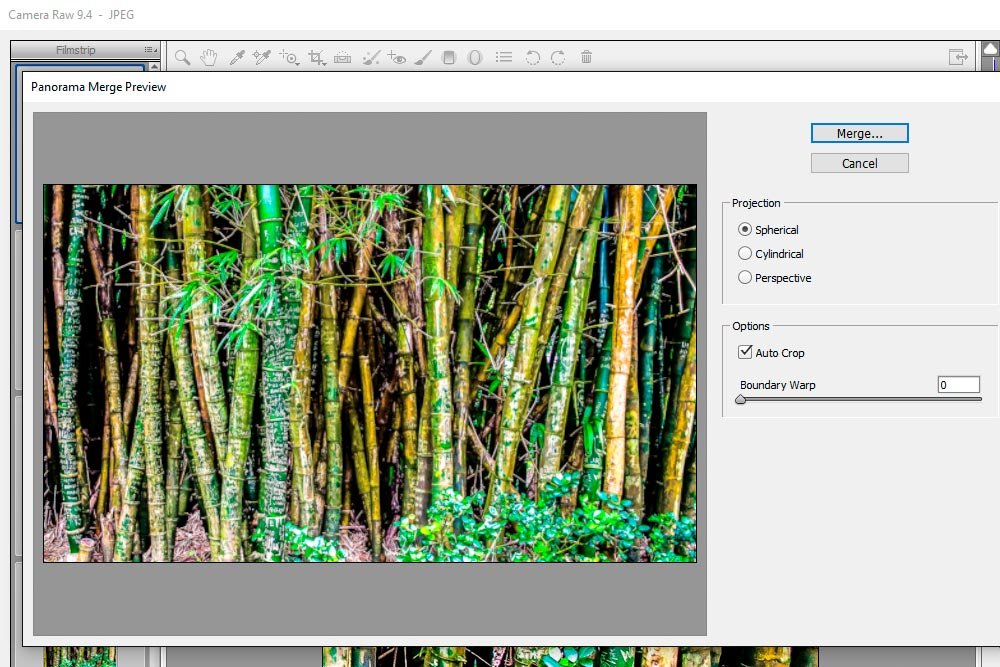
As you can see from the above screenshot, each of the 5 separate photos I originally opened have been analyzed and pasted together by Camera Raw. In my opinion, this is remarkable.
Now, if you look inside the preview window, you’ll see a few settings. The first is the Projection area and the next is the Options area. Inside the Projections area, you’ll want to click through each of the selections to see which makes your panoramic photo look the best. Camera Raw tries to adjust them based on how the photos were taken, so each instance will be different. Inside the Options area, you can see a choice for whether you want to auto crop the image or not. Basically, this option tells Camera Raw to find the innermost edge of the entire panoramic photo and crop up until that point. I don’t need to take advantage of this for the photos I used because they were clipped from the same image in an identical manner, but chances are, if you took multiple pictures of a landscape by hand, you’ll need the final file to be cropped. You can either let Camera Raw do it at this stage or you can do it manually later on.
Merge & Save
To accept the panoramic file, I’ll click the Merge button in the Preview window. Then, after the Save window appears, I’ll name my file. I called it final-pano.dng. Camera Raw uses the DNG extension when saving out this type of file.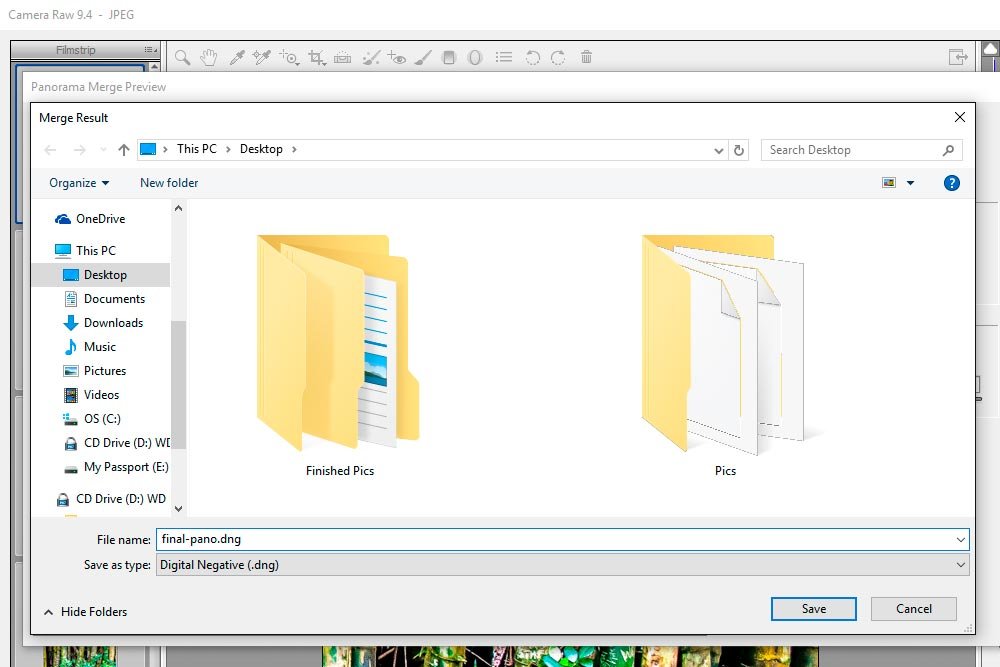
Behind the scenes, Camera Raw saved the file and also opened it in the application for further editing and saving as another file type or opening in Photoshop or a similar application. In the screenshot below, you can see the final panoramic at the bottom of the Filmstrip panel.
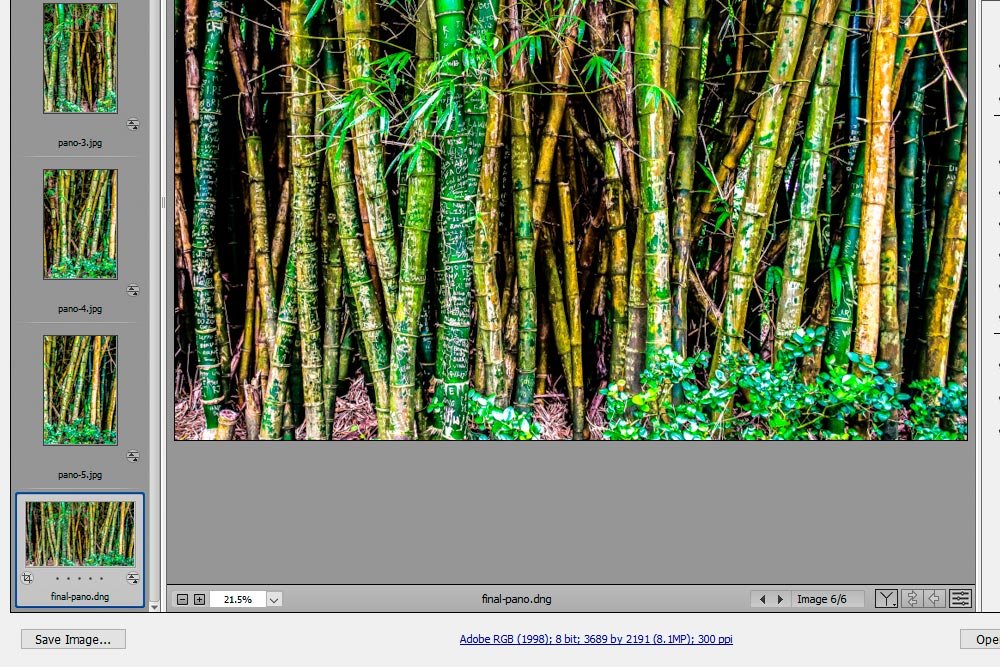
Since the that particular thumbnail is selected, the panoramic image is seen in the center panel.
——
If you’ve enjoyed today’s post and found it helpful, please share it with a friend. Thanks!

