JodyBuchanan
Member
- Joined
- May 10, 2021
- Messages
- 138
- Reaction Score
- 0
- Points
- 21
- #1
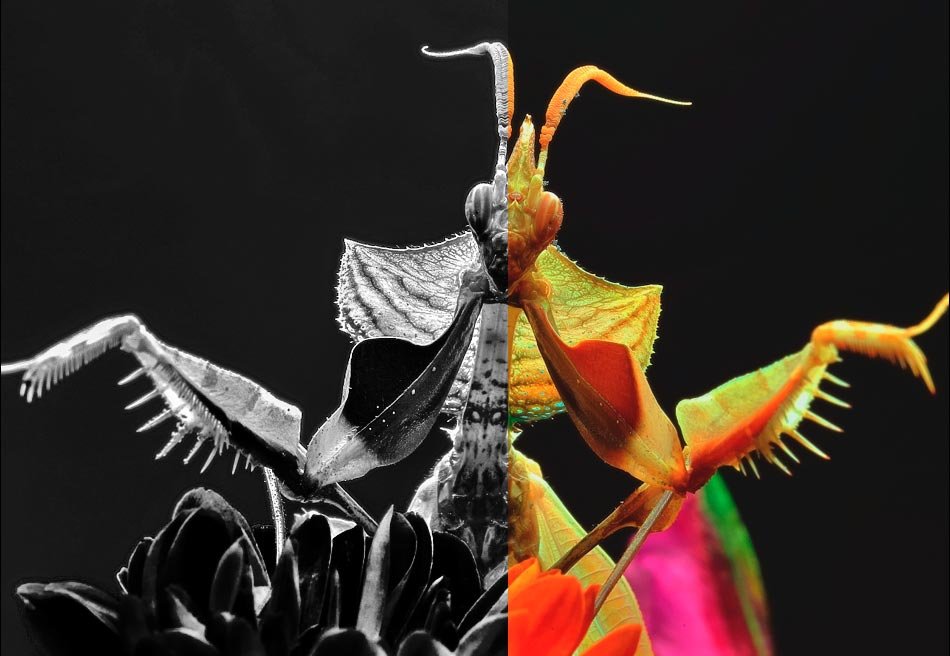
When you ask yourself what a black and white photo is, you most likely answer that it’s a photo with no color. In some respects, you’d be correct. The thing is, in many black and white photos, there was color. It’s just that you removed it with one tool or another. Believe it or not, the method in which you removed it plays a huge role in how dramatic the black and white photograph will be.
In this post, I’m going to show you some differences between methods for creating a black and white photo in Adobe Camera Raw. The first method, which comes to mind for most people, isn’t necessarily the best. The second method is the best. I’ll cover the nuances between the two.
My Example Photo
Let’s take a look at my example photo. While it’s not the best one in the world, it’ll work fine for our purposes.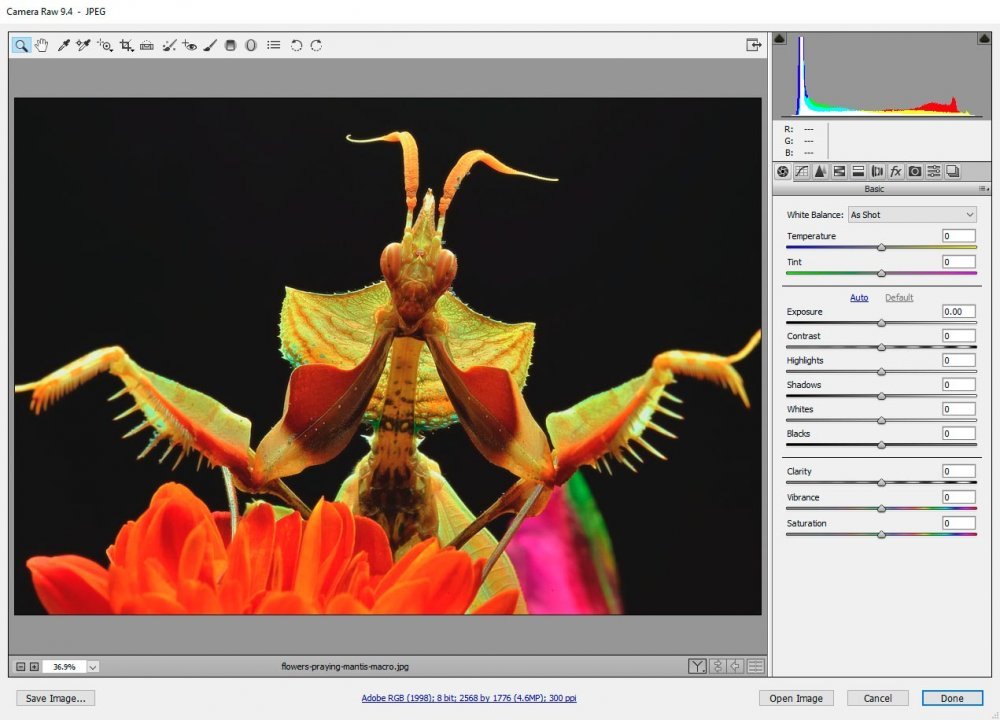
In this photo, there’s a decent range of color and tone. Let’s see what we can do with it.
Removing Saturation
Remember when I mentioned that there was a method of removing color that wasn’t necessarily the best? Well, this is it. If we stay in the Basic panel in Camera Raw, we can head down to the bottom Saturation slider and move it all the way to the left. This will desaturate the photograph.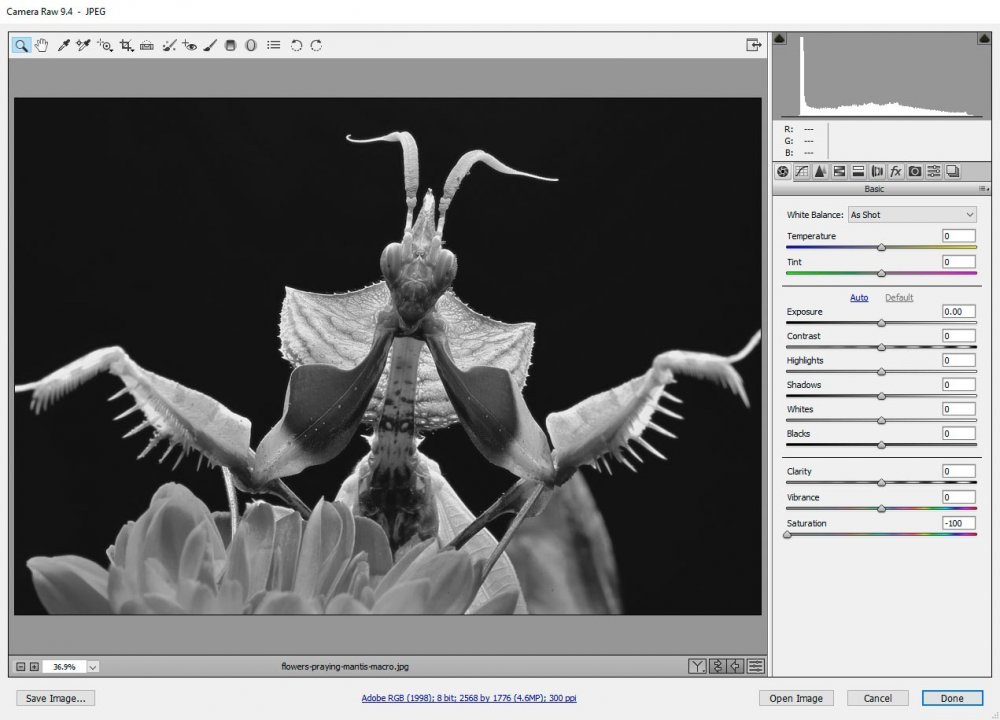
In all honesty, with this photo, the result isn’t bad. But, there’s an even better method to remove colors in Camera Raw. One that allows us to alter the tone of each individual color found within a photo. This is what will truly make the image stand out.
Convert to Grayscale
I’ll set the Saturation slider back to its original state so the colors are visible again and I’ll head over to the HSL/Grayscale panel. Inside that panel, there’s a check box that’s labelled Convert to Grayscale. I’ll check that box and see what happens.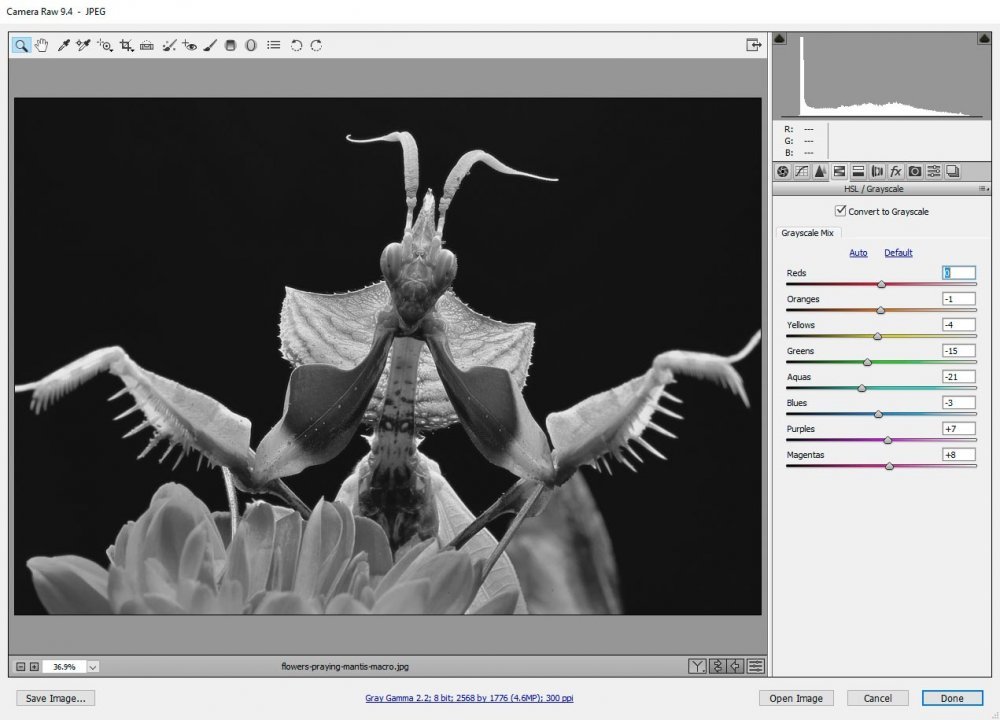
Hmmm…that looks just like the previous screenshot. Wait, there’s one difference. If I simply remove the photo’s saturation by moving the slider in the Basic panel all the way to the left, I lose control of the HSL/Grayscale color sliders. I can move them back and forth, but they have no effect. If I leave the Basic panel Saturation slider alone and check off the Convert to Grayscale box, I retain control of the individual color tones.
Adjusting Color Tones in Grayscale
I’m going to move the color sliders around a bit in an effort to make the image pop a bit more. I simply want to enhance the contrast some.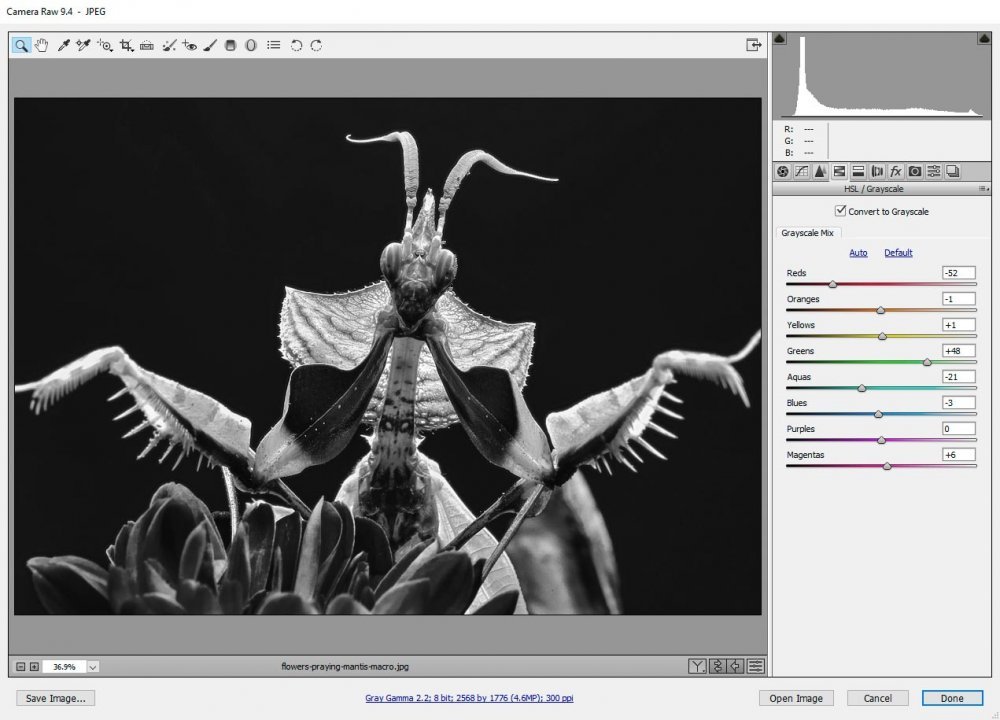
There. As you can see, the image is already looking better.
The problem we face as we adjust the grayscale mix in this way is that we forget the colors we want to adjust. I knew that I wanted to make the reds of the flower and the insect darker and the greens of the insect lighter. That was pretty straightforward. But what if there were many colors that needed adjusting? It’s certainly not possible to remember all of them while we’re editing in grayscale mode.
Here’s a solution – click “P” on your keyboard to flip back and forth from the modified version of the photo to the original. The original still has the color in it. You can jump back, check out the colors and then jump forward to your working version. It’s that simple.
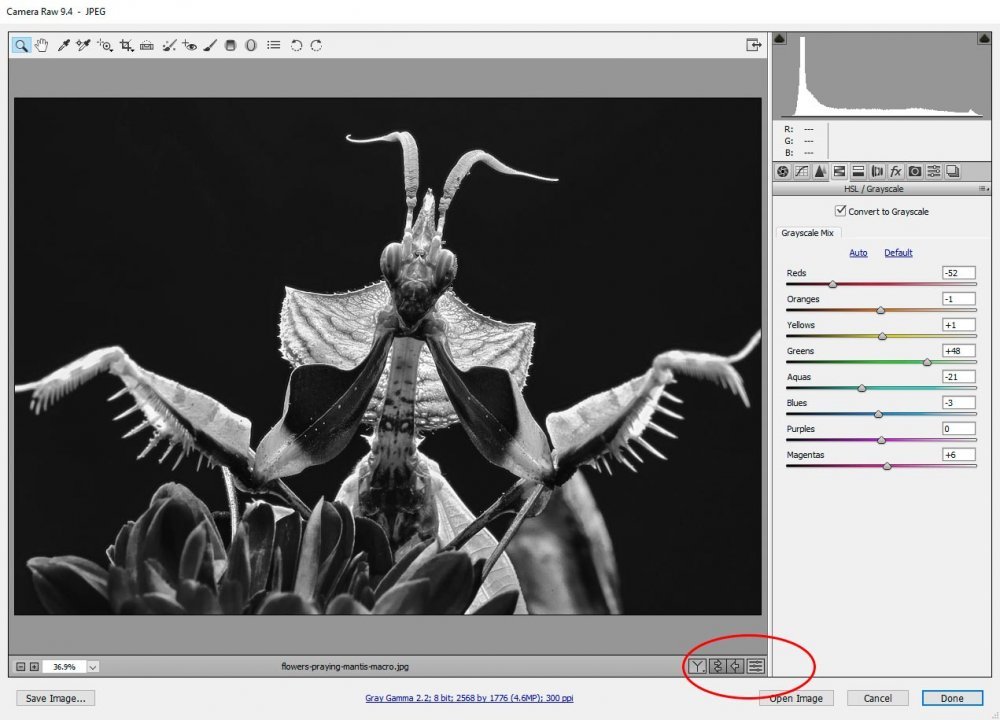
Also, if you click the Toggle between current settings and defaults for the visible panel only button down below the photo, you can go back and forth as well. I circled it in the screenshot below. It’s the button with the little sliders in it.
Grayscale Mix Targeted Adjustment Tool
If you review the Adjusting Color in the HSL Panel section of my How To Make A Photo “Pop” With Adobe Camera Raw post, you’ll see that I used a tool called the Targeted Adjustment Tool. This is a tool that takes the guesswork out of making individual adjustments in the HSL/Grayscale panel. Basically, all you need to do it to select the tool, click on the area you want to lighten or darken and drag your mouse to the left or the right. It’s that easy.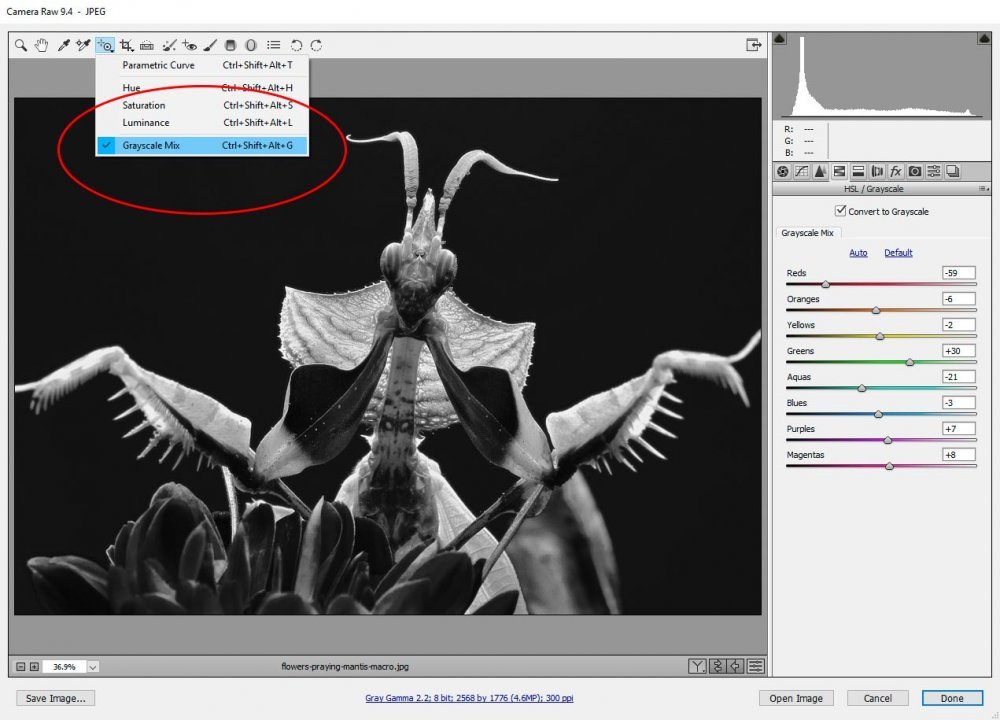
Finish Editing in the Basic Panel
Now that I made some edits in the HSL/Grayscale panel, I can move to the Basic panel and finish up. This is where the major enhancements can be made that will really make this photo stand out. I’ll make my usual edits, plus a few that will differential the shades.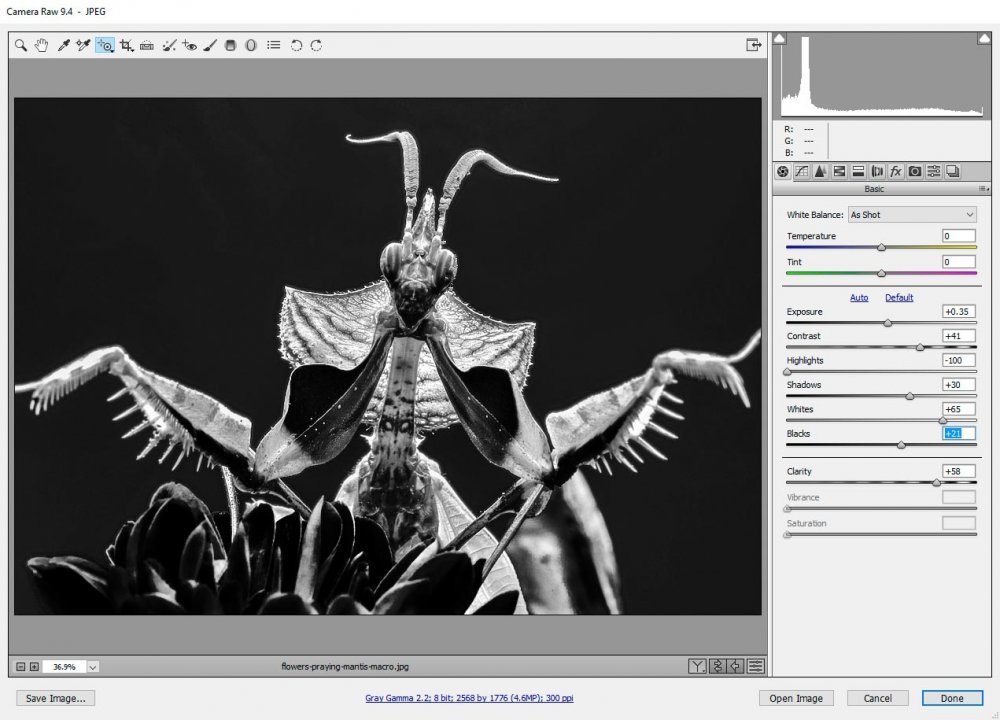
This may look good or it may look bad. It really depends on your usage and what you’re after.
I’m sure you can see the possibilities of having the ability to edit each color tone in grayscale mode. Go ahead a practice on a few photos and let me know what you think.
