WendyMay
Member
- Joined
- May 11, 2021
- Messages
- 142
- Reaction Score
- 0
- Points
- 21
- #1
There are a few tools in Camera Raw that I rely on for virtually all of my photo editing. In the Basic panel, they are White Balance, Exposure, Highlights, Whites, Blacks, Clarity and Vibrance. In the Effects panel, I use Dehaze. While you may be familiar with many of the sliders I just mentioned from the Basic panel, you might not be familiar with Dehaze from Effects. That’s because it’s fairly new. I believe it was launched with Camera Raw 9.1 in mid 2015.
Dehaze reduces the amount of “soft white” from a photo. In general, this soft white washes out many of the colors in the image. The Dehaze feature removes some of this detriment by analyzing how it thinks light should be absorbed into the colors of the photo and compensates for it. Whatever it is, the method Camera Raw uses really isn’t important. What’s more important is the effect it has on an image.
I will tell you this – Dehaze is just one of many tools that should be in your basket when you head into Camera Raw for some editing. By itself, it won’t have all that much of effect. But when it’s combined with others, the effects can be dramatic.
In this post, I’ll explain how to use Dehaze and then I’ll go about showing you how it can impact a photo. I’ll combine it with my regular editing workflow to show you how it can assist with making photos really pop.
Original Photo
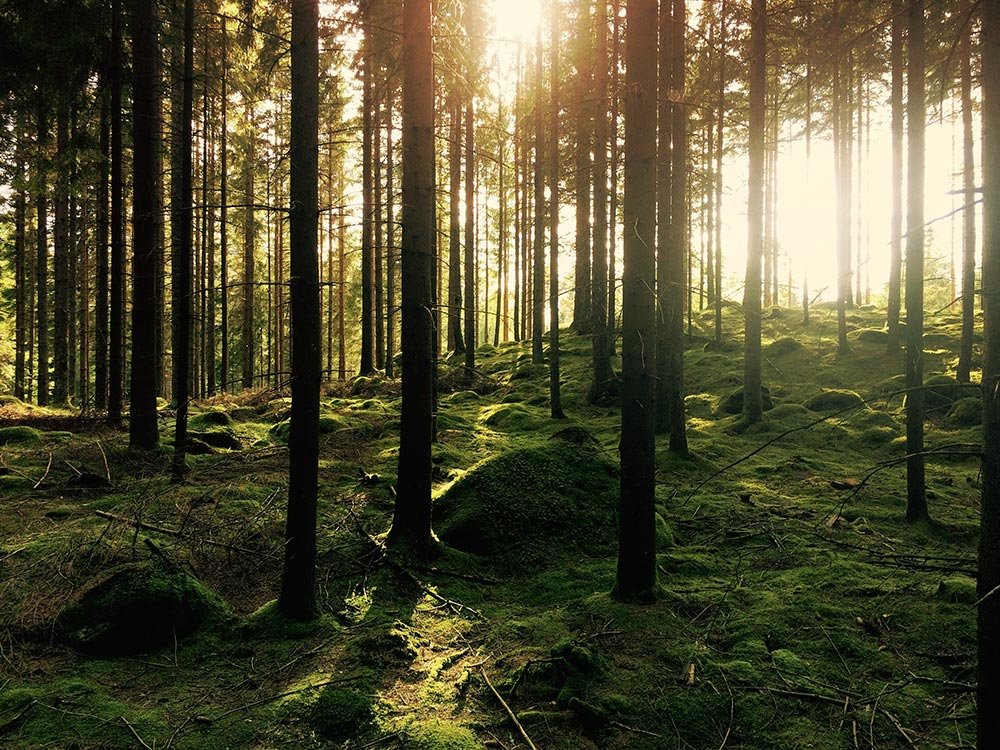
To start off, I’ll show you what I’m working with. I haven’t done anything to this photo yet.
As you can see, there’s sort of a mist over the entire area. I’m not sure what would help here – an adjustment of contrast, vibrance, clarity?
Using Dehaze
Now, I’ll go through the extremely simple process of removing some of the haze from this photo. To do so, I’ll head to the Effects panel in Camera Raw. The Dehaze slider lives inside this panel.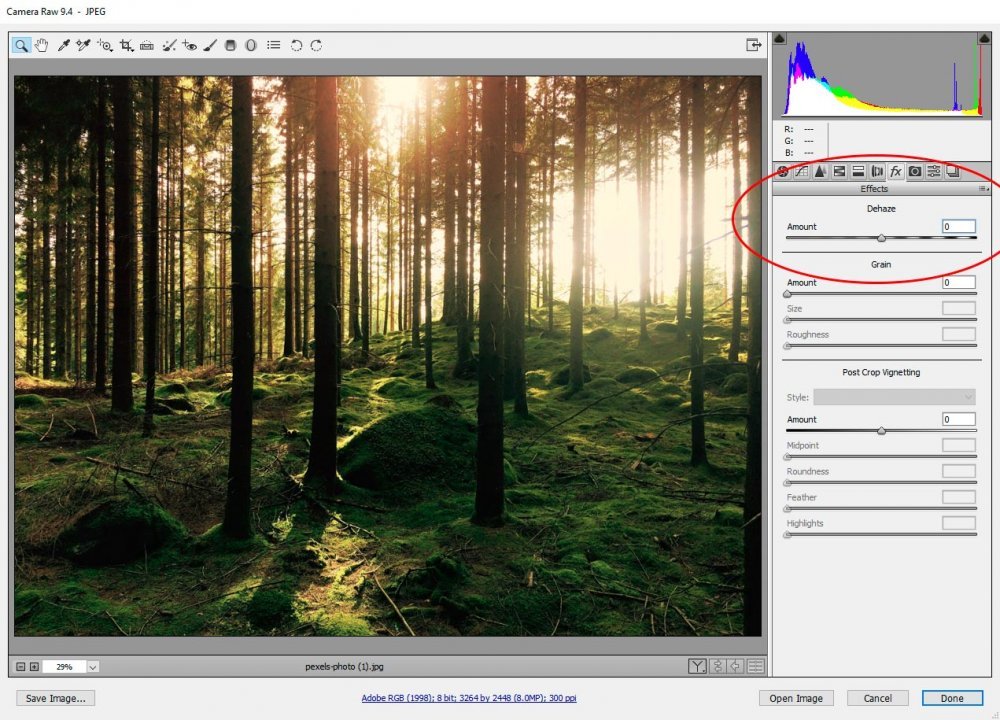
Now, if I move the slider all the way to the left, I can actually add haze to the photo. Perhaps this would be desirable in some situations.
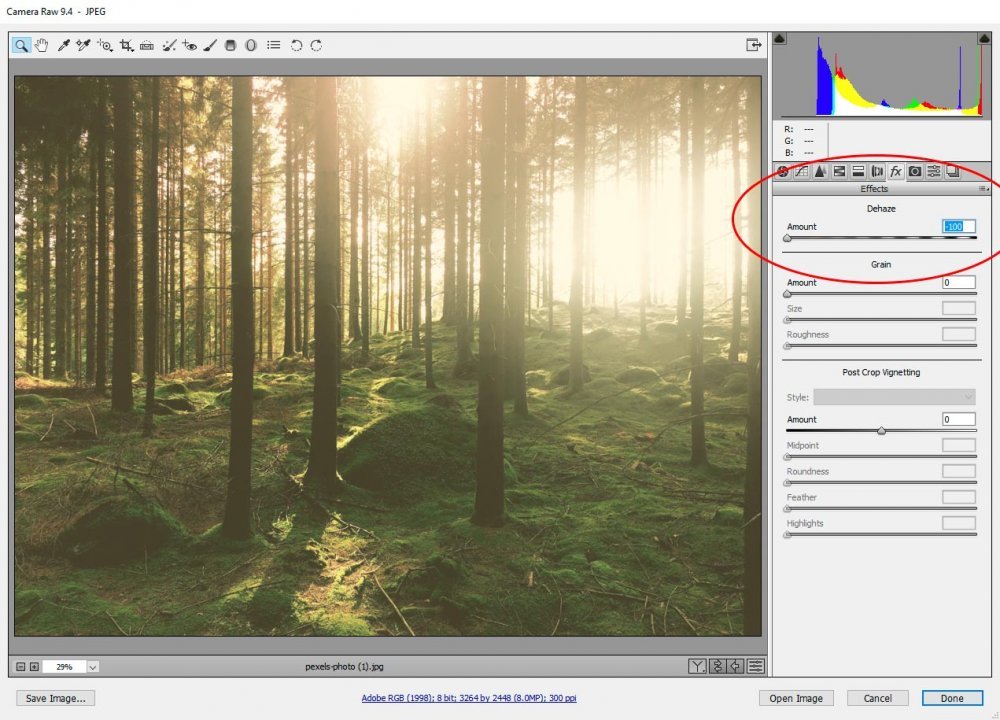
For this situation, I want to remove as much haze as I can. I’d like the image to be sharp. So, I’ll push the slider all the way to the right.
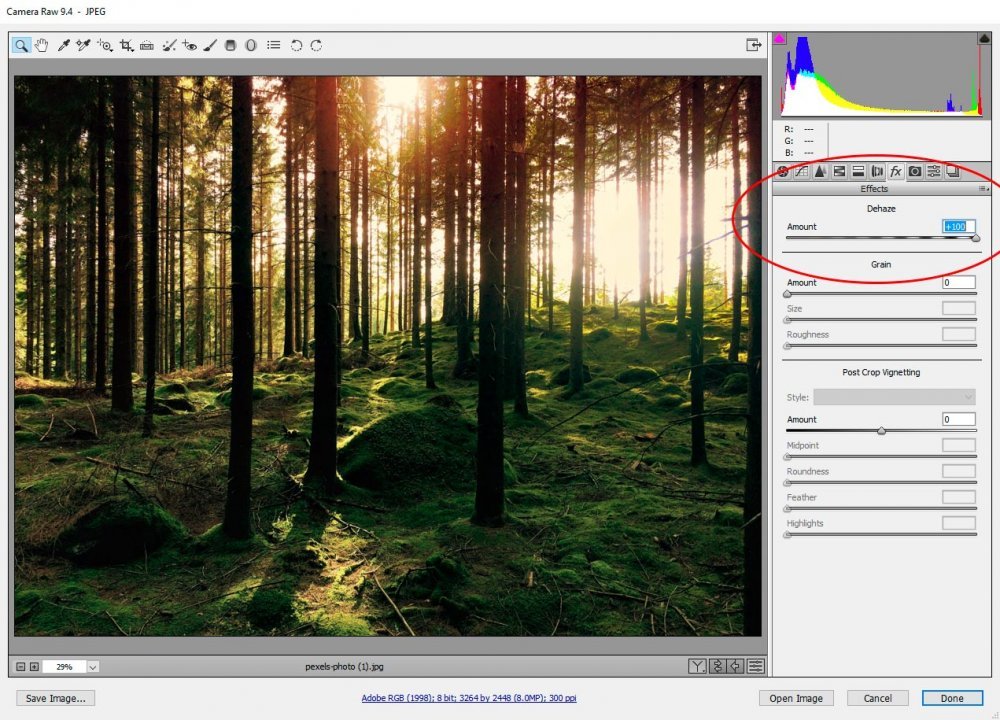
As you can see, there isn’t a tremendous difference from the original photo, but there’s enough to get the ball rolling.
Adjusting in the Basic Panel
I’ll continue my editing in the Basic panel. First, I’ll make some changes in the center section that starts with Exposure and ends with Blacks.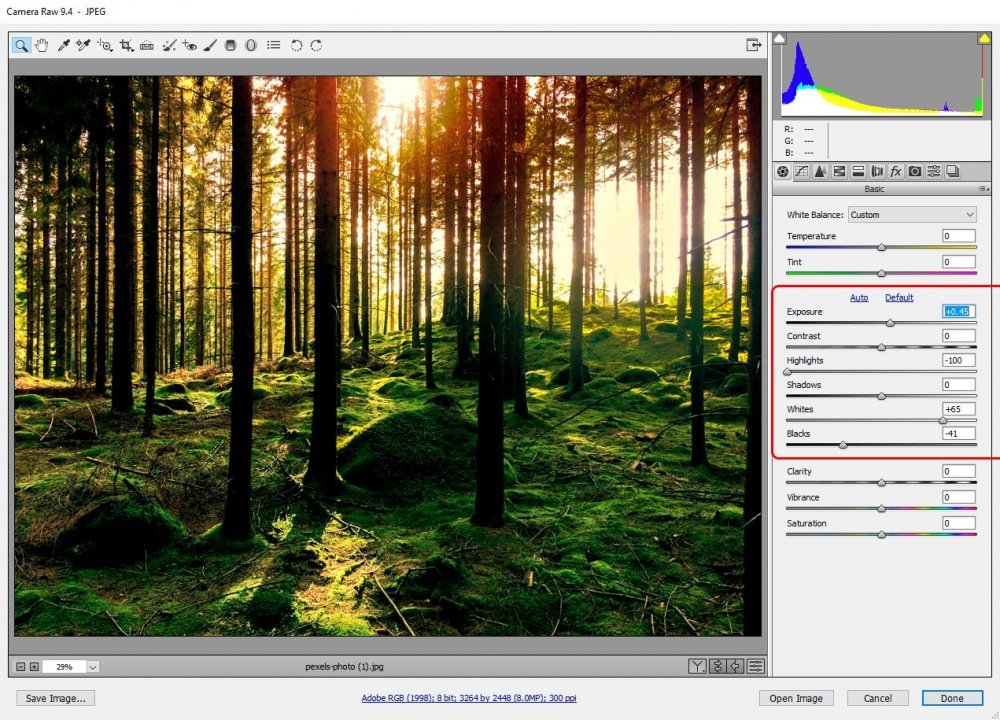
To make these edits, I moved the Exposure, Highlights, Whites and Blacks sliders. The problem is, by adding this much contrast to the photo via these sliders, I ended up with too much yellow in the image. While this may look good if I was going for that, I’d like to make things a bit cooler. To accomplish this, I’ll move the White Balance Temperature slider to the left.
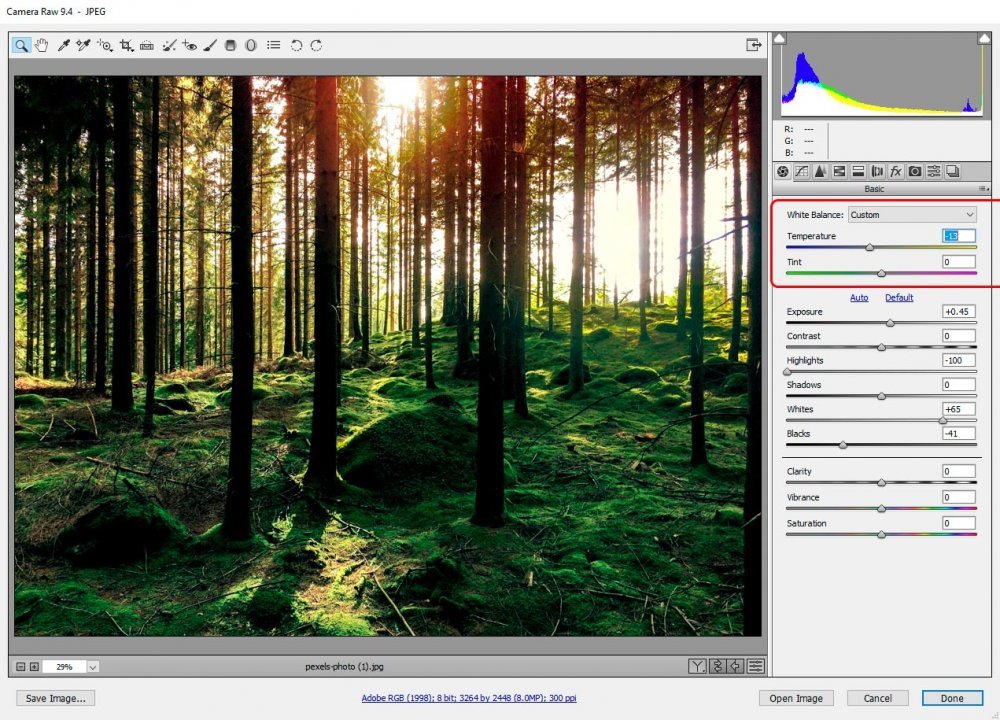
That’s better. The greens appear to be brighter now and the warm temperature is more isolated to the top of the image where it should be.
Finally, I’ll adjust a bit more by moving the Clarity and Vibrance sliders.
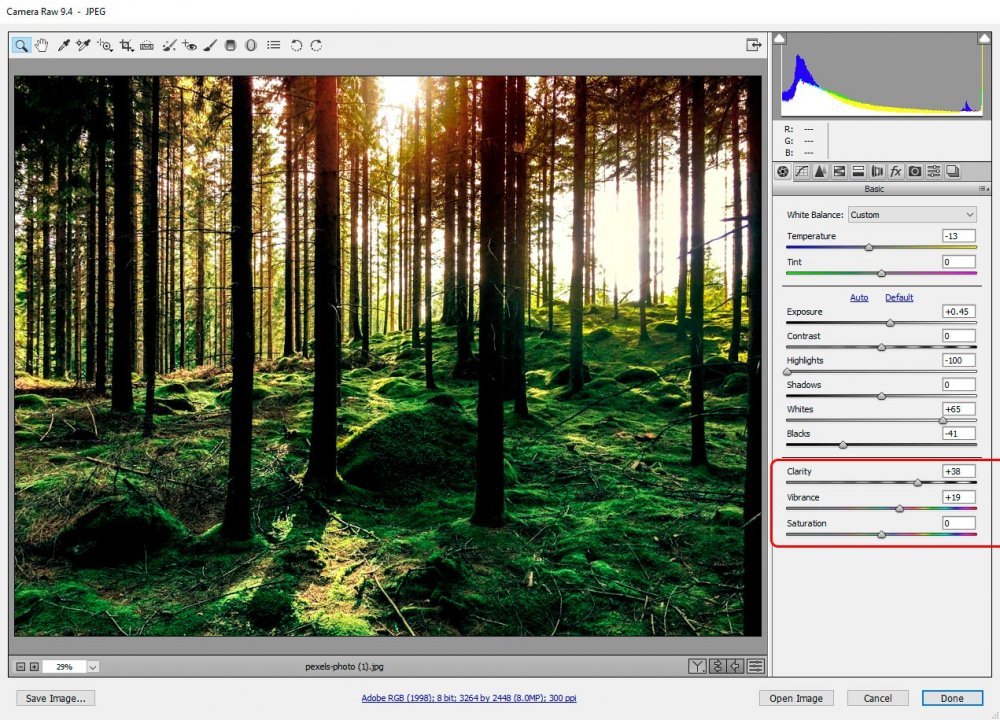
Now, I do want to let you know that I usually adjust the Dehaze slider after I make all my other adjustments. I went in reverse today to more clearly show you its effect. While there wasn’t a huge difference in this photo, it can have more of an impact with other photos. It all depends on what Camera Raw picks up on. It’s definitely worth it to move the slider back and forth for each photo you edit. It can have both a clarifying and saturating effect in one move.
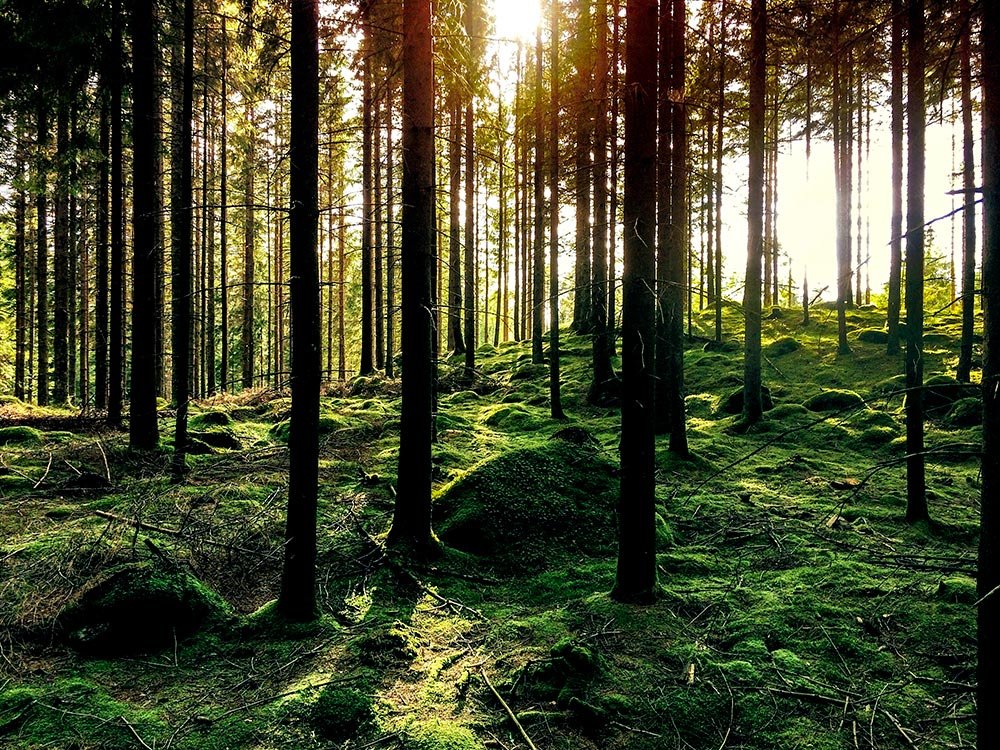
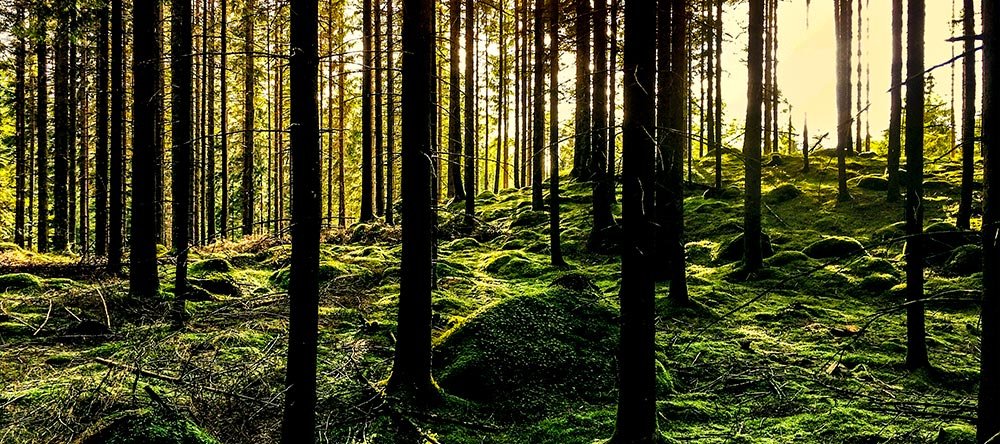
Here are the before and after shots from above. You can see the greatest haze removal in the upper right corner area. What was once misty is now clear.
