Cameron
Member
- Joined
- May 10, 2021
- Messages
- 108
- Reaction Score
- 3
- Points
- 23
- #1
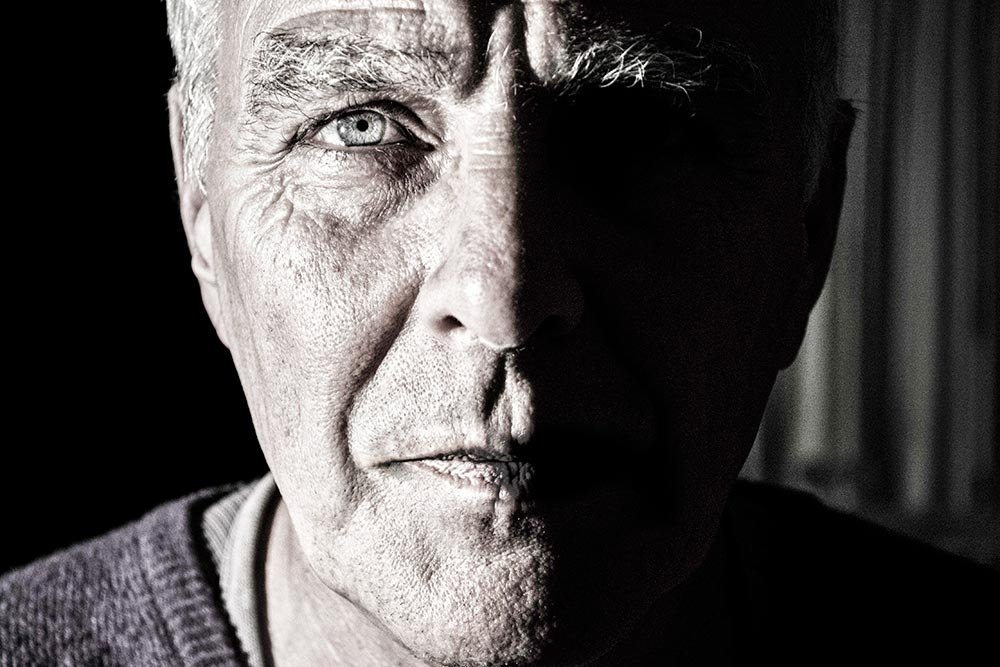
Have you ever wondered how you can add a color tone to a black and white photo? You know the type – no other color in the photo besides some sort of a gold to add more of a nostalgic feeling. Or perhaps a red to add a bit of mischief. Well, accomplishing this is much easier than you think in Adobe Camera Raw. In some cases, if you already know what you want, it can take just a few minutes. Of course, other cases can take longer, especially if you’re exploring your options.
In this post, I’ll cover how to add color to an already black and white photo. If you’re unaware of how to transform your photo to black and white, I suggest you read these posts:
Creating Black & White Photos in Adobe Camera Raw
How To Enhance Black & White Portraits in Adobe Camera Raw
Once you have this knowledge, you can move ahead with what I’ll talk about below.
Example Photos
I’ve got two photos that I already transformed to black and white. I did a bit of additional editing to make them look as good as I think they can. The first one is already shown at the top of this post and the second one is below.
Split Toning Panel
With my black and white photo open in Camera Raw, I can head over to the Split Toning panel. It’s the fifth button in from the left.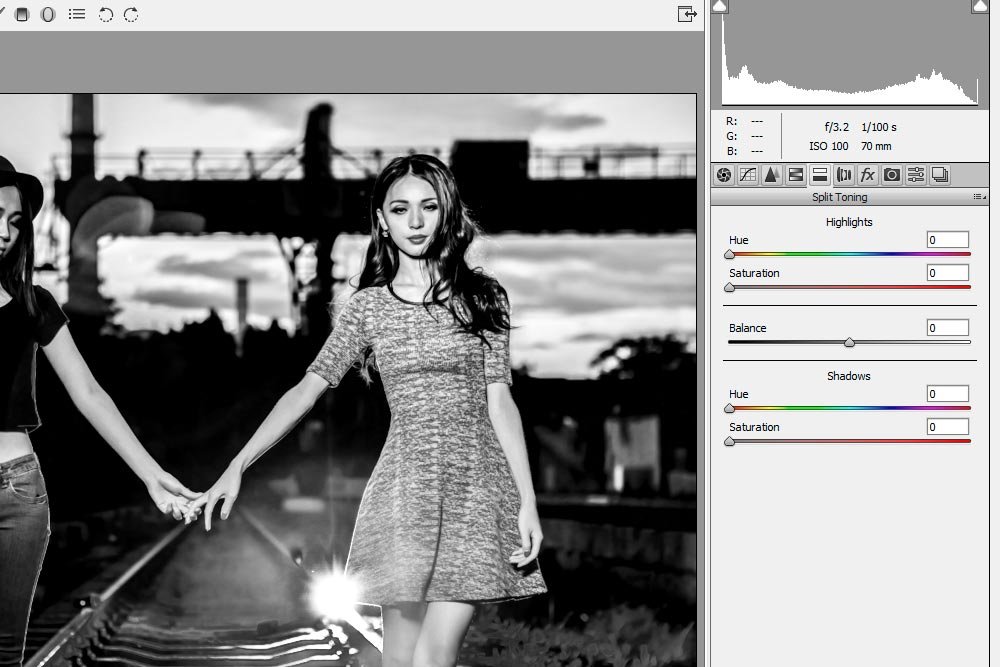
If you take a look at the controls in this panel, you’ll soon discover how simple and intuitive they are. The top section controls the highlights and the bottom controls the shadows. In between them, there is a slider that controls how strong or how weak the top is in relation to the bottom. For each the highlight and the shadow sections, there are two sliders. One allows you to choose your hue, or color, and the other allows you to control the saturation, or strength, of that hue. That’s it. Like I said, it’s very simple.
In the next section, I’m going to give you a few examples of how the photos I’ve chosen look with a bit of color added to them.
Adjusting the Highlights
In this section, I’m going to adjust both photos with the same specifications. I’ll move the Hue slider in the Highlights section to 50 and the Saturation slider in the same section to 25. I won’t touch any other sliders in the panel.
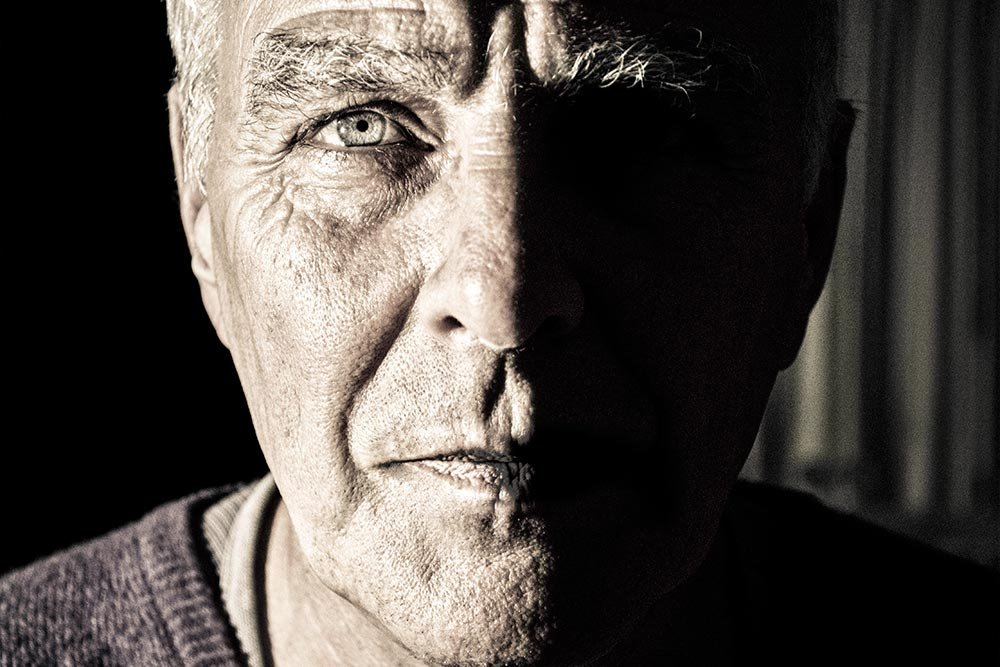
As you can see, both of the photos now have a slight bit of yellow in their highlights.
Adjusting the Shadows
Now, I’ll play with the shadows somewhat. First, I’ll reset the Highlights settings to zero. To mix things up, I’ll increase the Saturation slider up to 50 and the Hue slider over to 250. Let’s see what this looks like.
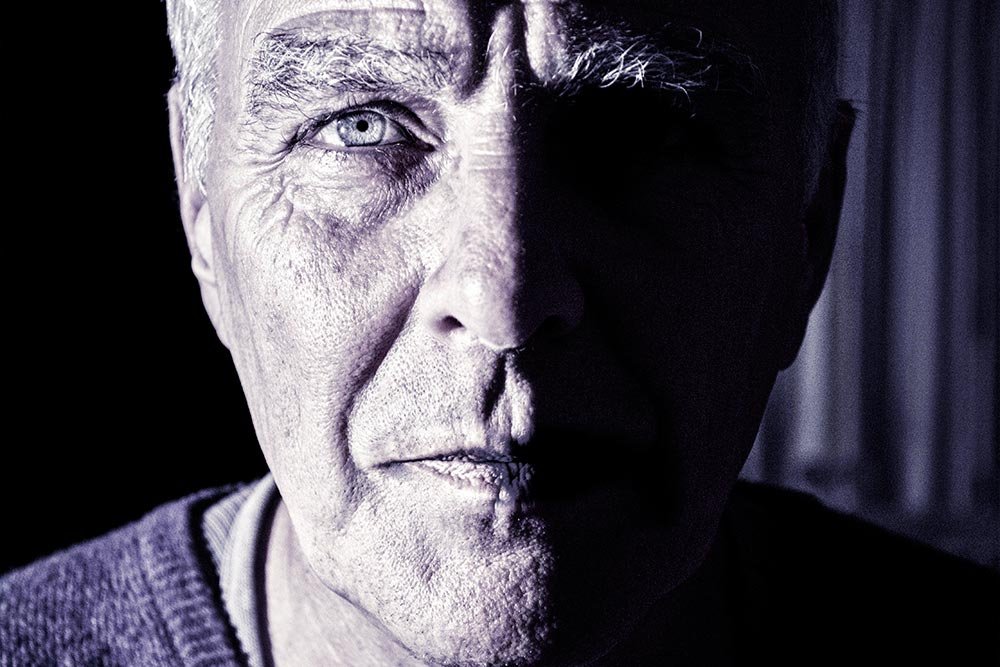
Now we can really see some blue. That’s looking noticeably different than the original black and white, for better or worse.
Adjusting Both Highlights & Shadows
Now let’s make things interesting. I’m going to adjust the Hue slider in the Highlights section to 50, like it was in one of the previous sections, but this time, I’m going to increase the Saturation of that same section to 50, so we can see the yellow a bit better. Also, I’ll keep the Hue slider in the Shadows section set at 250 and the Saturation slider set to 50. This way, I’ll be adding two different colors – one to both the highlights and the shadows of the photos. Let’s see what happens.
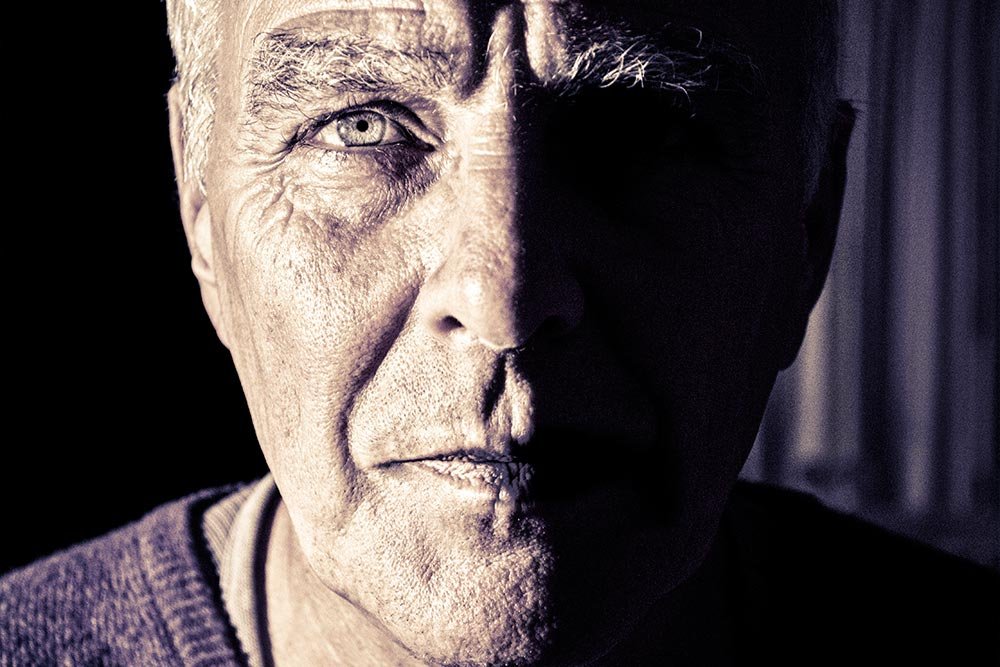
Actually, that looks kind of cool. I’ll leave the Balance set to because I’d like to keep things 50/50, but if I wanted more yellow and less blue in the photo, I’d could either slide the Balance slider to the right or play around with the Saturation sliders. It would be up to me to see what option gave the best result.
As you may have guessed, this panel can really enhance your photos or get you in some trouble. I like to have someone with a fresh set of eyes look at my work after I’ve been editing for a while. I know that I have the tendency to get used to my edits and sometimes push them too far. When someone else walks in the room, I look for their initial reaction. That’s always the one I stick with. It’s usually either “Awesome!” or “Whoa – too much!”
