15Katey
Member
- Joined
- May 10, 2021
- Messages
- 130
- Reaction Score
- 0
- Points
- 23
- #1
I’d say that the very first task someone needs to complete after purchasing a brand new camera would be to set the image size, quality and format their camera will be capturing. If memory serves, the default setting for Canon Rebel cameras is high quality JPEG photos. If you’re getting up there and are proficient with photography and image editing, you’ll likely need to change this setting so you’re shooting in RAW mode. If you’re taking photos specifically for the internet and are sure you’ll never need these photos for anything more demanding, you can reduce the image size your camera captures to something more moderate, like medium or small. In general though, you’re likely to keep the large JPEG or RAW setting intact.
In today’s post, I’d like to quickly review how to set the image size and format on a Canon Rebel DSLR camera. I’ll be using the Canon T6i as my demo camera, but really, these steps are the same, or at the very least, very similar, to those for many other models. I’m taking the photos for this post with my Canon T3i and the instructions are identical.

After that, press the Set button that sits at the center of the arrow buttons on the right side of the screen. This will bring you into the actual Image Quality display where you’ll make your choice for quality.

Large High Quality – 24M 6000×4000 pixels
Large Medium Quality – 24M 6000×4000 pixels
Medium High Quality – 11M 3984×2656 pixels
Medium Medium Quality – 11M 3984×2656 pixels
Small High Quality 1 – 5.9M 2976×1984 pixels
Small Medium Quality 1 – 5.9M 2976×1984 pixels
Small 2 – 2.5M 1920×1280 pixels
Small 3 – .3M 720×480 pixels
RAW+JPEG – 24M 6000×4000 pixels
RAW – 24M 6000×4000 pixels
Okay, so you’re probably wondering why there isn’t much of a difference between the high quality options and the medium quality ones. Basically, this has to do with image compression. While the camera captures the image with the same megapixel and pixel count, it compresses it differently on the inside so the output varies. This gives you flexibility when it comes to gauging how many photos you’d like to take with a specifically sized data card.
Also, the number of photos you can store varies greatly between all of these settings, and again, you’ll need to gauge your usage with your storage capabilities. To the right of the pixel dimensions is a number. That number is what (the number of photos) the card inside of your camera can hold.
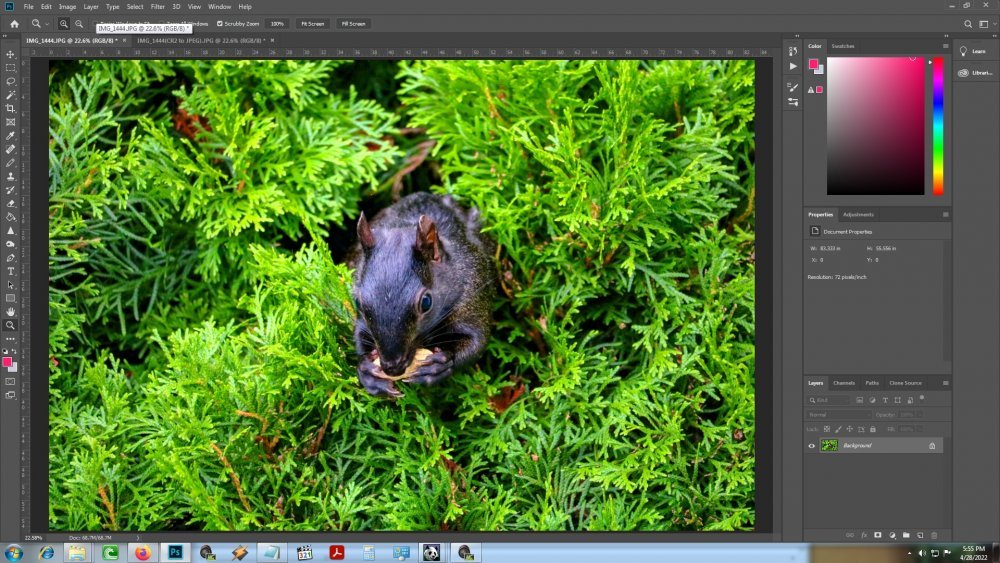
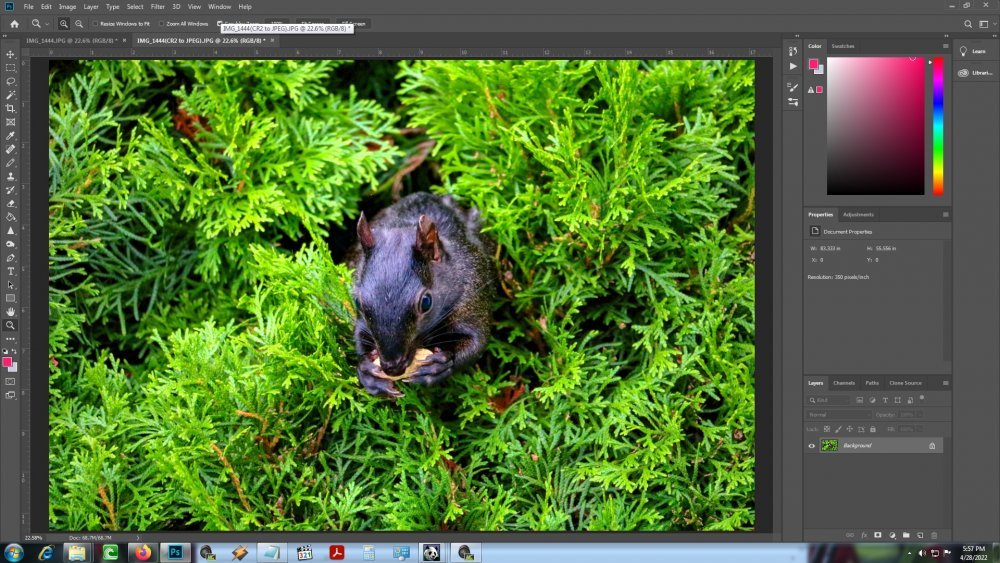
As for the RAW mode, that’s the highest quality available since it’s not compressed by the camera at all. When shooting in this mode, you’ll have as much post processing flexibility as possible, so it’s advised that you use this if you have editing software that can handle the CR2 or DNG file type.
To choose one of these options, navigate to the left or to the right with the arrow keys I discussed earlier. When you’ve settled on an option, press the Set button. Then, you’ll likely need to back out of the menu area by clicking the Menu button a few times until you return to the camera shooting mode.
PS – This post refers to almost all Canon Rebel cameras, including the T2i, T3i, T4i, T5i, T6i. T7i and the T8i.
——
I hope I’ve clearly explained how to alter the photo size, quality, and format for a Canon Rebel DSLR camera. If you have any questions or concerns regarding this post, please leave them below. Thanks for reading!
In today’s post, I’d like to quickly review how to set the image size and format on a Canon Rebel DSLR camera. I’ll be using the Canon T6i as my demo camera, but really, these steps are the same, or at the very least, very similar, to those for many other models. I’m taking the photos for this post with my Canon T3i and the instructions are identical.
Accessing the Image Quality Display
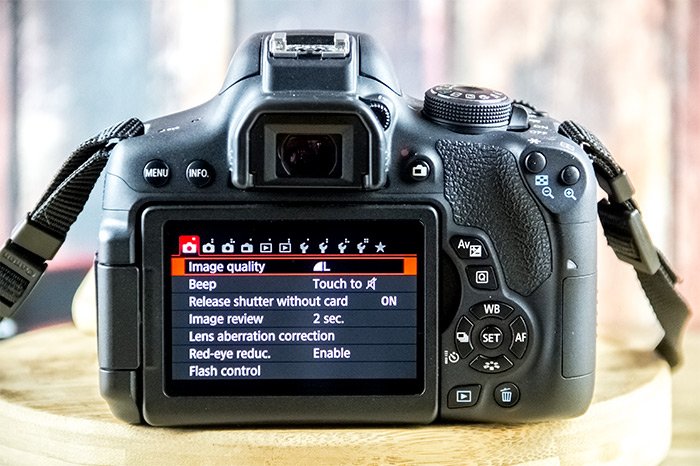
The first step in adjusting the photo size or format in your camera is to access the Image Quality display on the rear screen. To do this, simply press the Menu button that sits in the upper left corner of the rear of the camera. Then, use either the left or right arrows to the right of the LCD screen to navigate to the display that has the Image Quality option available. On the T6i, this would be the very first one.
After that, press the Set button that sits at the center of the arrow buttons on the right side of the screen. This will bring you into the actual Image Quality display where you’ll make your choice for quality.

Changing Dimension, Quality & Format
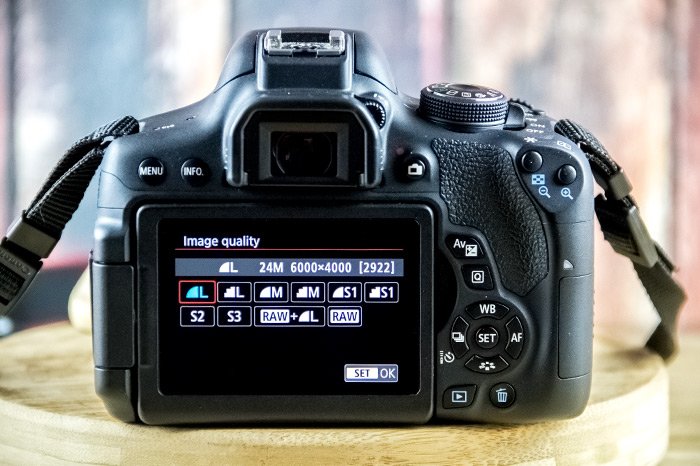
On the T6i, there are currently ten options for photo size, quality and format. There are actually two options for format; one is JPEG and the other is RAW. As for size, there are actually only five. And for quality, there are actually only three. I’ll list out all these options below.Large High Quality – 24M 6000×4000 pixels
Large Medium Quality – 24M 6000×4000 pixels
Medium High Quality – 11M 3984×2656 pixels
Medium Medium Quality – 11M 3984×2656 pixels
Small High Quality 1 – 5.9M 2976×1984 pixels
Small Medium Quality 1 – 5.9M 2976×1984 pixels
Small 2 – 2.5M 1920×1280 pixels
Small 3 – .3M 720×480 pixels
RAW+JPEG – 24M 6000×4000 pixels
RAW – 24M 6000×4000 pixels
Okay, so you’re probably wondering why there isn’t much of a difference between the high quality options and the medium quality ones. Basically, this has to do with image compression. While the camera captures the image with the same megapixel and pixel count, it compresses it differently on the inside so the output varies. This gives you flexibility when it comes to gauging how many photos you’d like to take with a specifically sized data card.
Also, the number of photos you can store varies greatly between all of these settings, and again, you’ll need to gauge your usage with your storage capabilities. To the right of the pixel dimensions is a number. That number is what (the number of photos) the card inside of your camera can hold.
As for the RAW mode, that’s the highest quality available since it’s not compressed by the camera at all. When shooting in this mode, you’ll have as much post processing flexibility as possible, so it’s advised that you use this if you have editing software that can handle the CR2 or DNG file type.
To choose one of these options, navigate to the left or to the right with the arrow keys I discussed earlier. When you’ve settled on an option, press the Set button. Then, you’ll likely need to back out of the menu area by clicking the Menu button a few times until you return to the camera shooting mode.
PS – This post refers to almost all Canon Rebel cameras, including the T2i, T3i, T4i, T5i, T6i. T7i and the T8i.
——
I hope I’ve clearly explained how to alter the photo size, quality, and format for a Canon Rebel DSLR camera. If you have any questions or concerns regarding this post, please leave them below. Thanks for reading!


