LukeLewis
Member
- Joined
- May 7, 2021
- Messages
- 134
- Reaction Score
- 0
- Points
- 21
- #1

Photoshop has a really neat feature that allows layers to interact with one another. Instead of having one layer sit on top of another, completely covering the lower one’s visibility, we’re able to use something called a Blending Mode to enhance the look of both layers that gives a corrective or create appearance. Blending modes can also be used with a few tools, so we can reach even further when it comes to applying uniqueness to our photos. Really, with blending modes, our creativity is unlimited.
In this post, I’ll talk about what blend modes are, where to find them and how to go about using them in your workflow.
What are Blending Modes?
There really is no better resource to read through than Adobe’s own blending mode descriptions and examples page. I’ll give you a quick excerpt here and then offer a link to their page. Believe me, it’s much more in depth than this one.The blending mode specified in the options bar controls how pixels in the image are affected by a painting or editing tool. Think in terms of the following colors when visualizing a blending mode’s effect:
– The base color is the original color in the image.
– The blend color is the color being applied with the painting or editing tool.
– The result color is the color resulting from the blend.
With blending modes, you can combine colors to correct something that’s wrong or unappealing in a particular photo. You can also create various effects with different modes. It’s sort of a challenge to describe a feature that has so many tentacles, but by the end of this (first of many) post, I think you’ll have enough data to open up Photoshop and play around a bit.
If you’d like, you can visit Adobe’s blending mode page. There, they offer descriptions of each blending mode, along with the effect it has on a layer. They also offer examples of each mode via some small thumbnails.
Where Can I Find Blending Modes?
You can find blending modes in two different locations in Adobe Photoshop. The first and most commonly seen is in the Layers panel. If you have a layer that’s not locked, you can use the pull-down menu that’s located right above the layers themselves to access the modes.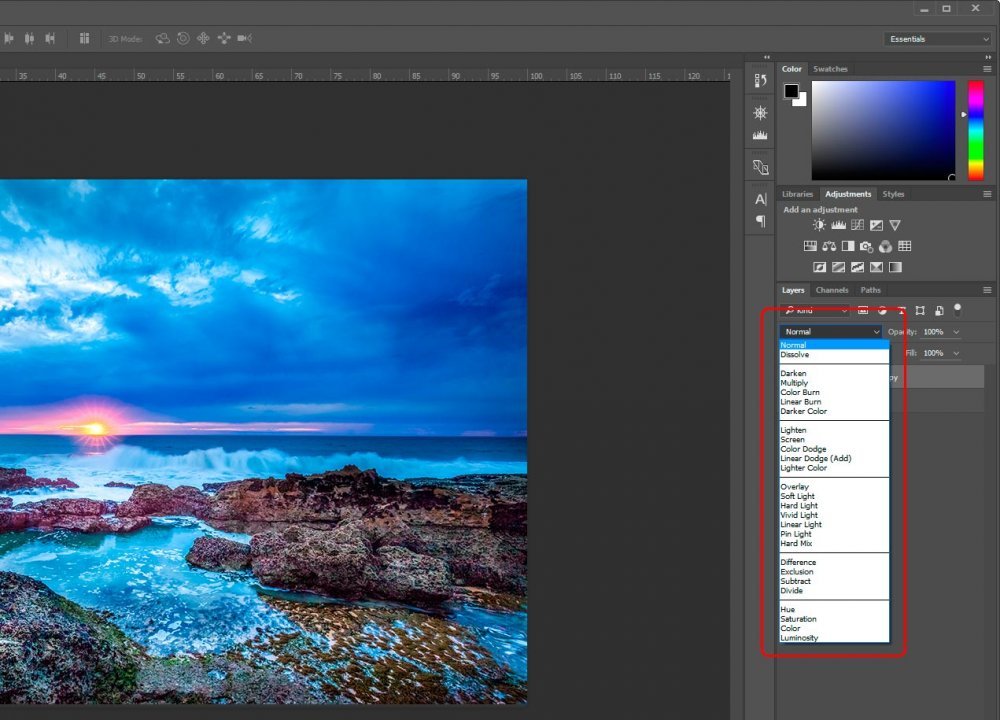
Also, if you use the Brush tool, the Clone Stamp tool or the Healing Brush tool, among others, you find the blend modes as well. They’re located up in the options bar.
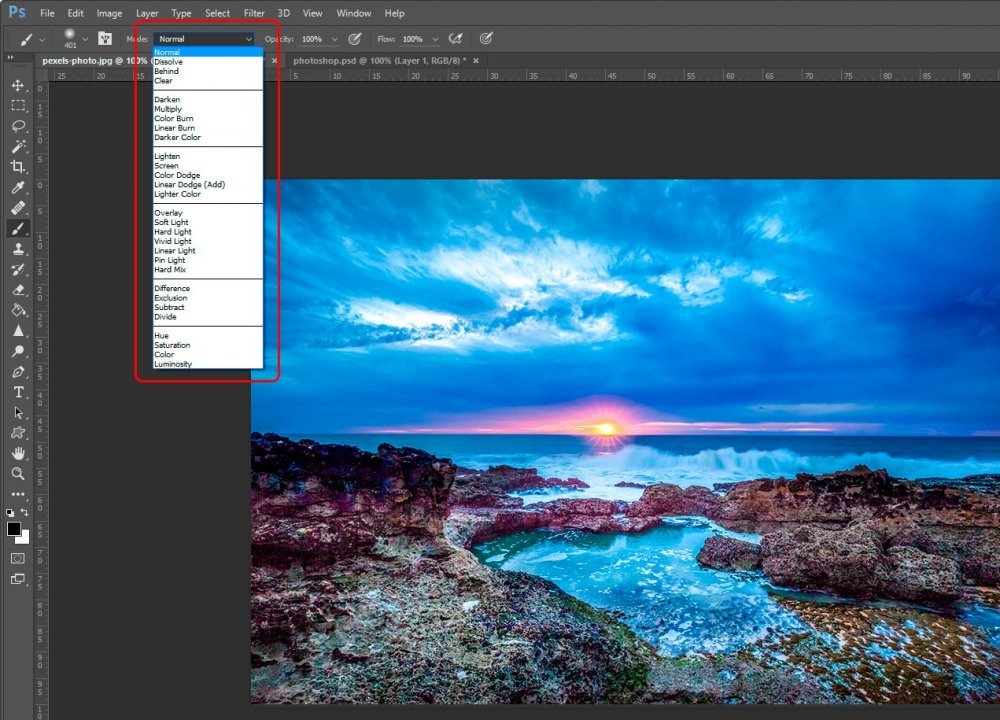
Please note that not all tools show all available blending modes. Also, some blending modes are only available for images that have specific qualities. This is what Adobe has to say about that:
Only the Normal, Dissolve, Darken, Multiply, Lighten, Linear Dodge (Add), Difference, Hue, Saturation, Color, Luminosity, Lighter Color, and Darker Color blending modes are available for 32‑bit images.
Groups of Blending Modes
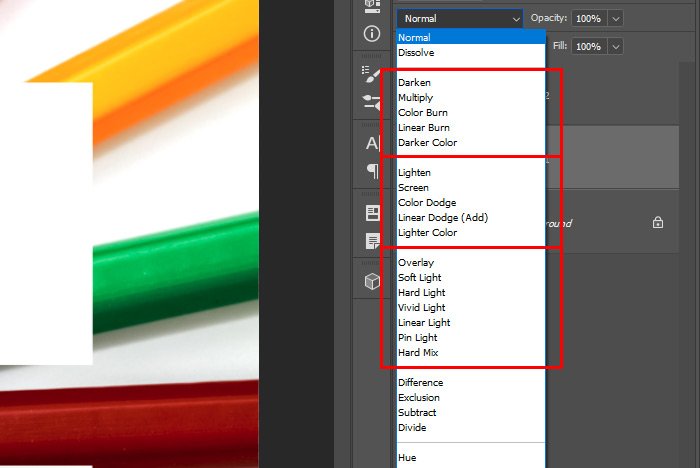
When I first began working in Photoshop, years ago, I had no idea what blending modes were and what they could do. I remember duplicating the layer I wanted to enhance and then flipping through each and every mode with my down arrow until I saw something I liked. Usually, I thought something looked cool for a few minutes until I just deleted the layer and started working on something else. Such is the life of someone who doesn’t know what they’re doing.Today, I know that blending modes are grouped together. If you look at an enlarged view of the drop-down that contains the modes, you can see that specific ones are clustered with others.
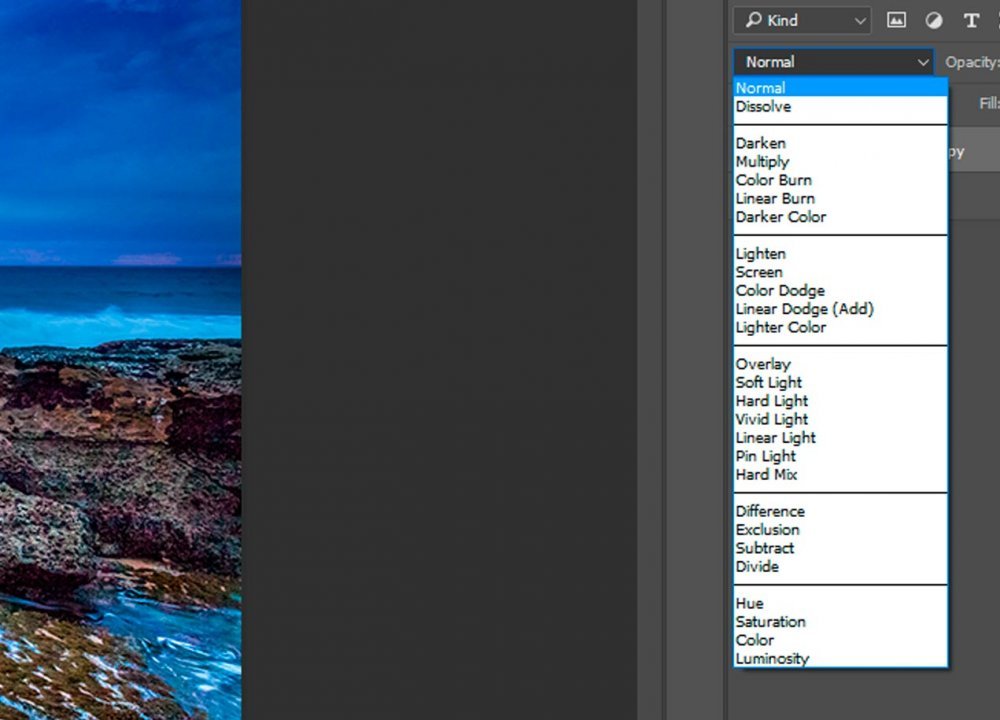
Let’s take a closer look at these modes.
For this section, I’m going to look specifically at the modes that are contained in the Layers panel. They shift around in the options bar and I’d be here all day trying to chase them down to explain them. So, for now, I’ll stick to the one area.
The first mode is Normal and the second is Dissolve. We’re going to ignore them for right now because, well, the first one is Normal and the second one has more to do with use during the application of tools from the toolbar. For the rest, I’ll show you what type of groups exist.
Darken Modes
DarkenMultiply
Color Burn
Linear Burn
Darker Color
Lighten Modes
LightenScreen
Color Dodge
Linear Dodge
Lighter Color
Contrast Modes
OverlaySoft Light
Hard Light
Vivid Light
Linear Light
Pin Light
Hard Mix
Inversion Modes
DifferenceExclusion
Cancellation Modes
SubtractDivide
Component (Color) Modes
HueSaturation
Color
Luminosity
While each of these modes does something different, it helps to group them in your mind and explore them with intent as opposed to in a random manner like I used to do. For instance, if I wanted to add a lighter area in one of my photos, I would work with the Lighten group. I wouldn’t know exactly which blend mode I’d use until I began exploring them, but at least I wouldn’t be messing around with one of the Cancellation modes. Trust me when I say this – knowing that individual blending modes fall into groups is half the battle.
Blending Mode Examples
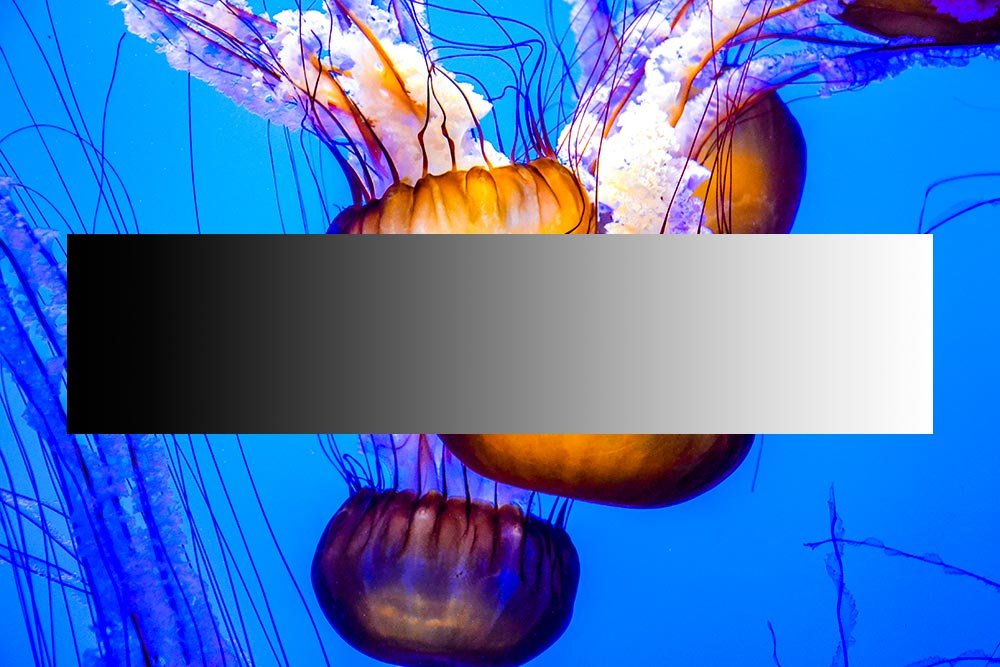
This post was merely the tip of the iceberg when it comes to this area of Photoshop. In later posts, I’m going to dive much more deeply into this area, but for now, I just wanted to introduce you to the topic. Now, I’m aware that I haven’t exactly shown you anything that has to do with blending modes yet, so below, I’ll put some photos together as examples. I’m going to do with quickly with no real goal, so please keep in mind this is for demonstration only.This is the original photo.

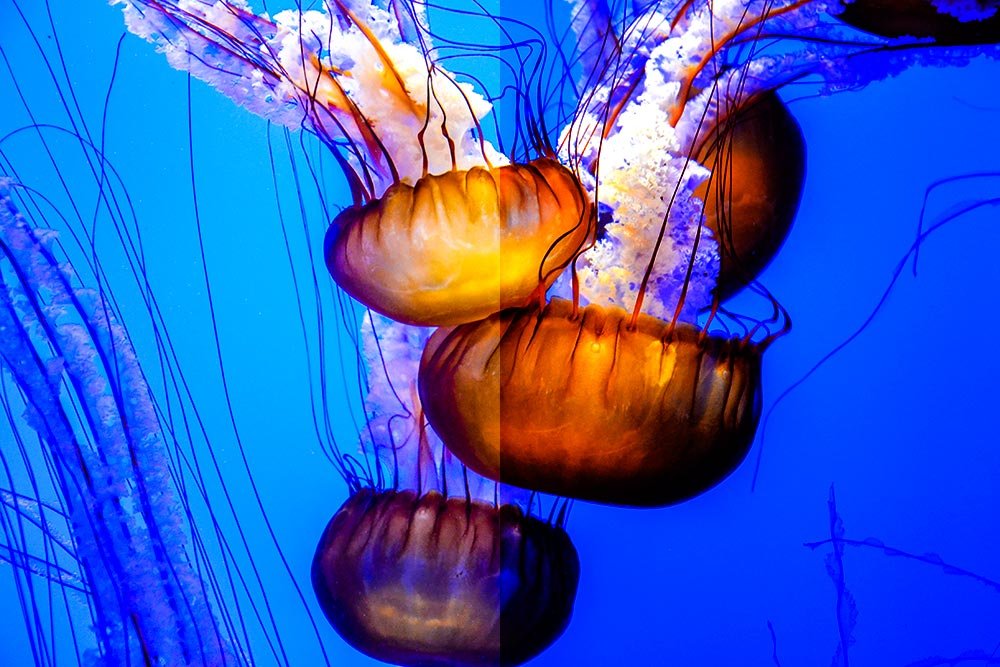
I duplicated the background layer twice and applied the Screen mode to the top layer and the Multiply mode to the layer right beneath that. That would make the top layer lighter and the next layer darker. Then, I used a really big soft eraser to erase the center portion of the photo, which gave me a darker center with lighter edges.

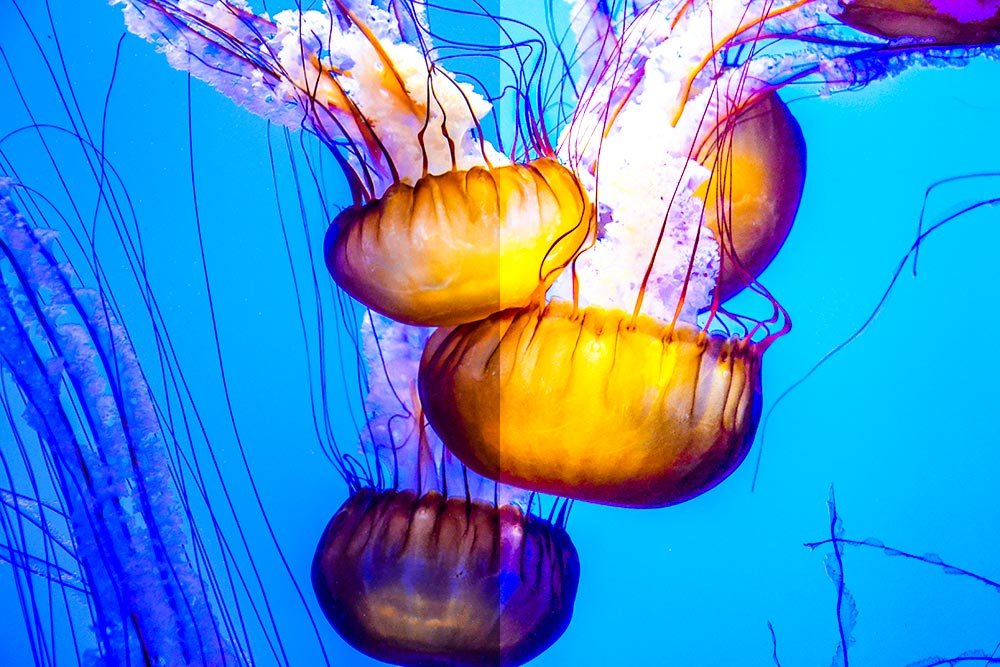
For this next image, I did exactly the opposite of the one above. I applied the Multiply mode to the top layer and the Screen mode to the one below that. I erased the center again. I ended up with a lighter center with darker edges.

I know these differences are very subtle, but just imagine what you can do with all the available options.
Here, take a look at this next one. In this file, I used two layers. The sunset was the bottom layer and the flower was on top of that. All I did was to simply apply the Soft Light mode to the flower layer. Now, they’re blended into one.
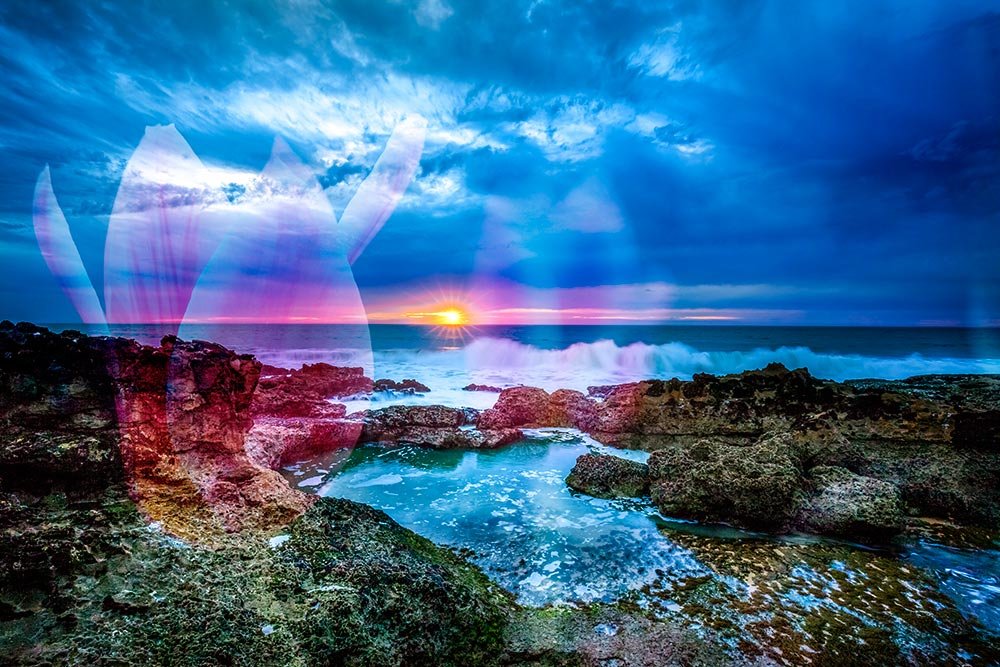
Again, I’m going to be talking about blending modes for a good long time, so be sure to keep your eye on the Photoshop forum on this site. Cheers!


