Newman
Member
- Joined
- May 11, 2021
- Messages
- 106
- Reaction Score
- 0
- Points
- 23
- #1
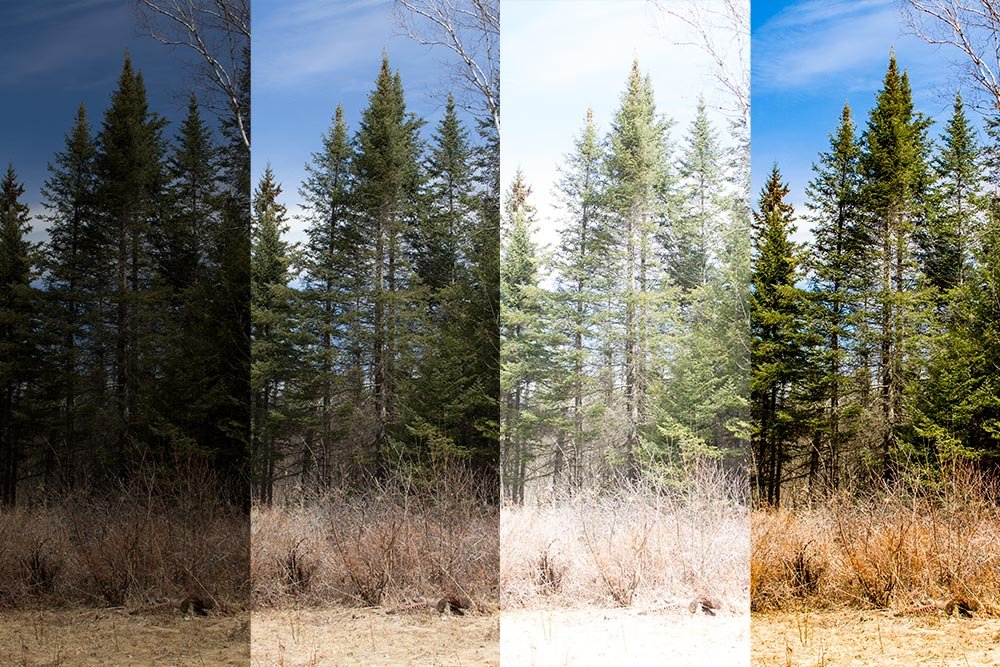
If you’ve been into shooting photos for any length of time, you’ve surely heard of HDR photograpy by now. If you haven’t, HDR stands for High Dynamic Range. I’ll attempt to explain what this means in the next paragraph.
When you take a photo with your camera, that photo is locked into a specific dynamic range of lighting. This means that it’s taken with the floor of lighting that the camera can handle at one specification and the ceiling at another. What you have in between is called the range. In some cameras, that available range isn’t very large. In others, it’s quite large. In the human eye, it’s very large.
If you had a camera with an extremely small (really really tiny) dynamic range, all your photos would be gray. If you expanded that range, all your photos would become discernible, but still very grayed out and dull. If you continued to expand the range, the photos would look better and better, until they looked nothing but stellar. The larger the dynamic range, the more variations of lighting, the more dynamic and interesting the photo.
So what’s the problem? Why can’t we just take photos with huge dynamic ranges? Well, unfortunately, as I mentioned above – our cameras are limited to what they can handle. If we want to create photos with larger ranges than what’s available, we need to get creative. That’s what Adobe Camera Raw is for.
If you’re interested in what really great photos with large ranges look like, just type HDR Photography into Google. You’ll become witness to all the splendor.
In this post, I’m going to demonstrate how you can create an HDR image by using Camera Raw. Since it’s important to have the proper working ingredients for a project like this, I just ran into my back yard a snapped a few photos. They’re nothing great, but they’ll pass as an example to assist you with learning what this is all about.
Multiple Exposure Photographs
To create an HDR image, you’ll need three photos with varying exposures. If you’d like to read up on how to use the Exposure Compensation feature on your camera, you can take a look at this post:Understanding Exposure Compensation in Photography
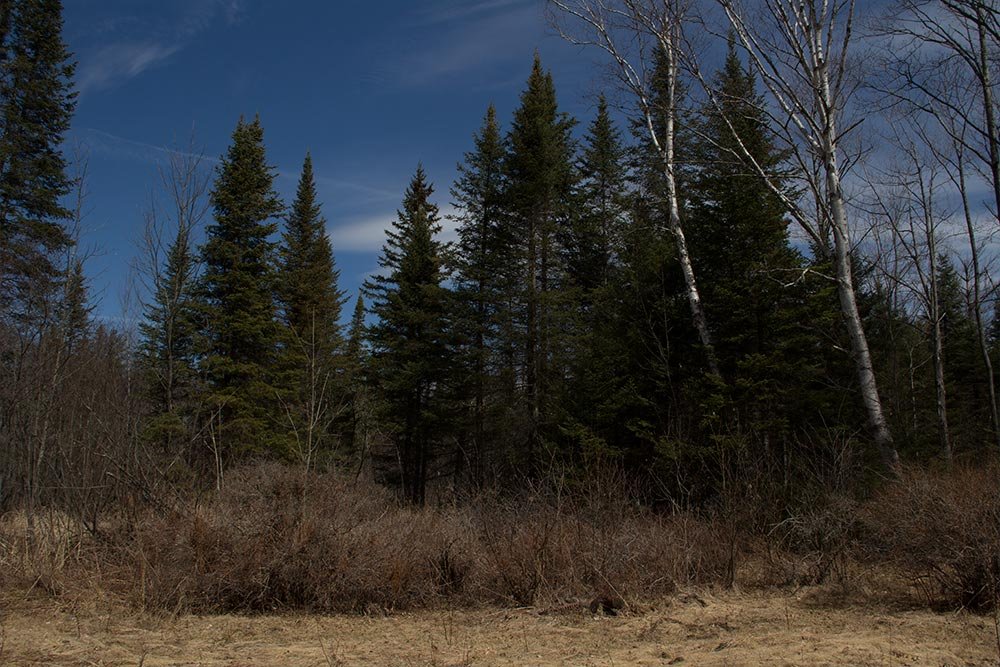
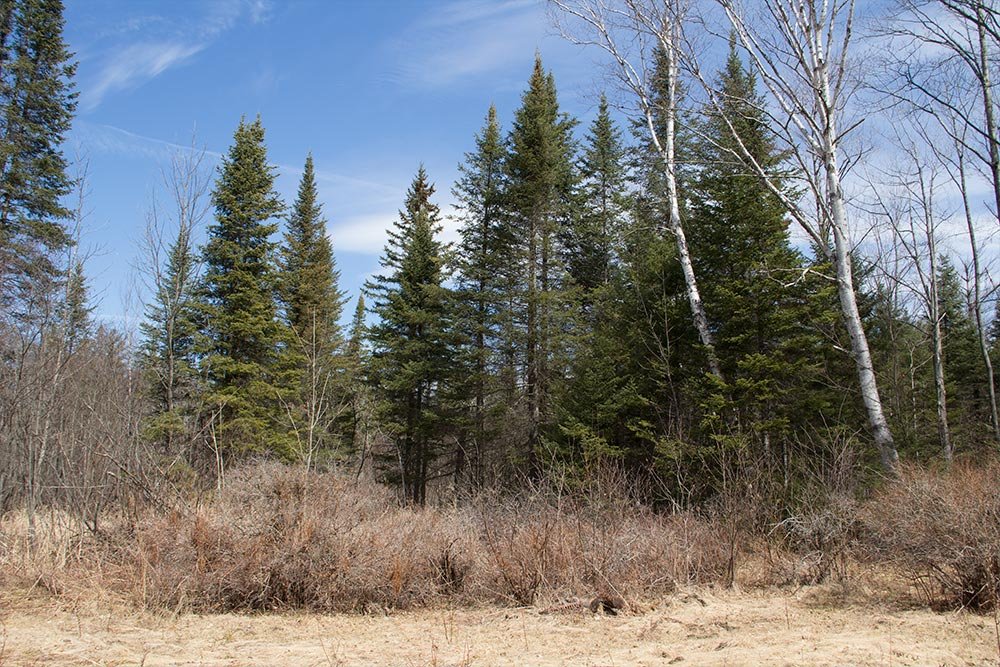
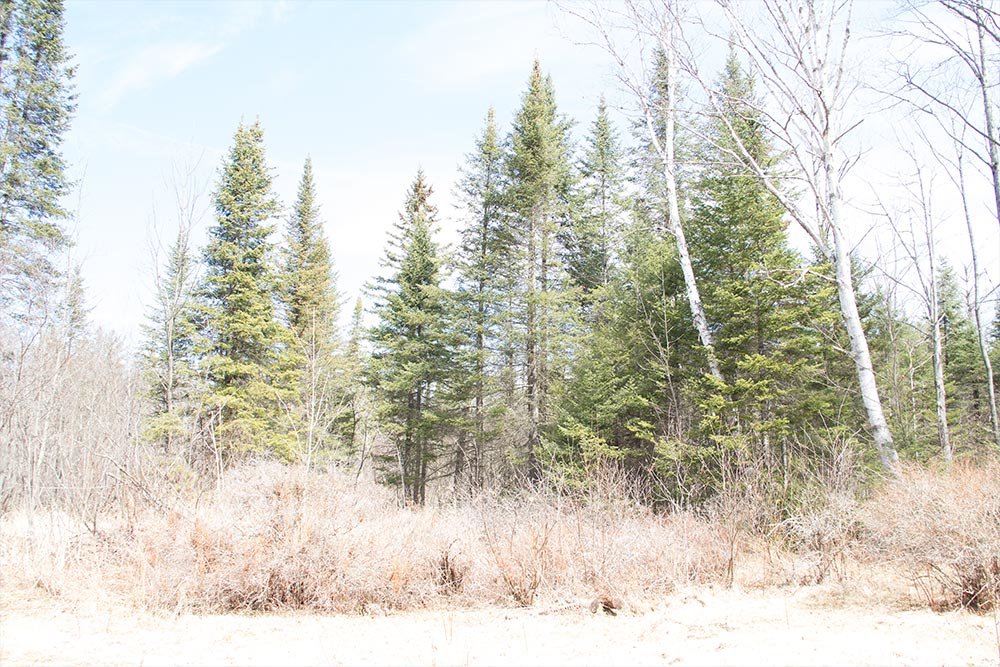
When I took my photos a few minutes ago, I used a tripod and photographed the same subject three times. I set the first exposure compensation to -2 stops, then, for the second photo I didn’t use the exposure compensation at all and for the final photo, I switched the exposure compensation to +2 stops. Essentially, I increased the dynamic range of lighting quite a bit. If a normal photo uses 100% of the camera’s available range, I just added 50% to the low end (the darker side) and 50% to the high end (the lighter side). My goal with Camera Raw is to merge all three photos together so the range of the final photo becomes the full 200% as opposed to the 100% I would normally be left with.
Here are the three original photos.
Exposure Compensation: -2
Exposure Compensation: None
Exposure Compensation: +2
As you can see, I really increased the dynamic range of lighting in these three photos.
Creating an HDR Image
To create an HDR image with Camera Raw, all you’ll need to do is follow a few simple steps. It’s actually much more painless than one would think.First, I’ll head into Adobe Bridge and select my three example photographs. Then, I’ll open them into Camera Raw together.
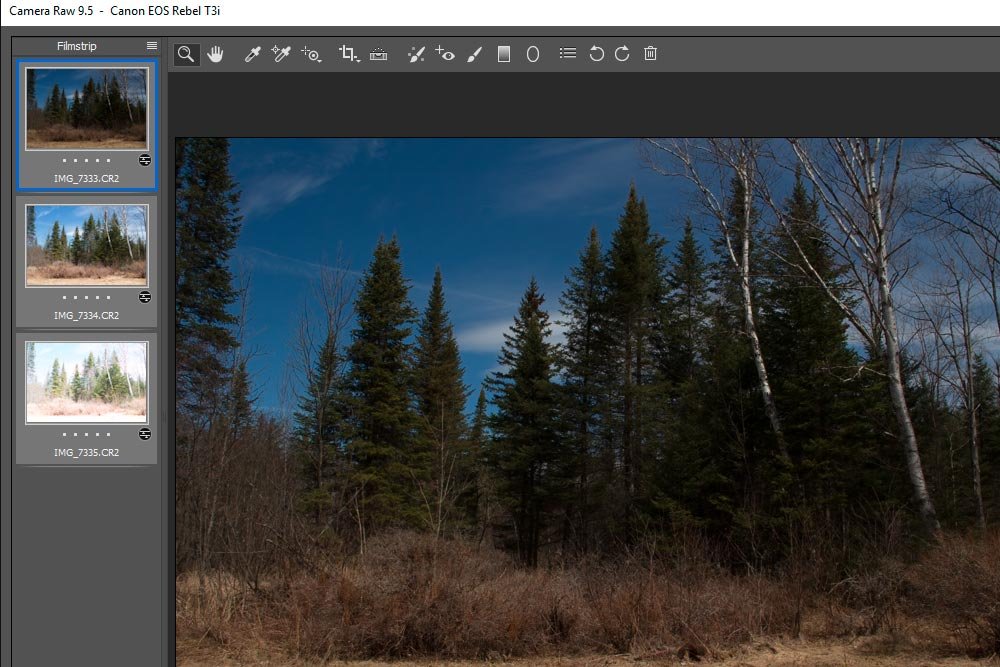
I’ll make sure all three of the thumbnails are selected in the left column.
Next, I’ll click the small menu icon that’s located to the right of the word Filmstrip at the top of the left column. This will expand the menu and I can click the Merge to HDR item.
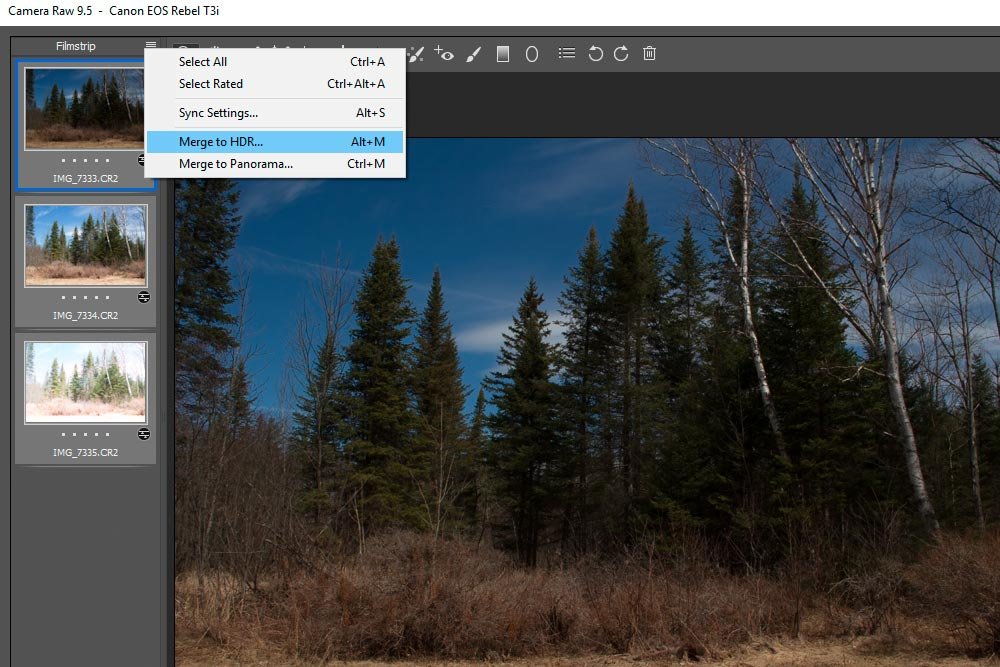
The moment I do that, the HDR Preview dialog box appears.
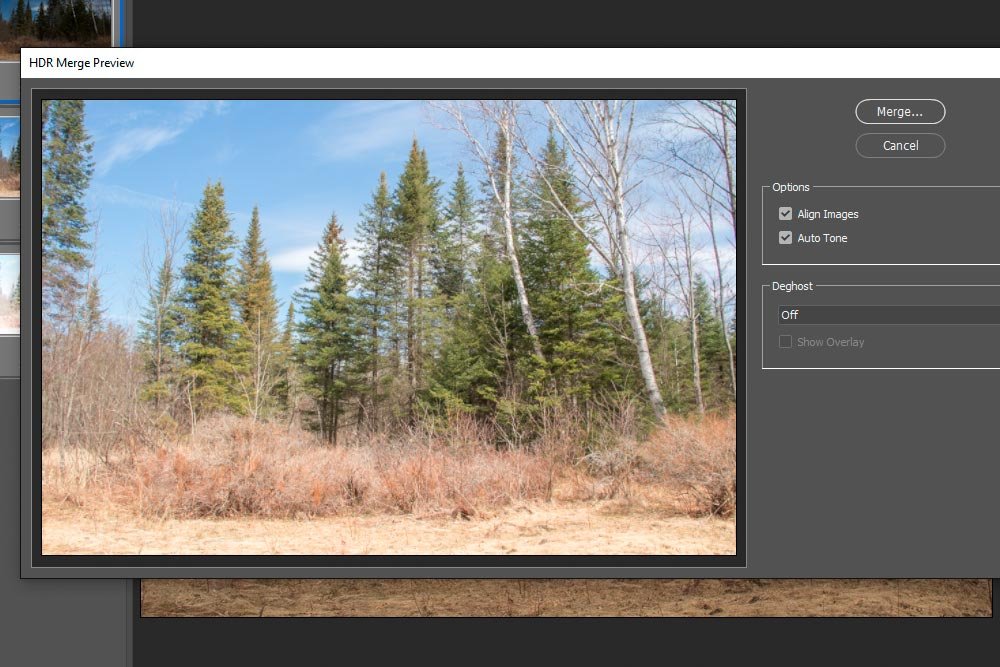
What shows in the preview box is actually the preview of all three merged images. The dynamic range is higher than what any one of them contains. Depending on the photos you’ve taken, this can be a rather boring preview or an extremely exciting one. I think the most fun are the landscape and sunset shots.
If you look to the right, inside the preview box, you’ll see a few choices that need to be made. Inside the Options area, you can select Align Images, Auto Tone or both. The Align Images choice merely looks for the edges of the objects in your photos and superimposes them on top of each other accurately, in case you didn’t use a tripod or if there was some sort of shake while taking the photo. I don’t see why that box wouldn’t be checked off. The Auto Tone choice gives a preview of how the combined photos might look best. I keep this checked as well.
Below the Options area is the Deghost area. This consists of a drop-down box that allows you to keep the feature off or set it to low, medium or high. Deghosting is a very helpful feature to use if you have moving objects in your photograph. Let’s say that in two of your photos you have no movement, but in the third, a cat runs through the frame. The Deghost feature will highlight the aberration (the cat) and give you the option to replace the area with what’s in one of the other photos. You can also choose which color you’d like to use to highlight the aberration. Quite handy. Just a word of warning though – this feature uses a lot of RAM on your computer. Be prepared for things to slow down quite a bit.
At this point, if you’re happy with the preview, you can click the Merge button up top and to the right.
After you merge the photos, Camera Raw creates a DNG file and saves it to the location of your choosing. You can see this file at the bottom of the left column. This is the HDR image.
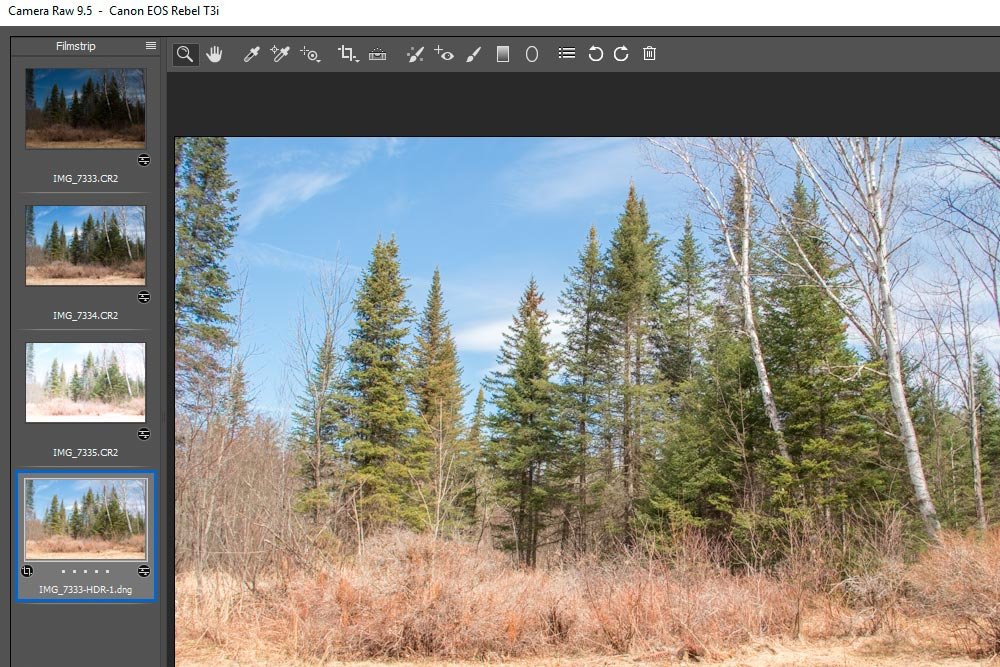
Over on the right, you can see the sliders for this HDR file moved around a bit. You can continue editing if you want.
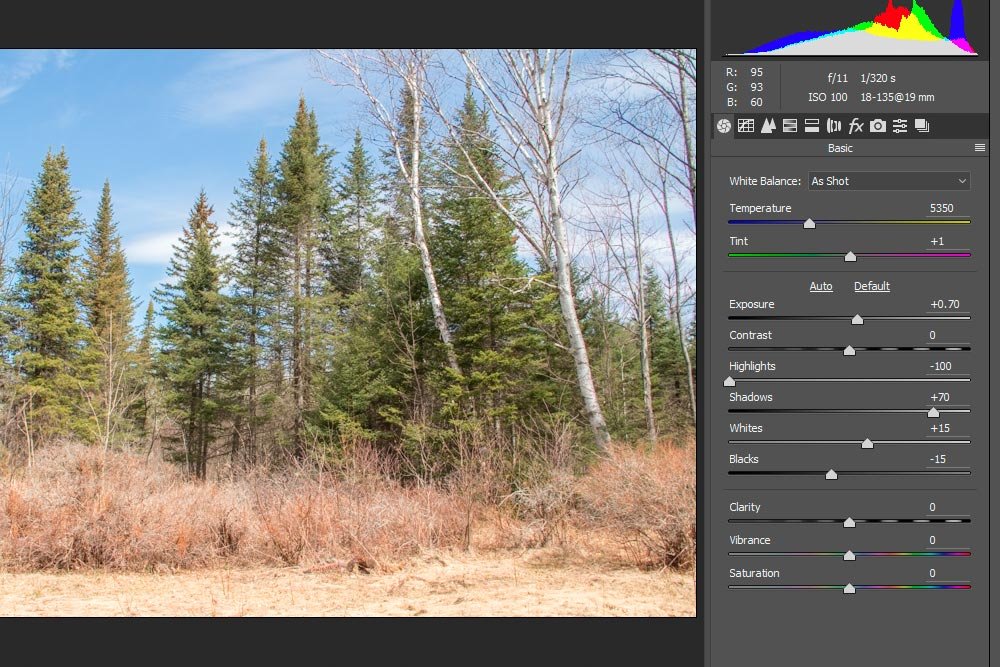
I’m going to go ahead and make some further adjustments to make this photo pop a bit more.
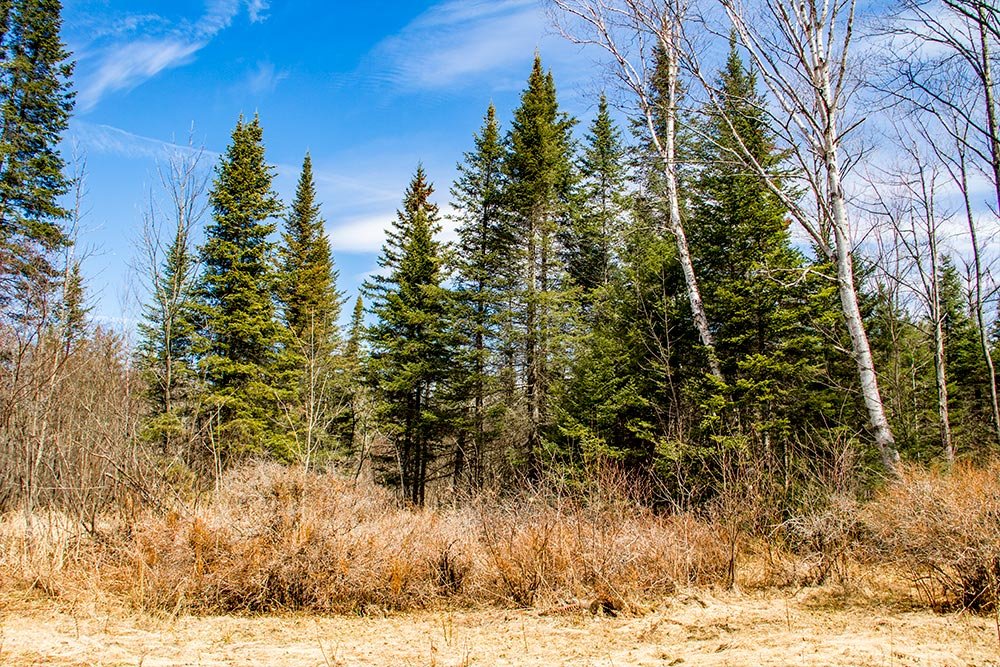
Now that’s what I’m talking about. This photo was very simple to edit. It’s almost as if it wanted it. With all that range, it’s tough not to look good.
Give this feature of Camera Raw a try and let me know what you think. Did you have good luck with it? Any further tips you can offer? I’d love to hear them. Thanks!
