CraigHardy
Member
- Joined
- May 11, 2021
- Messages
- 223
- Reaction Score
- 2
- Points
- 18
- #1
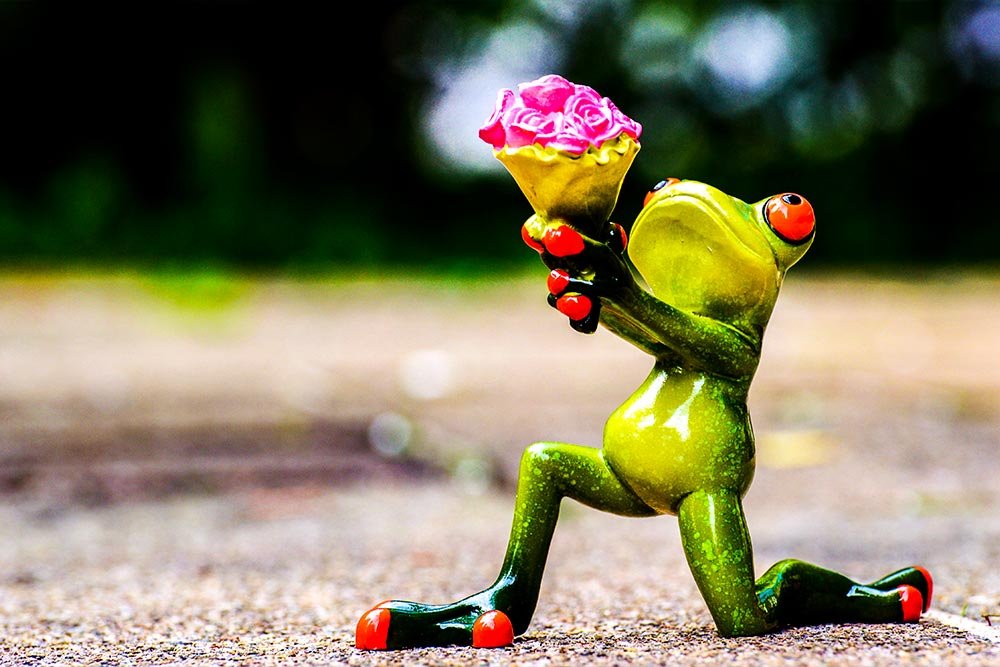
The Quick Selection Tool is one of those tools in Adobe Photoshop that you’ll use over and over and over again. As a matter of fact, selecting aspects of photographs and graphics may be one of the most common tasks that are undertaken with this application. I already discussed using this particular tool in a previous post, so if you’d like to refer back to catch up a bit, please do so.
In this post, I’m going to tackle a small project. I’d like to isolate the background of the above photo and change it to white. Basically, I want the figure in the photo to stand out alone. To accomplish this, I’m going to take a few approaches. The first will be rather intuitive and simple and the second will be more involved, but may open your eyes to a few tricks that may be helpful to you in the future.
Selecting with Quick Select
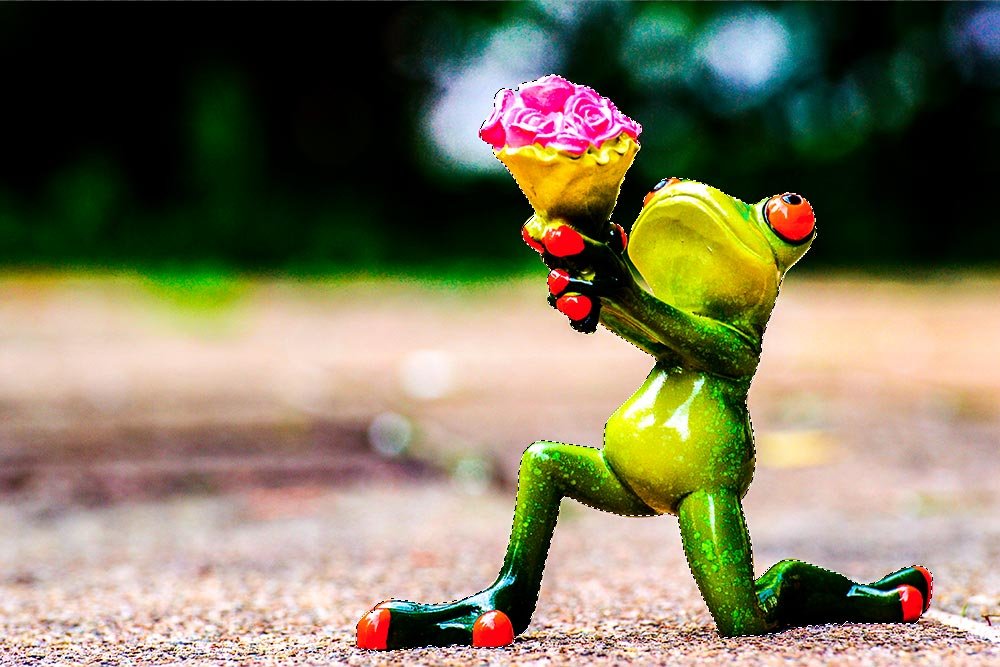
I’m going to cruise through this section because I already explained how to go about using the Quick Selection Tool in my earlier post.First, I’ll select the figure in the photo. In the screenshot below, you should see the marching ants around the figure.
Refine the Selection Edges
Now that the figure in the photo is properly selected, I can go ahead and refine the jagged edges. By the way, to select this object, I made frequent use of zooming in (Ctrl+) and zooming out (Ctrl-). I also used the Add to Selection and Subtract from Selection buttons up in the option bar.Now, I’ll head up to the Select > Refine Edge menu item and click.
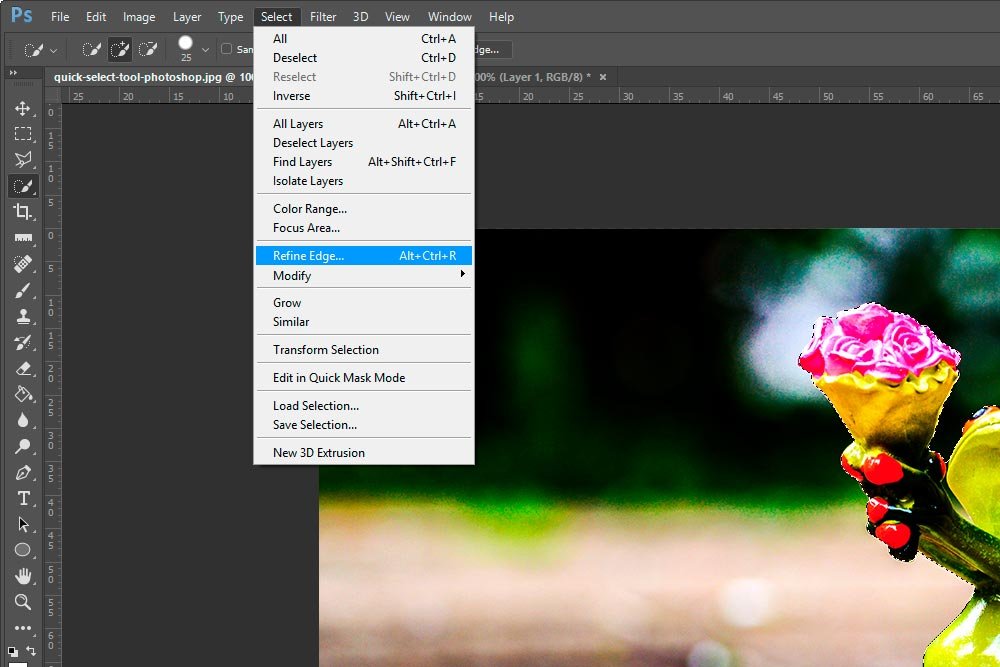
From there, I’ll make my edge refinement adjustments.
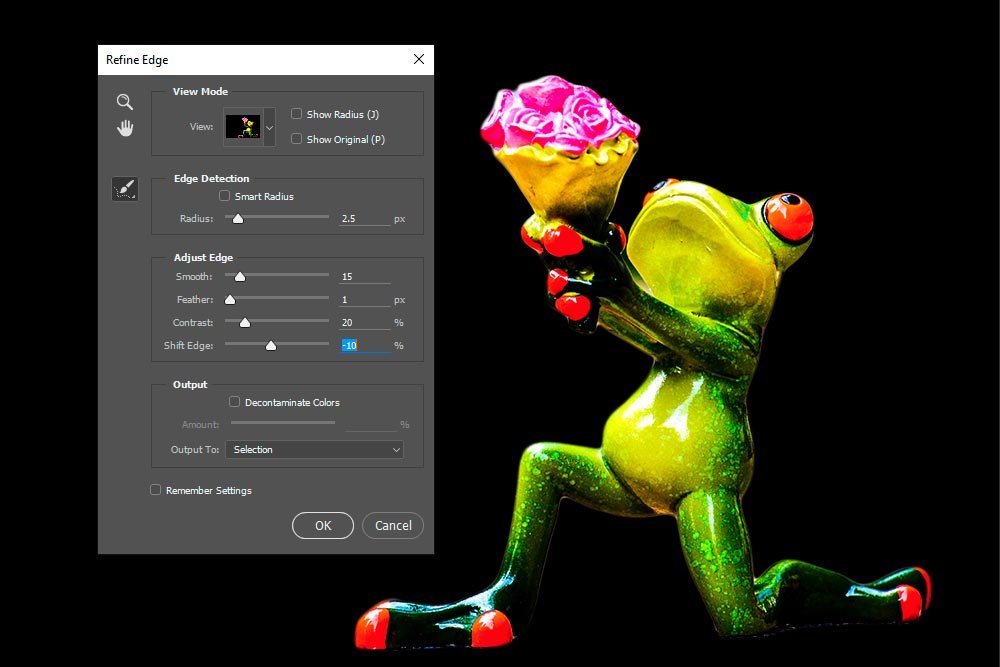
Once finished, I’ll click Okay and Photoshop will return me to the photograph.
First Method
This method won’t take very long at all, so I won’t spend a lot of time on it. Once the object in the photo is selected, I can simply copy/paste it to a new layer by clicking Ctrl+C and Ctrl+V on my keyboard. That will automatically paste whatever is selected into a layer Photoshop creates. After that, I can simply create a new layer and move it below my pasted selection layer and just use the paint bucket to fill that empty layer in. I can dump any color I want in there. That’s it. Done.Inverting the Selection
In this step, I’m going to take the opposite approach than the one I just took above. Instead of keeping the object selected, I’m going to invert the selection, so everything but the object is selected. I could have selected the background to begin with, but I went with the smaller object, since I figured it would be faster.To invert a selection, I’m going to head up to the Select > Inverse menu item and click. This will reverse my current selection.
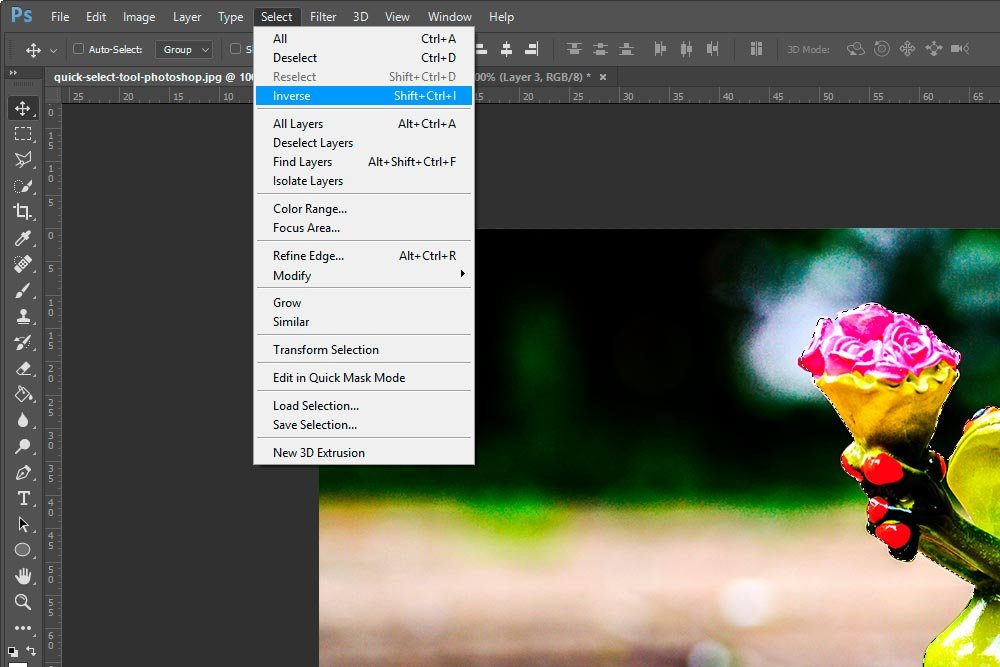
In the screenshot below, you should see the marching ants around the object and the outer border.
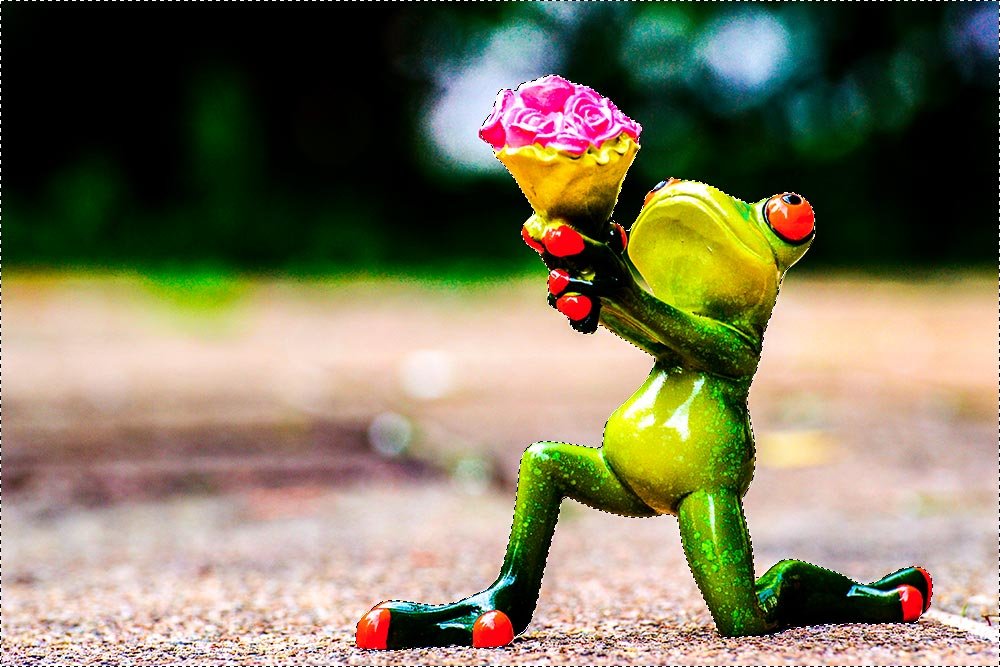
Create New Layer & Fill It
Now that the area I want to fill with white is selected, I can go ahead and create a new layer.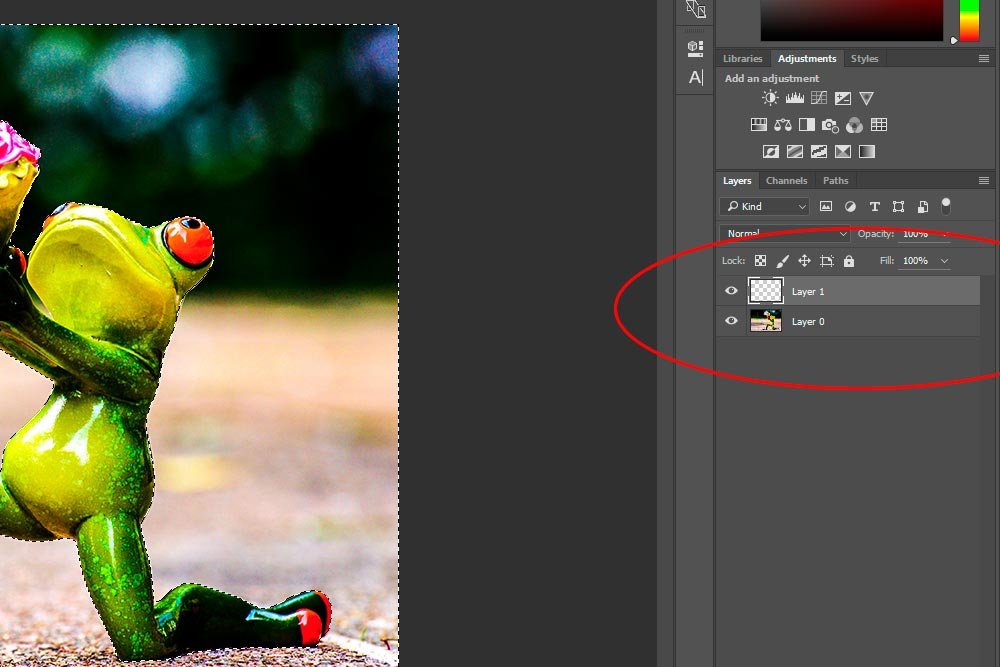
With the new layer active in the Layers panel, I can go over the vertical toolbar on the left and select the Paint Bucket Tool. Once that’s chosen and active, I can change the color to be sure that white get poured into the layer. Finally, I can pour the color into the selected area of the layer. This is what I’ll get. By the way, the area is still selected, as indicated by the marching ants.
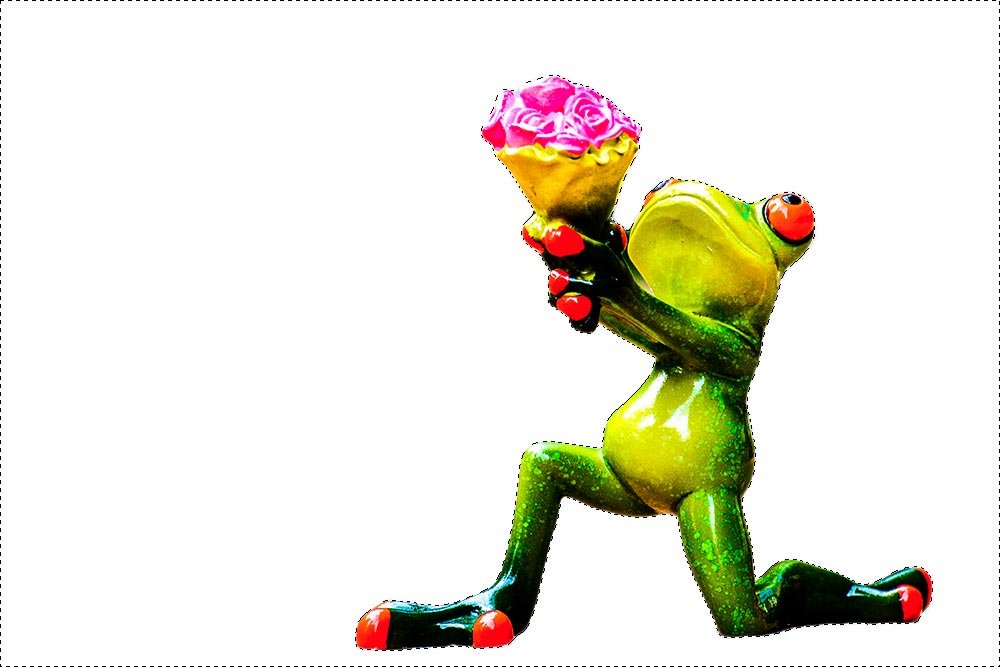
Deselecting & Analyzing New Layer
The time has come to deselect my selected area. To do this, I’ll head up to the Select > Deselect menu item and click. This will remove all the marching ants.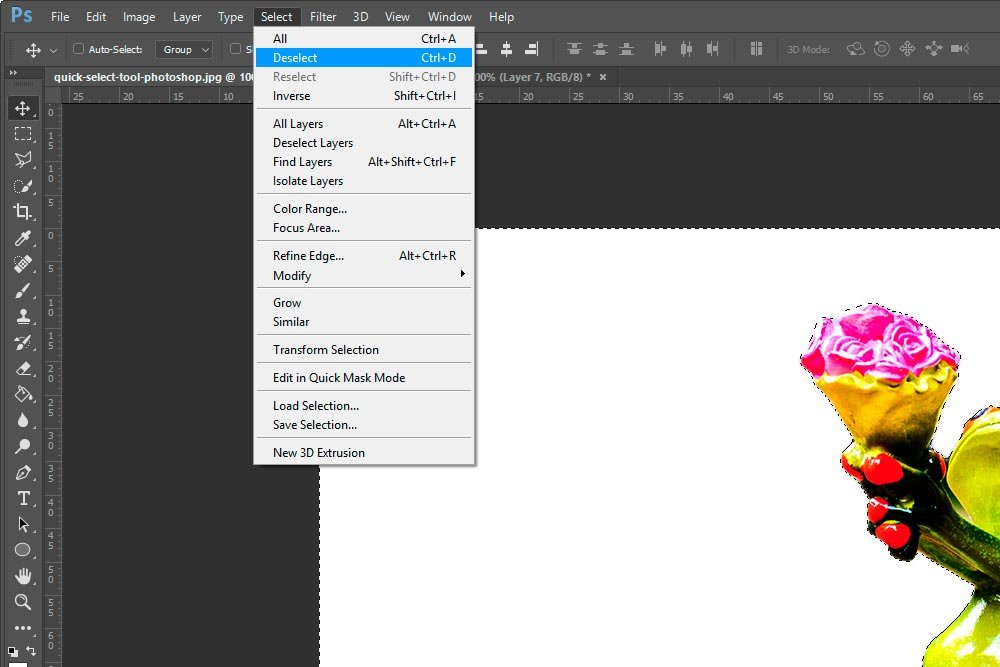
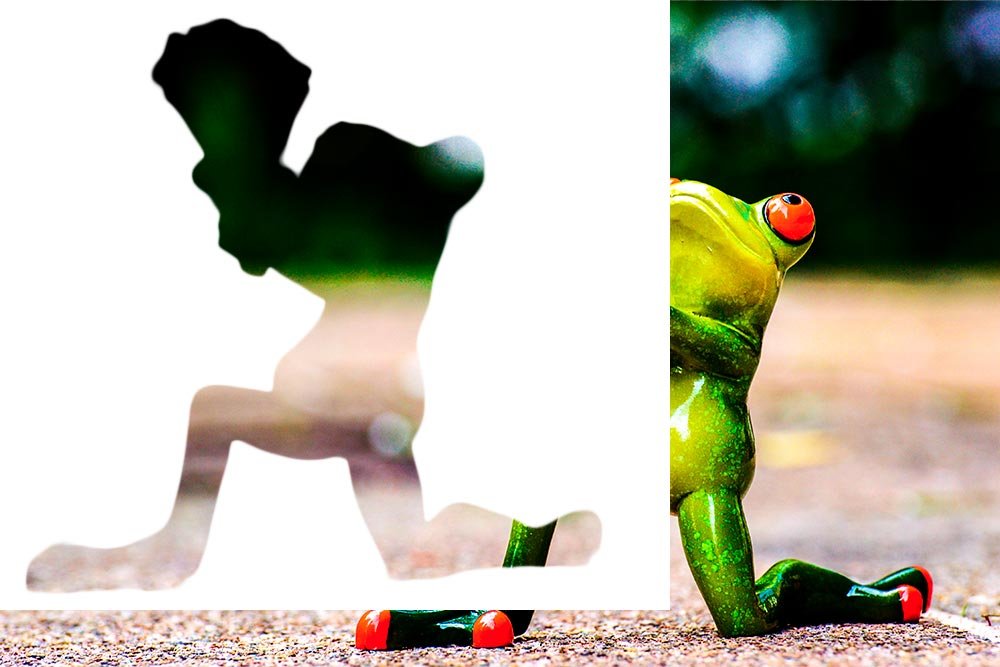
For the last part of this post, I want you to take a look at what I’ve accomplished. Like many other tasks in Photoshop, this new layer can have multiple uses. That’s where the designer’s creativity comes into play. If you take a look at the screenshot below, you’ll see that I shifted the new layer over to the right and up a bit. I merely wanted to clarify what the new layer (that I filled with the paint bucket) looks like. When kept in its original position, it looks like a white background.
