15Katey
Member
- Joined
- May 10, 2021
- Messages
- 130
- Reaction Score
- 0
- Points
- 23
- #1
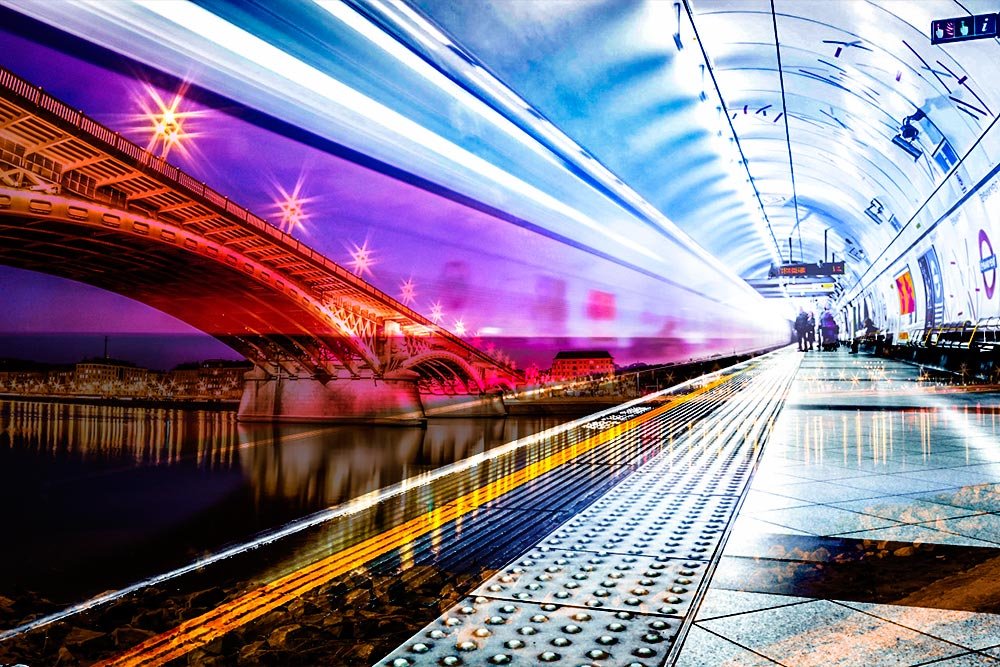
Working with blend modes in Adobe Photoshop isn’t something you should know how to do. It’s more something you should know exists and that you should recognize that it’s something that requires creativity and exploration. Simply understanding the effects of a particular blend mode really isn’t good enough because, oftentimes, what you think may happen when one is applied doesn’t happen at all.
In this post, I want to talk about the importance of thinking about layer order when working with blend modes. I’ll be focusing on three modes in particular; Overlay, Soft Light and Hard Light. From what I’ve found, these three blend modes offer the most realistically usable combinations for the blending outcomes I’m after.
The way I’m going to go about this is simple. I’ll use two photos in my example. I’ll have three sections – one for each of the aforementioned modes. First, I’ll show you what the Overlay blend mode looks like with one photo on top and then I’ll reverse the order of the layers and also switch which photo the blend mode is applied to. Then, I’ll continue on with the remaining two modes. I think these examples will allow you to become more aware of the effects of and what you can accomplish by merely changing layer order.
I do want to quickly note one thing. If you have a lone photo or a photo on the bottom layer, blend modes will have no effect on that photo. Blend modes only change the look of a combination of layers when they’re applied to the layers on top. Just keep that in the back of your head when you’re exploring this area of Photoshop.
Original Images
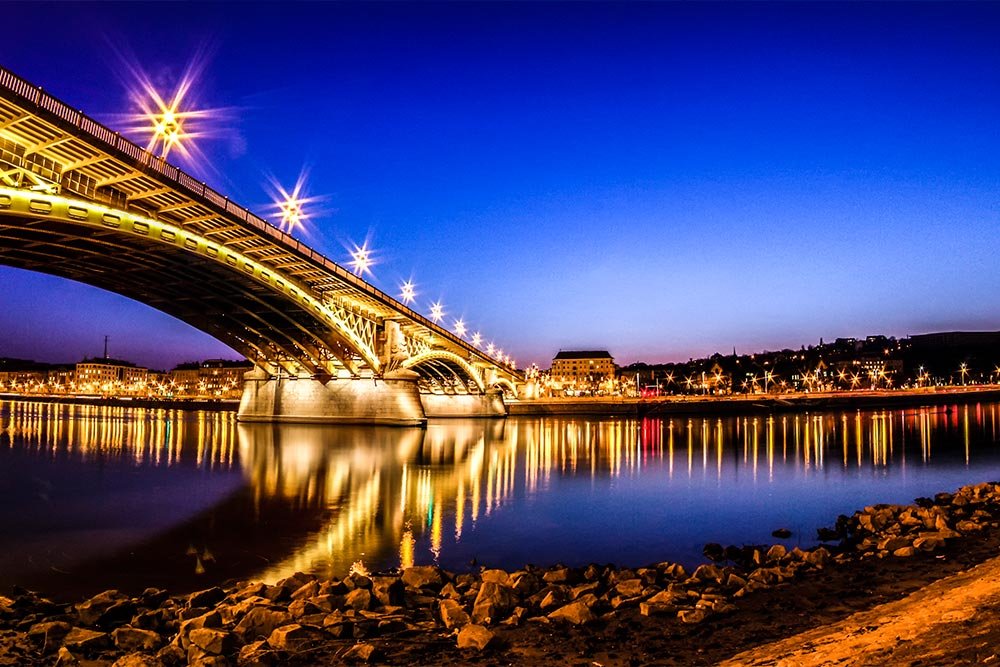
I think it would be wise to show you the original images by themselves. This will give you a much better picture of what the blend modes can do in the following sections.This is the bridge image:
This is the subway image:
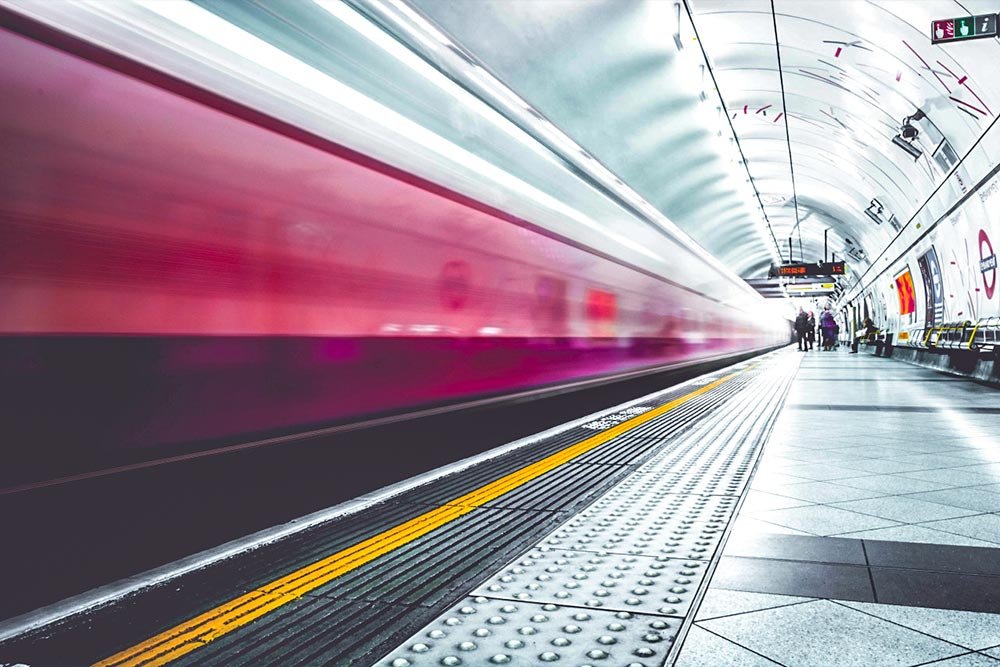
The reason I chose these two images is because they are related in that they both are city centered. Also, the lines play well with one another, which makes the final blended photos look much better than they would have otherwise.
Note: For each section below, I’ll start with the bridge image as the top layer and then I’ll switch it to the subway image as the top layer.
Overlay Blend Mode
First, I’ll tackle the Overlay blend mode. I have a vision for this image, so I’ll place the layer I want blended into the primary image on top. Check it out.
This layer order does a nice job of keeping the subway as the primary focus, with a hint of city in the background. It’s perfect.
Now, I’ll reverse the order of the layers and place the subway image on top. This should keep the bridge as the primary focus and blend the subway into it. Let’s see if that’s what happens.
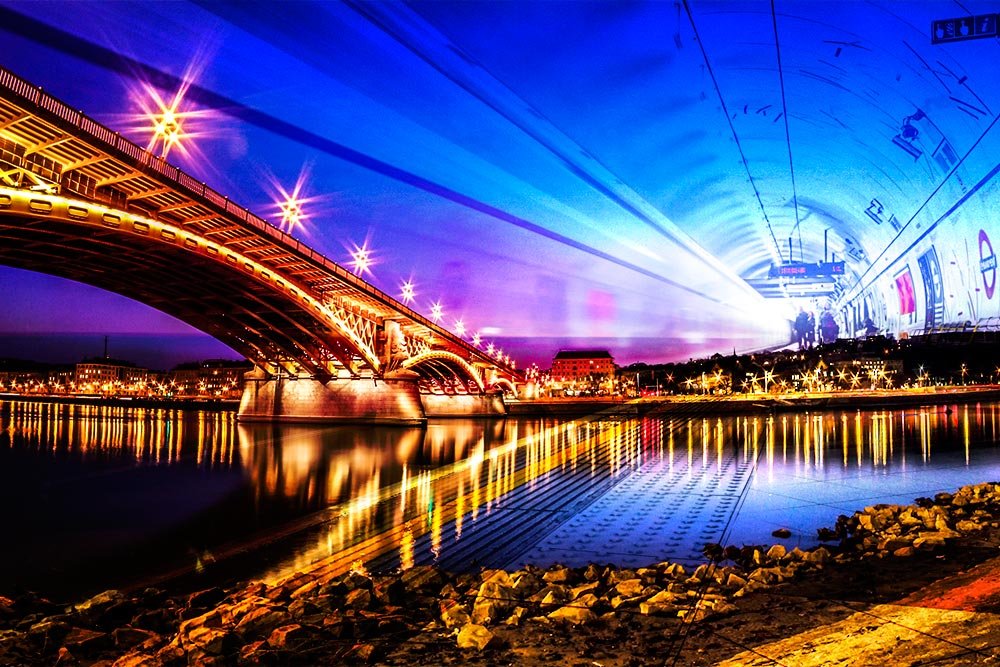
While this second blend mode looks really cool, the bridge is definitely the center of attention. This is how blending can benefit your photography. Ancillary photos can help you hint at what the photo may also be related to.
Soft Light Blend Mode
Now, I’ll switch over to the Soft Light blend mode and do the same thing I did above. Even though my point has been made in the previous section, I think it’s probably beneficial to take a look at some other blend modes, just to see what they look like.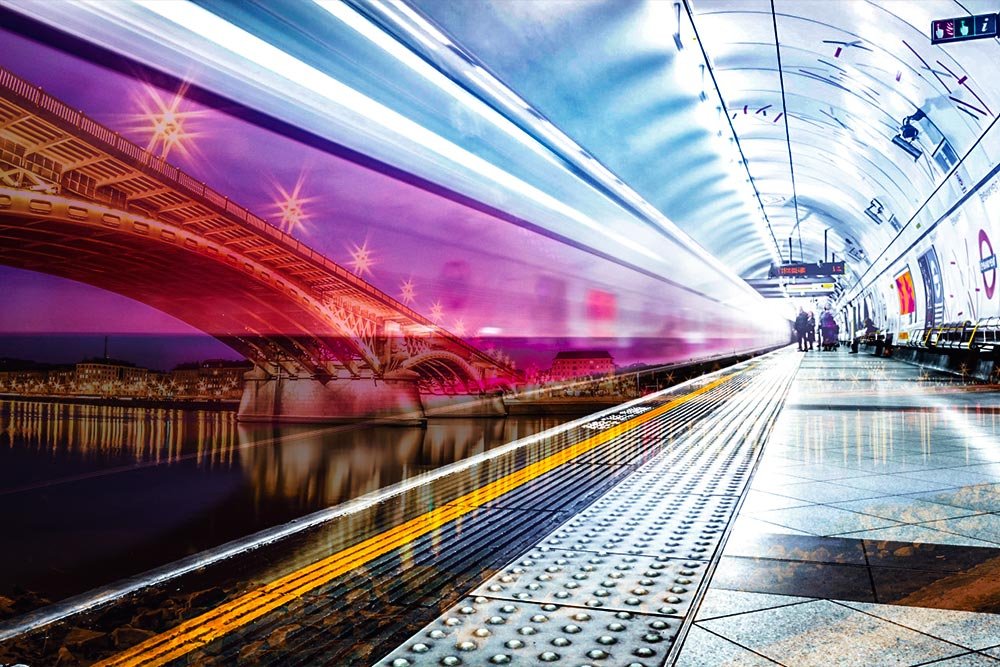
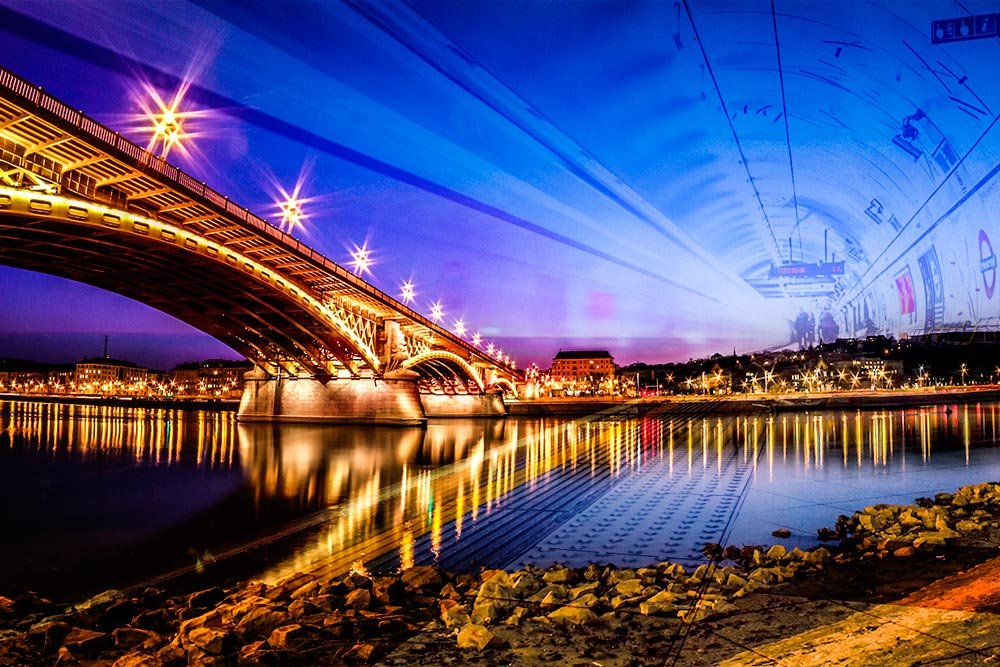
What we have is almost identical to the section above. The blend mode just looks slightly different. It’s a bit softer and more muted.
Hard Light Blend Mode
Finally, let’s take a look at the Hard Light blend mode. I’ll take the same approach as I took in the previous two sections.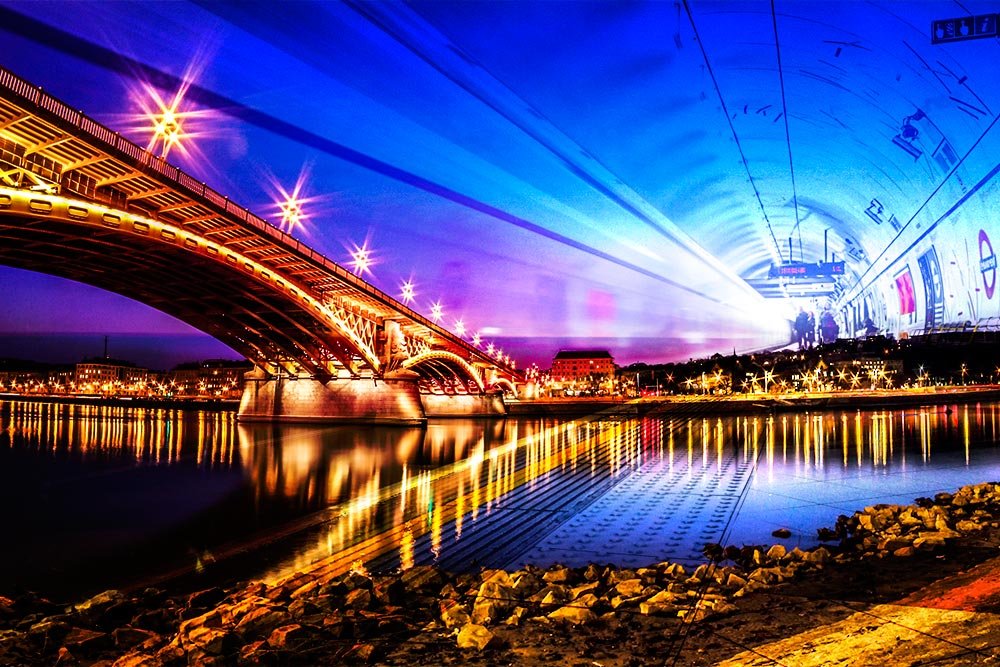
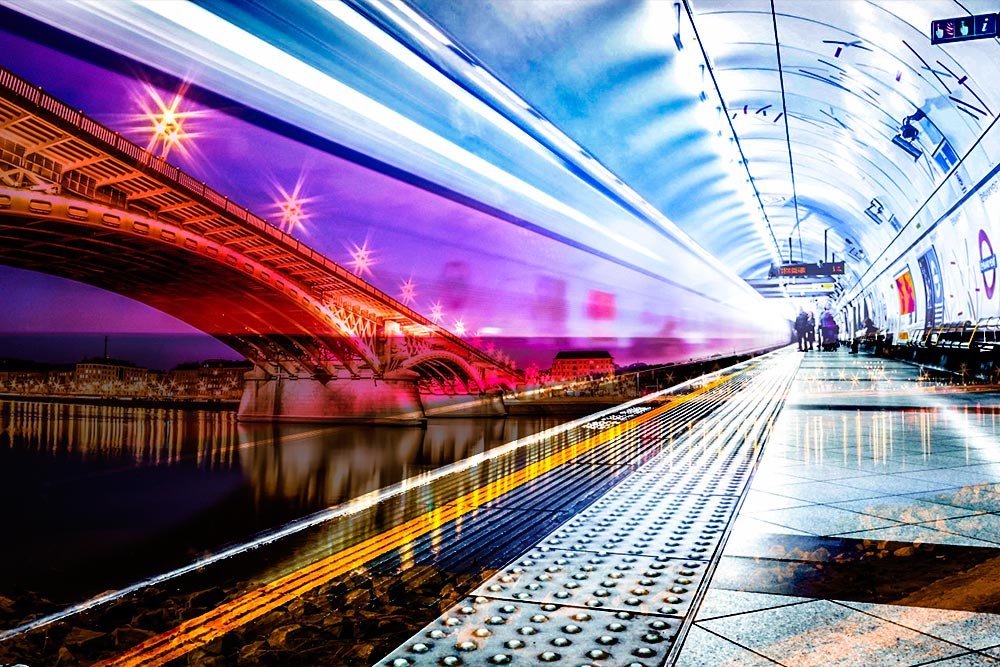
I would actually say that this last image is the best looking. It has bold colors and both layers can be seen clearly.
