Cameron
Member
- Joined
- May 10, 2021
- Messages
- 108
- Reaction Score
- 3
- Points
- 23
- #1
There are two things I’ve come to absolutely love and rely on over the past few years. One of them is shooting in RAW format and the other is editing my photographs in Adobe Camera Raw. Really, there are so many benefits to following this particular workflow, I’m not sure I would have the time to explain them all. I can, however, lead you to a great post that lists some benefits (and drawbacks) of photographing in RAW format. Check out the post below if you’re interested.
10 Reasons Why You Should Be Shooting RAW
The thing is, sometimes, after I do my editing in Camera Raw and then move the photo over to Photoshop for further edits or finishing touches, I realize I’d like to make some additional changes to the RAW file. This usually has something to do with color (for me, white balance). You know, after looking at things for a while, something pops up that needs a change. Either that, or a whole new idea takes shape. Whatever the reason, it’s usually a real pain in the neck to have to close down whatever it is that I’ve been working on in Photoshop, only to return to Camera Raw, make the edit and then start over again in Photoshop. In my opinion, that’s pure nonsense. Can you imagine doing a ton of work in Photoshop editing a file after you’ve already edited in Camera Raw? Can you imagine having to throw all those edits away to re-edit the initial photo in Camera Raw? Can you imagine!? This sort of thing makes me crazy just thinking of it.
Well, I’m here to fill you in on a little secret. And honestly, if you aren’t aware of this, it’s going to blow your mind. Guess what? There’s a way to edit a RAW photo in Camera Raw and then move it over to Photoshop as a Smart Object. From there, you can further your edits in your typical Photoshop fashion. If any more edits to the original RAW file (now Smart Object) are necessary, it’s super simple to re-open the RAW file inside Camera Raw to make changes. Then, those changes are applied right inside your Photoshop file. No starting over required.
I know. It’s crazy awesome. Don’t worry, I’ll explain exactly what I’m talking about below. I’ll do so with a sweet little example project. First though, please brush up on your familiarity with Smart Objects, if you aren’t aware of their awesome powers.
What are Smart Objects in Adobe Photoshop?
Converting Multiple Layers into a Smart Object in Adobe Photoshop
Also, I think it may be prudent for you to read a short article about Camera Raw’s importance in the photo editing workflow. This, of course, is if you aren’t a believer and user yet.
Camera Raw vs Photoshop – Which Should I Use?
It’s a good article. If you’re serious about photography and making your photos look the best they possibly can, you owe it to yourself to learn as much as possible about the process in which that may happen.
Opening My Files
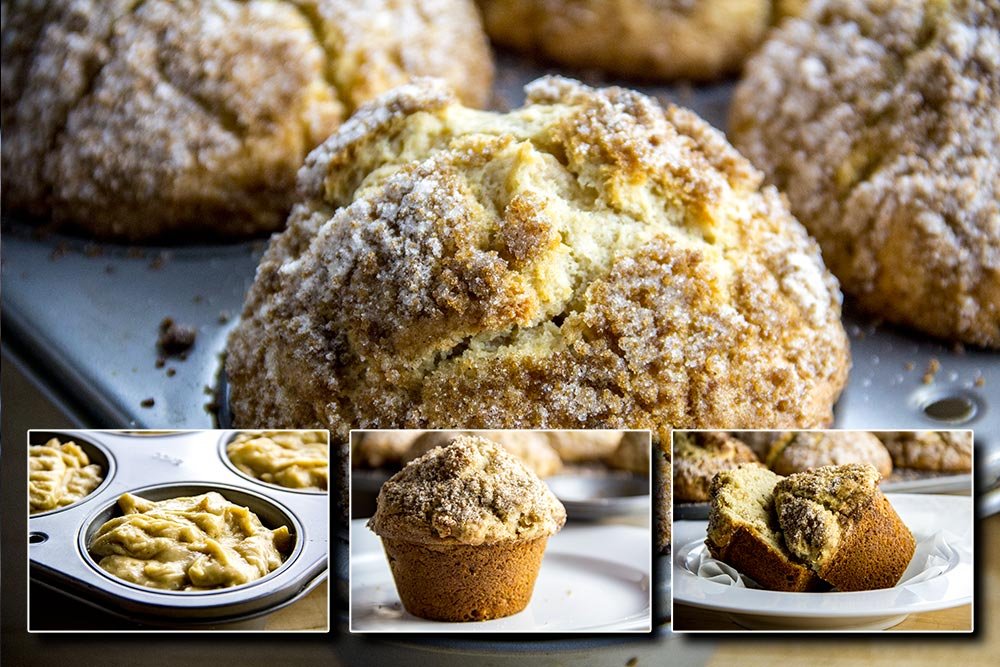
For this demo, I’m going to walk through a simple project. The final outcome will be the same as the leading photo for this post. Basically, I’ll open 4 RAW files from Adobe Bridge into Camera Raw. Since I’ve already edited these photos in Camera Raw previously, from there I’ll simply pass them off to Photoshop as Smart Objects. Then, inside Photoshop, the magic will happen.First, using Adobe Bridge, I’ll select the photos I’d like to open.
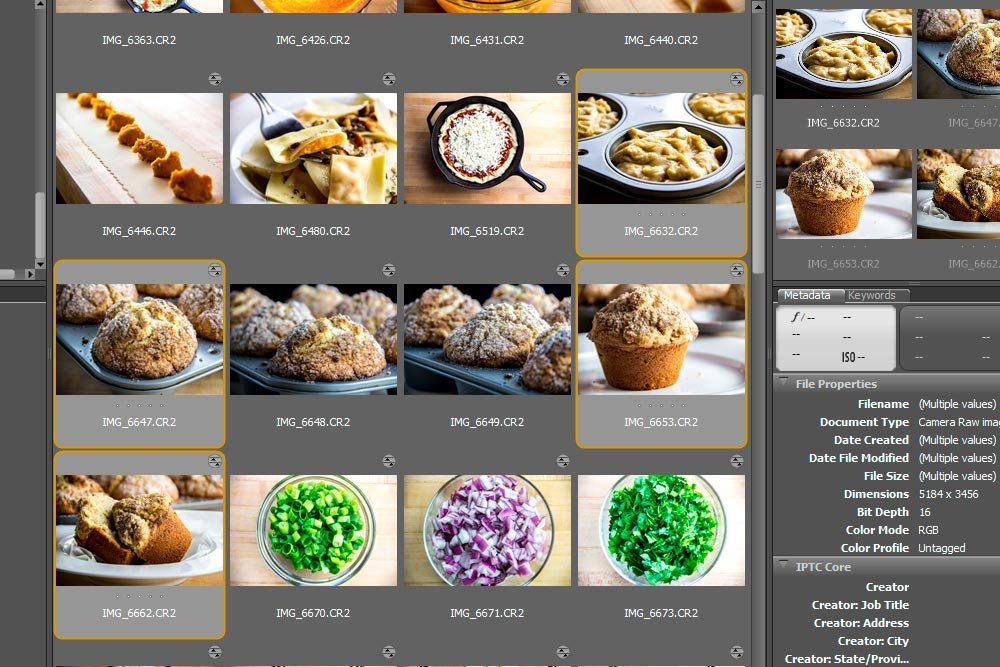
These are photos of some muffins I recently made. I like to store the original (edited) RAW files in case I need them again.
Next, I’ll click the Open in Camera Raw button up top to launch the photos into Camera Raw. Don’t know how to do this? Check the below posts out.
How To Open Files & Photos Into Adobe Camera Raw
How Can I Open Multiple Photos From Adobe Bridge Into Camera Raw?
You can see that I have all 4 photos now open in Camera Raw.
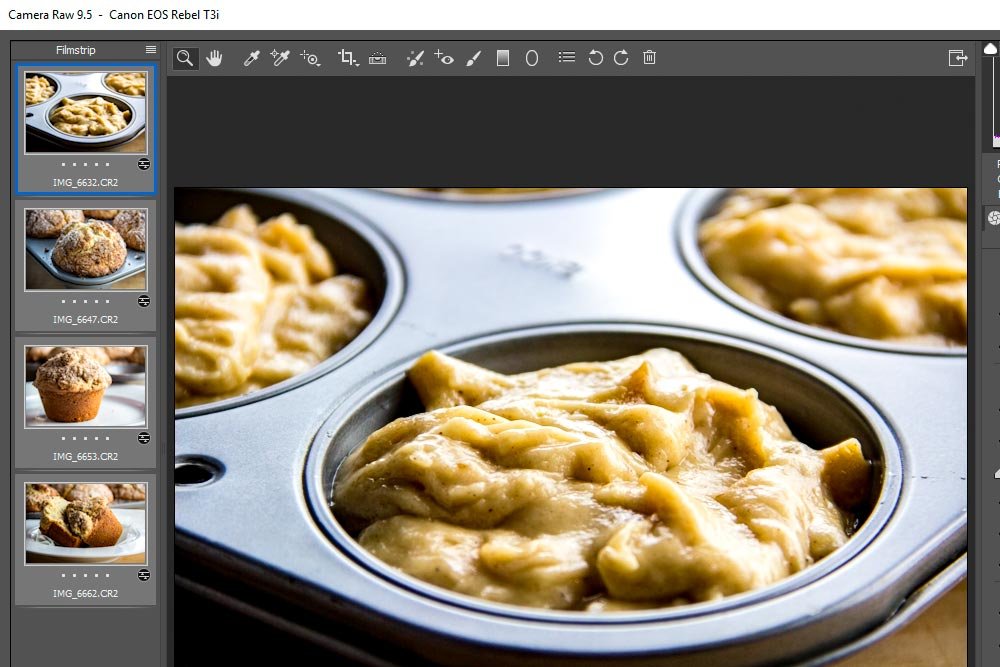
Okay, since these RAW photos have already been edited, there’s nothing I need to do to them. I can open them directly from Camera Raw to Photoshop as Smart Objects. How do I do that? It’s simple. All I need to do is hold down the Shift key on my keyboard to change the Open Images button in the bottom right area to an Open Objects button. So, I’ll hold Shift and then click Open Objects.
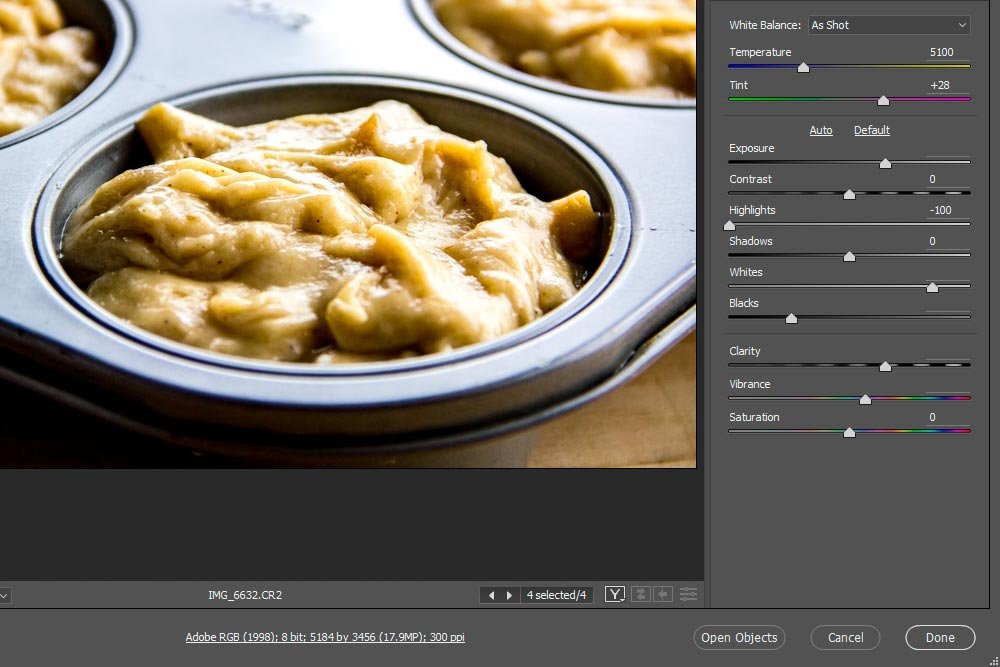
TIP: Before opening the objects, I need to be sure all 4 photos in Camera Raw are selected.
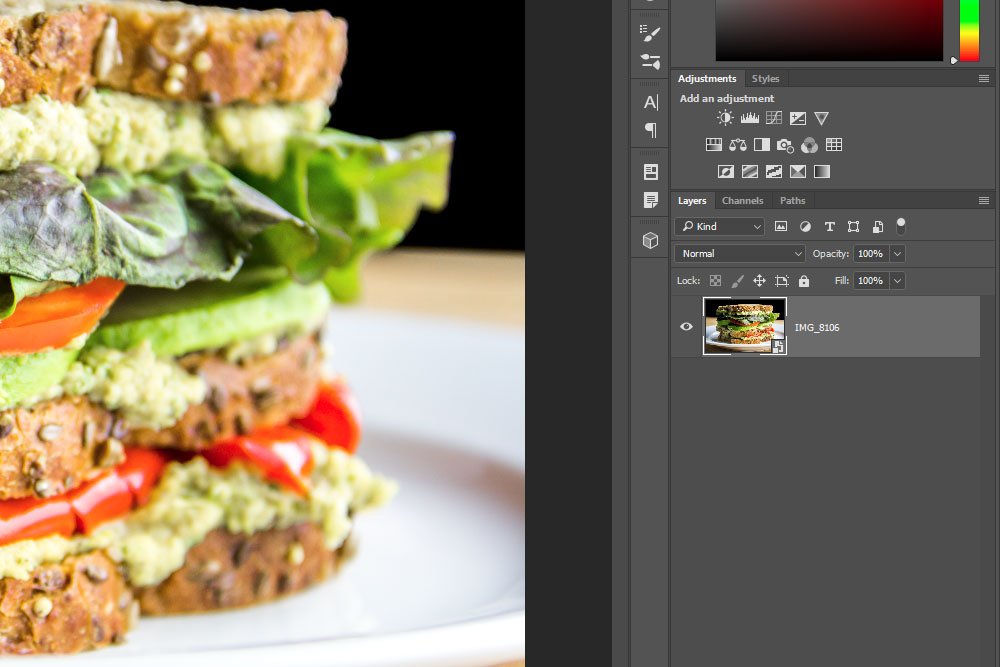
Let’s see what happened. I can tell you that all 4 photos opened as Smart Objects inside of Photoshop. Each one opened into its own tab. Inside each layer, there’s a Smart Object icon. Here, take a look below.
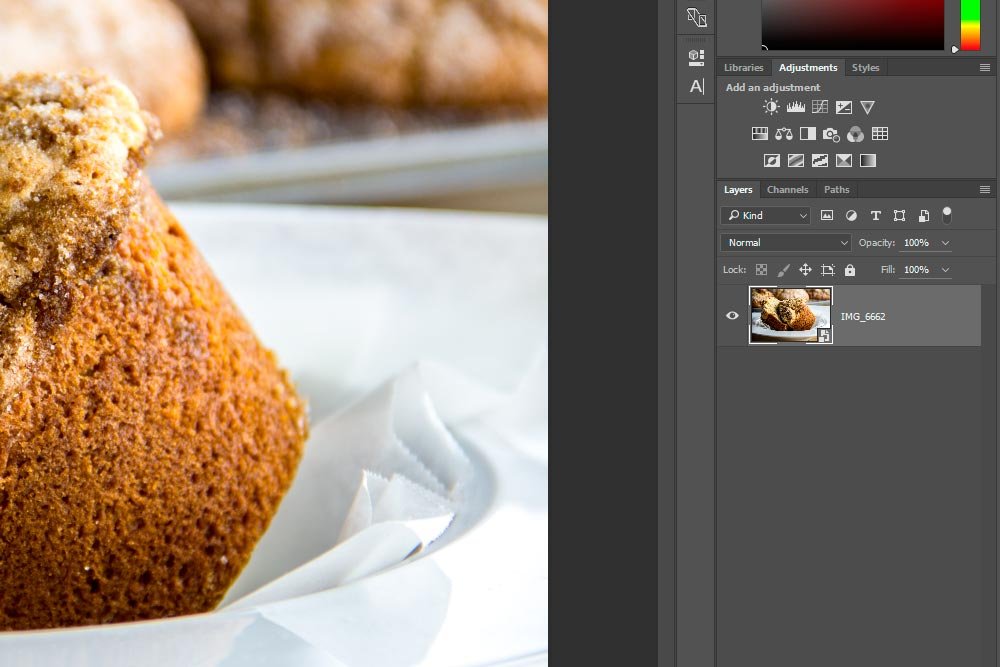
If you look at the layer thumbnail closely, you’ll see a small icon in its lower right corner. That means it’s a Smart Object.
Originals Not Affected
It’s important to note something at this time. The moment I passed the RAW file off to Photoshop from Camera Raw, the connection the image had to the original file was severed. Each tab and layer inside Photoshop is now an independent entity. Any changes I make will only affect what’s inside the Photoshop file and not the original RAW file. This is extremely helpful because I may have 20 different plans for the RAW file. There’s no way I want some funky edits I make in Photoshop to transfer back to the original.Creating My Graphic
I’m going to do some work behind the scenes here. First, I’ll merge all the Smart Object layers together into one file. Basically, I’m clicking and dragging each of the three file layers into the remaining file. It doesn’t matter which three I select to move. Here they are all together.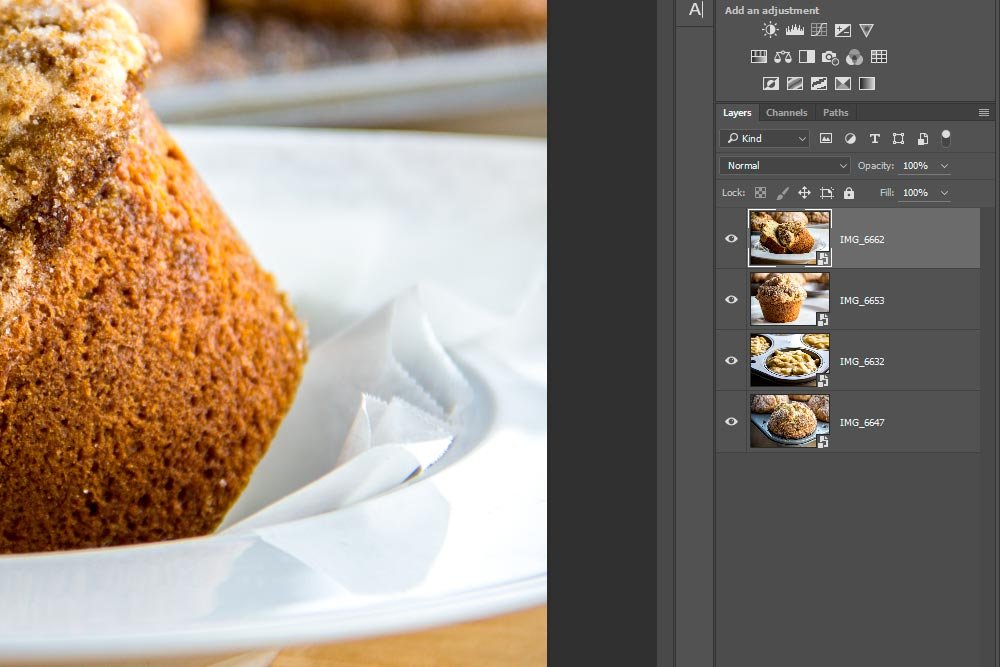
Next, I’ll choose my background. In this case, it’ll be the finished muffins that are still in the tray. Since the other 3 photos need to be reduced in size, I’ll select all 3 layers and use the Edit > Free Transform tool to accomplish this task.
Once that’s finished, I’ll unselect those 3 layers and align them across the bottom of the background photo. And finally, I’ll reduce the overall image size to only 1000 pixels wide. That’s the size of my screenshots, so you’ll be able to see things more clearly.
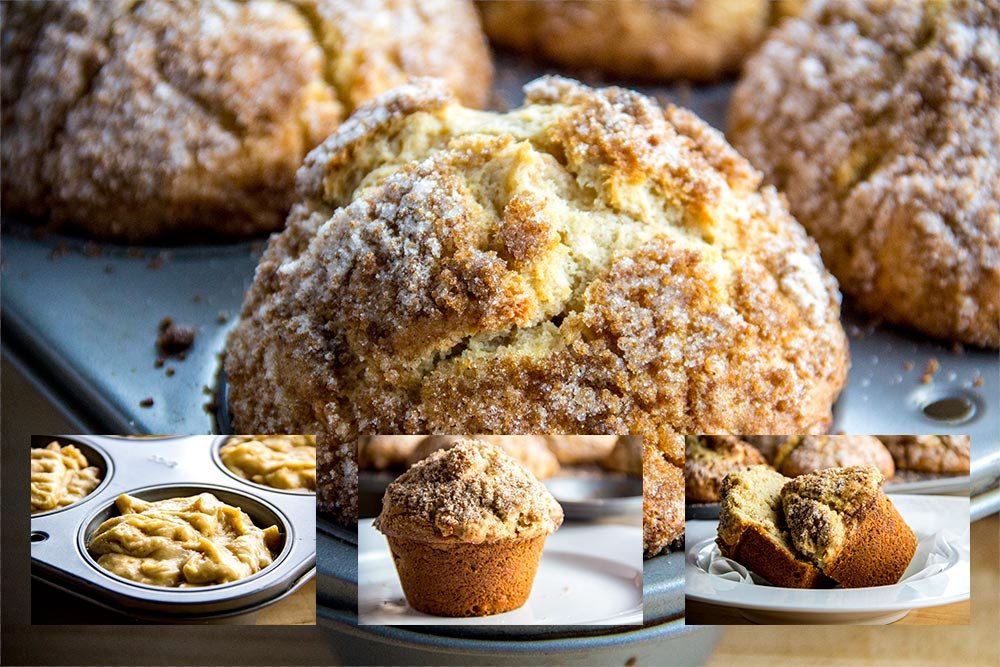
Do you want to know the absolutely most awesome thing about what I’m doing? If you take a look at all the resizing that I’ve previously done, you might get nervous. If these were regular pixel based images, I’d be throwing away tons of data. Since they’re all set as Smart Objects, I haven’t thrown away one bit. At this very moment, if I wanted to enlarge one of the smaller layers back to its 5000+ pixels glory, I could do that and have it at the same great quality it began as. I could do that will everything if I wanted to. That’s the power of using Smart Objects.
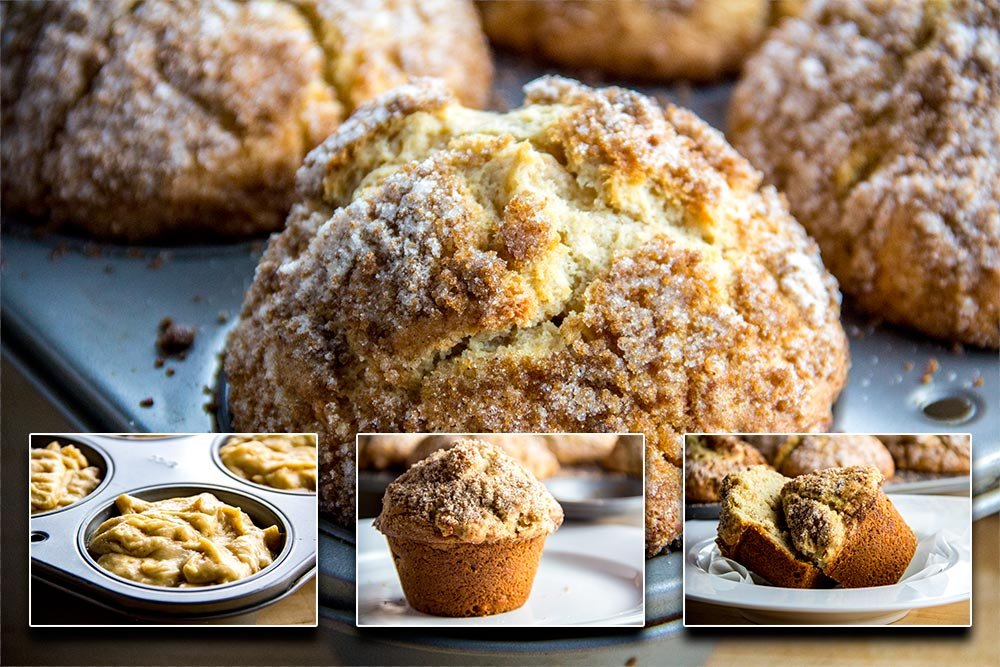
To finish up my graphic so I can get to the neat part, I’m going to simply add a stroke and a shadow to each of the smaller images. Check it out.
Editing a Smart Object in Camera Raw
This is the part we’ve all been waiting for. Up until now, I could have done all this the regular way. You know, opening photos from Bridge into Camera Raw and then into Photoshop. Merging the layers into one, resizing some of them, aligning them and then resizing the overall image. So what? That’s easy.Well, what if I wanted to edit the white balance of one of the smaller images? Or perhaps the exposure? Or make it black and white the way only Camera Raw can do it? What then? If I imported everything as pixel based images instead of as Smart Objects, I’d have to re-edit the original RAW file in Camera Raw and then re-import it, re-size it, re-align it and then add the stroke and shadow again. That’s bad. Very, very bad.
The worst part is – if I edited the original RAW file in Camera Raw and made it funky looking for Photoshop, my original would be altered. As I mentioned above, I wouldn’t want that if I had further uses for that file. Even though Camera Raw edits in a non-destructive manner, it’s still not very productive to undo things you never wanted done in the first place.
Back to my demonstration.
Do you know what I have to do if I want to make the center smaller image black and white now that’s it’s a Smart Object? Simply double click the thumbnail in the appropriate layer. I’ll do that and see what happens.
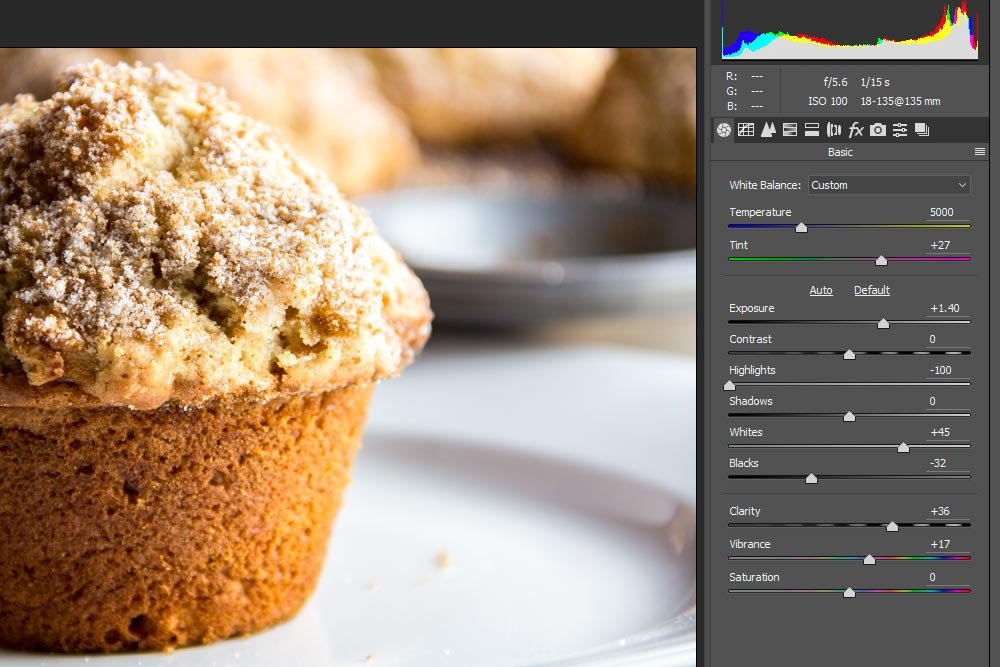
Take a look at that. Camera Raw opened my Smart Object. I can now move to the HSL/Grayscale panel and click the Convert to Grayscale check box and watch as my image turns to black and white.
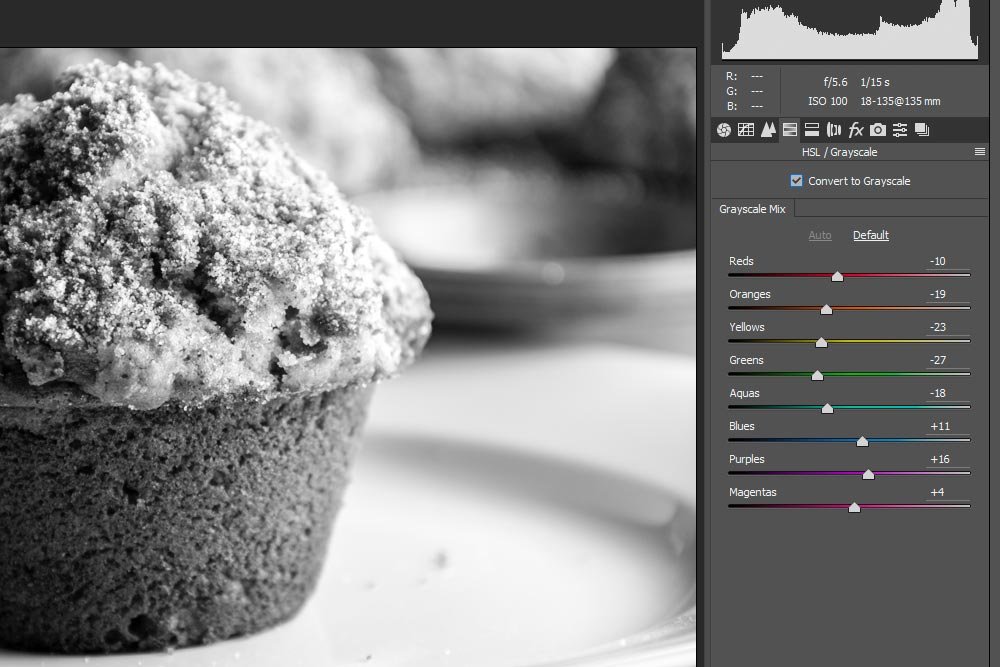
I can make some edits if I want to and when finished, click the OK button in Camera Raw. When I do that, Camera Raw closes and I return back to Photoshop. Let’s see what happened to my graphic.
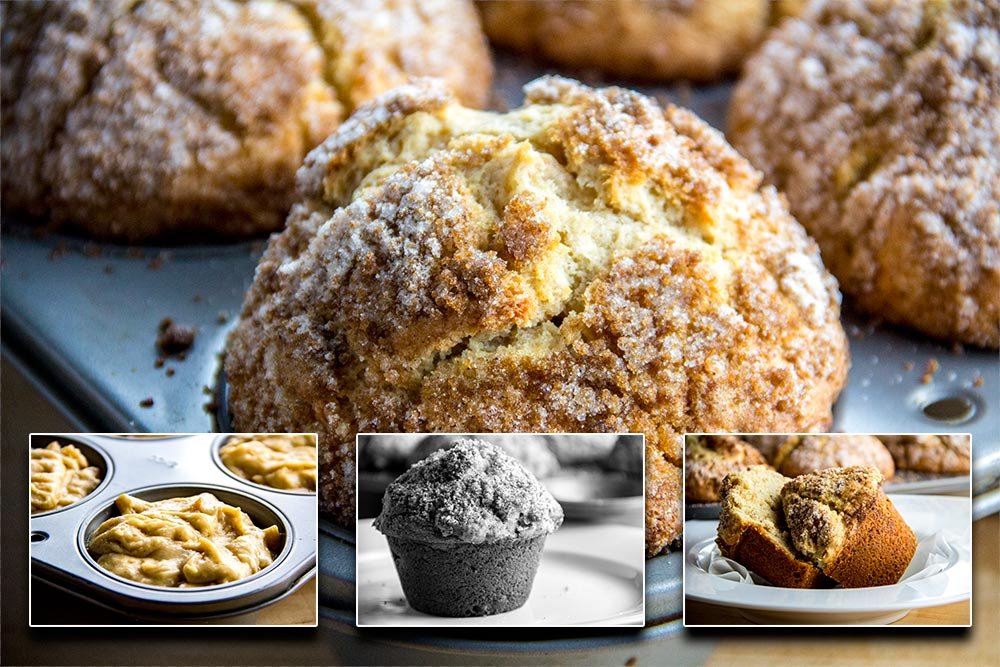
That’s pretty wild. And the best part is, if I wanted to, I could double-click that layer thumbnail again and return to Camera Raw. From there, I could un-check the Convert to Grayscale checkbox and my image would return to color. Also, again, my original RAW file is left untouched.
I’d say this is a pretty awesome bit of knowledge to add to anyone’s workflow. Let me know your thoughts below.

