Cameron
Member
- Joined
- May 10, 2021
- Messages
- 108
- Reaction Score
- 3
- Points
- 23
- #1
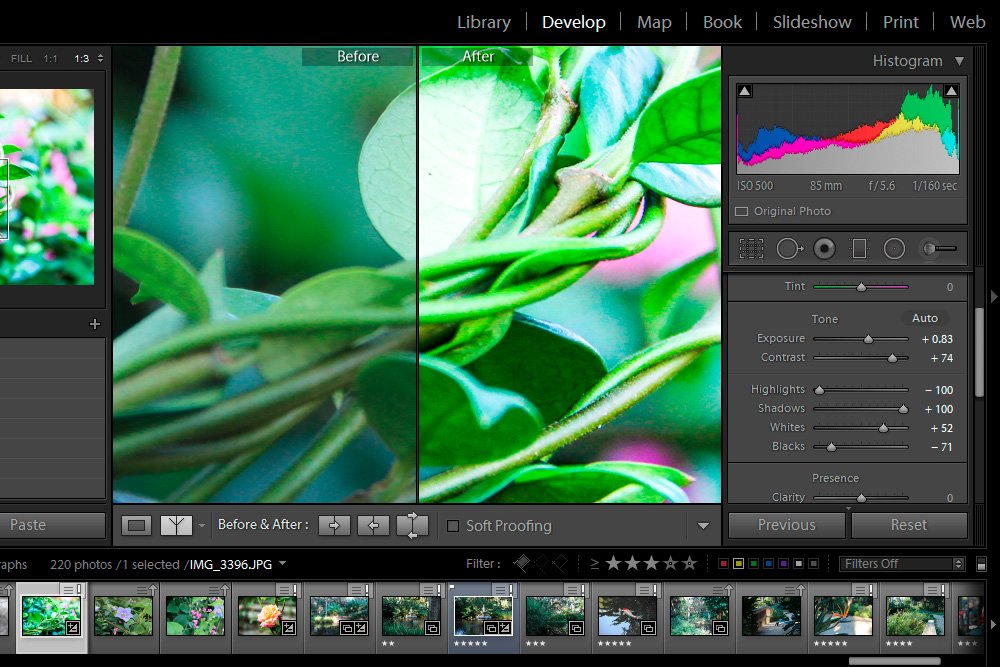
A lot of people think that when they edit photo exposure in applications such as Adobe Photoshop, Lightroom and Camera Raw, they’re simply adjusting the photo’s brightness. In a way, they are. But that’s not all they’re doing. Sure they’re reducing the brightness of overexposed areas and increasing the brightness of underexposed areas, but really, they’re also removing dullness, adding vibrance, color, crispness and contrast. They’re bringing areas that once weren’t visible into the realm of visibility. It’s actually quite an important task. One of the most important, in fact.
In today’s post, I’m going to walk through the steps necessary to edit the exposure of a photograph in Adobe Lightroom. The photo I’ve chosen was taken by me during a stay in Palm Coast, Florida. It’s not a terrible shot, but it can certainly be taken up a notch with some light editing.
Now, I want to let you know that Lightroom and Camera Raw are close cousins when it comes to editing photos. If you know one, you know the other. My personal preference is to use Camera Raw, but I can definitely get on board with the organizational capabilities of Lightroom. Lightroom is an all-in-one package when it comes to taking care of the post-processing of photographs.
I wrote a few posts a while back that cover today’s topic – but I wrote those posts for Camera Raw. If you read through them, you’ll see uncanny similarities between the two programs. Their Basic panels are virtually identical. I wanted to let you know this because you may want to read through today’s post and then check out the others I wrote earlier. It’s good to become well rounded when working with Adobe applications. Here are some links to my earlier posts:
Editing a Photo Using the Basic Panel in Adobe Camera Raw
Fixing Under & Overexposure With Adobe Camera Raw
How To Make A Photo “Pop” With Adobe Camera Raw
If you read through the posts linked to above, along with what I write below, you’ll be well versed in how to correct photo exposure issues with either Lightroom or Camera Raw.
Original Photo
Below is the original photo. As I said earlier, it’s not terrible. My goal for today is to bring some life to it by using only limited tools in Lightroom. Since I’m concentrating on exposure only, I’ll restrict myself to adjusting the Exposure, Contrast, Highlights, Shadows, Whites and Blacks sliders.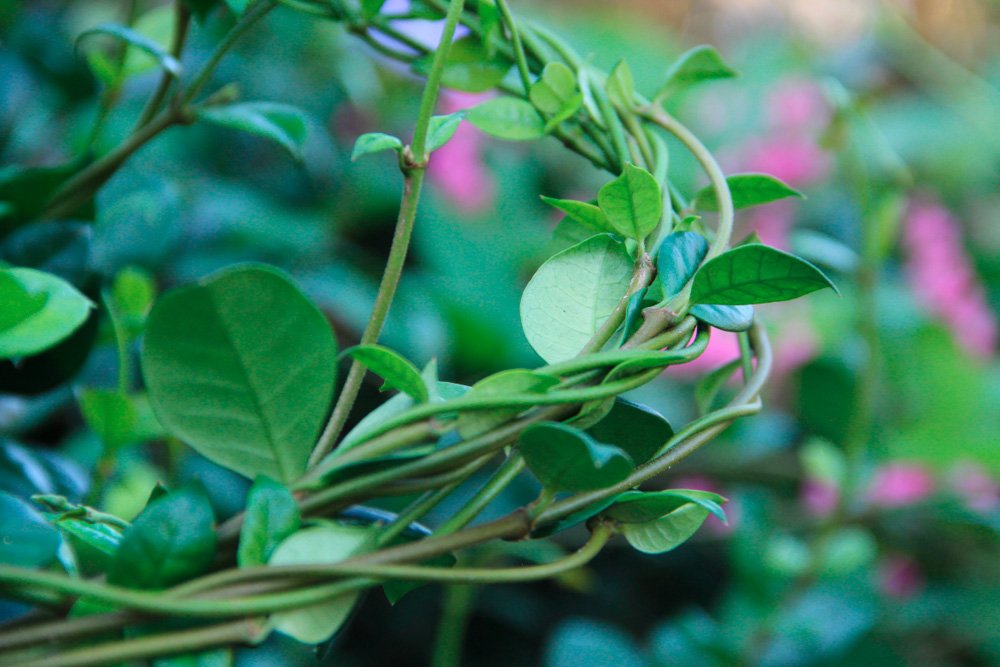
Editing Exposure
The first task I must complete is to analyze the photo. I need to take a close look at it to determine the reason I decided to bring it into Lightroom for editing in the first place. Since I’m working on exposure, I must have thought something was wrong with the lighting, saturation or contrast.From looking through the various areas of the above photo, I think the issue is primarily that it’s slightly underexposed, although, there are some overexposed elements in it as well. If you look at some of the shiny areas of the leaves, and especially at the backside of the larger leaf toward the center of the photo, you’ll see that it’s washed out. I did some experimenting with that area earlier and I can tell you that the data is there. It’s just being hidden. I’m not confident that I can fix that particular area with these sliders alone, but I’ll give it a shot. What would really do the trick is an adjustment brush, which would allow me to reduce the exposure of just one area of an image. That’s a post for another time though.
Enhancing Photos with the Adjustment Brush in Adobe Camera Raw
Adjusting Exposure & Contrast
Since the photo is slightly underexposed and weak looking, I need to raise the exposure a bit. I’ll nudge the Exposure slider to the right just a small amount and then push the Contrast slider all the way to the right, in order to give the picture some vibrance.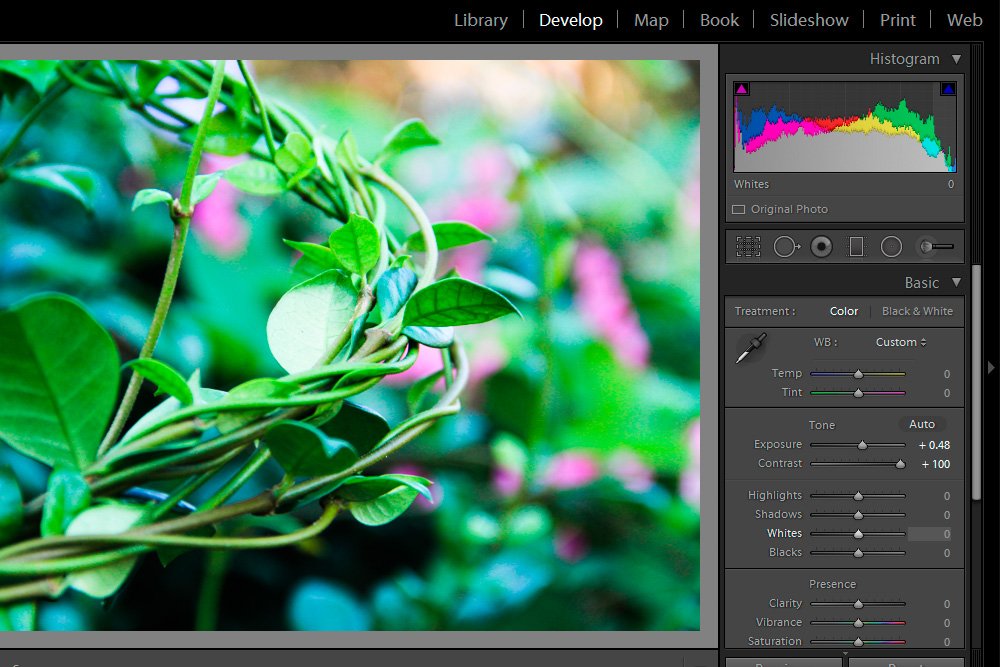
Adjusting Highlights
By moving just these two sliders, I made a substantial change. It looks better already. The thing is, by increasing the exposure and contrast, those overexposed areas of the leaves are now really overexposed. They’re virtually white. To deal with this, I’m going to push the Highlights slider all the way to the left, to reduce the highlights as much as possible. Remember, the Highlights slider controls highlights in a photo, not whites. Whites have no data to them while highlights do. If you reduce whites, you’ll simply gray what’s white. If you reduce highlights, you’ll reduce the white, or glare, that’s hiding the data that’s in the washed out areas. It’s sort of confusing, so it’ll take some experimenting with those two sliders to see exactly what I’m talking about.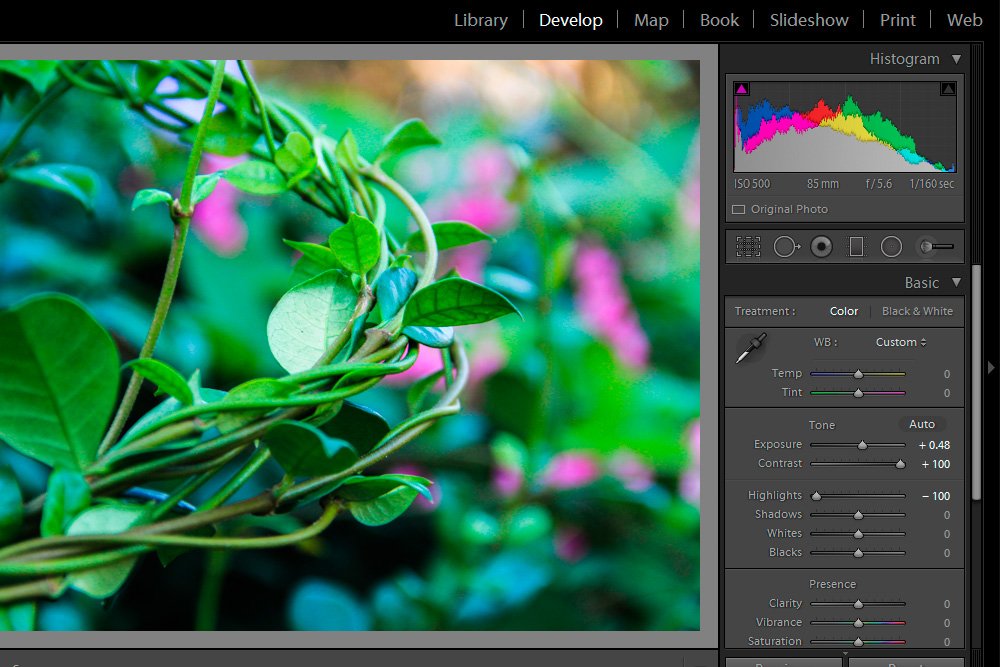
As you can see, by reducing the highlights, there wasn’t a huge change to the image. There is, however, more detail showing on the back of that one leaf though.
Adjusting Shadows
I like to think of shadows as those that are hiding the good stuff. So much of an image is hidden by darkness. It’s not completely obvious at first, but becomes plainly obvious when you start pushing the Shadows slider around. Under rocks, behind branches, in rooms you didn’t know were there – shadows are insidious and must be lit up.I usually reduce the highlights as far as they can go and raise the shadows as far as they can go. Reducing highlights is relatively safe, but raising shadows can be dangerous. Too much and things start looking weird. In the case of this photo, I stopped about half way. I didn’t want to overdo it. But from what I did, some of what’s behind the vine came more into view.
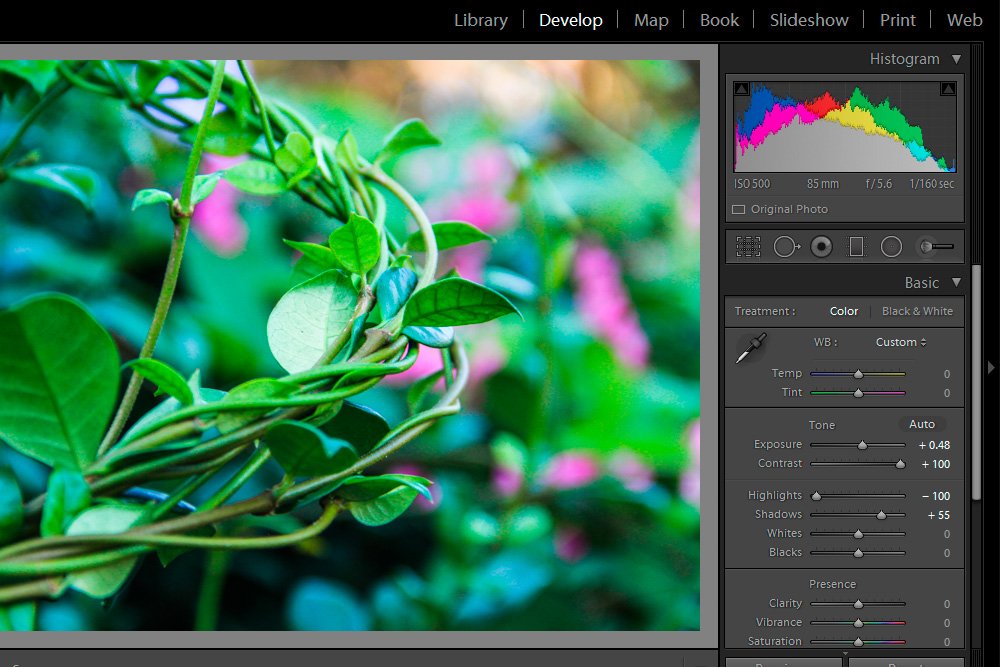
Adjusting Whites & Blacks
When you adjust the whites and blacks in Lightroom, it’s sort of like you’re extending the previous slider’s abilities. These are roundabout methods for accentuating the outcomes of the Contrast, Highlights and Shadows sliders. I don’t want you to go nuts overthinking things, but if I push the Whites slider to the right some, it’s almost as though it’s a continuation of what the Shadows slider does. And if I push the Blacks slider to the left some, it’s almost as if it’s a continuation of what the Contrast and the Highlights sliders do. It’s interesting. Again, you’ll need to experiment with things for each photo. Each one is different and will require varying adjustments and strategies.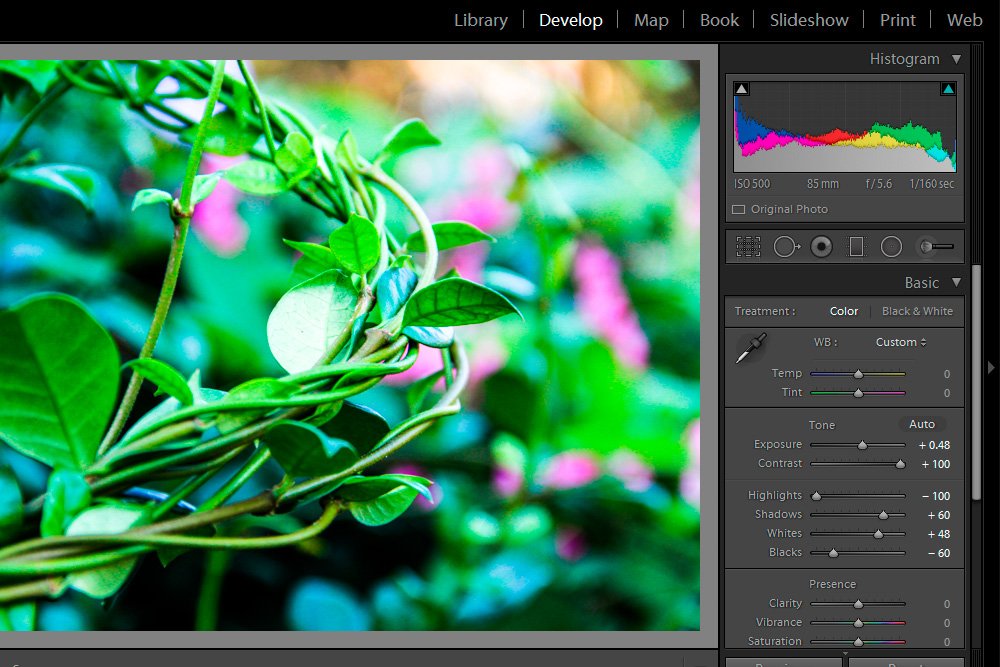
The Final Photo
I’ll post the final, edited photo below. Again, I limited myself to using only a few sliders, but I think things appear much better than they did earlier. I wasn’t able to fully correct the underside of the leaf because that’s an isolated area, but I may tackle that in a later post. For now, the photo has much more contrast, color and crispness.