CampFireJack
Member
- Joined
- May 9, 2021
- Messages
- 118
- Reaction Score
- 1
- Points
- 16
- #1
When it comes to transforming a color photo into a black and white photo, Adobe Lightroom and Camera Raw are virtually one and the same. As I’ve mentioned in quite a few previous posts, Camera Raw’s processing engine is built into Lightroom. This may be why the two application’s Basic panels look almost identical. So, if you know how to create a black and white in Camera Raw, you already know how to do it in Lightroom as well. There are a few minor differences, which I’ll cover in the post below. By the way, if you want to read the posts I wrote a while back where I talked about Camera Raw’s insane ability to make almost any black and white photo look good, take a look here:
Creating Black & White Photos in Adobe Camera Raw
How To Enhance Black & White Portraits in Adobe Camera Raw
In today’s post, I’ll discuss the proper method for converting a color photograph into a black and white one in Adobe Lightroom. Basically, I’ll teach you how to do it. It’s not as simple as reducing the saturation to zero. While it’s not very complicated either, it does require some discussion and clarification of a few important points.
Now, if you’re a follower of this website, you may be asking why I’m writing this post at all. I mean, I already wrote one where I walked through a project that’s very closely related to this one, where I used Camera Raw. If these two programs are so similar, why duplicate my efforts? Well, I’ll tell you. Because I have to. It seems that almost every photographer I talk to uses Lightroom. I have yet to see and have a conversation with anyone who uses Camera Raw. While my preference is to take advantage of all Camera Raw has to offer, it seems as though that’s not the preference of the rest of the world. So, when someone searches in Google, “How do I create a black and white photo using Adobe Lightroom?,” I won’t show up anywhere. And that’s a shame, because I think I share some relatively thorough information here.
I also LOVE writing posts. Let’s not forget that. I truly adore filling this site chock full of the good stuff.
Original Photo
Below is the original photo that I’ll be using in this post. I haven’t done anything to it yet.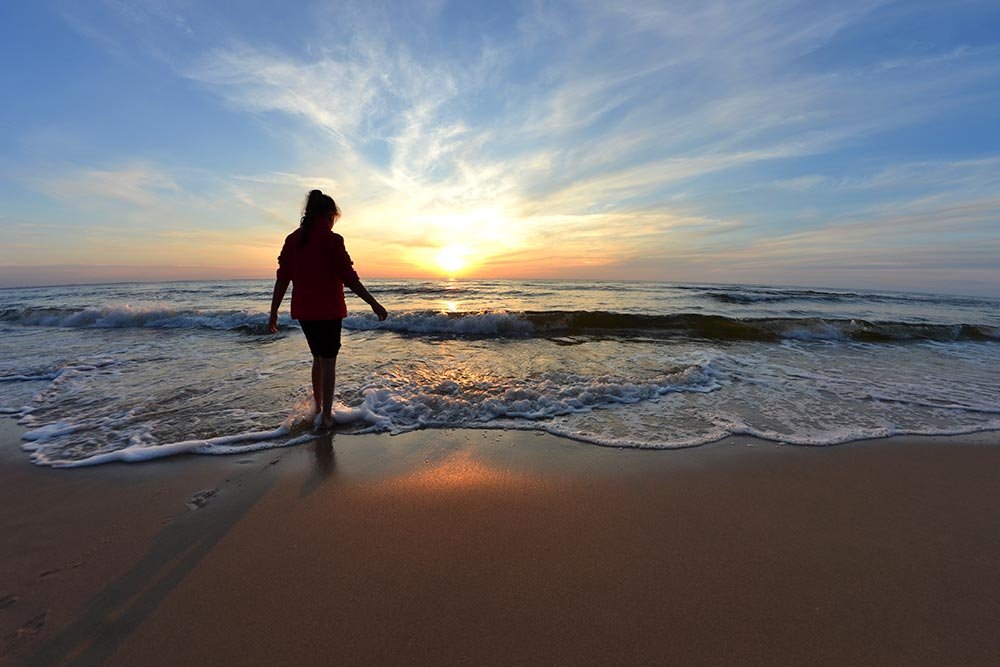
Editing in Lightroom’s Basic Panel
Before I ever go anywhere near the black and white controls, I like to edit the way I would any other photo. This begins in the Basic panel. My usual routine is to adjust almost all the sliders. Typically, I’ll leave Temperature (unless necessary), Tint, Shadows and Saturation alone. I’ve found that the other sliders do a remarkable job of adding enough contrast, exposure and color. If you look at the next screenshot, you’ll see my usual settings over to the right.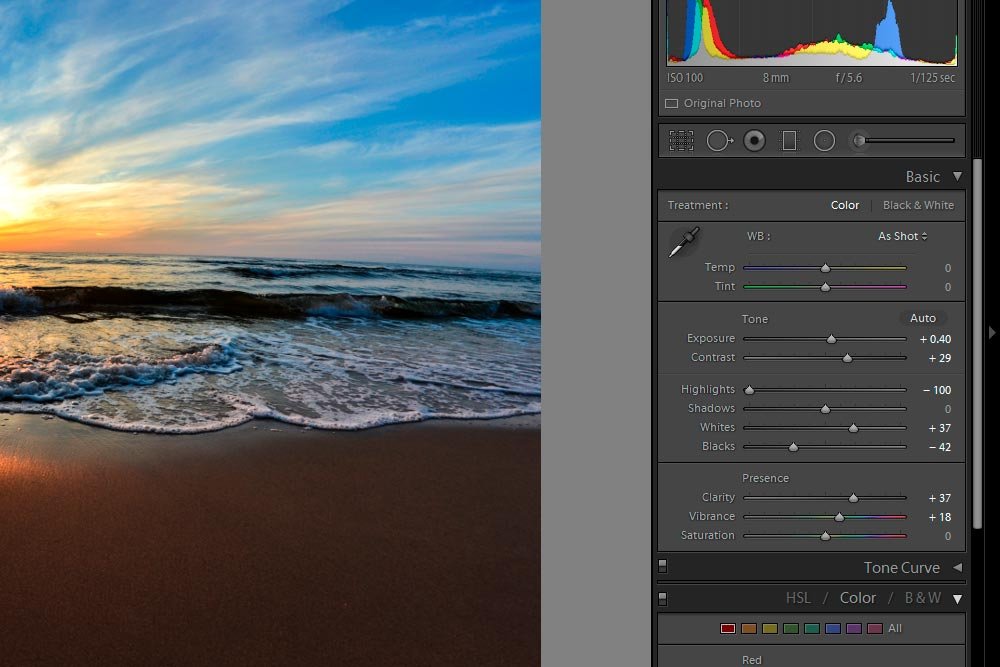
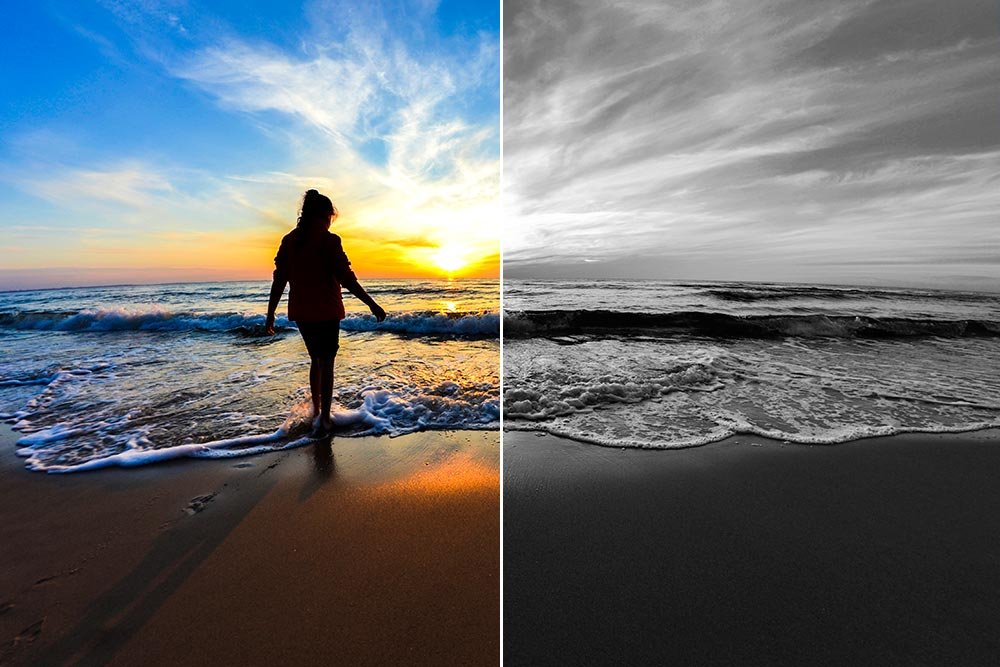
By making these adjustments, I am rewarded with a photo that looks like this. I’d say it’s much better than the original.
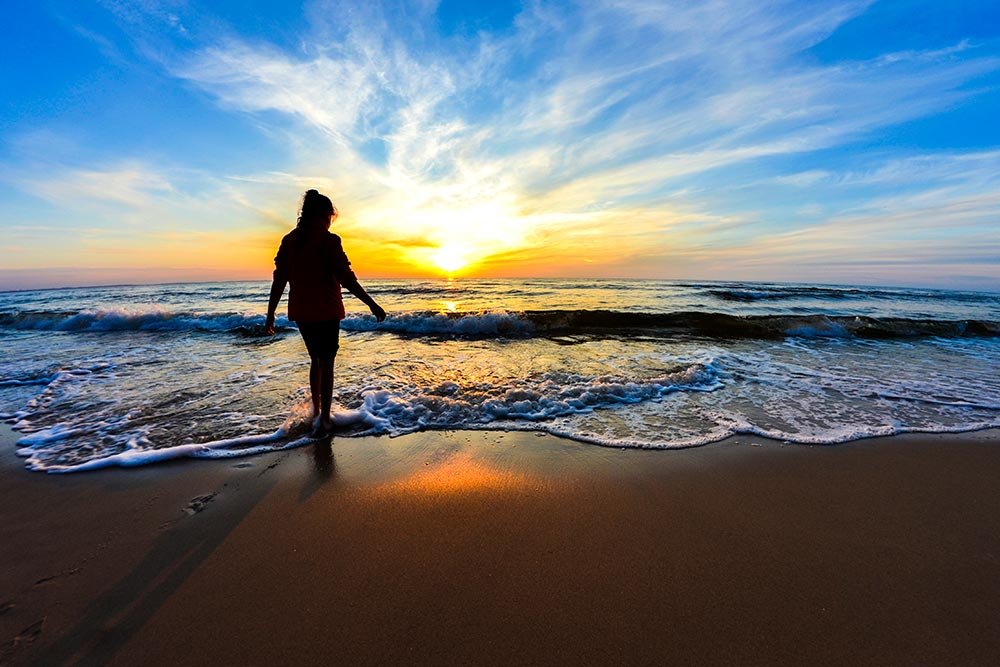
Now, just by using the Basic panel, the black and white version will have much more depth than if I hadn’t done anything.
Making the Photo Black & White
To convert the photo to black and white, I’ll click on the Basic panel header to close it and then click on the B&W header to open that one. Just by clicking on the black and white header, my photo is transformed.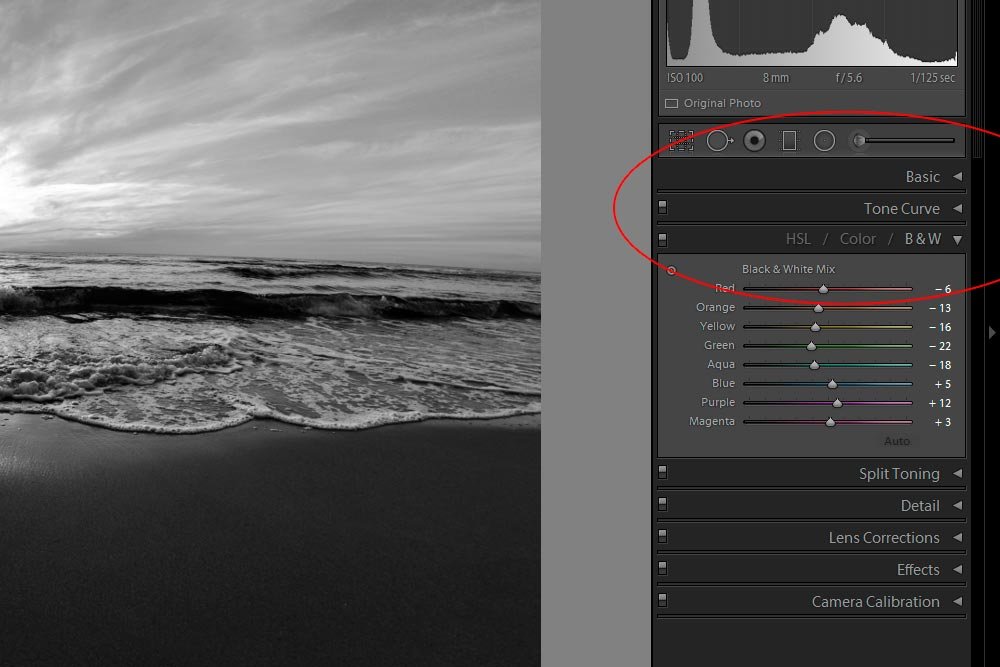
As you may have already noticed, there are a few sliders in this new panel. These sliders control the luminance of each color in the image. I know you can’t see the colors anymore and that’s the beauty of using this method over simply desaturating a photo. If you use this panel to convert an image to black and white, you have ample adjustments at your fingertips. Here is the photo before any further adjustments have been made.
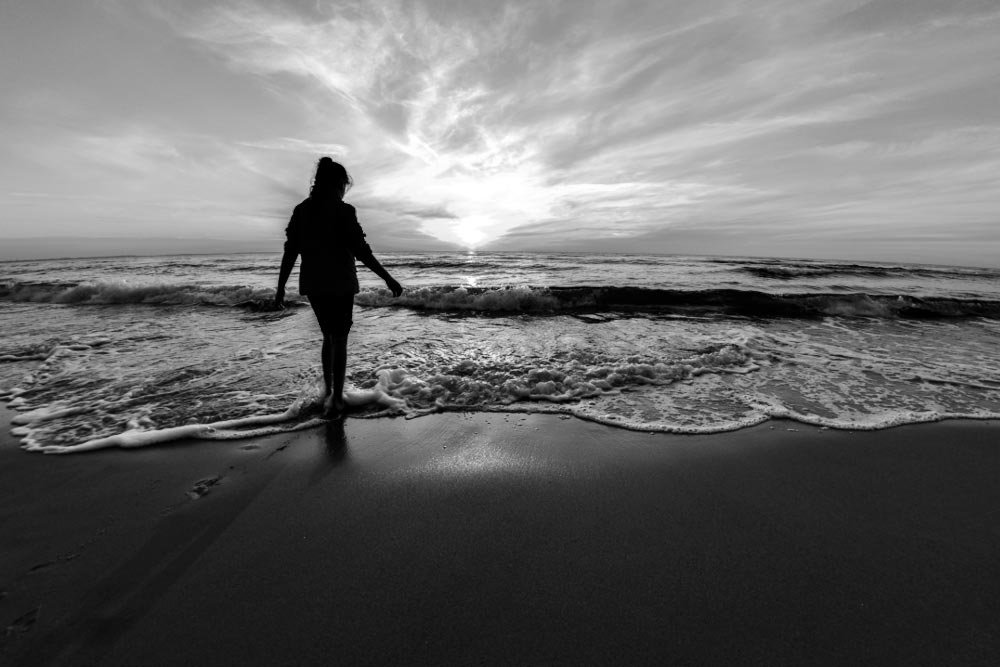
Enhancing the Black & White Photo
Before I even go any further, I know that I want to adjust the sky. To me, it’s flat. The blue is too close to the white of the clouds and neither offers much in the way of differentiation. To deal with this, I’ll push the blue slider to the left to darken the blue.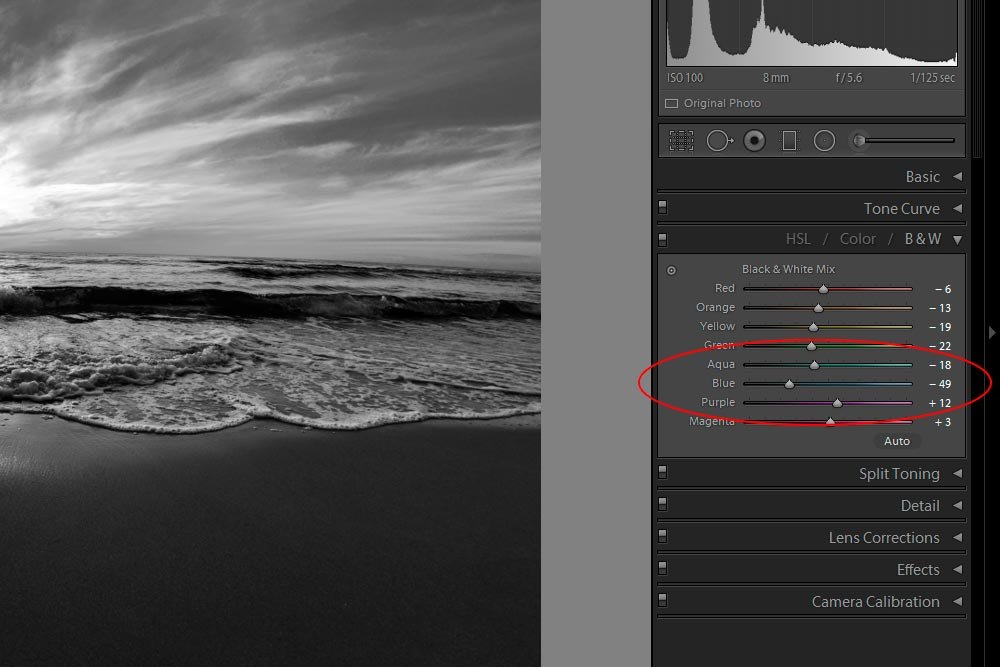
I also know that I want to brighten the sand up so it’s more clear and at the forefront of the photo. Right now, it’s not saying much to me. The thing is, I can’t remember what color the sand is. Also, I’m not sure that if I knew the color, I’d be able to guess what the color mix is and which slider to push. Good thing there’s a tool to help with this.
If I roll over the small circle in the upper left part of the B&W panel, the following words will appear: Adjust Black & White Mix By Dragging in the Photo.
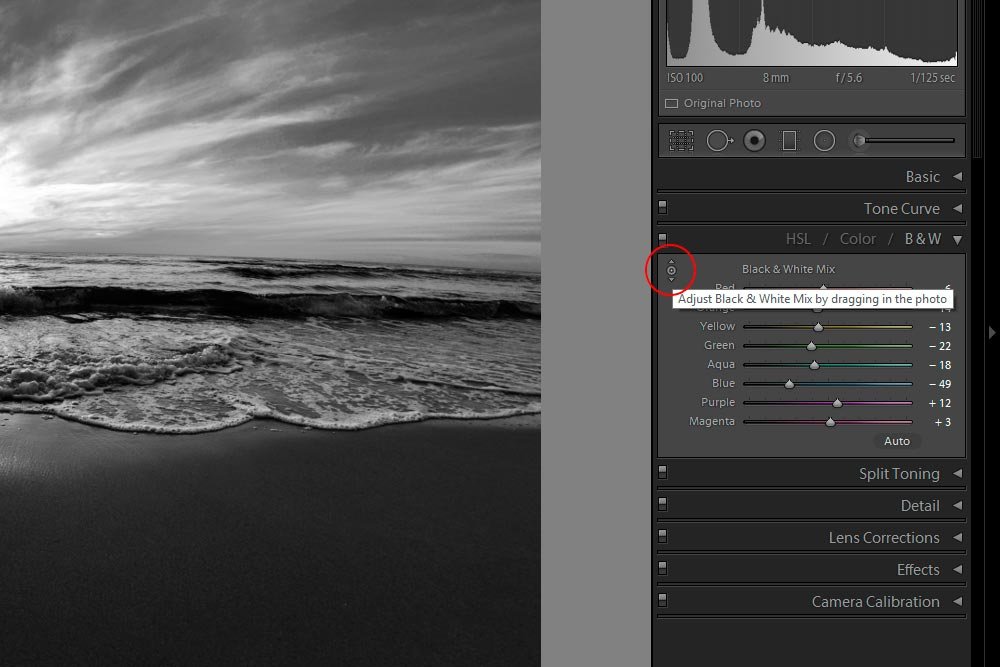
If I click inside this circle, the black and white adjustment tool will be activated. If I click inside it again, the tool will be deactivated. Since I want to adjust the luminosity of the sand, I’ll click inside the circle. Then, I’ll bring my mouse pointer to the area I’d like to adjust, click and drag either up or down. Up brightens and down darkens. I’ll click and drag up and then show the resulting photo. Basically, the tool selects whichever color you place your mouse over and drag from and edits that particular color.
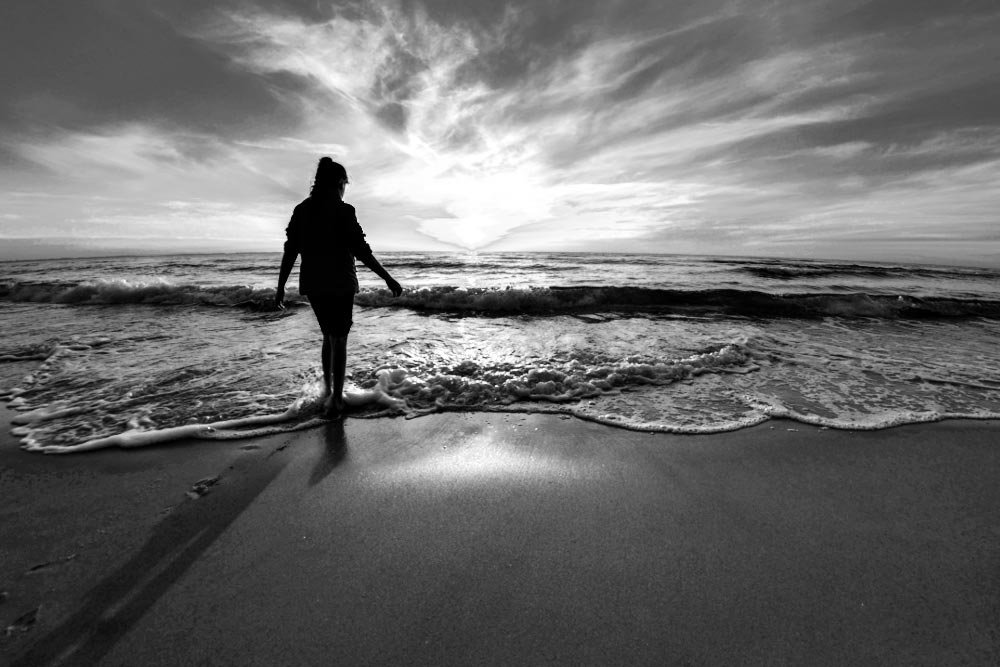
As you can see, the sand is much brighter now. The primary color that was adjusted was orange. Now, the orange slider is pushed all the way to the right. I’ll go ahead and click the circle again to turn the tool off.
If you look at the above photo and then again at the preceding black and white version, you’ll see that this latest one has a shadow that’s much more visible. This is called drama (photographers and editors love this word). By editing the black and white version of this photo using the B&W panel, I was able to make dramatic changes, which always coverts to a better looking image.
I think these changes look good and I’m going to leave the rest alone. What I am going to do, though, is head back into the Basic panel and bump the Contrast slider to the right to bring that shadow out some more. This is the final version of the photo.
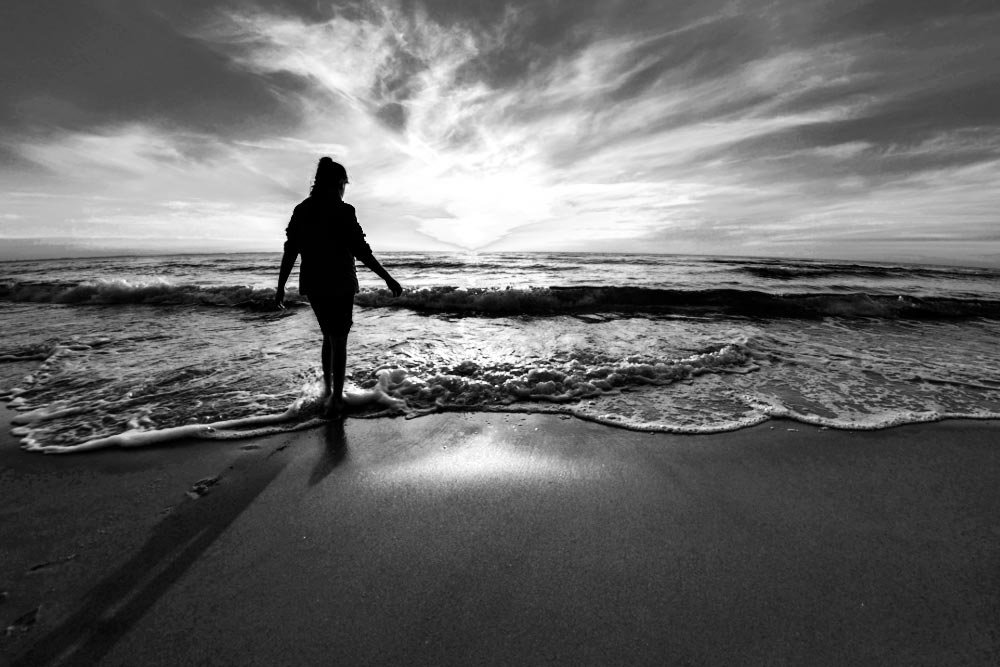
Whenever you can bring out the differences in shades in a black and white, it’s a good thing.
Viewing Before & After Versions
While working, it’s fairly common to view the before and after versions of the photo you’re working on. Because of this, I felt it important to tell you how to do this. In Lightroom, every panel has a small before and after switch. If you click it once, your changes will disappear and if you click it again, they’ll reappear. Please take a look at the screenshot below to see where the switch is located.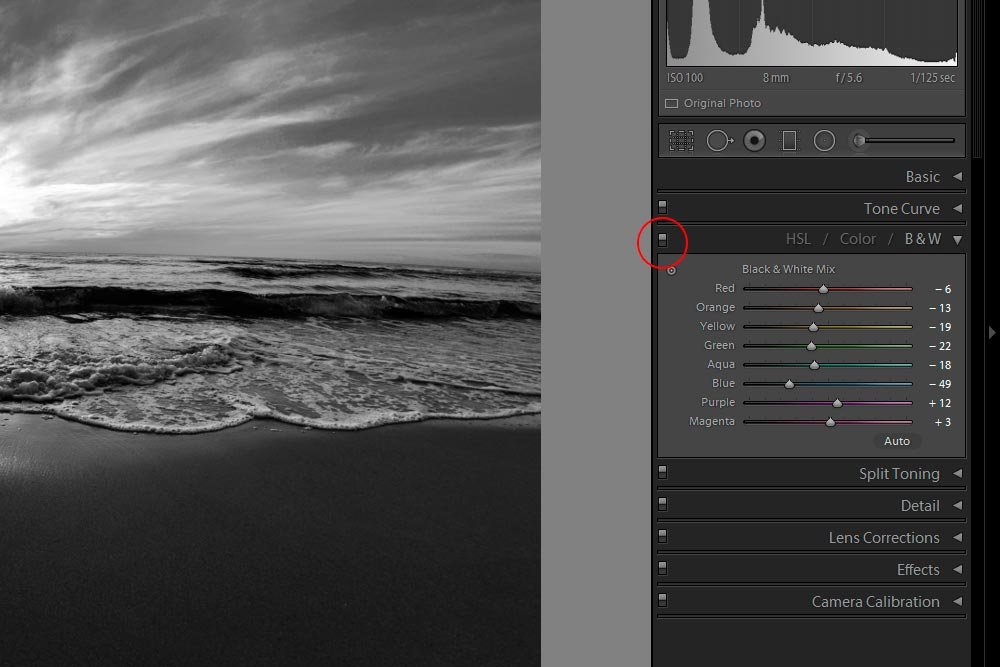
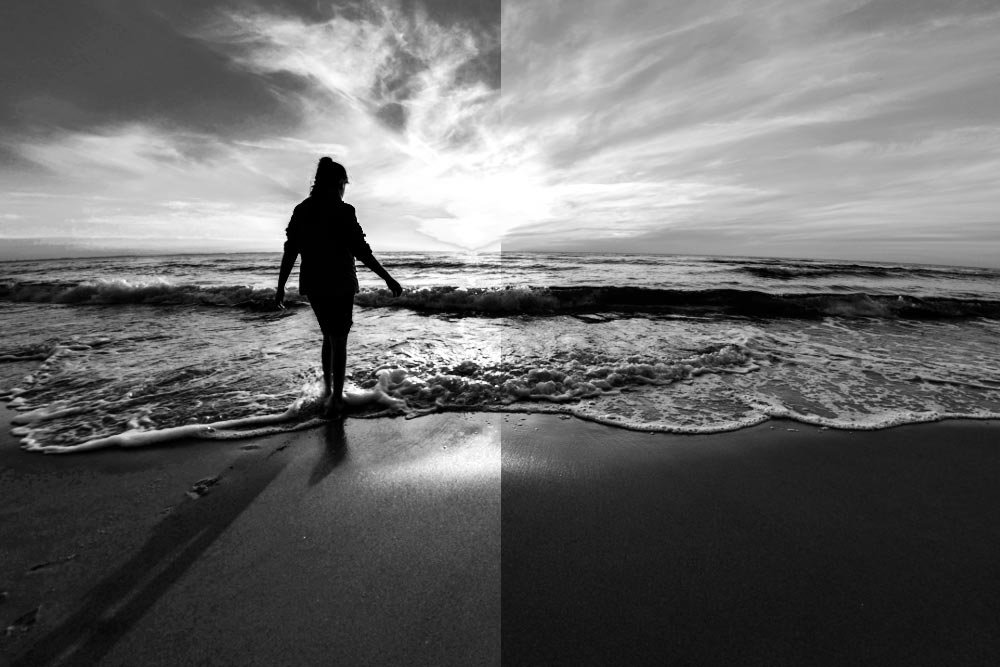
Finally, here is a before and after shot of the black and white versions of the photo I’ve been working on. I made the after version on the left because of the shadow. The before is on the right. The after shot is much more striking.
