JodyBuchanan
Member
- Joined
- May 10, 2021
- Messages
- 138
- Reaction Score
- 0
- Points
- 21
- #1
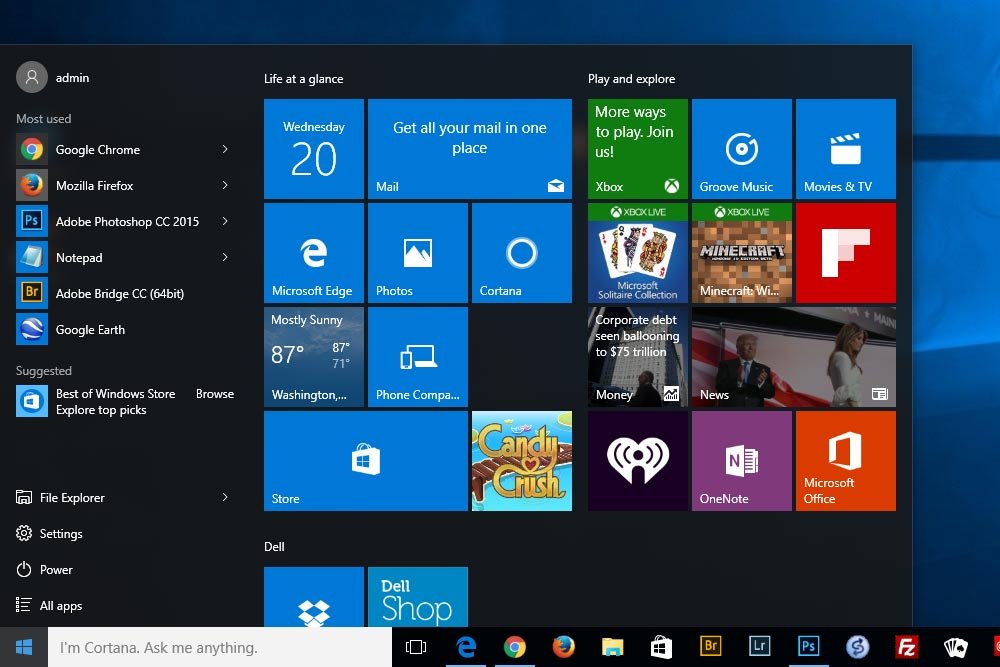
The Start menu in Windows 10 is a pretty serious area of the operating system and as such, it’s worth digging into and learning about. There a many new features built into this menu as well as a good number of changes that are incorporated from both Windows 8 and Windows 7. Overall, some would consider it the best of both worlds.
I’ve been using Windows 10 for quite a while now and I’ve been impressed with it. Other than the “forced” updates, everything is fine. I personally prefer to restart my computer about once a month, but with the new update scheme, I find myself restarting a bit more often. Excluding that, I find the operating system to be smooth and responsive. It does offer somewhat of a learning curve though and that’s the type of thing I’ll be discussing on this website.
In today’s post, I’ll be taking a close look at the Start menu. If you’ve already been using Windows 10, you’ll find it somewhat familiar looking, while simultaneously fresh and new. The standard application list is right where you think it would be, along with some other features. What you may find overwhelming or intimidating is the inclusion of the Windows 8 desktop – right in the Start menu. Don’t worry. It’s all very simple to understand.
How to Open the Start Menu
This is going to be a very brief section. To launch the Start menu in Windows 10, you simply need to click the small Windows icon that’s found in the lower left corner of your screen. I have that button circled in the screenshot below.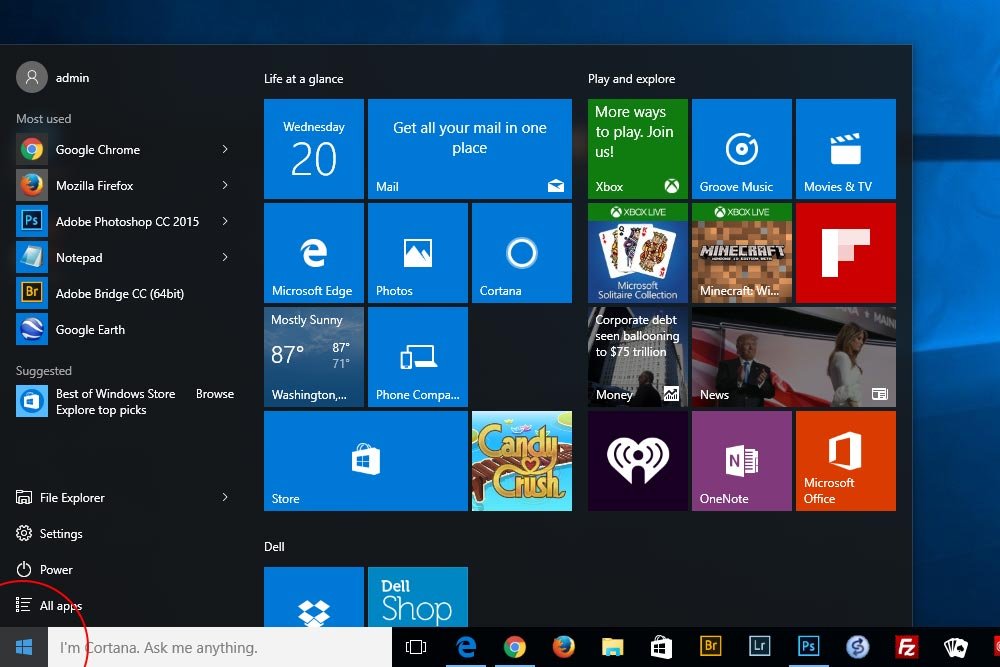
Overview of the Start Menu
Below, I’ll give you a very broad overview of the Start menu. I’ll outline important areas in red and then describe those areas below.User Account Menu
Let’s begin at the top left. This section controls the user that’s currently logged in. If you click the username, you’ll be presented with three options; Change account settings, Lock and Sign out.

If you select the Change account settings option, a dialog box will appear that shows the current settings and gives you the opportunity to change them.
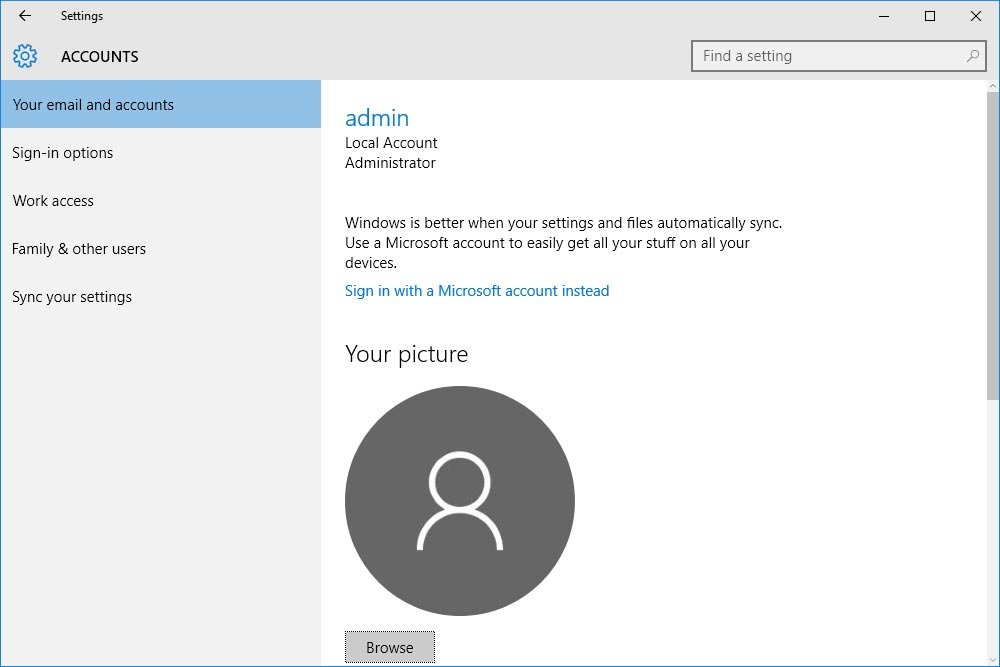
If you select the Lock option, you’ll lock your account so unauthorized users can’t access it and if you select the Sign out option, you’ll completely sign out of your account.
Most Used
This next section is greatly beneficial to the Windows workflow. At first glance, one might simply say, “Yeah, it’s the applications I use the most. What of it?” They’d be correct in saying that. In its own right, having your most frequently used applications in a list at your fingertips is extremely useful. It’s when you click to the right of each application that things become extraordinarily handy. Here, take a look:
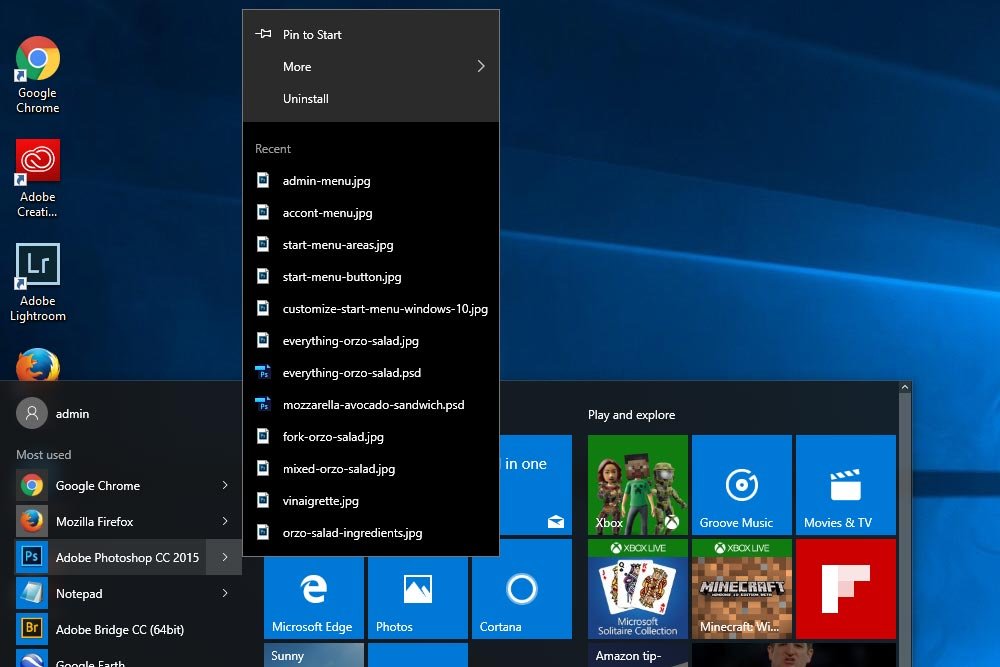
If you view the screenshot above, you’ll see that I clicked to the right of the Photoshop list item. More specifically, I click the right pointing arrow. When I did that, a menu appeared that showed a few things. First, I’m able to pin this application to my Start screen (the Windows 8 desktop that’s in the new Start menu), which is the large area I’ll be discussing later on in this post.
If I click the More menu, I can choose from Unpin from task bar, Run as administrator, Open file location or Don’t show in this list. And below that, I can begin the Uninstall process for this application. This is great, but what I really like is directly below these menu items – my most recently used files that pertain specifically to Photoshop. Ahh, what a beautiful thing.
I don’t know about you, but I do a lot of work on my computer and one task I truly don’t enjoy partaking in is navigating folders in search of a file I worked on a few days ago. It’s not that I don’t know where it is, it’s just that the process is cumbersome. With this Recent list, I’m able to jump around much more quickly than ever before. If you read through the list items in the above screenshot, you’ll see that many of them have to do with the images I’m using for this post right now and many of them have to do with a food blog post I wrote last night. Now this is what I like.
Operating System Controls
If we look at the bottom section of the left column, we’ll see that there are a few important items. The first item is called File Explorer.
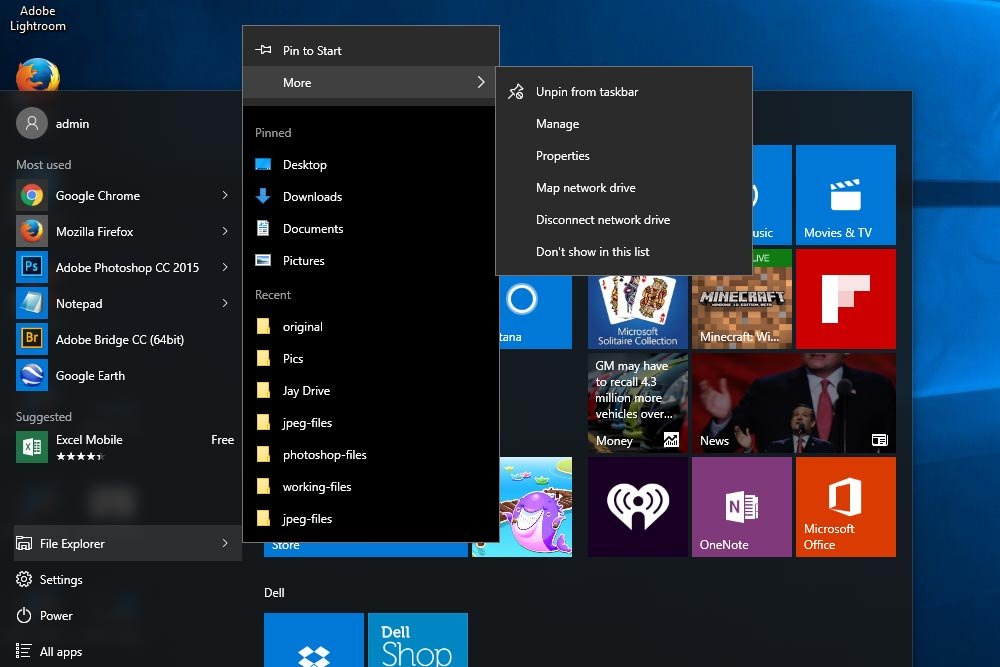
If you take a look at the above screenshot, you’ll see that this menu looks familiar to those in the previous sections. At the top of this menu are two sub-menu items; Pin to Start and More. If I select the arrow to the right of the More item, I’ll see even more choices. They are Unpin from task bar, Manage, Properties, Map network drive, Disconnect network drive and Don’t show in this list. While I won’t be going over these items in detail in this post, I will be talking about them and taking a very close look at them in later posts.
If we take a step back, we’ll notice that we’ve got two very helpful primary sections. The first one is Pinned and the second one is Recent. In the Pinned section are some standard important tools and areas that belong to the operating system. You can either add to this area, remove items from it or both. Below that are the most recent folders that were accessed. This is different than what we looked at above because these folders are system-wide, as opposed to simply application specific.
Situated directly below the File Explorer menu item is Settings. If clicked, this will open a dialog box where the system settings can be managed.
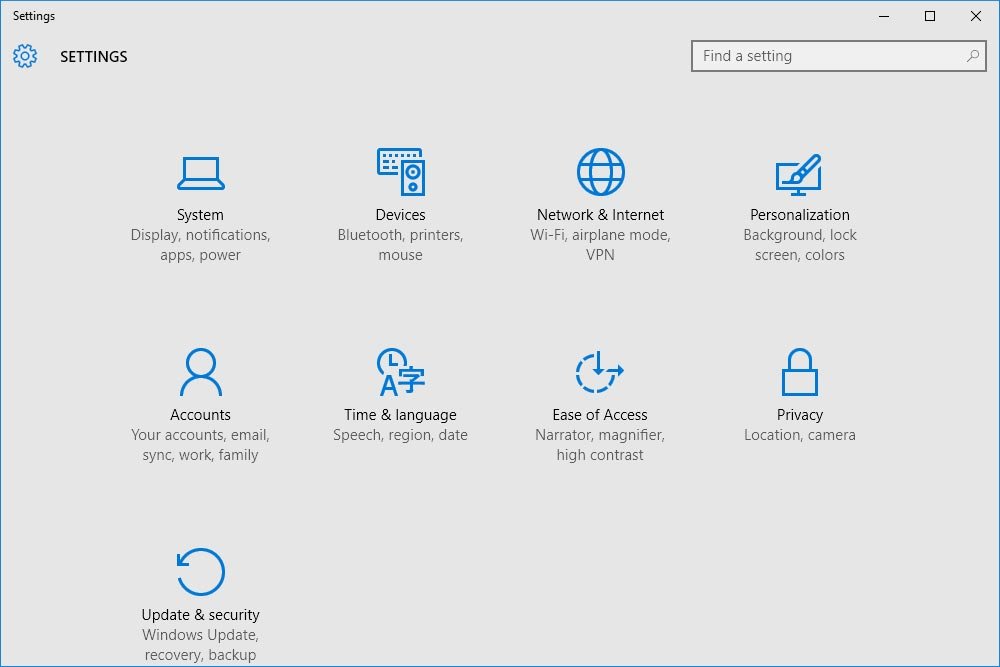
Since I recently wrote a post that talks about these system settings, I won’t be going over them here. If interested, I encourage you to read my previous post.
How to Change Settings & Use the Action Center in Windows 10
Below Settings is Power. If you click the Power menu item, you’ll be presented with three options, Sleep, Shut down and Restart.

Sometimes, there will be a fourth item in this list. It says something like Shut down and update or Restart and update or something like that. It’s fairly obvious that it means your operating system would like to apply the most recent update.
To turn the computer off, click Shut down. To restart the computer, click Restart. To put the computer to sleep and lock it at the same time, click Sleep. I use this last option the most often because I made a habit of locking my computer while I’m not sitting at it years ago. It’s been pounded into my head for a very long time.
Finally, at the bottom of this list is All Apps. This is where the fun begins.
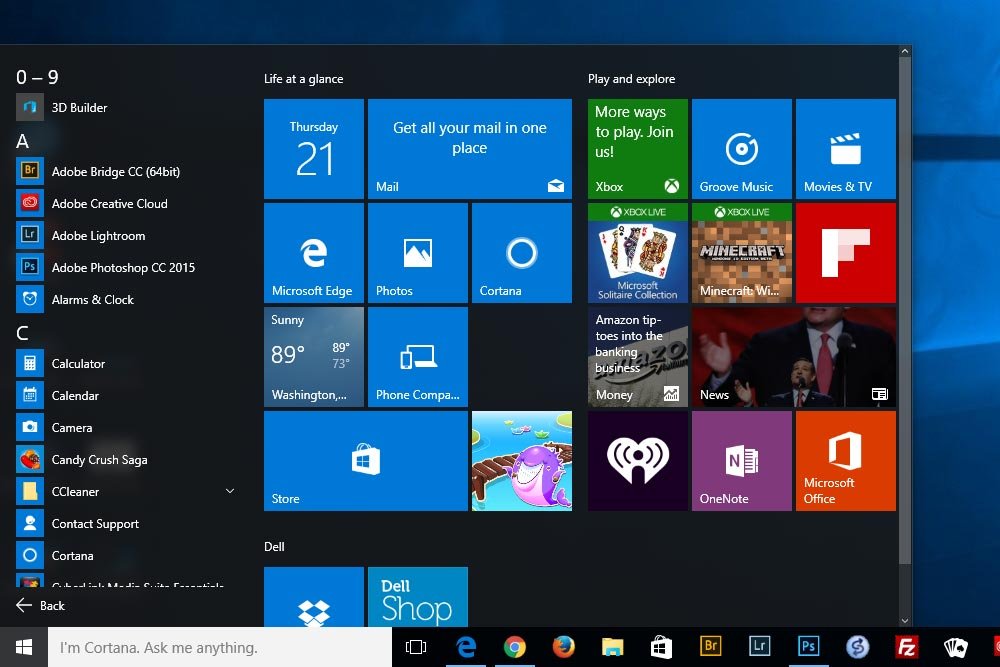
Every application that’s installed on your computer is listed in the All Apps section in alphabetical order. They’re usually listed as single items, but if there is a cluster of related items, they’ll be listed as sub-items and indicated as so by a downwards facing arrow on the right side of the menu.
You can’t customize the All Apps section. What you can do, however, is pin a frequently used app to the Start area that sits directly to the right of this left column. I’ll be talking about this area next.
Start
The Start area in the Start menu it a compromise between Windows 7 and Windows 8. It looks strikingly similar to the Windows 8 desktop. I have to say, it’s really cool and very helpful at keeping your desktop clean.
Let’s say that I used Photoshop all the time (which I do). Instead of placing a shortcut on my desktop or opening up the All Apps menu and scrolling down through a big long list, I could just scroll to Photoshop once, right click on it and choose Pin to Start. By doing this, I’ll be placing a tile in the Start area of the Start menu.
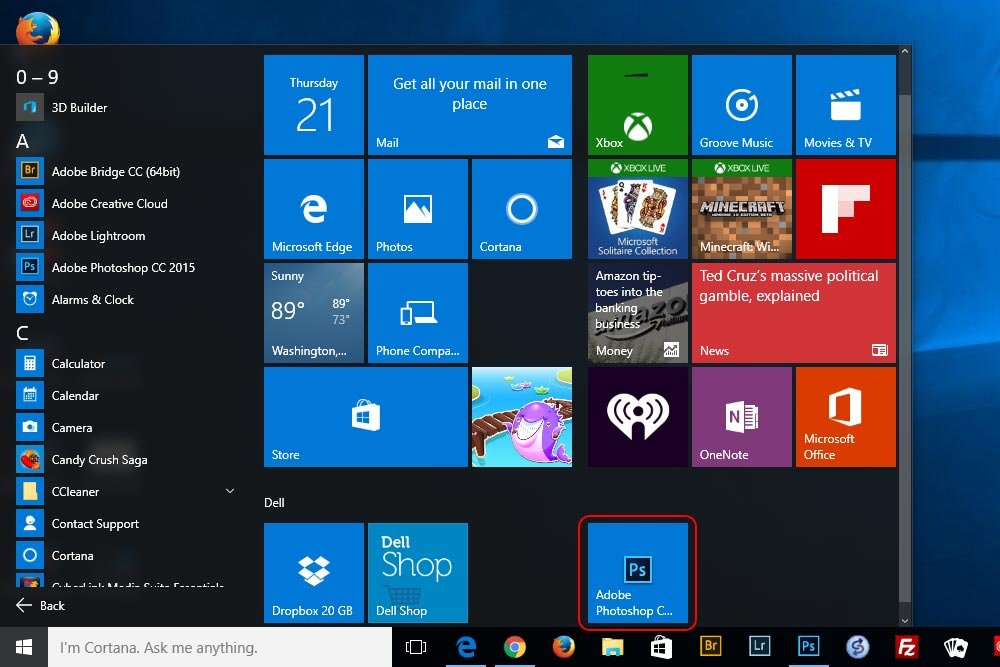
If you look at the above screenshot, you’ll see the Photoshop tile I just added to the Start area surrounded by a red box. If I want to launch Photoshop, I would click the newly formed shortcut tile.
Now, if I want to remove a tile from the Start area, I would right-click on the tile I want to disappear and select Unpin from Start. If I remove all tiles from a titled section, the section title will disappear as well. I like to do this with any Dell tiles, since I have never used them in my life.
To move a tile, I can click and drag it to the location I wish to move it to.
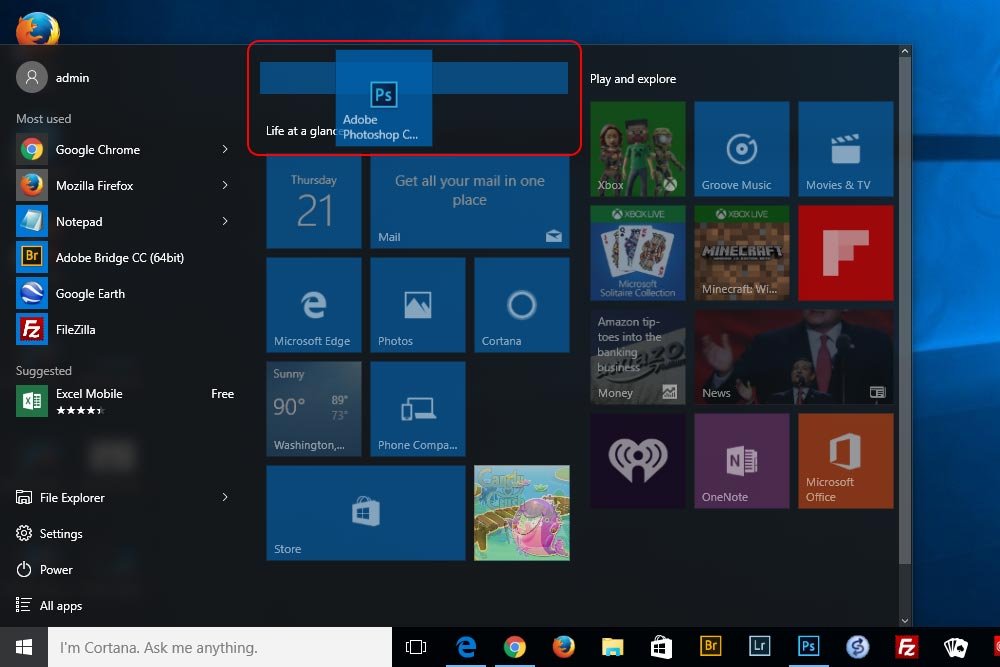
Moving a tile is fairly sensitive, so you have some wiggle room with where you put it. I just moved the Photoshop tile to the very top, but noticed that I don’t have a name for the section it’s in. To name the section, I’ll click above the tile and fill in the field that appears. When I’m finished, I’ll hit the Enter key on my keyboard. Similarly, to rename any existing section, all that needs to be done is the same thing – click the title and fill in the field.
To make a tile smaller or larger in the Start area, you can right-click on the tile itself and select the Resize option. From there, click on the size you’d like to see the tile.
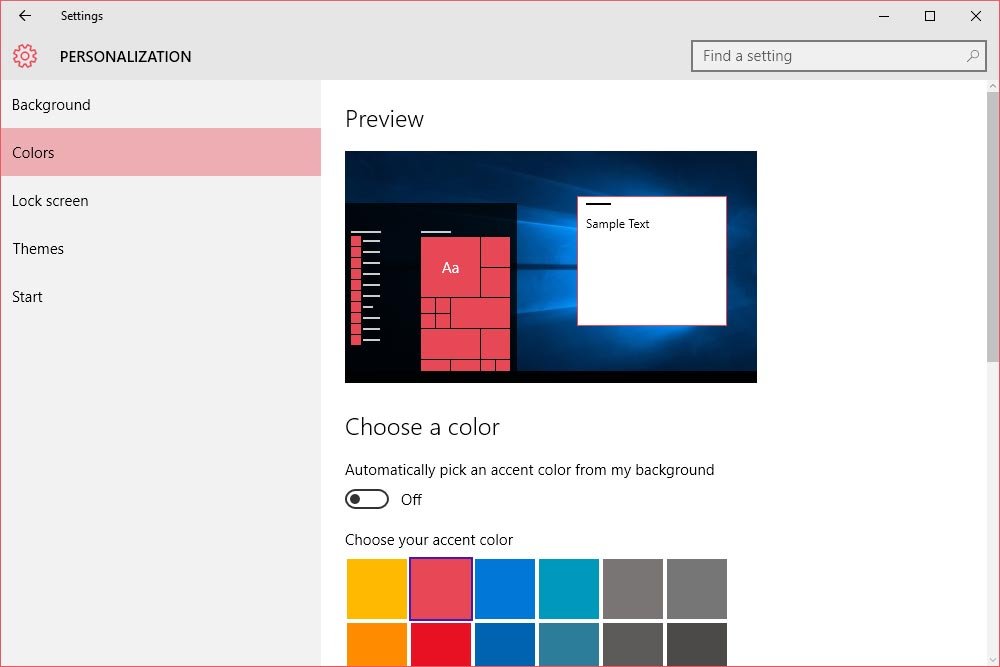
To change the accent color of the tiles in the Start area (and many other areas of the system), I’d click the Settings menu item and then Personalization. From there, I’d choose Colors from the left menu. Finally, I’d click the color I like from the boxes in the right screen.
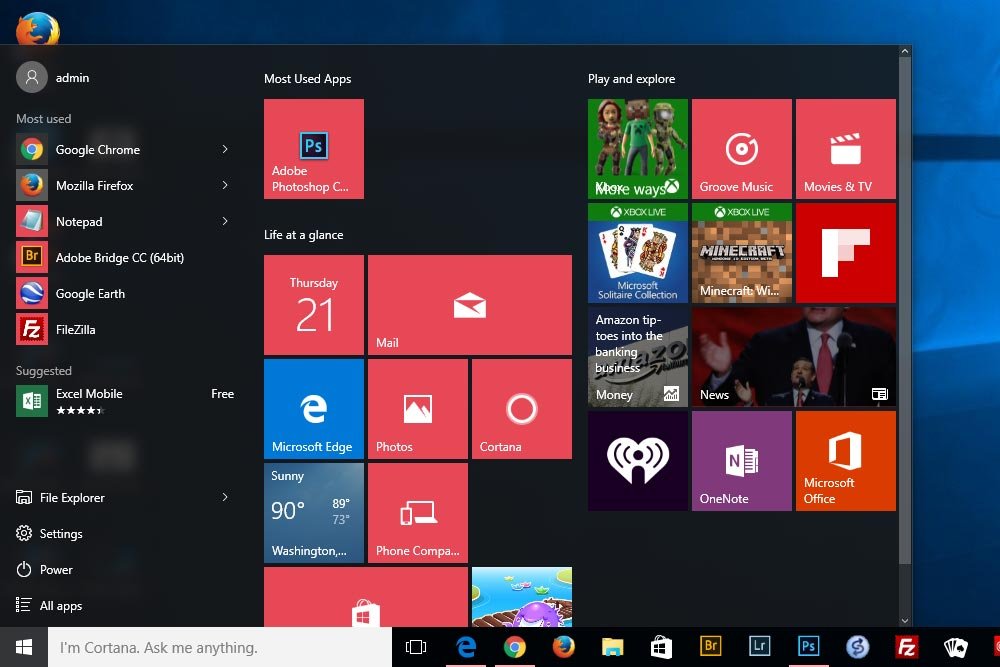
When I return to the Start menu, I’ll see that the boxes have changed color.
If I’m using a background image, I could let Windows choose the accent color for me. In the same Colors dialog box, I’d turn on the Automatically pick an accent color from my background switch. If this is done, the accent color would change every time the background image is changed.
If I scroll to the bottom of the Colors dialog box, I’ll find two more settings. The first is to Show color on Start, taskbar, action center and title bar. If I turn this feature on, all the areas that are currently gray or black will take the color I choose in this box. Next, I can Make Start, taskbar and action center transparent. This is on by default. The transparency isn’t too strong, but if I turn this feature off, the once transparent areas will be solidly colored.
Giving Windows 10 the Windows 8 Look
I know people who loved Windows 8. They explained to me that while it took a while to learn, they appreciated the navigational aspects of it. After they upgraded to Windows 10, they were disappointed to find that their tiles had disappeared. Well, they’re in luck because there’s an option in Windows 10 to give your desktop the Windows 8 look again.If I click the Start button to open the Start menu once again and then click Settings, I’ll be presented with the dialog box I saw earlier on. From here, if I select System and then Tablet Mode, I’ll find the area that controls the looks and functionality that comes with working on a tablet, which is what the folks at Microsoft had intended for Windows 8. Don’t worry, you can use a mouse in tablet mode.
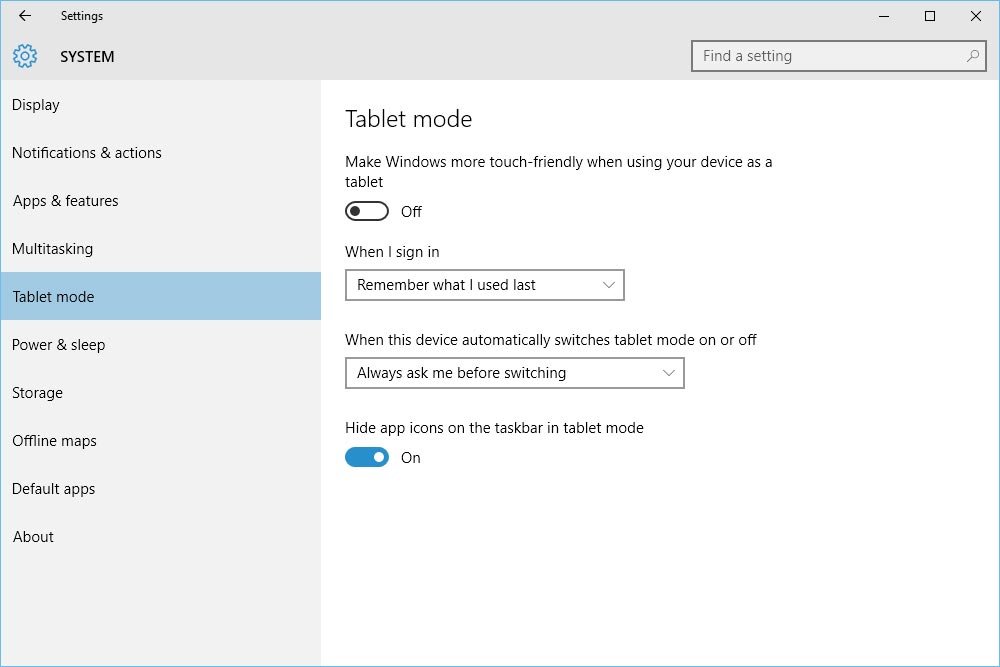
If I click the Make Windows more touch friendly when using your device as a tablet switch to the On position, I’ll see some rather drastic changes. For starters, the window I’m working in will expand to consume the entire size of my desktop monitor. Also, my desktop will change from using icons to using tiles. Also, navigating the system will be much different. Unfortunately, I’m not able to create a screenshot of this because I’m working on a 27 inch monitor. It’s just too large.
I encourage you to give this last option a try though. Also, look at the two drop-down menus and the final switch below this option setting. They control what you see and when.
