WendyMay
Member
- Joined
- May 11, 2021
- Messages
- 142
- Reaction Score
- 0
- Points
- 21
- #1
Cropping an image in Adobe Photoshop is very easy to do. It's one of the simplest tasks out there. Of course, you'll need to learn a few basics about the process, but those basics are straightforward. In today's tutorial, I hope to teach you much of what you'll need to do your own cropping in this application. Down below, I'll walk you through the entire process. If you have any questions at the end or if you'd like to add something, be sure to contribute below this post.
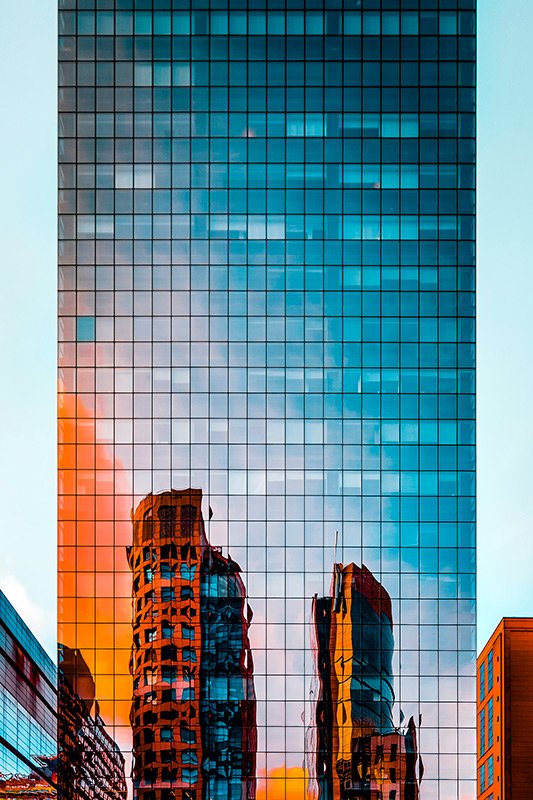
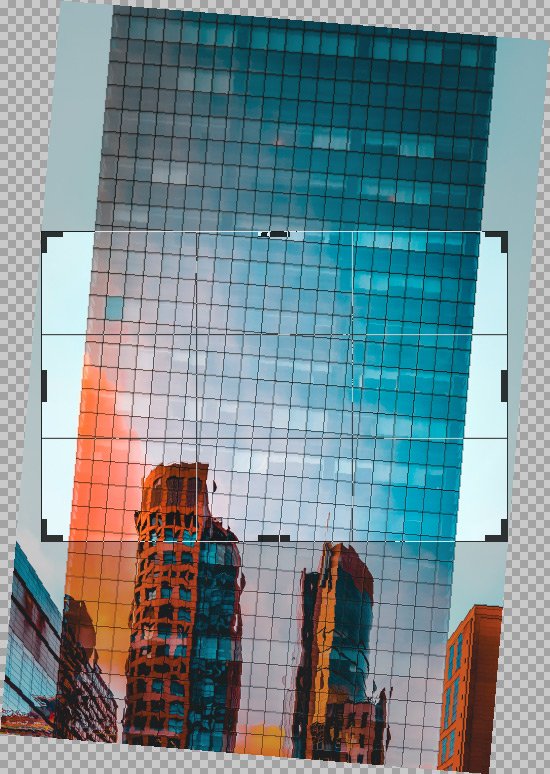
Basically, my goal is to crop out the entire top portion of the building, leaving the much more colorful lower portion behind.

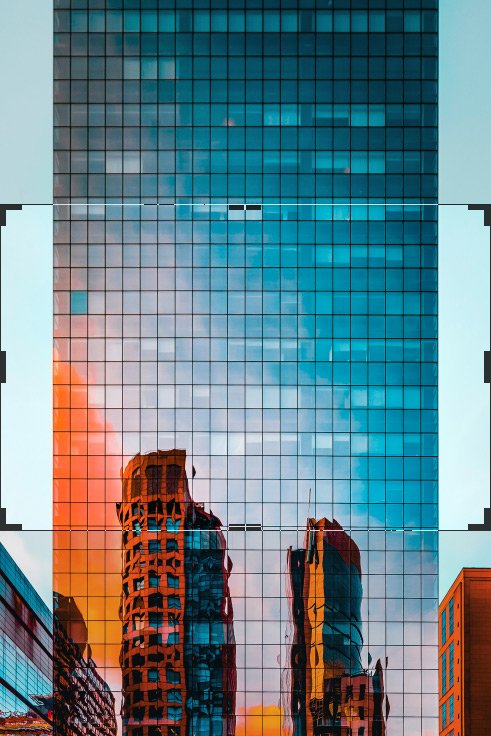
The moment I select the tool, I'll see an outline with some handles appear on the photo.
For this exercise, I think I'll crop the image 800 pixels wide and 533 pixels high. That's the same proportion a regular photo is, but just smaller overall. To crop this image, I'll need to change some settings in the options bar up at the top of Photoshop, under the menu. To start, I'll click the drop-down box and I'll select W x H x Resolution.
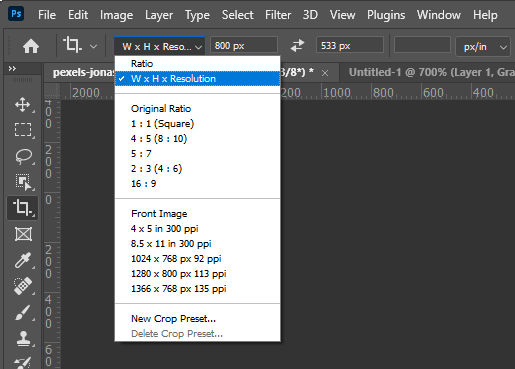
And then I'll fill in the two field to the right of the drop-down with the dimensions I just described.
As you can see, there are many other options I could have chosen, including Ratio, Original Ratio, specific ratios, and specific common sizes. I can also set the resolution I'd like the ultimate cropped image to be, as long as that resolution is lower than the original photo's. You can't increase resolution in image editing, you can only lower it.
All the way to the right of the options bar is a check box called Delete Cropped Pixels. The way Photoshop works is that it protects any areas of an image that are cropped out. It keeps the pixels and data stored behind the scenes. So if you ever wanted to undo your changes, the original photo would be there waiting for you. It's a safety feature. If you were to check the box, Photoshop would delete all the pixels that you crop out. They would be deleted for good, so you'd better be sure you know what you're doing. I just wanted to mention this.
Within the Crop Tool is also a tool that straightens images. If you'd like to learn about this tool, please refer to this post:
https://gaulard.com/forum/threads/53/

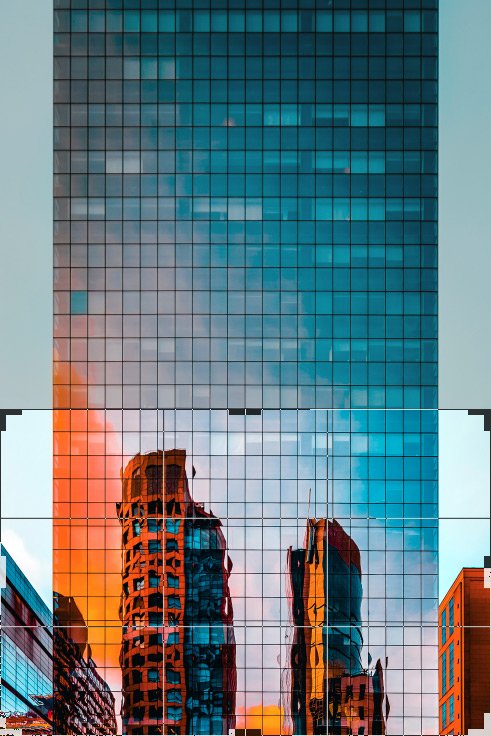
To actually make the crop, I will either double-click the tool itself or simply press the Enter button on my keyboard.
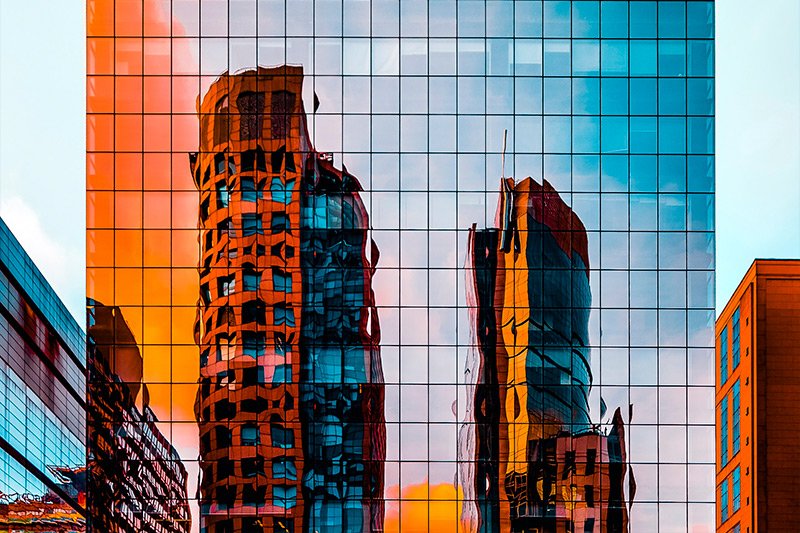
Here's the result of that.
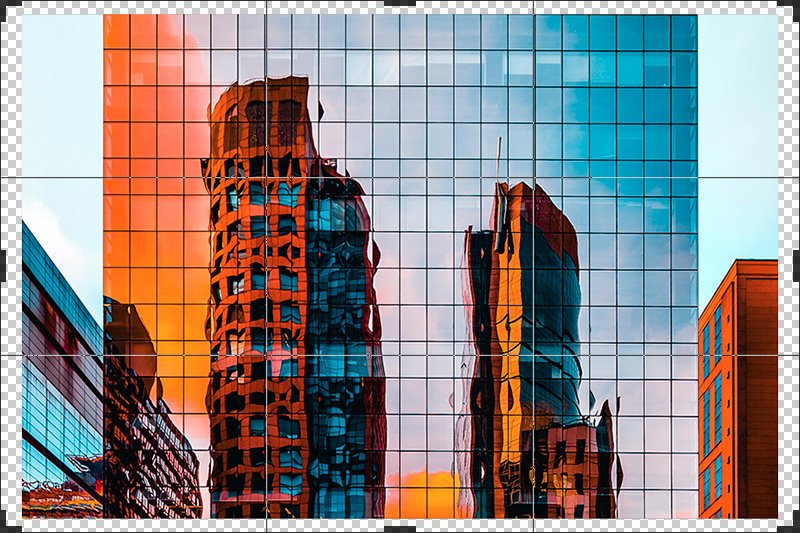
Do you see how I've got empty space around the photo now? I could make that space as large as I want, but remember, the final image will still be 800 pixels wide and 533 pixels high, no matter how thick the border is. Now, to apply this border, I'll again press the Enter key on my keyboard. Once that's done, I'll make sure the bottom empty layer is selected in the Layers panel and then I'll use the Paint Bucket Tool and the color black to fill that bottom layer in. This will be my result:
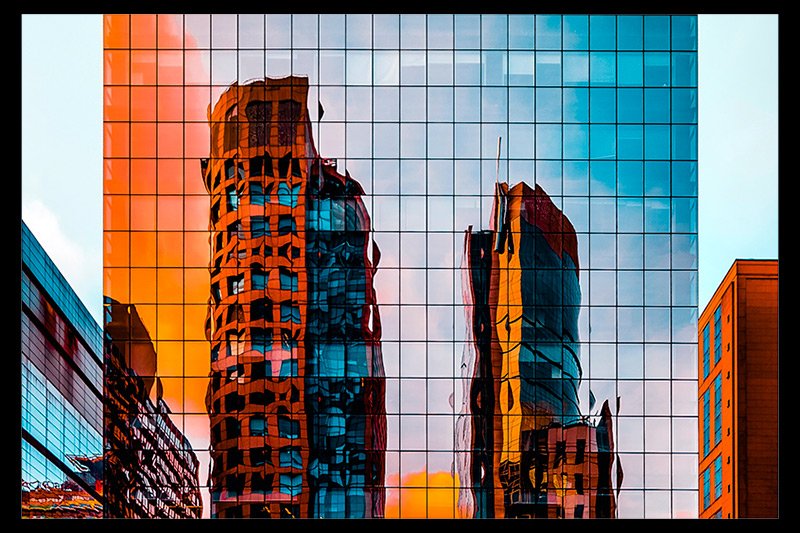
Pretty cool, right?
I think that's enough material for today. There's a lot you can do with this tool in Photoshop, so if you have any questions, please don't hesitate to ask down below. And if you've got any tips of your own to share, please add those below too. Thanks!
The Original Image
I pulled this image off of a free stock photo website (Pexels). I thought it was perfect because the lower portion would be cropped beautifully and the photo would still look good. Take a look.
Basically, my goal is to crop out the entire top portion of the building, leaving the much more colorful lower portion behind.
Exploring the Crop Tool Settings
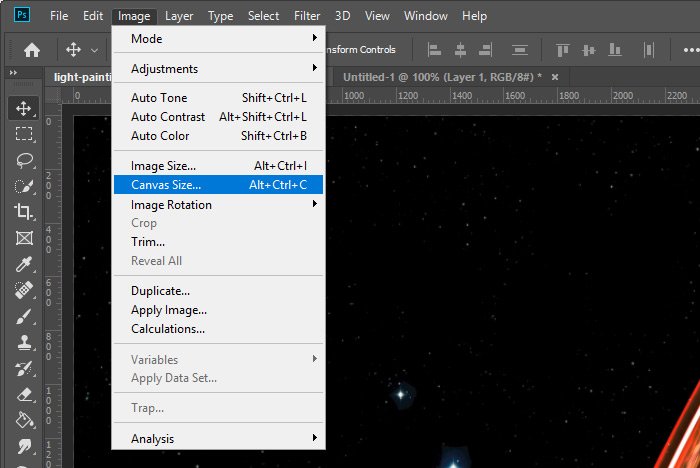
To start out, after opening the image in Photoshop, I'll head over to the left toolbar and click on the Crop Tool. This tool can be identified by this symbol:The moment I select the tool, I'll see an outline with some handles appear on the photo.

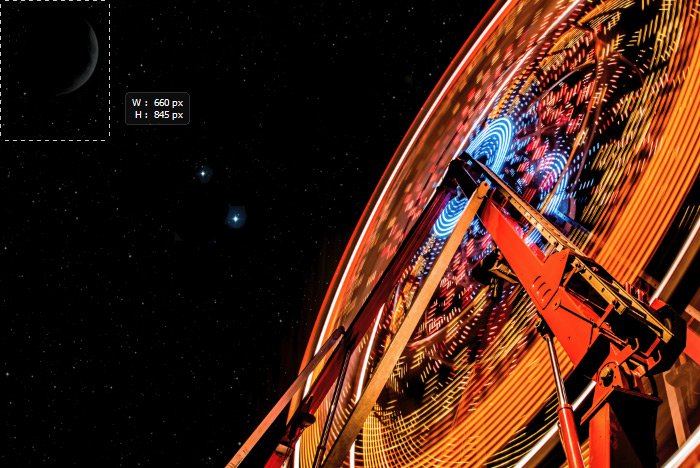
For this exercise, I think I'll crop the image 800 pixels wide and 533 pixels high. That's the same proportion a regular photo is, but just smaller overall. To crop this image, I'll need to change some settings in the options bar up at the top of Photoshop, under the menu. To start, I'll click the drop-down box and I'll select W x H x Resolution.

And then I'll fill in the two field to the right of the drop-down with the dimensions I just described.
As you can see, there are many other options I could have chosen, including Ratio, Original Ratio, specific ratios, and specific common sizes. I can also set the resolution I'd like the ultimate cropped image to be, as long as that resolution is lower than the original photo's. You can't increase resolution in image editing, you can only lower it.
All the way to the right of the options bar is a check box called Delete Cropped Pixels. The way Photoshop works is that it protects any areas of an image that are cropped out. It keeps the pixels and data stored behind the scenes. So if you ever wanted to undo your changes, the original photo would be there waiting for you. It's a safety feature. If you were to check the box, Photoshop would delete all the pixels that you crop out. They would be deleted for good, so you'd better be sure you know what you're doing. I just wanted to mention this.
Within the Crop Tool is also a tool that straightens images. If you'd like to learn about this tool, please refer to this post:
https://gaulard.com/forum/threads/53/
Clearing the Crop Tool
If I was finished cropping my image and wanted to change the settings to something else, I could simply click the Clear button in the options bar. That would erase any settings I added so I could start fresh again.
Cropping the Photo
Okay, I've got my settings all in place. To move the Crop Tool around the image, I'll click on it once and then drag it where I want it to go. I can also do this with my arrow keys on my keyboard. Sometimes using the arrow keys gives better results when fine movements are called for. For now, I'll drag the Crop Tool to the bottom of the image. As you can see, a grid also formed over the tool. That grid helps a lot when rotating or leveling out an image.
To actually make the crop, I will either double-click the tool itself or simply press the Enter button on my keyboard.
Here's the result of that.

Expanding the Image - Adding a Border
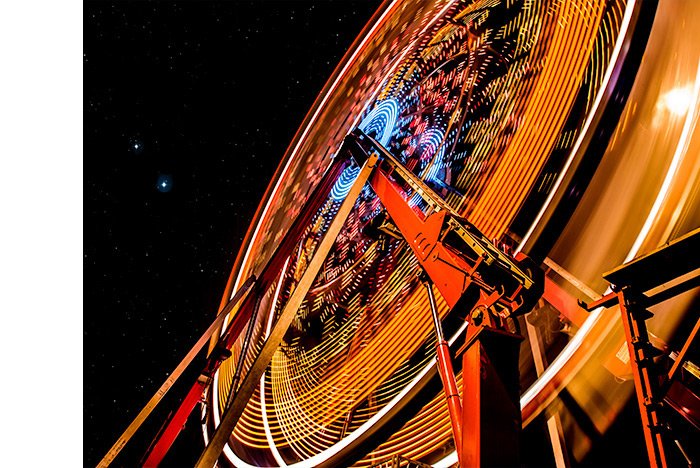
If you thought that was helpful, just wait for this. For the above crop, I did check the Delete Cropped Pixels box. I wanted the cropped out pixels deleted permanently because I knew I was going to continue work on the picture and I couldn't have the old cropped out parts getting in my way. So now that I've got the wider bottom portion of the photo, I'd like to add a black border around it. To do this, I'll first add a new layer to the file in the Layers panel and make sure the new empty layer is below the image layer. Then, I'll again apply the Crop Tool to the image, but this time, instead of dragging the tool around in search of something to crop, I'll click and drag a top corner and a bottom corner outward, so the tool expands beyond the borders of the image.
Do you see how I've got empty space around the photo now? I could make that space as large as I want, but remember, the final image will still be 800 pixels wide and 533 pixels high, no matter how thick the border is. Now, to apply this border, I'll again press the Enter key on my keyboard. Once that's done, I'll make sure the bottom empty layer is selected in the Layers panel and then I'll use the Paint Bucket Tool and the color black to fill that bottom layer in. This will be my result:

Pretty cool, right?
I think that's enough material for today. There's a lot you can do with this tool in Photoshop, so if you have any questions, please don't hesitate to ask down below. And if you've got any tips of your own to share, please add those below too. Thanks!

