KodyWallice
Member
- Joined
- May 7, 2021
- Messages
- 123
- Reaction Score
- 1
- Points
- 23
- #1
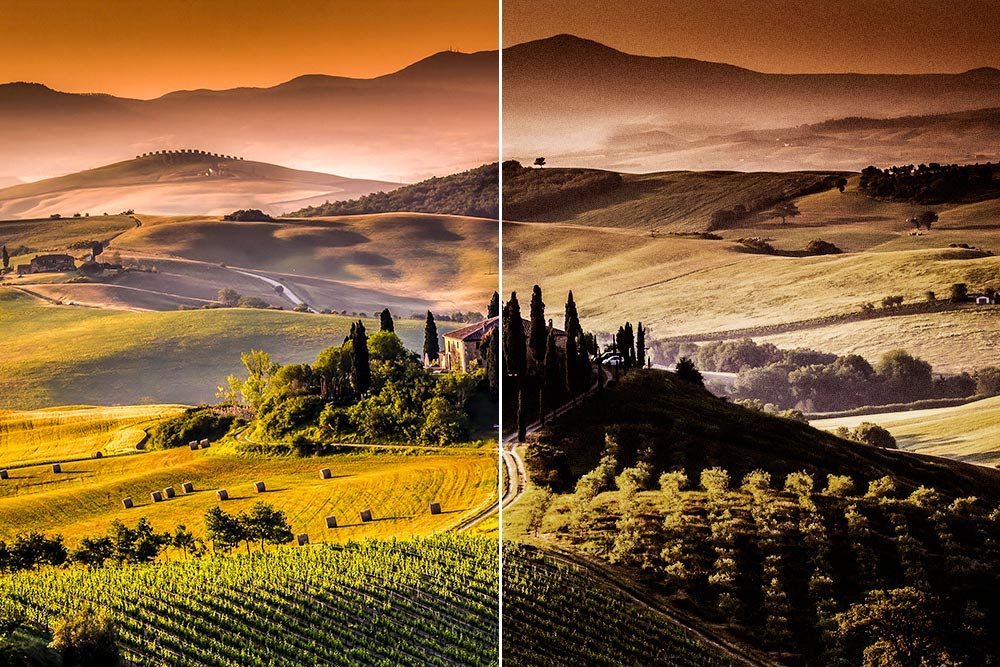
If you do a quick Google search for “Vintage Photo,” you’ll find an endless supply of pictures that look like they were taken 50 years ago. I just did this a few moments ago and after I did, I attempted to differentiate vintage, or older looking, photos with new, or modern looking, ones. Here’s what I found:
– Vintage photos look more classic. Their subjects are timeless. They aren’t flashy or modern.
– Vintage photos exhibit a level of noise. They appear to be somewhat grainy.
– Vintage photos aren’t saturated with color like today’s are. They’re much more modest.
There’s definitely a difference between the two types of photos. The thing is, even though modern cameras give us an abundance of clarity and color, sometimes it’s nice to look back to the days of yesteryear. Especially if we want to remember something the way it used to be. I found a lot of older looking travel photos, very classic portraits and even some well aged event pictures.
Here’s a question for you: What if you took a picture with a brand new camera today and wanted to give that picture a vintage feel? How would you do it? Can you even do it? I’m here to tell you that you can. It’s actually quite simple. Adobe Photoshop has all the necessary tools and it doesn’t take long at all.
In today’s post, I’ll be walking through the steps that can help you turn new into old. We’ll remove the crystal clear and saturated edge from your photos and turn them into something that may invoke a bit of nostalgia. The level of “old” you want to bring your photos to is up to you; I’ll simply guide you towards what you’ll need to get there.
Original Photo
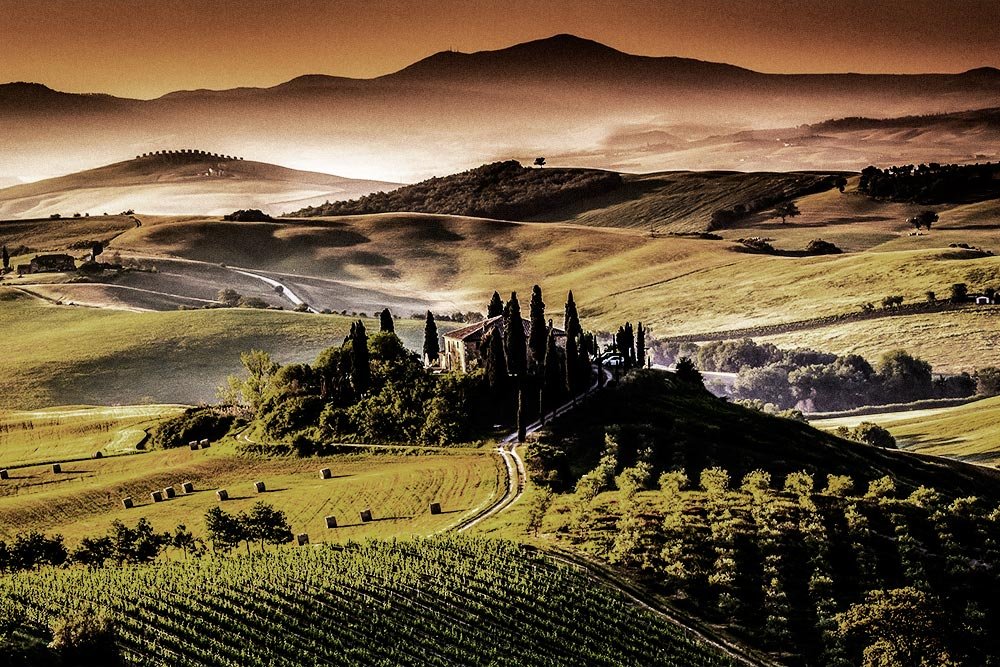
I found the perfect photo to work with today. The subject is a house in Tuscany. It’s got some fields and some mountains and whether this photo looks old or new, it looks great.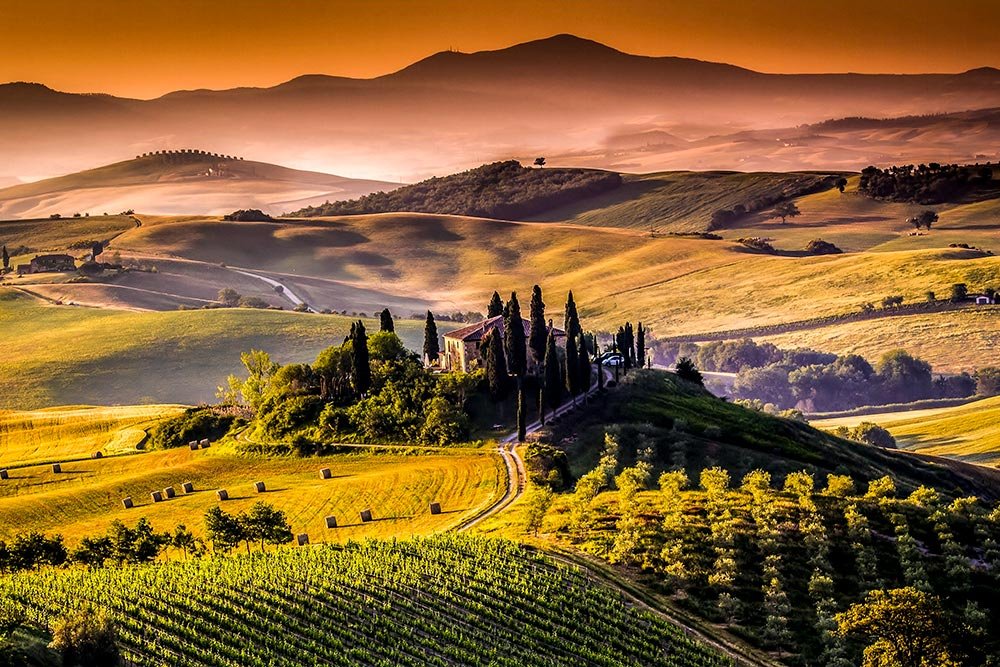
I edited this photo to be sure it looked clear and colorful. What I’m going to do below will alter that somewhat.
Converting For Smart Filters
In order to add an editable, non-destructive filter to the image, I need to convert it for Smart Filters. Smart Filters are Adobe’s way of saying that the layer we’re applying a filter to has been converted to a Smart Object. By default, any filter that’s applied to a Smart Object is a Smart Filter. I know this sounds confusing.Photoshop Help / Apply Smart Filters
If you read through my earlier post where I softened up a portrait, you already know that I can convert my primary layer to a Smart Object and then add a filter to it. Another method for accomplishing the same task is to select the layer I’d like to convert, head up to the Filter > Convert for Smart Filters menu item and click.
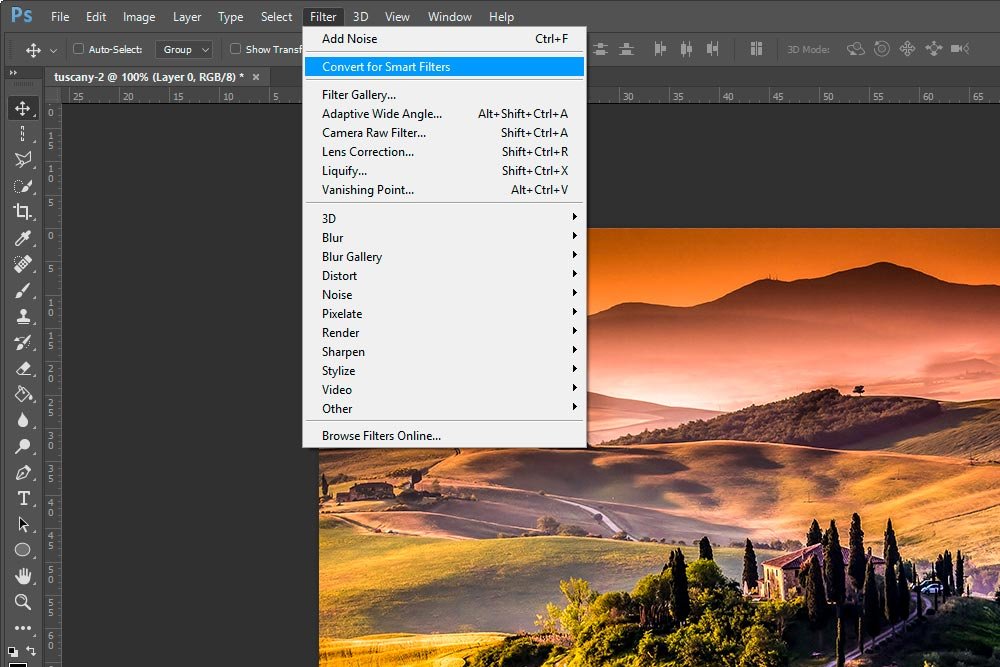
After I do this, I can apply most filters to the layer and edit them in a non-destructive way.
Applying the Filter
In order for me to begin giving the photo a vintage look, I need to apply the Noise filter.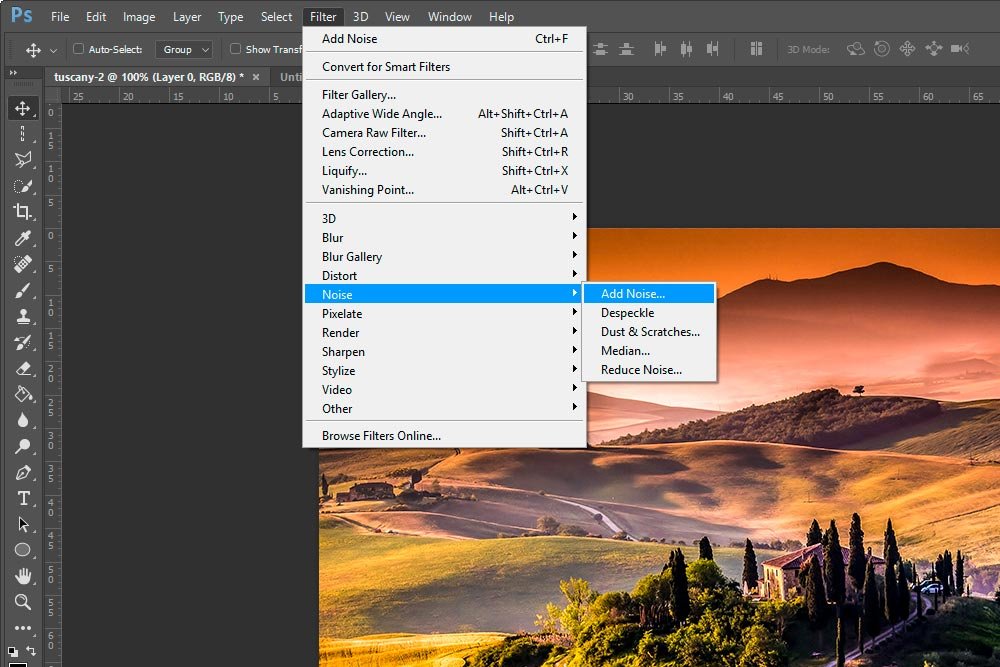
When I do that, the Add Noise dialog box appears.
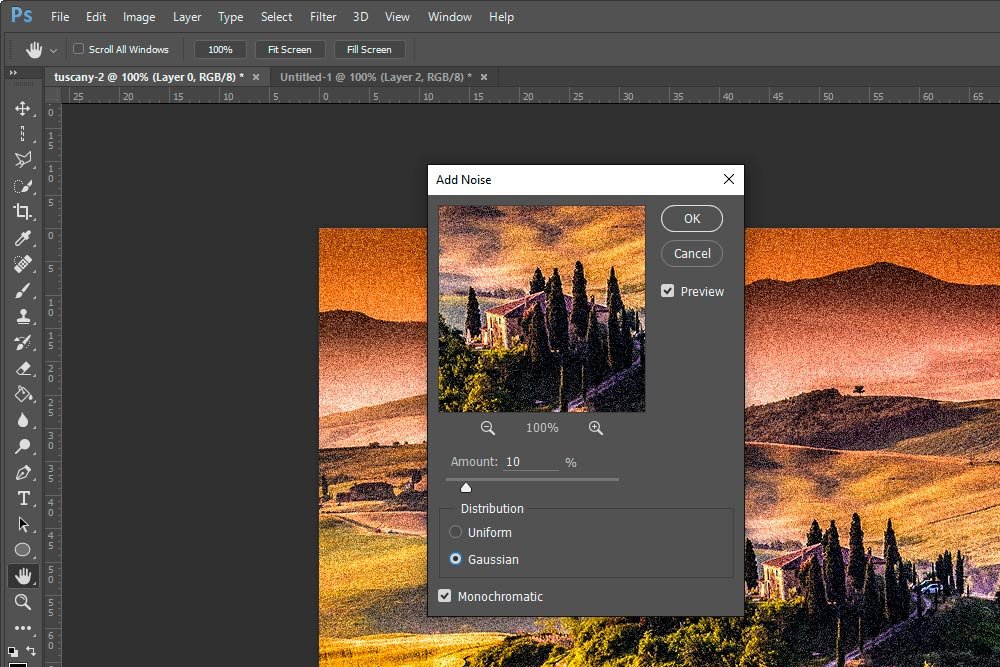
The level of noise isn’t important just yet. What is important for my photo is that I choose Gaussian for randomize the noise specks and Monochromatic to keep the specks black and white. Since the filter is applied to a Smart Object, I can always go back and adjust the level of noise towards the end, when I have a more accurate view of how the final photo will look.
Let me show you what the Layers panel looks like, now that the photo layer has been converted to a Smart Object and a Smart Filter has been applied to it.
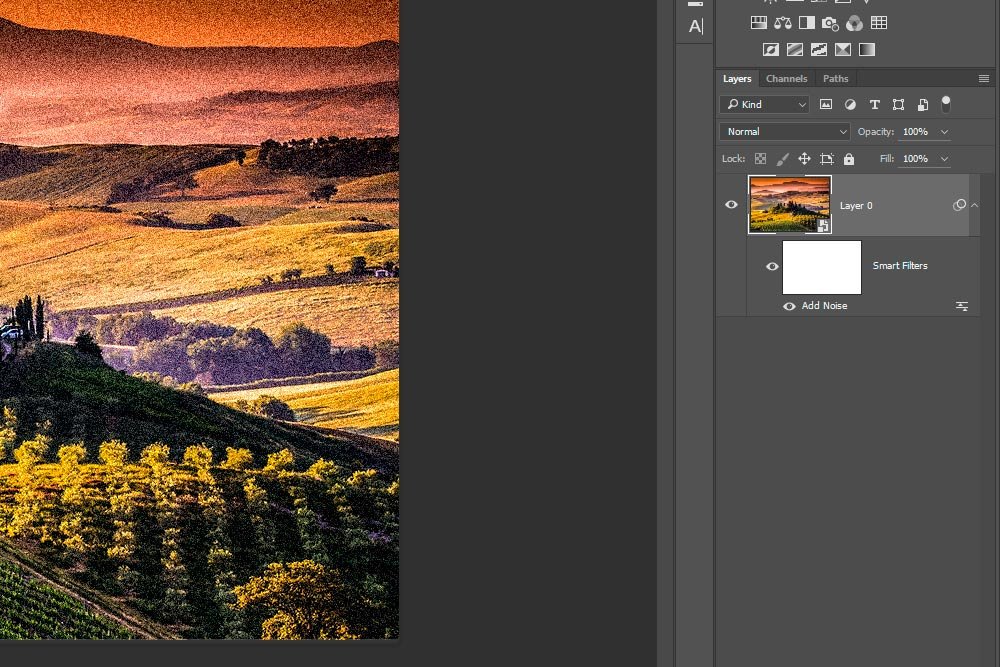
In the above screenshot, you can see that the image layer has the small Smart Object icon inside the thumbnail. You can also see that the Smart Filter layer has the Noise filter active.
Applying a Blending Mode
Just as I did in the post I wrote about softening and adding glow to a portrait, I’m going to apply a blend mode to this Smart Filter. To do this, I’m going to double-click the small Blending Mode Options icon in the Smart Filters layer.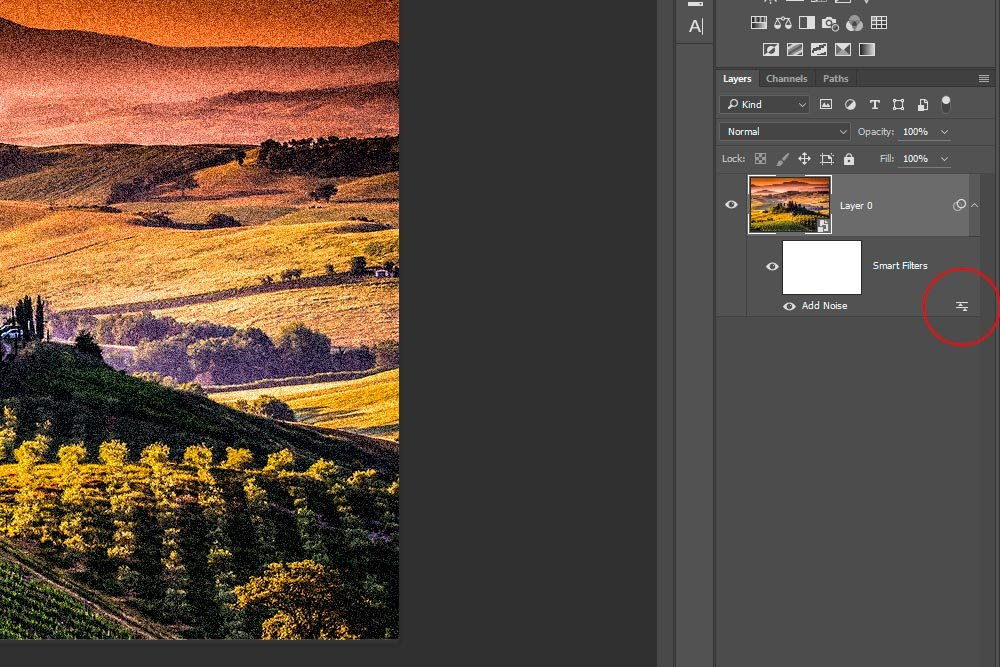
After I do this, the Blending Mode dialog box appears. I can choose whichever blending mode looks best. In my case, I like Overlay. This particular mode adds a lot of distinction to the photo.
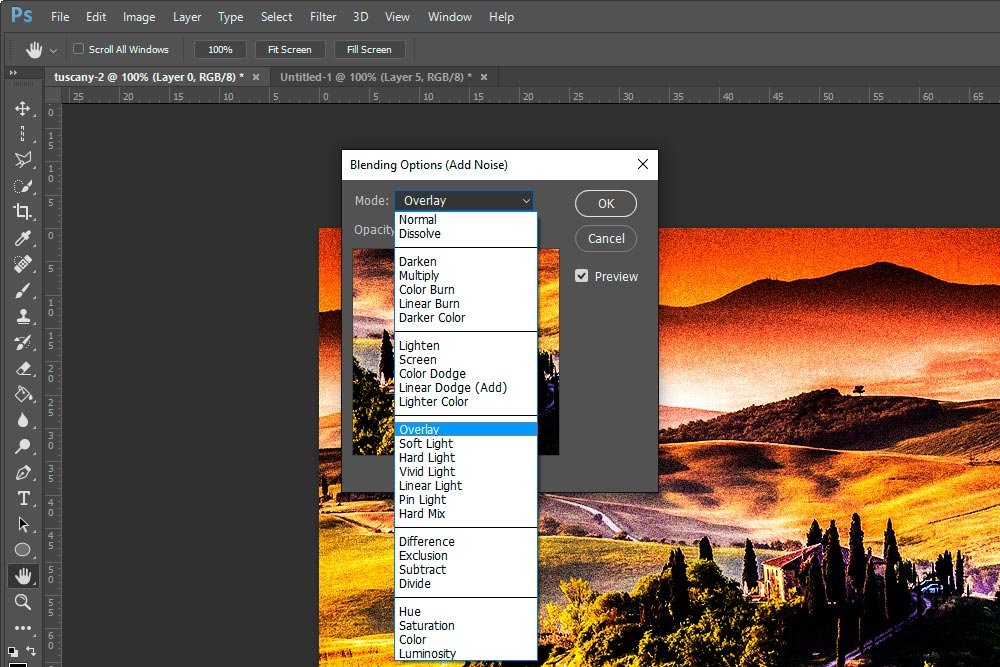
Let’s take a quick look where we are with the photo.
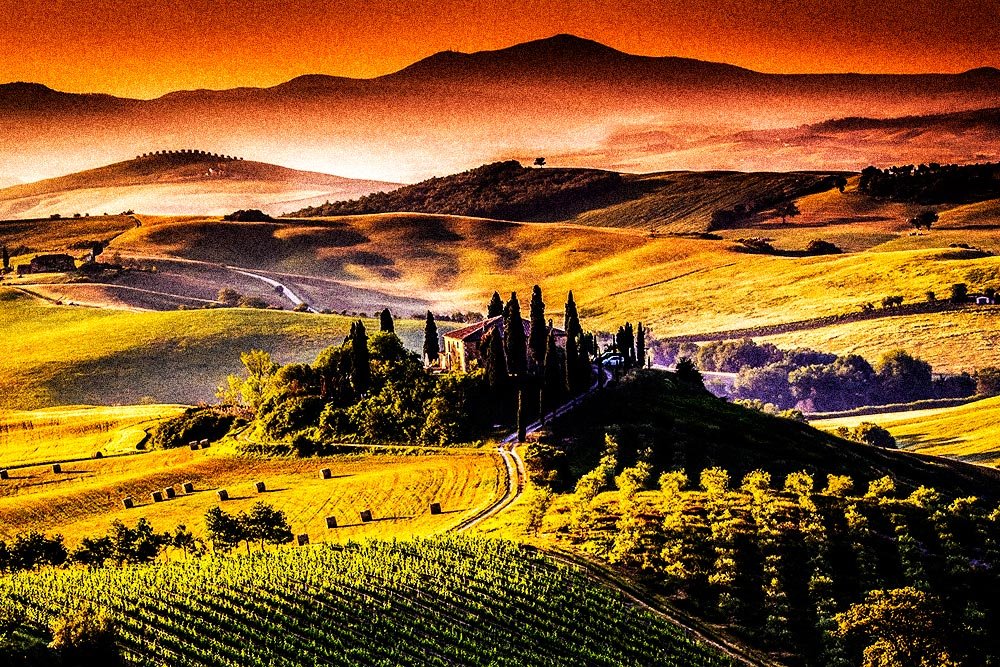
This is pretty ugly. While it does have the grain effect going on, it’s far too saturated. Let’s fix that.
Adding an Adjustment Layer
I’m going to quickly add a non-destructive adjustment layer to remove some of the saturation in this photo. Since I already covered how to accomplish this, I won’t go over it again. If you’re interested in it, please check out my post here:How To Adjust Brightness & Contrast In Adobe Photoshop
I’ll click the Hue/Saturation icon in the Adjustments panel and reduce the saturation to -60.
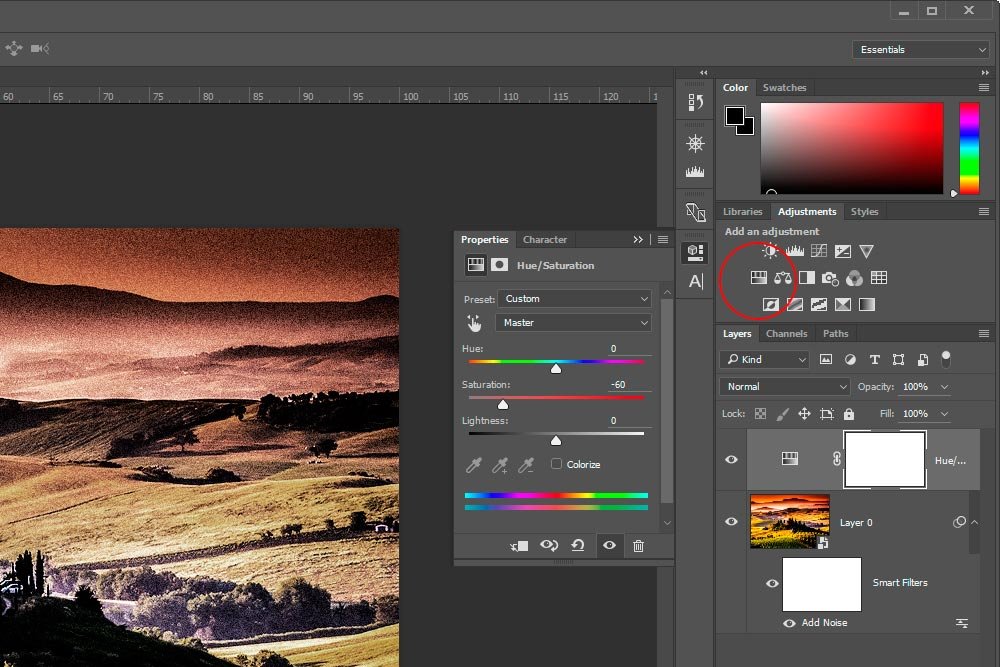
Let’s see where we are now.
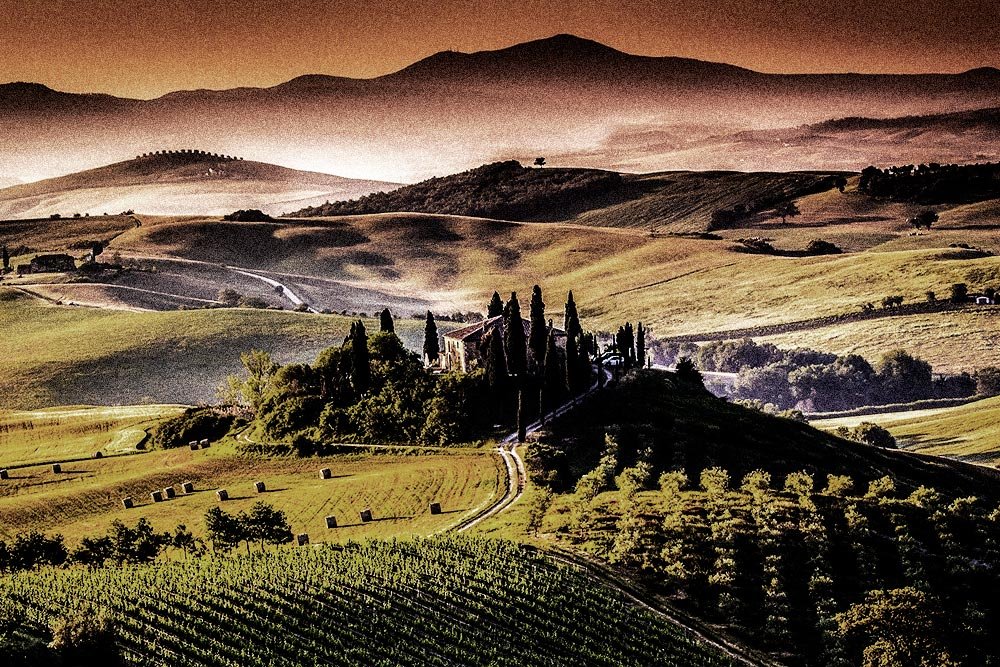
The saturation looks pretty good. Now, I’d like to take a closer look at the size of the specks in the Noise filter. I want to reduce them so they’re not so overwhelming. To accomplish this, I’m going to double-click on the words Add Noise in the Smart Filters layer. When I do this, the Add Noise dialog box appears once again. It’s here where I can reduce the level of noise. I’ll bring it down to 4 from 10.
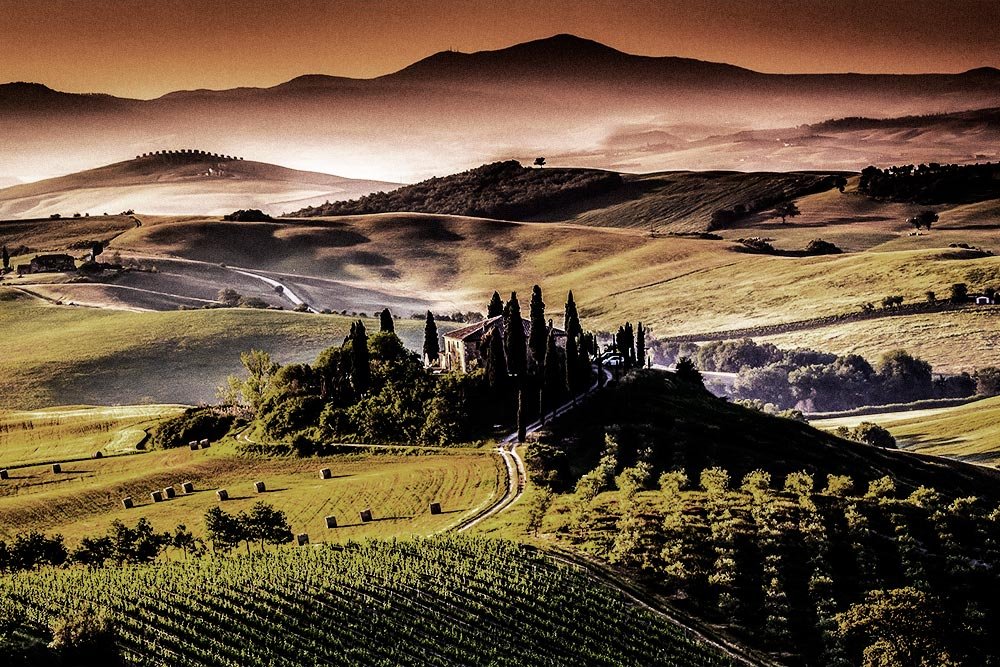
That looks better.
Adjusting Color Balance
The last area I want to adjust is the color balance. Since this is a vintage photo, I think a bit more yellow would look good. So, I’ll select the image layer in the Layers panel, then head up to the Adjustments panel again, but this time, I’ll click on Color Balance. Inside the Properties panel that appears, I’ll move the Yellow/Blue slider to the left a bit so some yellow is added.For the last time, let’s have a look at our finished photo. I’d say it looks great. And the best part is, it’s fully adjustable. There’s no going back to redo anything. All the filters and adjustments are completely non-destructive, so if there’s anything I want to change in the future, it’s as simple as pie.
Last edited:
