CampFireJack
Member
- Joined
- May 9, 2021
- Messages
- 118
- Reaction Score
- 1
- Points
- 16
- #1
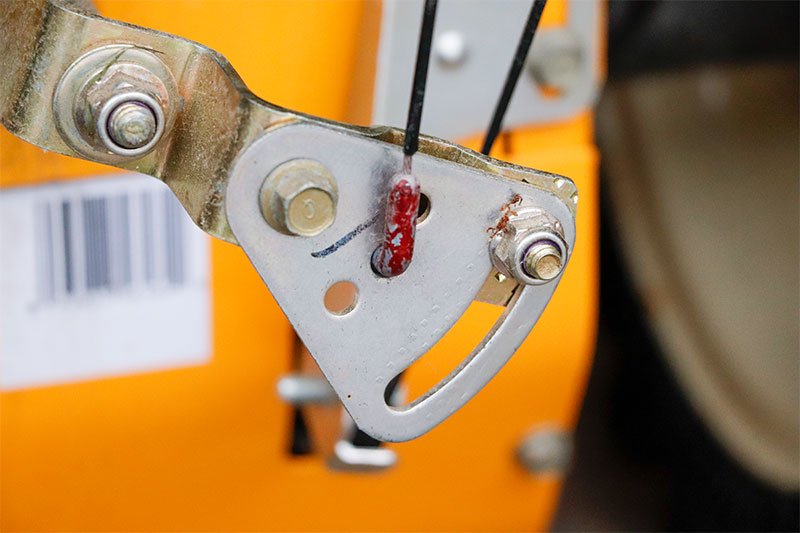
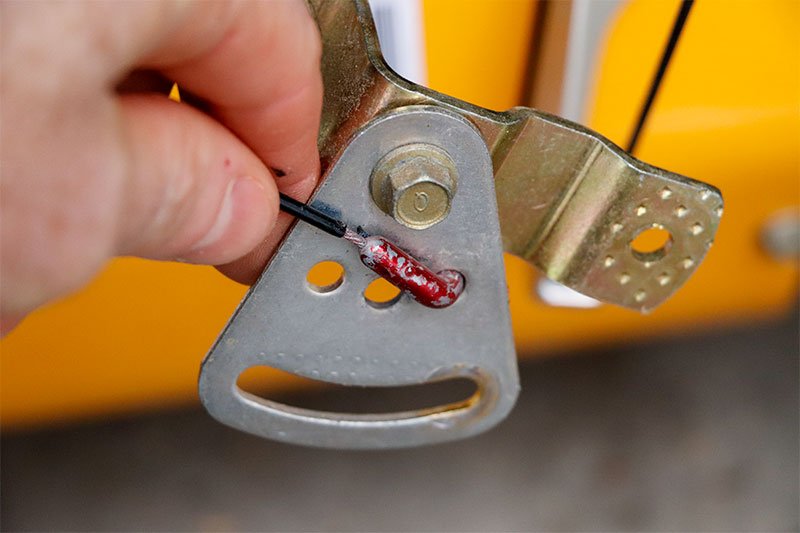
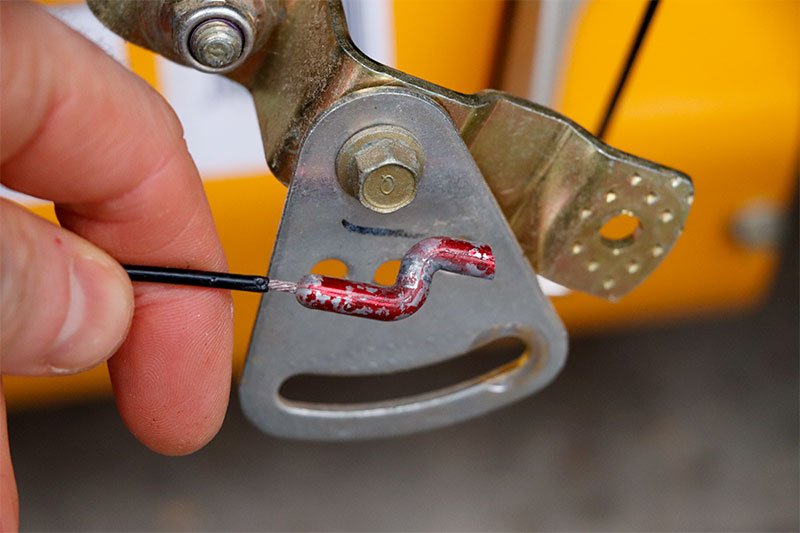
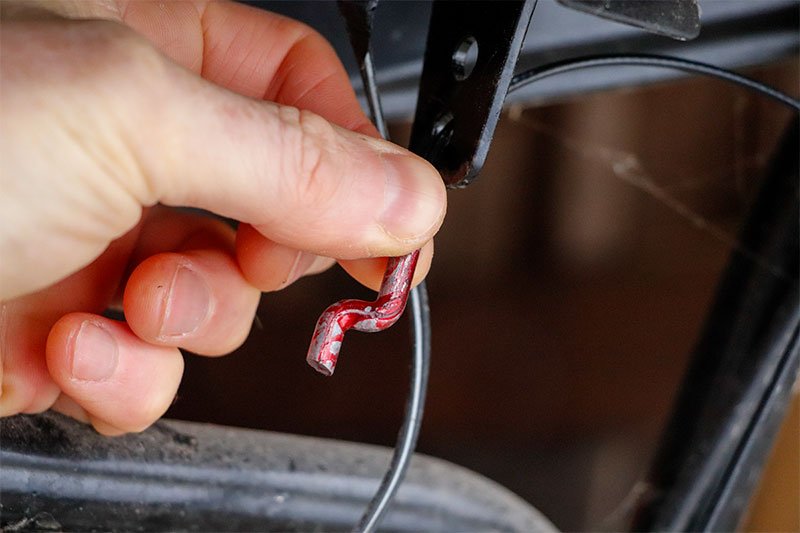
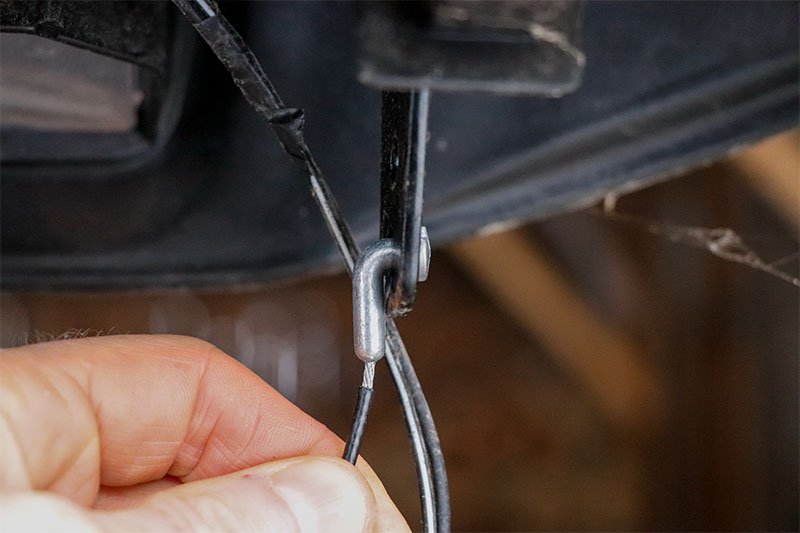
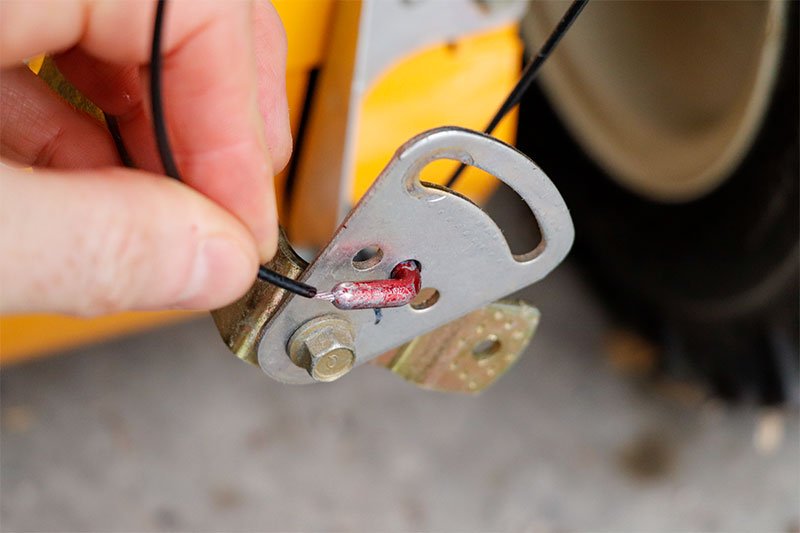
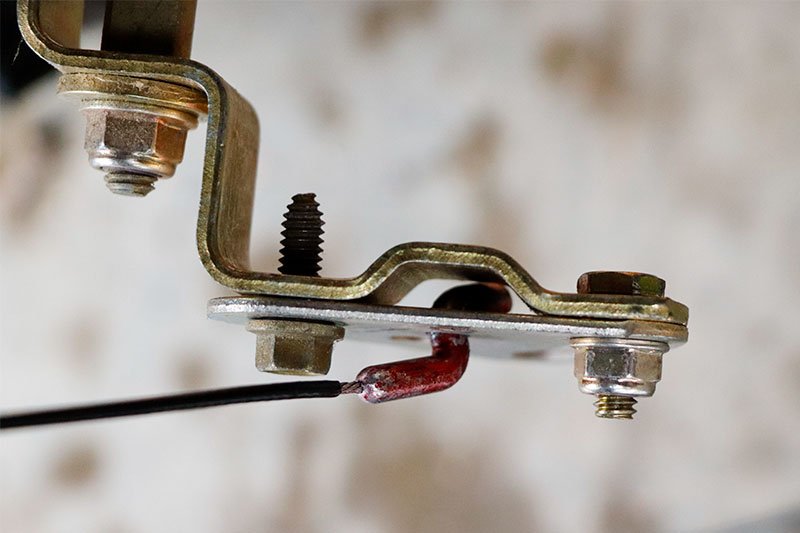
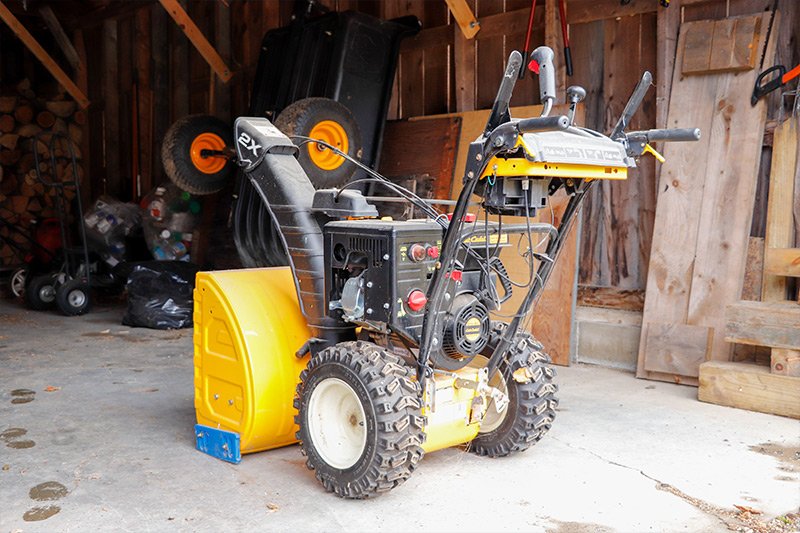
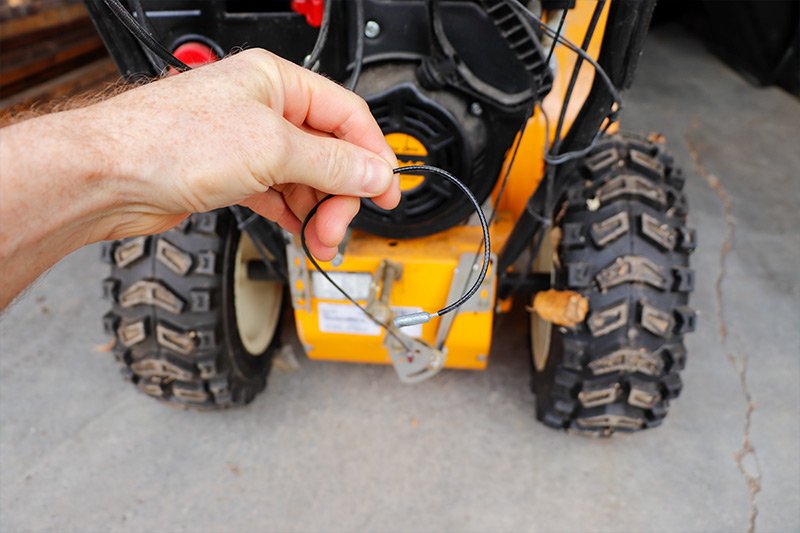
At the end of the last winter snow season, I noticed that there was only one speed on my snow blower working. It was the fastest speed. There are six forward speeds and two reverse. Upon inspection of the snow thrower, I noticed that the upper part of one of the cables broke. Since it was the last snowfall and since I was feeling very lazy, I just put the machine back in the garage with the plan of fixing it another time. Well, it's the end of November now and snow is on the horizon. It's time to fix it.
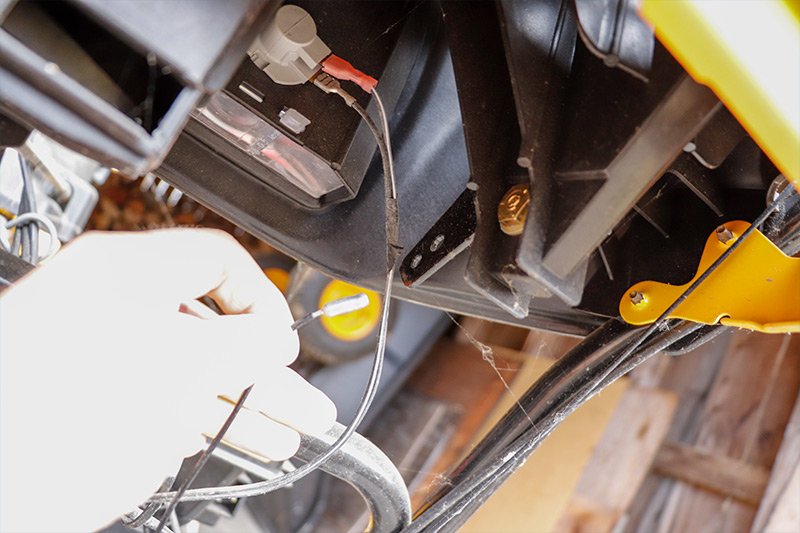
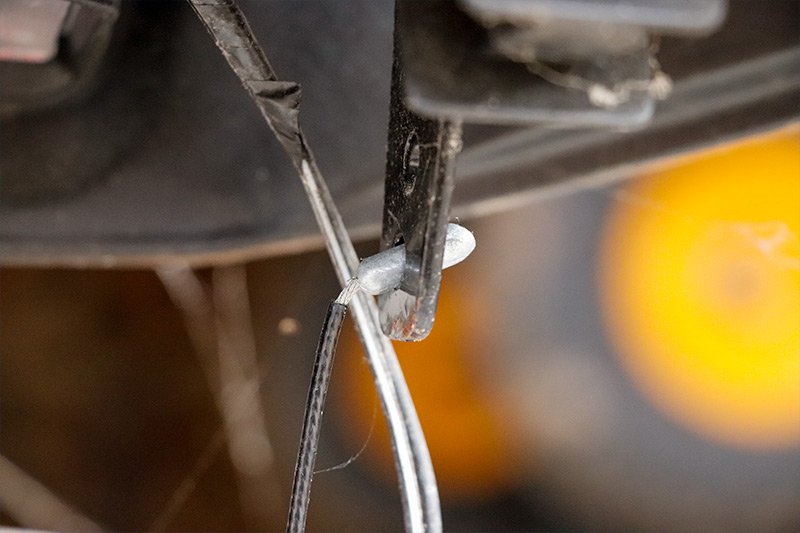
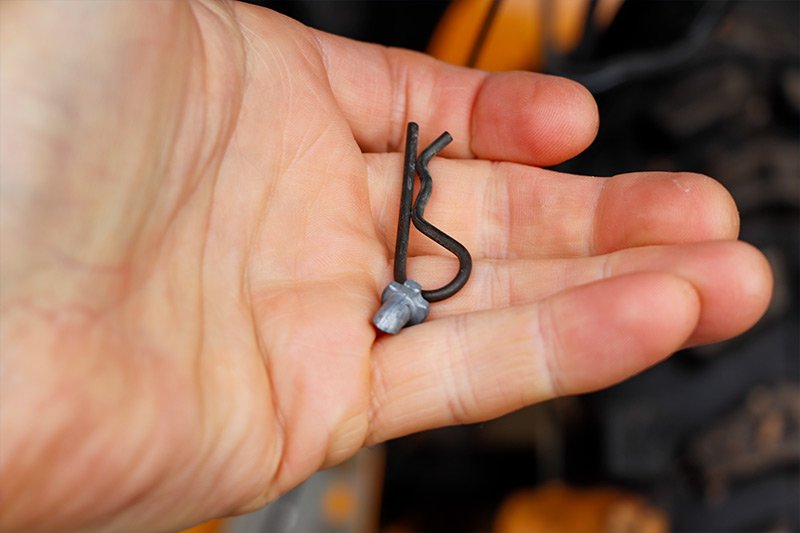
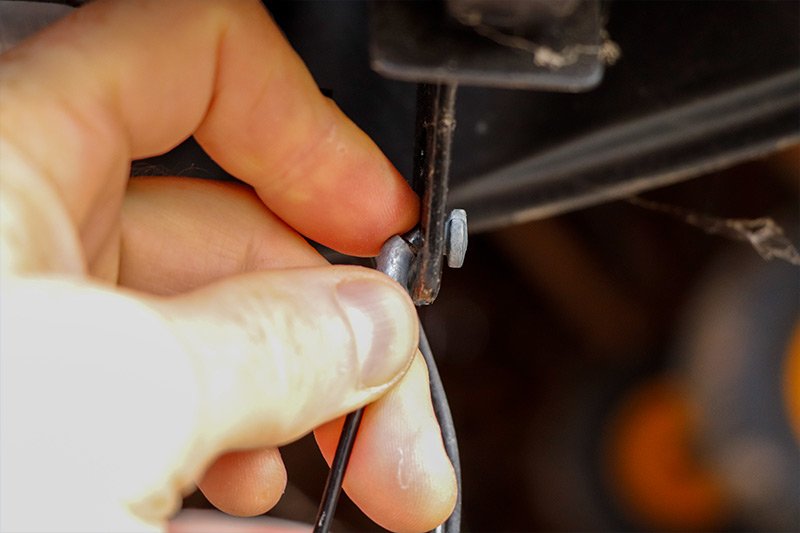
I pulled the snowblower out of the garage today to see if there was a way that I could repair the cable without having to buy a new one. I also took some photos of what I was dealing with. If you'd like to see them at their full size, you'll need to log in and then click on the thumbnails.
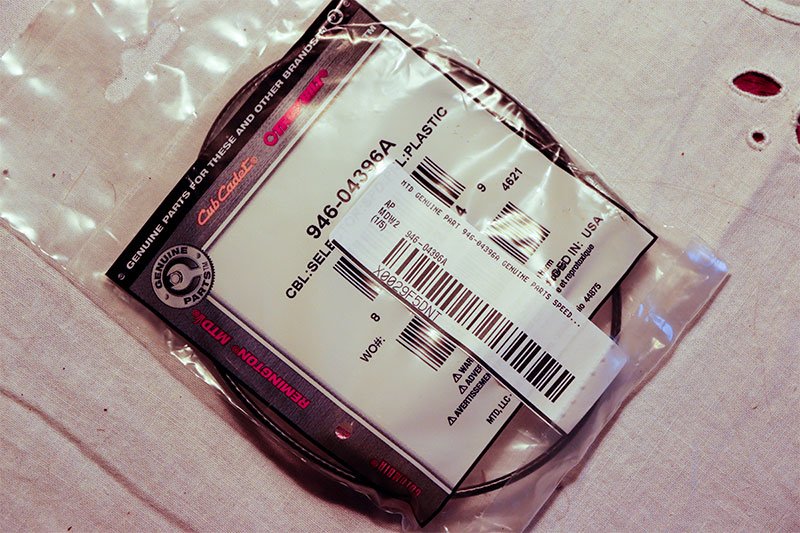
It doesn't seem that I'll be able to fix the cable. It'll most likely need a replacement. I priced them out and they cost around $13. I'm going to look on the shelf at Tractor Supply the next time I'm there to see if they have any in stock. If they do, I'll save on shipping. Maybe I'll look around to see if I can find one on Amazon. They seem to have a lot of them and I have Amazon Prime, so shipping is free.
Anyway, for the time being, I think I'll slip the top end of the cable through the hole in the lower part of the handle and use a tie down to keep it in place. I think this will work if I wedge the end in there good. Or, I can simply remove the cable and use the snowblower and full speed until I get a new cable. I'm going to look around right now to see if I can find the part number, price, and who sells it. I'll update this thread with that info if I can find it.


