WendyMay
Member
- Joined
- May 11, 2021
- Messages
- 142
- Reaction Score
- 0
- Points
- 21
- #1

In a previous post, I talked about how beneficial it could be to embed smart objects into a document in Adobe Photoshop. The reasoning I gave for this was that it would be helpful in, say, a magazine layout to have the ability to create “placeholder” images inside the overall file. If you didn’t have the full resolution image at a specific time, you could always place an object in the layout and call in the final image later on. That final image would take on the same transformations and alterations as the original placed object. It’s really an interesting post. If you’d like to read it, please do so. Especially if you handle any type of layout work.
Using Smart Objects as Placeholders in Adobe Photoshop
In today’s post, I’m going to talk about something similar to the topic I just described above. What I’d like to discuss is called Linking as opposed to Embedding. The two ideas are closely related but offer different advantages. When choosing one over the other, it’s important to recognize these advantages.
Placing an Embedded Smart Object
To kick things off, I’m going to go ahead and Place a photo into my empty document as a Smart Object. I’ll place it as an “embedded” file. To do this, I’ll head up to the File > Place Embedded menu item and select it. Again, if you aren’t all too familiar with Placing files as Smart Objects, I encourage you to read this post.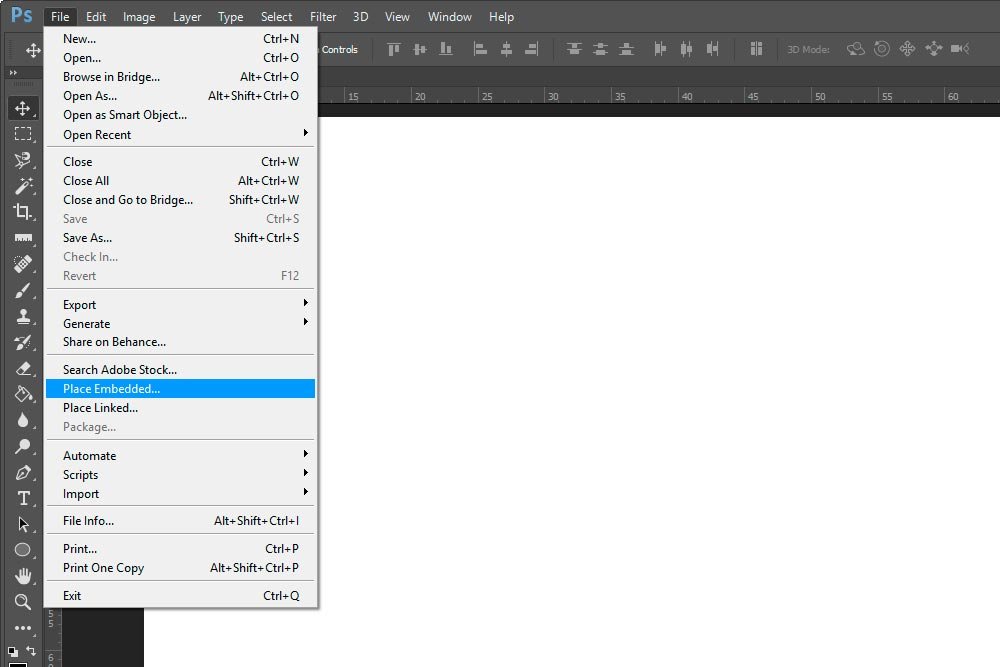
When I do this, I end up with an embedded object that looks like this:
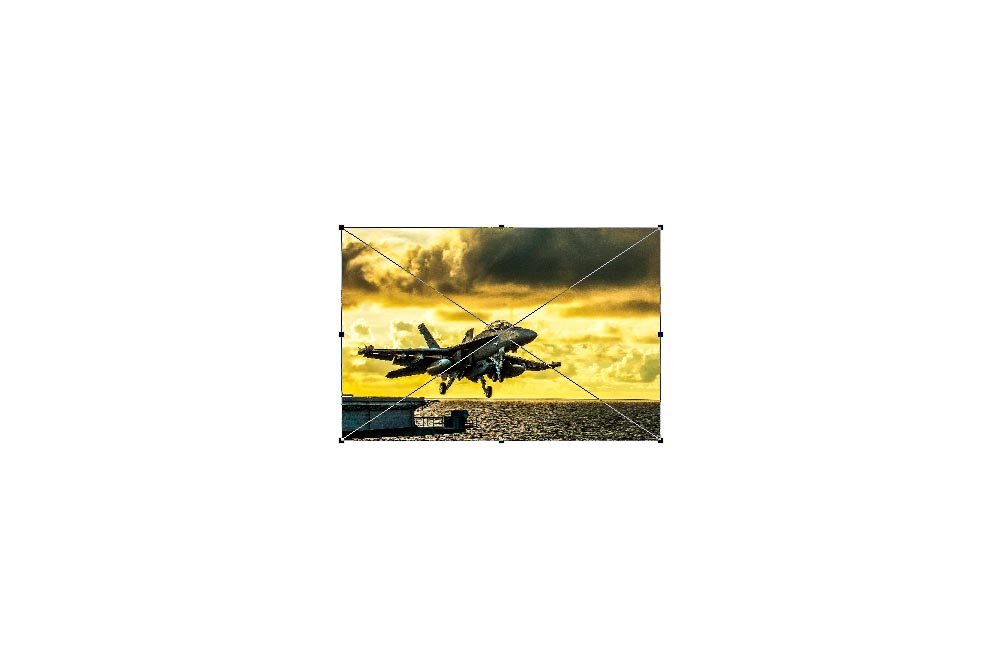
Since this new placement was transformed into a Smart Object, I can expand it to meet the edges of the document without any loss of quality. I set the document up as the same size as the image, so it should be perfect.
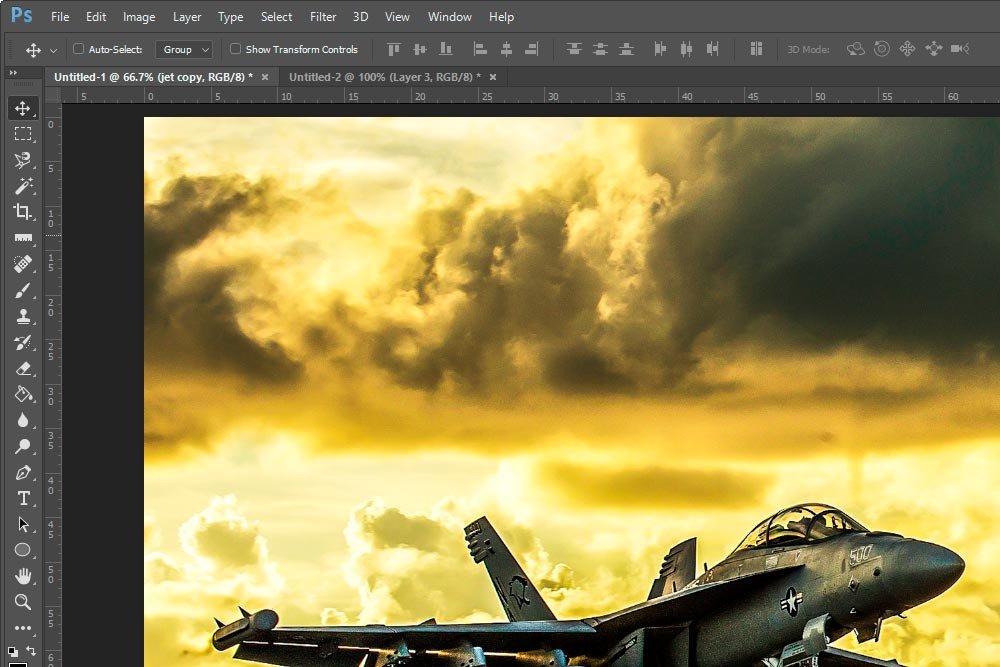
See, just as I suspected. Great quality.
If you want to learn more about Smart Objects in Adobe Photoshop, be sure to read the posts I list below. They’ll give you a nice background on the topic.
What are Smart Objects in Adobe Photoshop?
The Difference Between Duplicate Smart Objects in Adobe Photoshop
Editing RAW Files as Smart Objects in Adobe Photoshop
Converting Multiple Layers into a Smart Object in Adobe Photoshop
How Embedded Smart Objects Work
Once you place an embedded Smart Object into a document in Photoshop, the file is severed from its source and is now completely independent. If you make any changes to this Smart Object, the source file will remain as it was before you embedded it. You can save the document you’re working on in Photoshop, place it on a USB drive, walk down the road and work on it on your friend’s computer. In no way do you need to ever see the source file that you embedded from ever again. It’s been duplicated and the only version that matters is now stored inside the PSD file you’re currently working on. I say this with emphasis because it matters. This is one of the primary differences between bringing files into a document as embedded versus linked.Placing a Linked Smart Object
To make things interesting, I’m going to head back up to the File menu, but this time, I’m going to select Place Linked.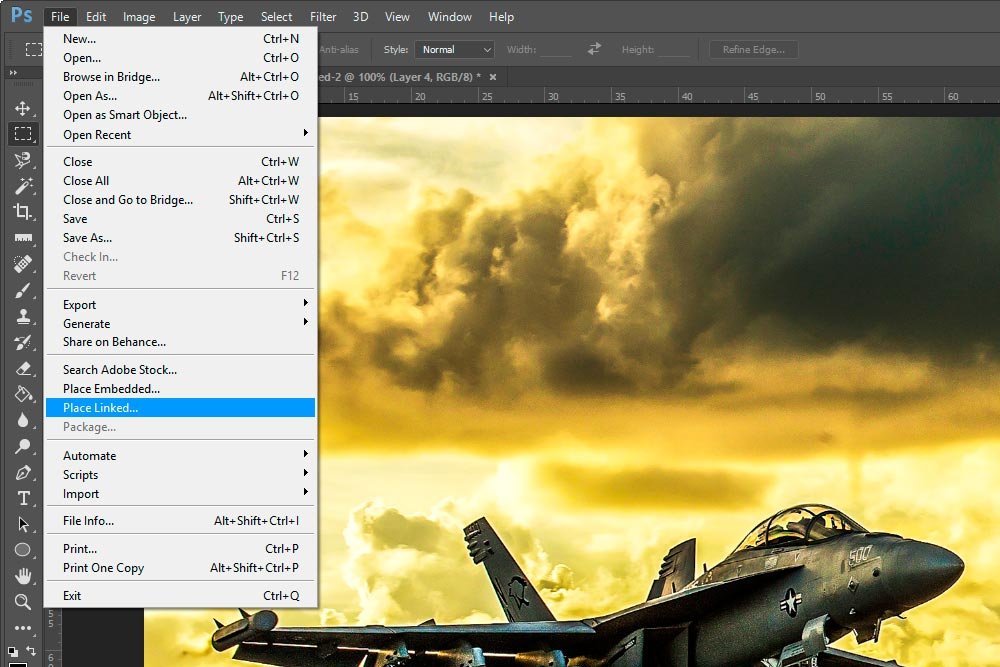
I’ll choose some gray text that I typed out earlier and saved as a PSD file. The text says “FLIGHT.” This means nothing. I merely wanted to create another document to demonstrate how it can be linked to.

I’ll apply the Linear Burn blending mode to it as well. This will give the text a cool appearance against the photo background.

Now, I want to show you the difference in layer icons between Linked and Embedded Smart Objects. If we take a look in the Layers panel, we can see the two different styles. The first layer – the text file – has a small chain link icon and the second layer – the jet photo – has an embedded icon. Take a look.

Editing the Linked Smart Object
I already told you that if we went ahead and made a change to the embedded Smart Object, no change would occur in the original source file for the embed. Let’s now look at what happens if we change the linked Smart Object inside of our working document. I’ll go to the Layer > Smart Objects > Edit Contents menu item and select it.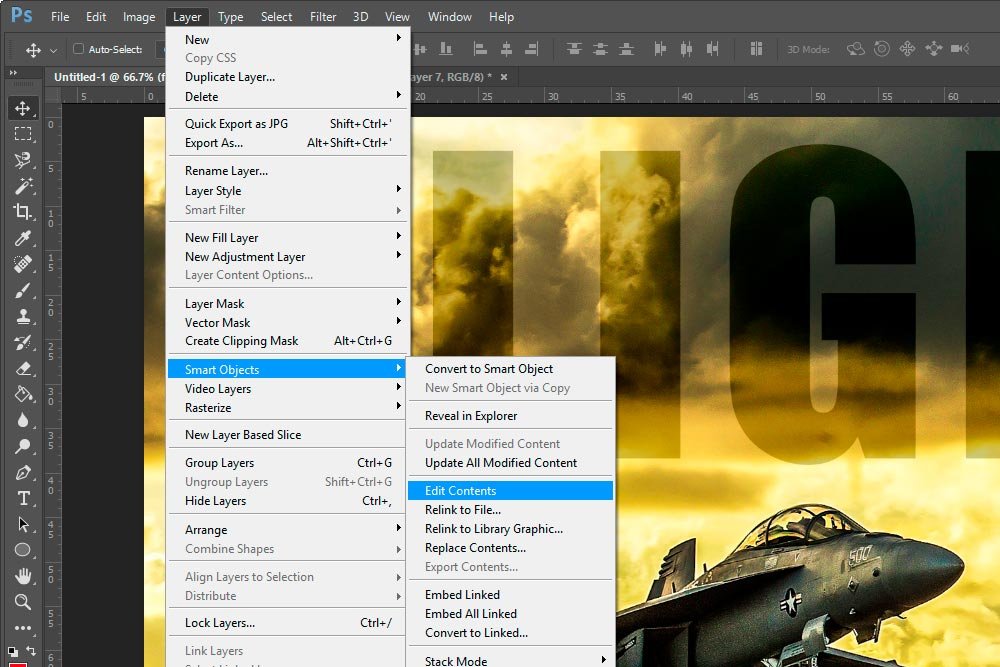
As a quick workaround to the tediousness of choosing this menu item, I could have just as easily double-clicked on the smart object thumbnail in the Layers panel.
When either of these things are done, the original text layer appears as a new tab inside the workspace.

From here, I can go up to the Character panel and choose the color picker. For the sake of demonstration, I’ll select something bold. Perhaps a dark red.
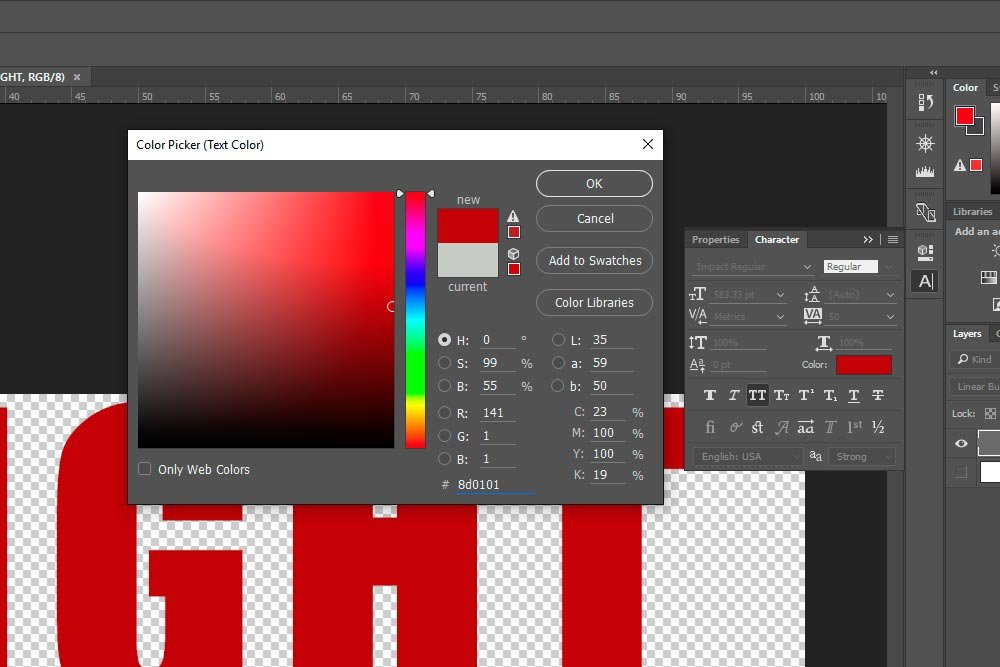
Now, I’ll save this text file by going up to the File > Save menu item and selecting it. I’ll also X out the text tab and go back to the document I was initially working on. I’d like to see the changes.

Yup, I’d say that’s a change.
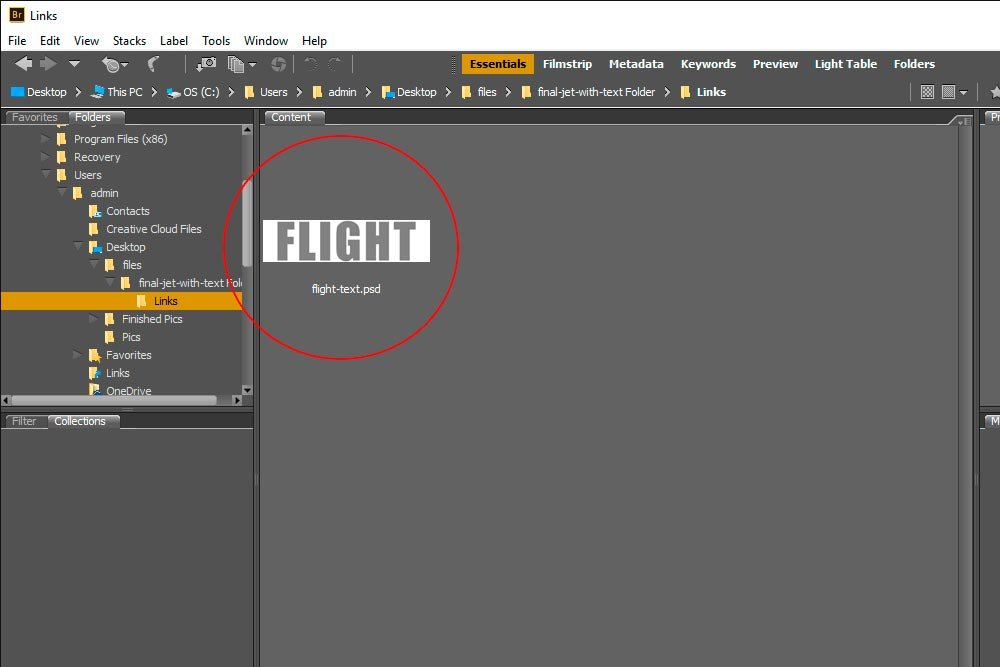
Okay, here’s the cool part. I’m going to show you two different views of my install of Adobe Bridge. I’m displaying inside of the folder that houses the files I’m currently working on. specifically, I’d like you to take a look at the text file. Before I made any changes to it, the text was gray. After I edited the color in Photoshop, from inside of my working document, the source file text changed to dark red.
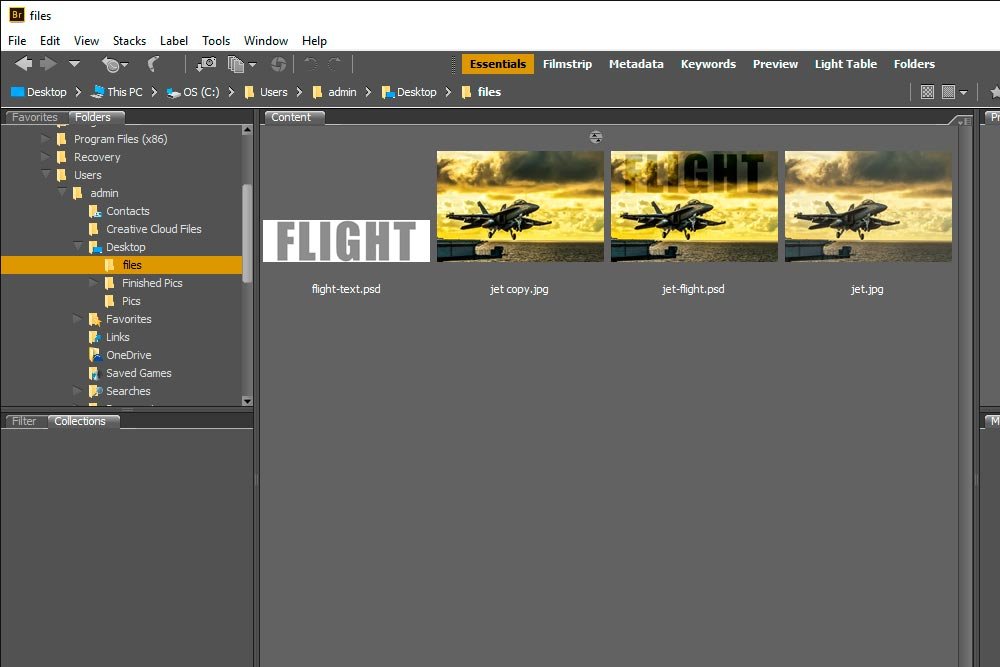
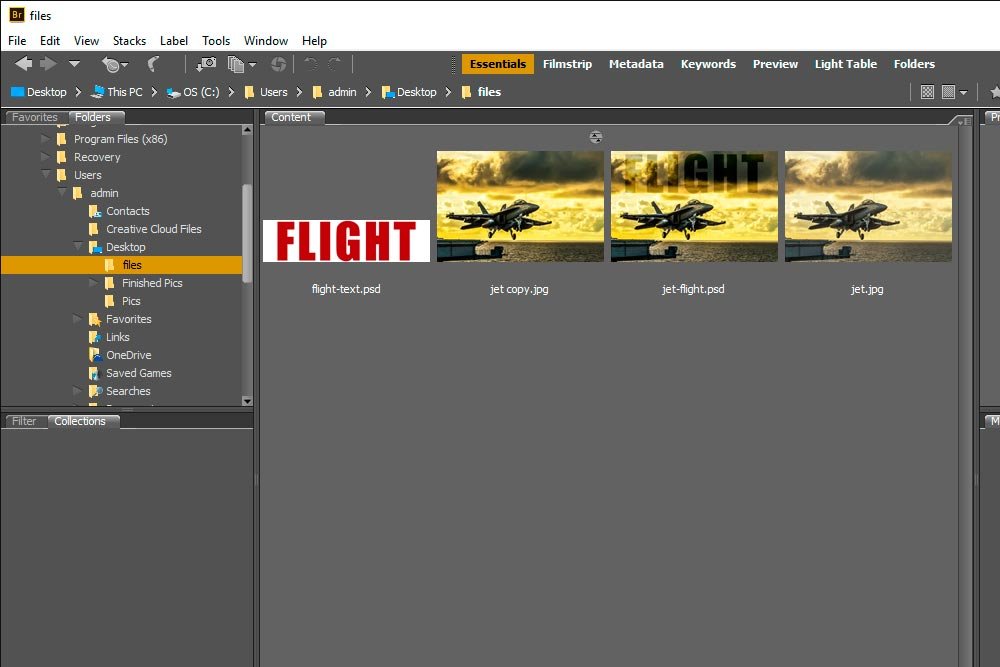
What this demonstrates is that if you change anything to a Smart Object after it’s been linked to another document, the source file is changed as well. This is the primary difference between embedded Smart Objects and linked Smart Objects. One doesn’t change the source and the other does.
Changing Embedded Smart Objects to Linked & Vice-Versa
Now that we know the difference between embedded and linked Smart Objects, I’ll show you how to update an embedded Smart Object to a linked one and a linked Smart Object to an embedded one. It’s very simple, so this should be fast.
The first thing I’ll do is right-click on either an embedded or linked layer in the Layers panel. Not the thumbnail, but the layer itself. When I do that, a menu appears. Inside that menu, there are a few choices.
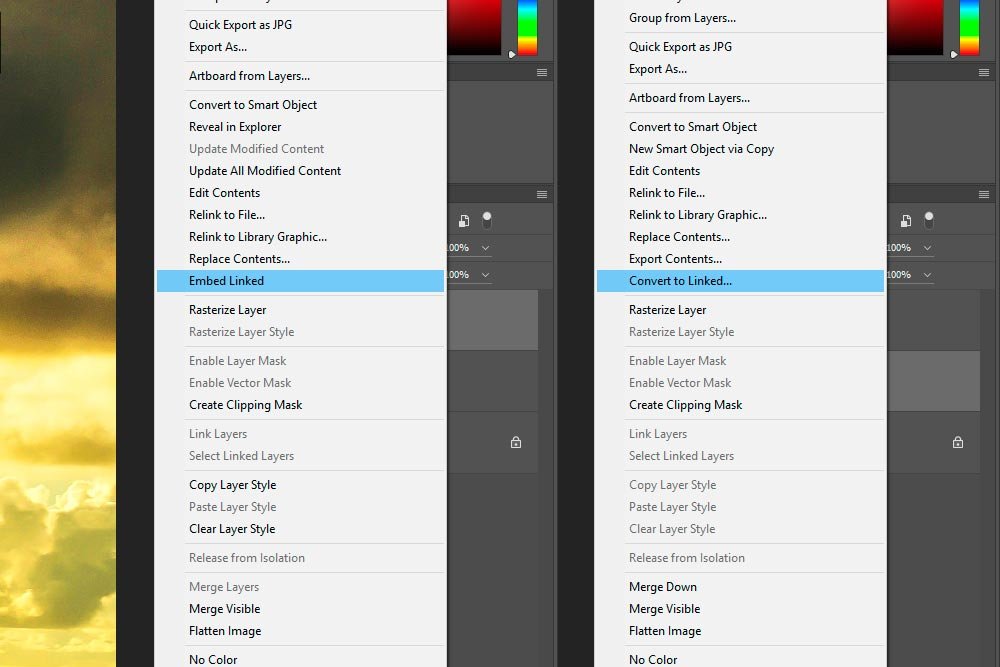
If you right-click on a linked Smart Object layer, your choice will say Embed Linked and if you right-click on an embedded Smart Object, your choice will say Convert to Linked. Whichever you choose will simply swap how you initially placed the file.
Packaging Files
What I’ve shown you above is all well and good, but there’s one huge problem. I suppose if you’re the only one to ever work on the group of files that you’ve embedded and linked, things would be fine. But what if you needed to email them to someone else to continue working on? Wouldn’t that break the placed linked Smart Objects? Yes, it would.To work around this, Photoshop offers a feature that allows us to Package the group of files that are used in a project. It takes stock of which files are used and includes them into a folder of their own. This way, they can be sent off and shipped around without worry of them losing their links to one another.
To package a group of files, I’ll head up to the File > Package menu item and select it.
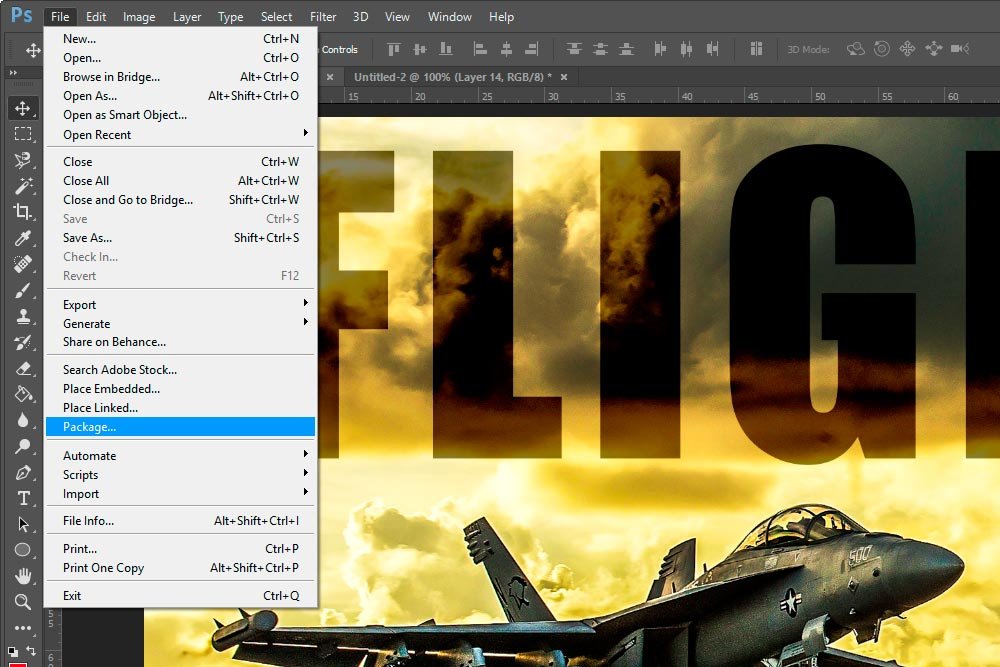
Note: This option only appears after you save the file. If it’s unsaved, the Package option will be grayed out.
Once I choose this item, I can select my destination.
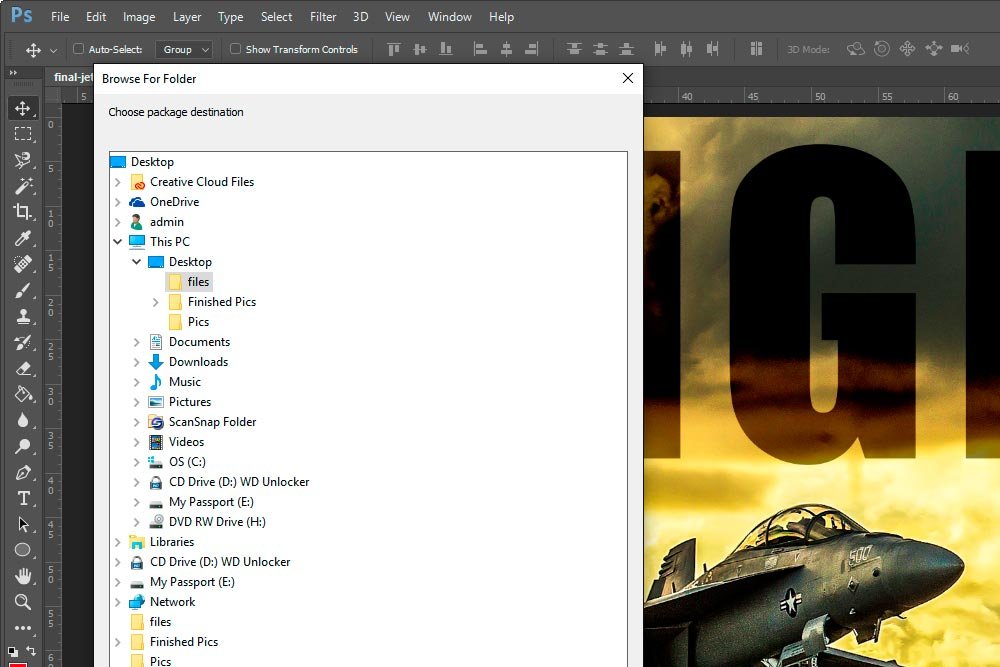
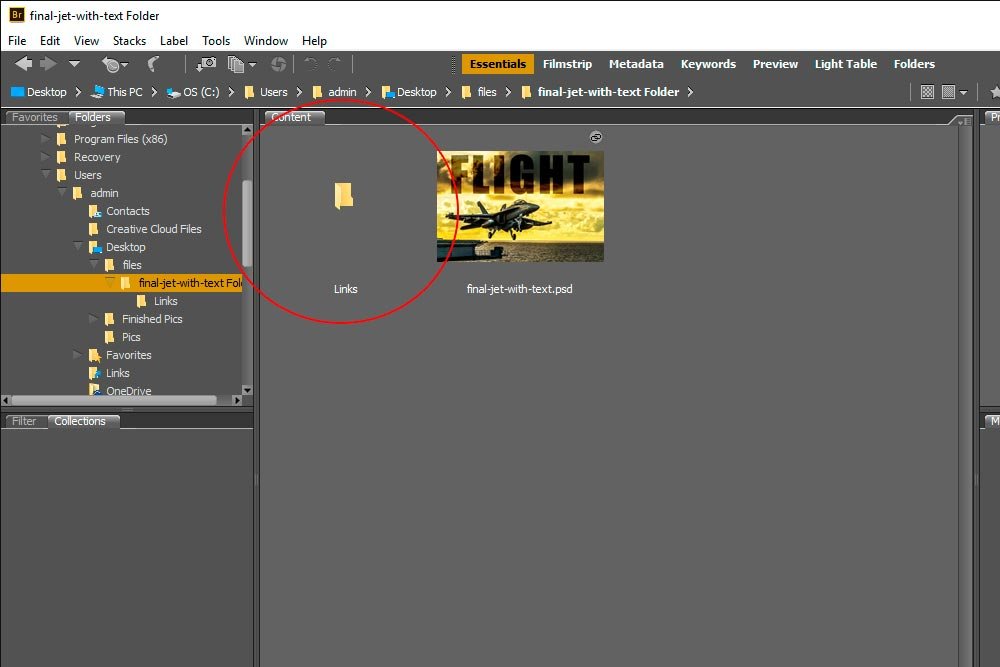
Now, if I take a look in the folder I’m working on in Adobe Bridge, I can see the newly created packaged folder.
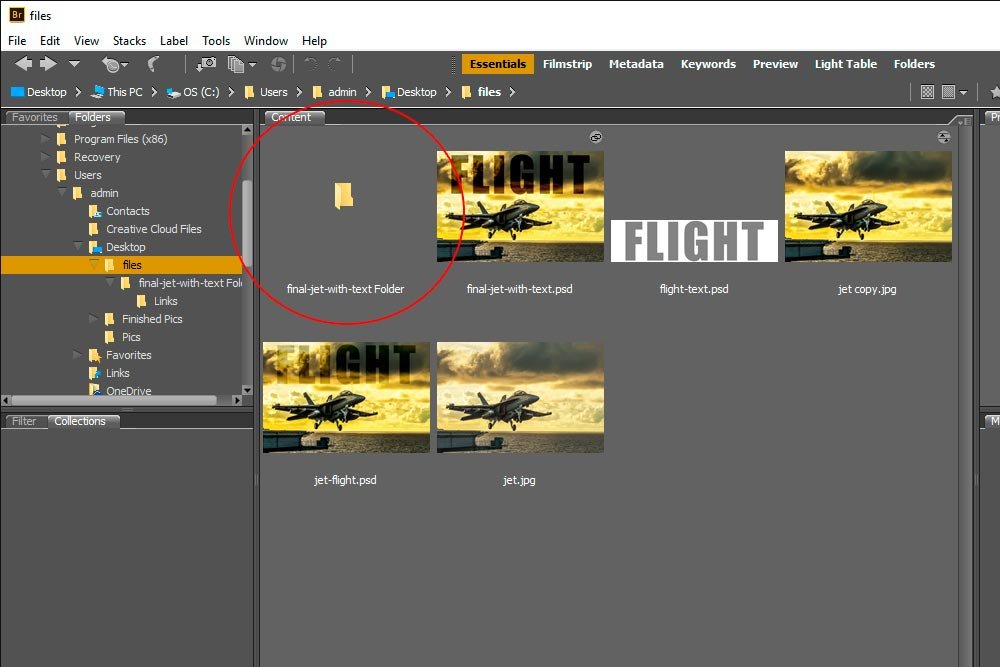
If I click into that, I’ll see the file I’m working on and another folder called Links.
And if I click into that, I’ll see the file that I placed as a linked Smart Object. Nice!
If you’ve enjoyed today’s post and found it helpful, please share it with a friend. Thanks!
