CaptainDan
Member
- Joined
- May 9, 2021
- Messages
- 113
- Reaction Score
- 0
- Points
- 16
- #1
It doesn't matter who you are, where you are, or what kind of photographer you are, you'll eventually need to adjust color and tone in your photographs. No photo exits a camera in perfect form. Almost every single picture I print or share has had some sort of correction made to it and oftentimes, if not always, color and tone corrections play a large part in what I do.
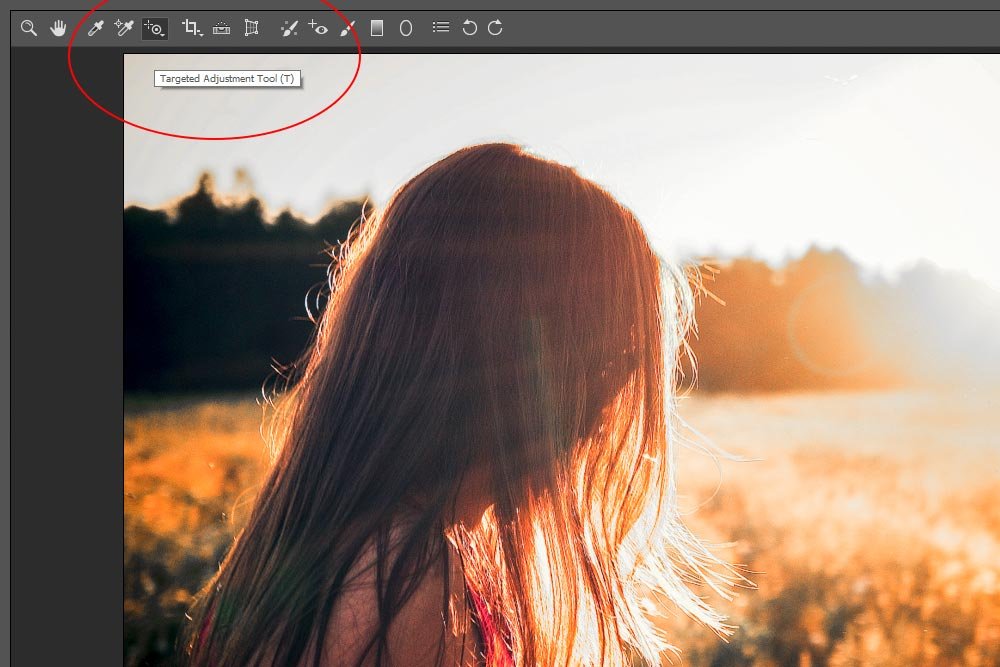
In today's post, I'd like to walk through the process of editing the color and tone of a demo photo that I found on a stock photography website (Pexels). I'll discuss the process of correcting a color cast, the color, and the tone. I'll walk through each step that necessary to complete these tasks.
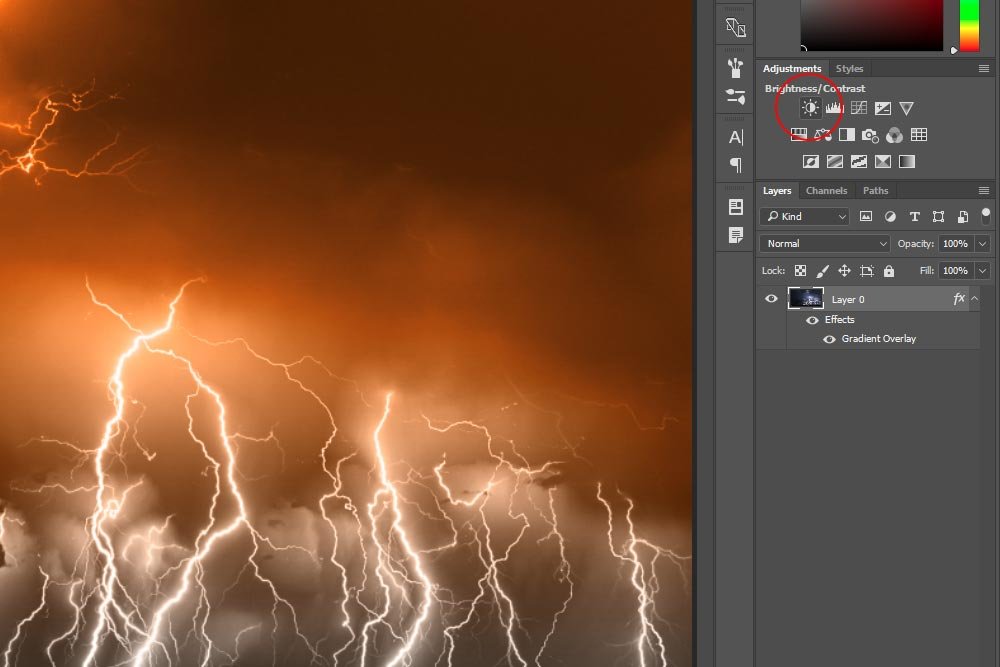
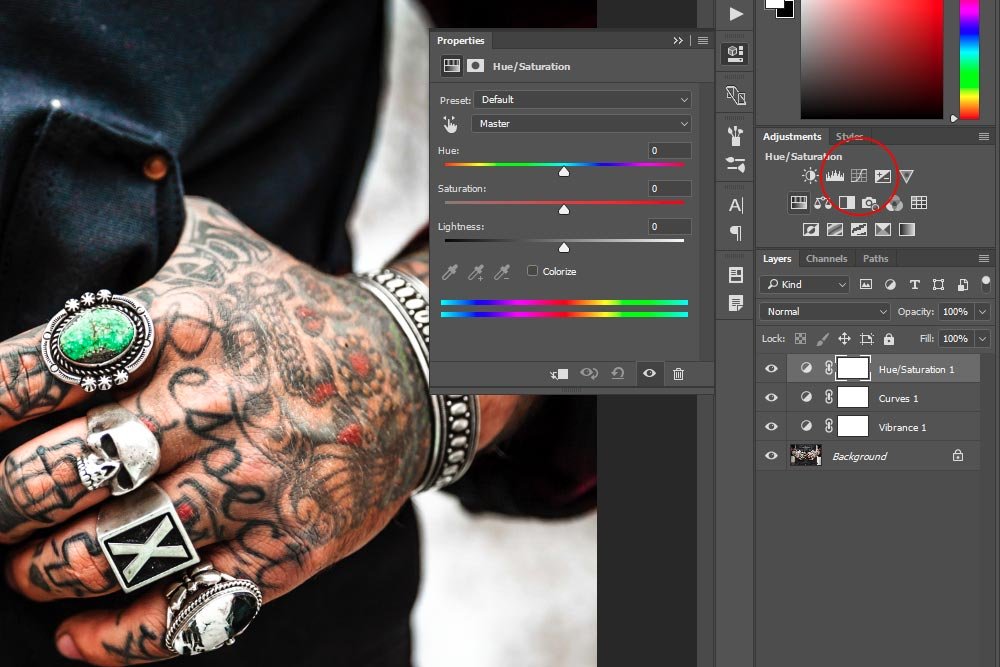
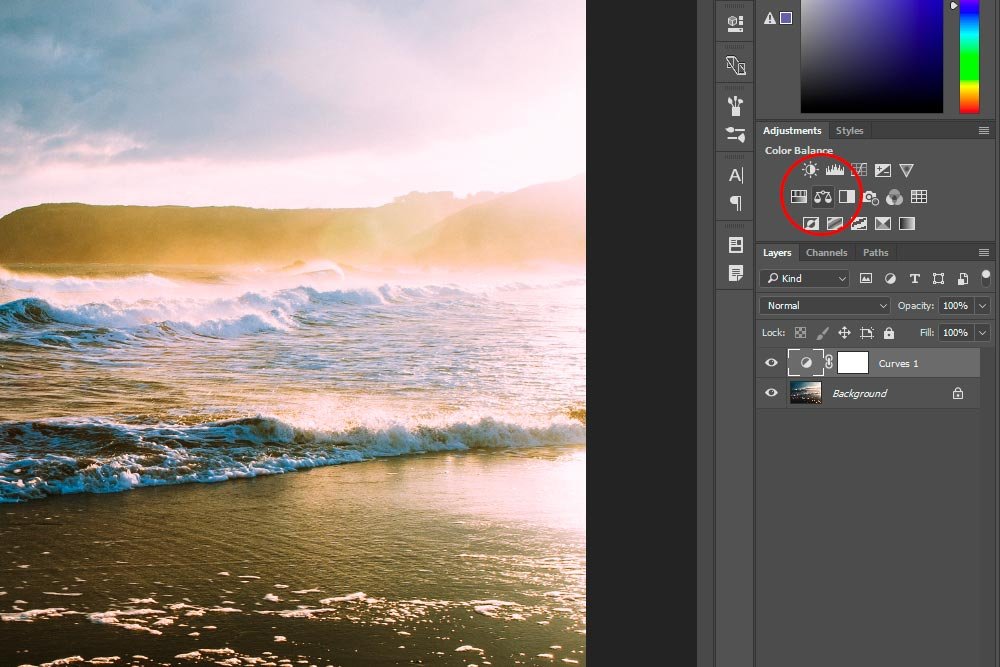
This is what the Adjustments panel looks like. It'll be in the right column.
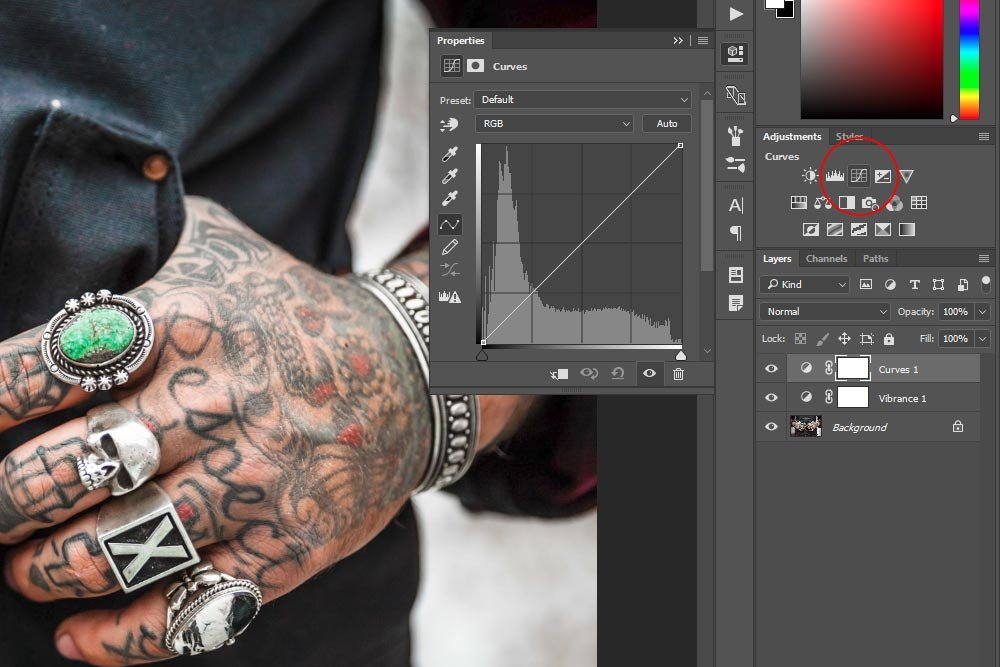
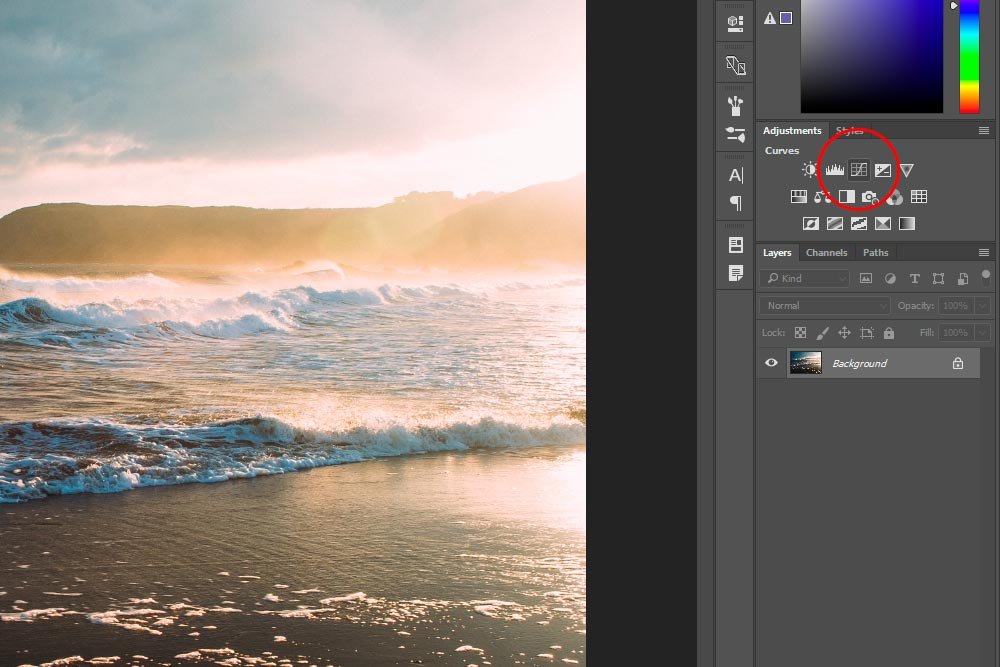
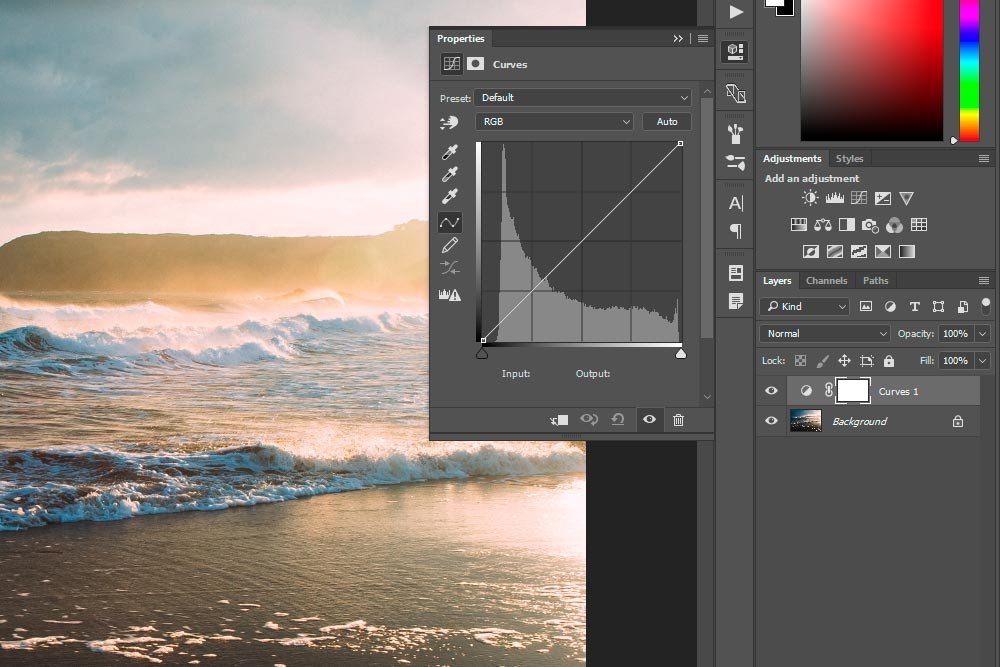
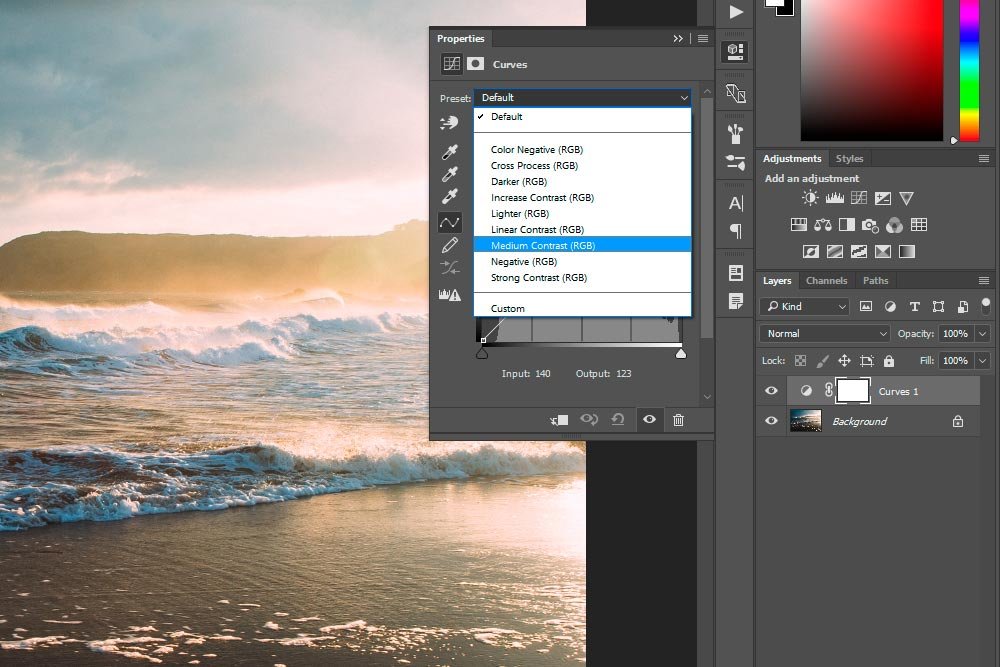
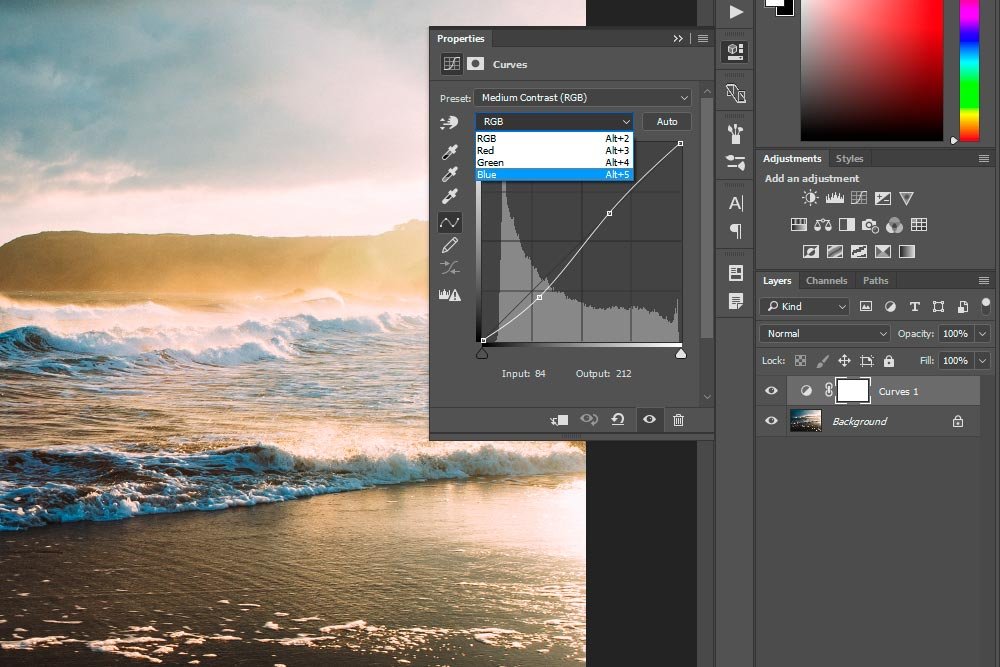
Next, I'll click the Curves icon in the Adjustments panel.This is the third button in from the left, first row. I'll click that, which will result in a new layer appearing in the Layers panel. This layer is called an adjustment layer. Adjustment layers are an incredible invention by Adobe that act as shields for mistakes. When you edit photos via adjustment layers in Photoshop and would like to remove those edits, you can simply delete the adjustment layer. This type of layer also allows you to go back and edit what you've already edited. This is the epitome of a non-destructive workflow.
This is what an adjustment layer looks like in the Layers panel. It's the top layer with the white thumbnail.
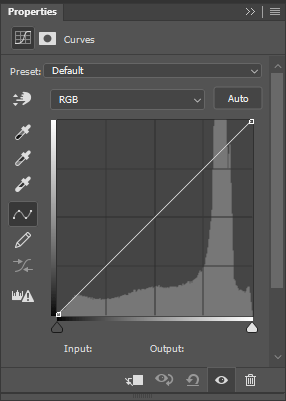
Also, when I click the Curves button, the Curves Properties panel will open up automatically.
As I mentioned above, pictures don't always come out of a camera in perfect form. Many times you'll need to correct the white balance and the brightness in them. In this next step, I'll do both.
I'll click the third dropper from the top in the Properties panel. This is called the White Point tool. If you hover over this dropper with your mouse for a few seconds, you should see a popup that says Sample in image to set white point (Press ALT to display clipping preview). The trick with this dropper is to click on the brightest and most neutral area of your photo. You don't want to click on an area that's completely blown out by over exposure, but an area that's more naturally bright and neutral. Click around a few times as you'll likely get different results wherever you click.
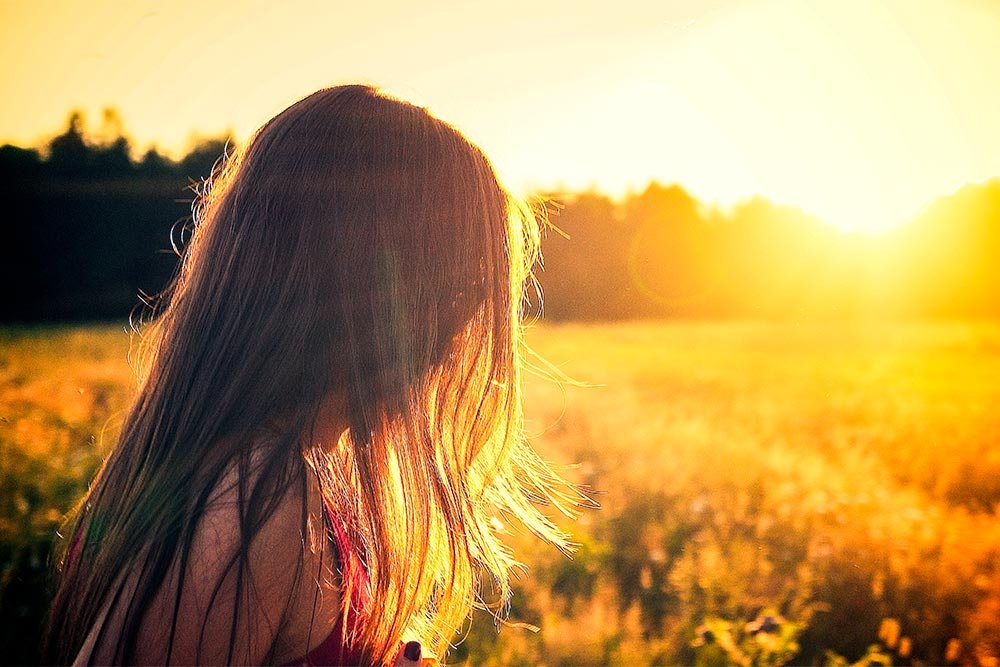
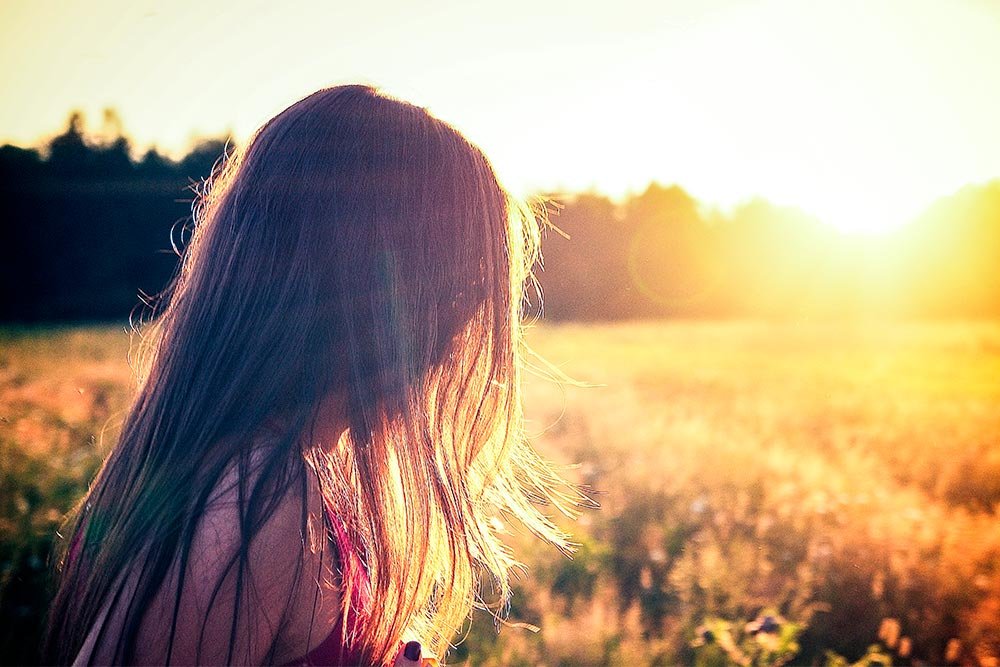
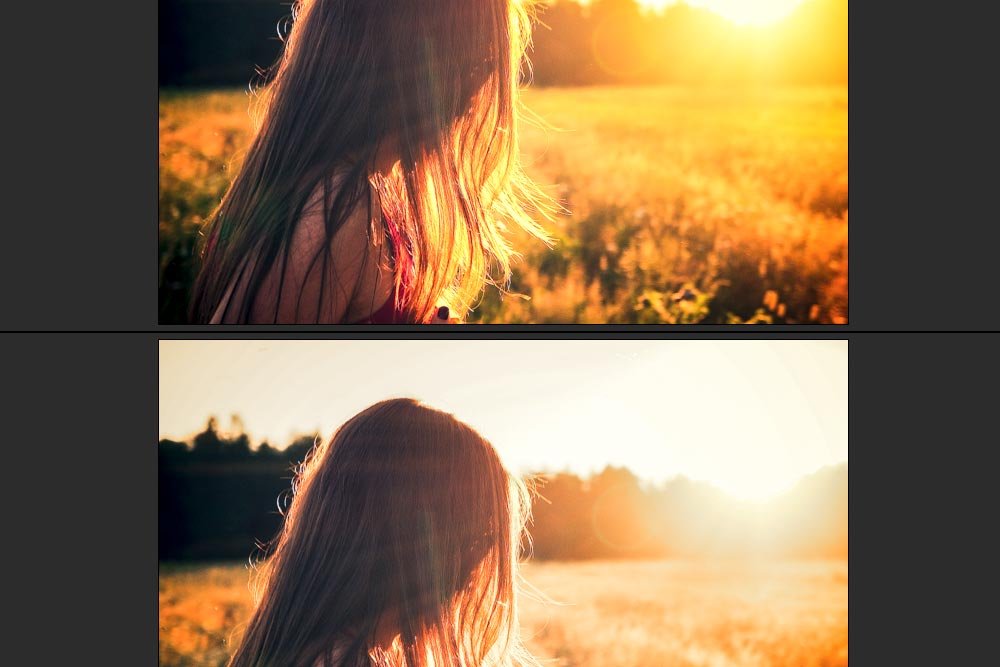
I'll now click on this uppermost portion of the white shirt in the image. Let's look at a before and after shot.
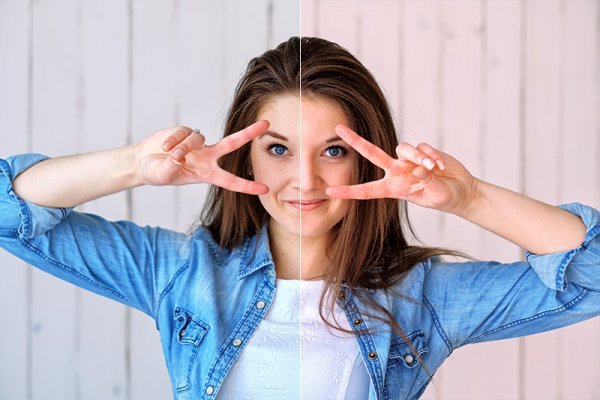
As you can see, there was a bluish color cast that has been corrected by the White Point tool in Photoshop. That was a very simple correction. The tool also slightly brightened the image. You can actually see how much more natural the girl's hair in the photo looks. It's not blue anymore.
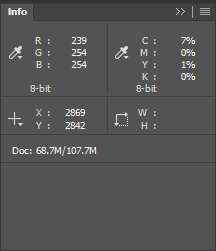
Also, FYI - if you'd like to have a much more detailed view of what you're currently hovering over with your mouse in a photograph, you can easily see the color values themselves by visiting the Window > Info panel. In this panel, you'll find RGB, CMYK, and positional X and Y coordinates. This panel is helpful because colors and brightness aren't always clear when just viewing an image with your eyes. When hunting around for a spot that's both neutral and bright, having the RGB values at your disposal can help a lot.
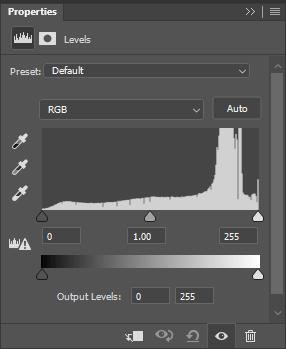
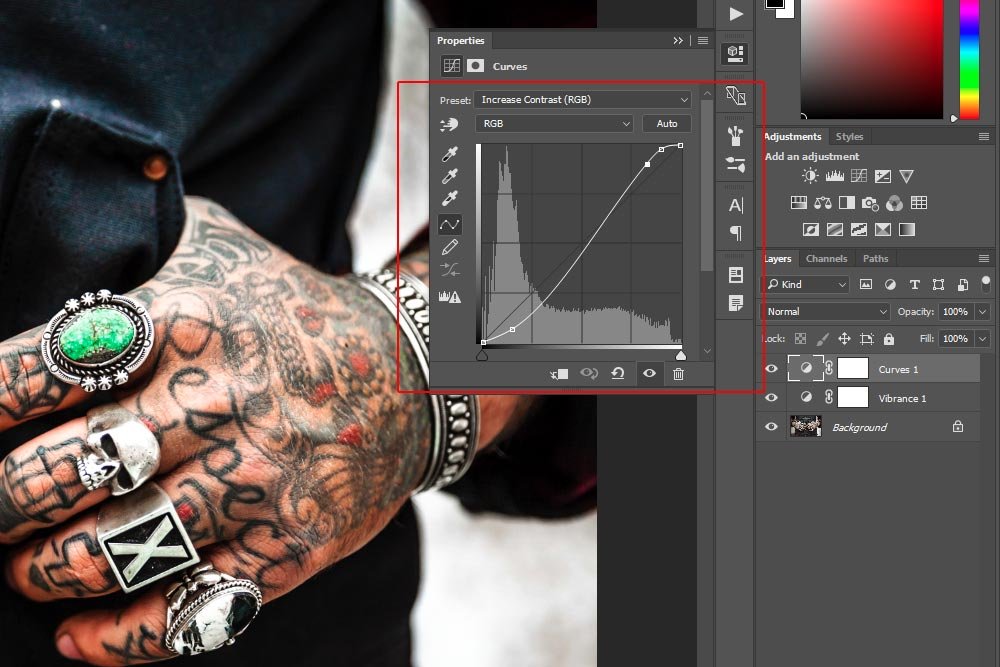
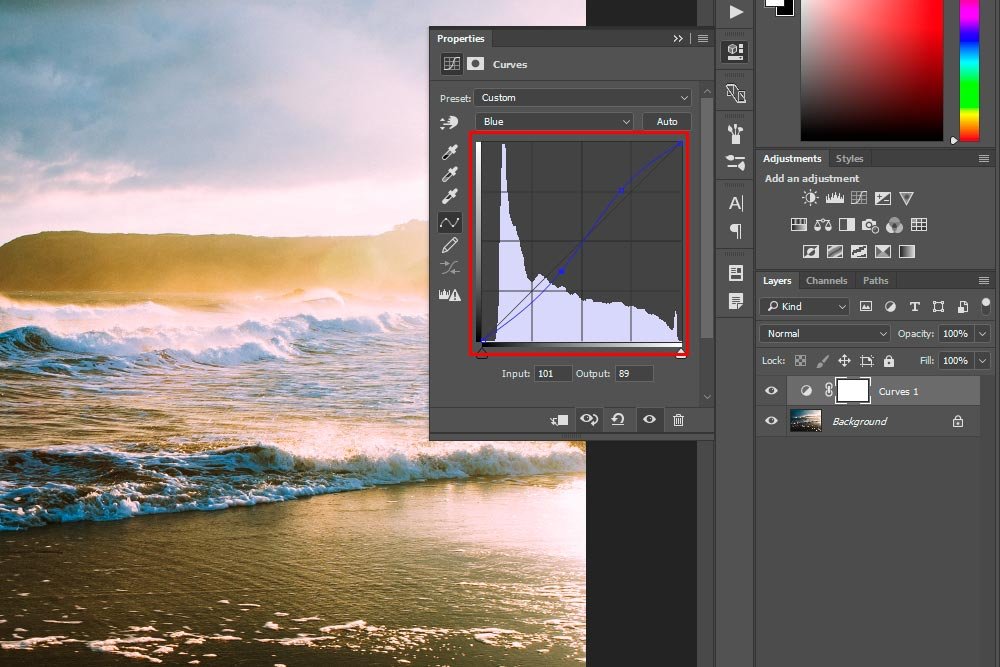
In the histogram above, you'll see the range of dark and light values in the image. Along the bottom axis of the histogram are three triangles. The one on the left (the black one) represents the black point of the image, the one on the right (the white one) represents the white point, and the one in the center (the grey one) represents the midtones. If you're currently following along, go ahead and click and drag these triangles to the left and the right. By experimenting, you'll get all different results; some good, some not so good. No two photos are the same, so it really just takes some practice to see what effect the movement of the triangles make. In my case, I'll move the blacks to the right a bit and the midtones to the left. This will add some contrast while also brightening the picture overall.
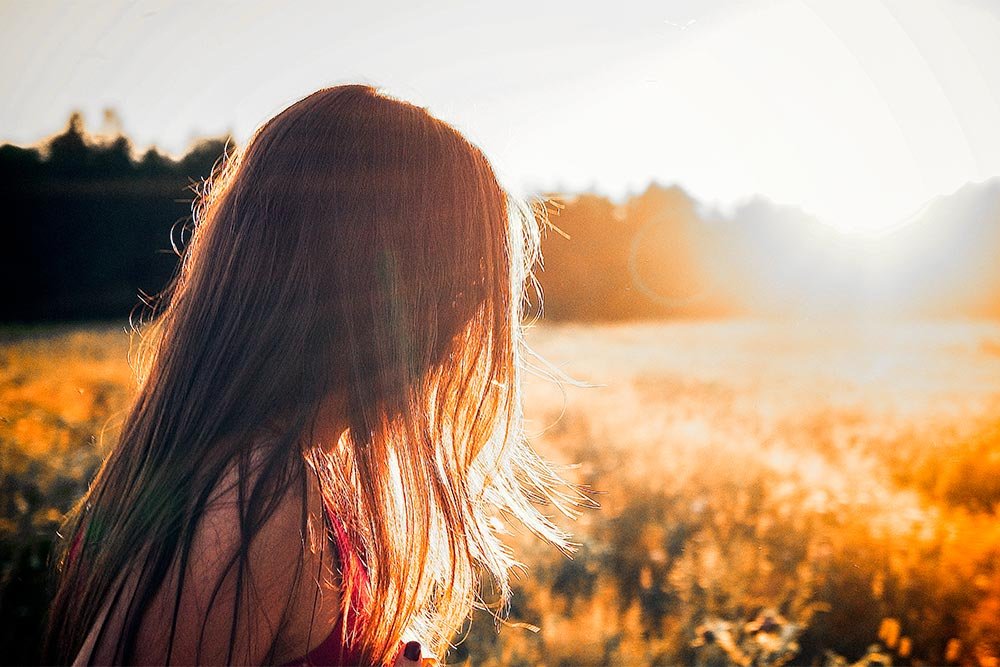
Here's the before and after of the photo now.
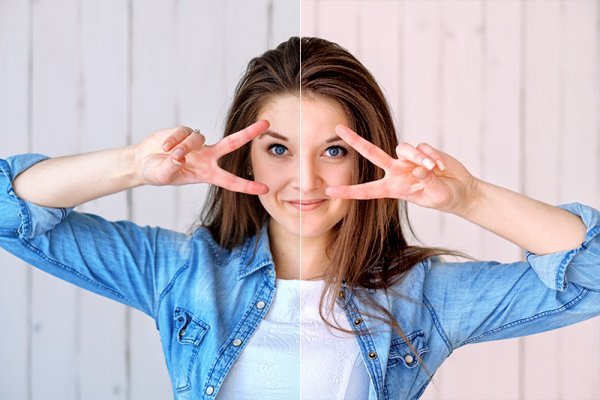
I'd say that looks pretty good.
Well, that's about it. If you have any questions about what I shared above or if you'd like to add something, please add to this thread down below. I'll help any way I can. Thanks!
In today's post, I'd like to walk through the process of editing the color and tone of a demo photo that I found on a stock photography website (Pexels). I'll discuss the process of correcting a color cast, the color, and the tone. I'll walk through each step that necessary to complete these tasks.
Removing a Color Cast
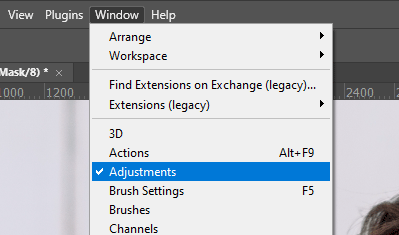
To start out, I'll open the photo into Adobe Photoshop and then I'll open the Adjustments panel by visiting the Window > Adjustments menu item.
This is what the Adjustments panel looks like. It'll be in the right column.

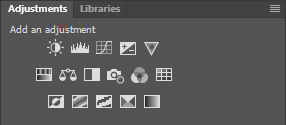
Next, I'll click the Curves icon in the Adjustments panel.This is the third button in from the left, first row. I'll click that, which will result in a new layer appearing in the Layers panel. This layer is called an adjustment layer. Adjustment layers are an incredible invention by Adobe that act as shields for mistakes. When you edit photos via adjustment layers in Photoshop and would like to remove those edits, you can simply delete the adjustment layer. This type of layer also allows you to go back and edit what you've already edited. This is the epitome of a non-destructive workflow.
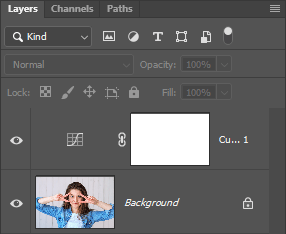
This is what an adjustment layer looks like in the Layers panel. It's the top layer with the white thumbnail.

Also, when I click the Curves button, the Curves Properties panel will open up automatically.

As I mentioned above, pictures don't always come out of a camera in perfect form. Many times you'll need to correct the white balance and the brightness in them. In this next step, I'll do both.
I'll click the third dropper from the top in the Properties panel. This is called the White Point tool. If you hover over this dropper with your mouse for a few seconds, you should see a popup that says Sample in image to set white point (Press ALT to display clipping preview). The trick with this dropper is to click on the brightest and most neutral area of your photo. You don't want to click on an area that's completely blown out by over exposure, but an area that's more naturally bright and neutral. Click around a few times as you'll likely get different results wherever you click.
I'll now click on this uppermost portion of the white shirt in the image. Let's look at a before and after shot.

As you can see, there was a bluish color cast that has been corrected by the White Point tool in Photoshop. That was a very simple correction. The tool also slightly brightened the image. You can actually see how much more natural the girl's hair in the photo looks. It's not blue anymore.
Also, FYI - if you'd like to have a much more detailed view of what you're currently hovering over with your mouse in a photograph, you can easily see the color values themselves by visiting the Window > Info panel. In this panel, you'll find RGB, CMYK, and positional X and Y coordinates. This panel is helpful because colors and brightness aren't always clear when just viewing an image with your eyes. When hunting around for a spot that's both neutral and bright, having the RGB values at your disposal can help a lot.

Correcting the Tone of a Photo
The next area of the image I'll correct is the tone, meaning the darks and the brights. If I go back up to the Adjustments panel, which should already be open and visible, I'll click the Levels icon. This is one spot to the left of the Curves icon that I selected before. When I click the Levels icon, a new adjustment layer will appear in the Layers panel and a new Properties panel will open up as well. This is the Levels Property panel and it looks like a histogram.
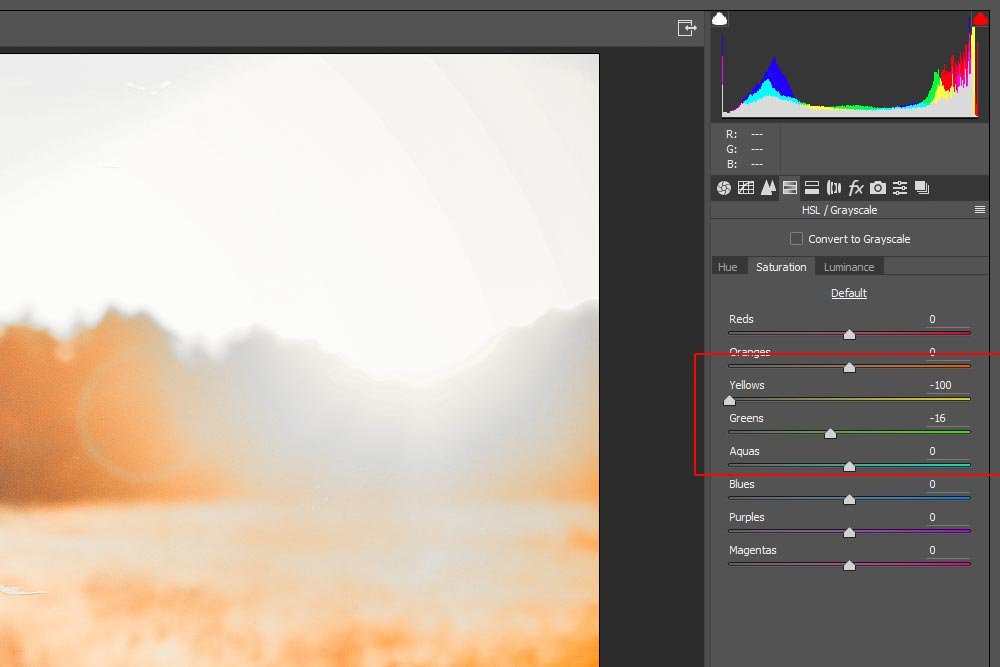
In the histogram above, you'll see the range of dark and light values in the image. Along the bottom axis of the histogram are three triangles. The one on the left (the black one) represents the black point of the image, the one on the right (the white one) represents the white point, and the one in the center (the grey one) represents the midtones. If you're currently following along, go ahead and click and drag these triangles to the left and the right. By experimenting, you'll get all different results; some good, some not so good. No two photos are the same, so it really just takes some practice to see what effect the movement of the triangles make. In my case, I'll move the blacks to the right a bit and the midtones to the left. This will add some contrast while also brightening the picture overall.
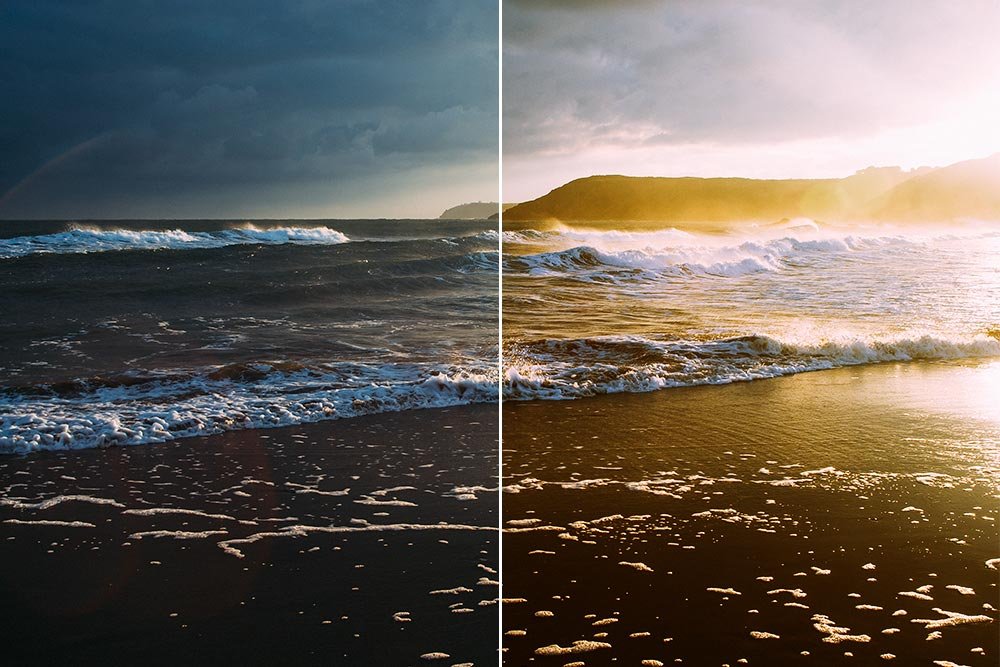
Here's the before and after of the photo now.

I'd say that looks pretty good.
Flattening the File
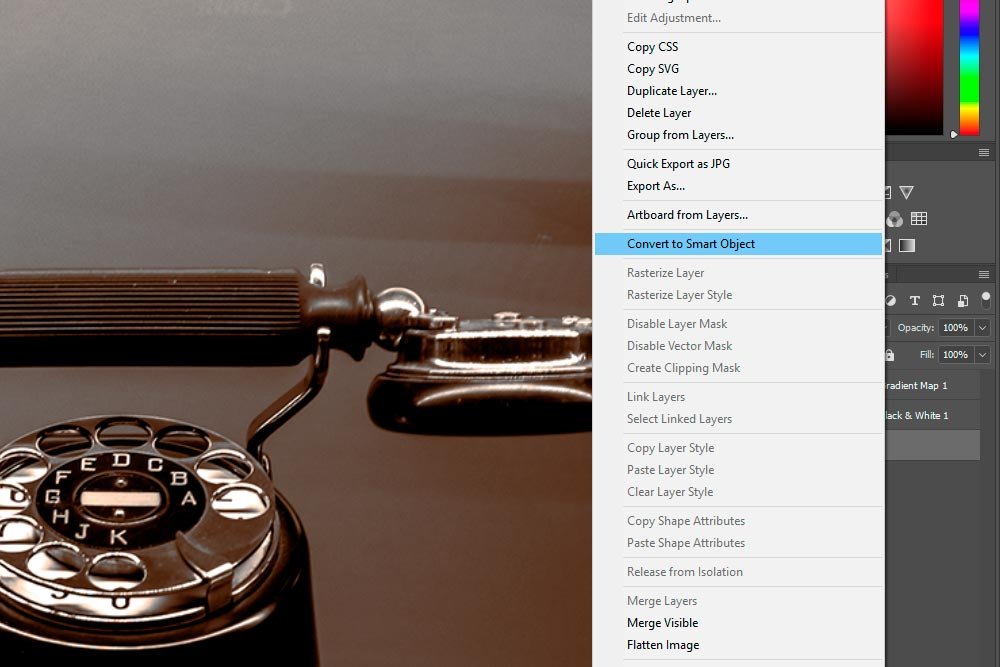
After making corrections to an image, it's typical to save it out as a working document (PSD) to preserve the layers and then save it out again as a final image. For the final version, you may want to flatten the layers so you can make further corrections, such as spot removal and the sort of thing that requires an entire document without layers to have an effect. To flatten an image, simply visit the Layer > Flatten Image menu item. After clicking that, you'll see all of the layers in the Layers panel merge into one. The look of your document inside of Photoshop won't change at all, but the file size will have been reduced and you won't have access to the various adjustment layers anymore. That's why I suggested you save two working documents; one with layers and one without. After you do all this, you may export your image as a JPEG or whatever you want.Well, that's about it. If you have any questions about what I shared above or if you'd like to add something, please add to this thread down below. I'll help any way I can. Thanks!

