EmeraldHike
Member
- Joined
- May 10, 2021
- Messages
- 133
- Reaction Score
- 0
- Points
- 21
- #1
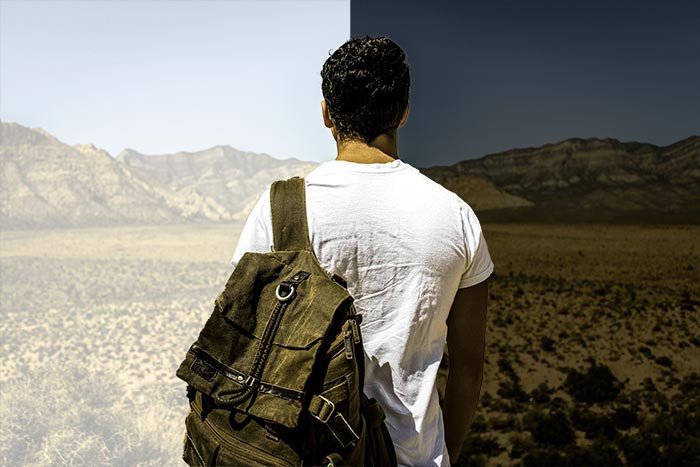
When working on portraits and various other types of photos where people come into play, hair is always tough to deal with. Problems especially arise when you have the intention of selecting and/or masking parts of a photo that include hair. Hair can be extremely detailed and most of the time, you’d rather bypass parts of it rather than shrink a brush size down to the microscopic level and trace it all day long.
I can remember way back to 2001. I used to make a lot of posters with people in them and to get those people into the posters, I’d have to select them or simply erase everything other than the person and then drag or copy them into the new file. Let’s just say that when they were brought over into the new file, they oftentimes has much less hair then they started out with. I’m not sure the folks in question were very pleased with the outcome, but I worked with what I had. The tools that are included in today’s versions of Adobe Photoshop just weren’t available back then.
In today’s post, I’m going to introduce two new tools inside Photoshop. First is the Refine Radius Tool, which is incredibly helpful when selecting and refining very tight areas such as the hair I discussed above. Second is the Density slider inside the mask Properties panel. This slider increases and decreases the opacity of a masked area, which is helpful in a variety of situations. In the photo above, I used both of these tools.
Original Photo
This is the original photo that I’ll be working with: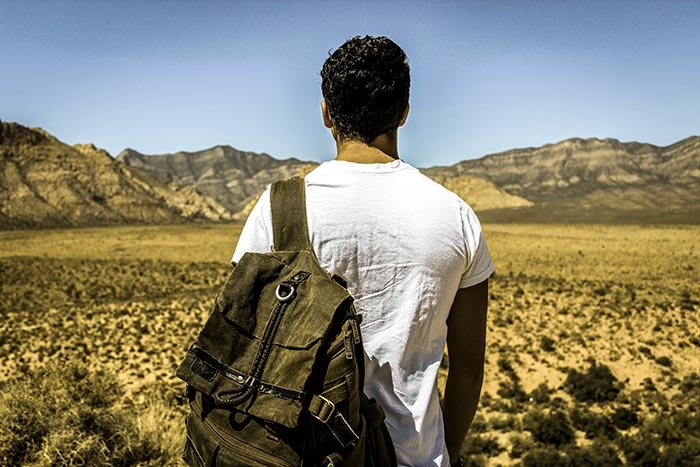
I chose it because the subject that I’ll be selecting has good clear edges. It also has a nice background that I can use in my Density slider example. Also, the subject has hair, along with some rogue pieces that will work perfectly when it comes time to explore the Refine Radius Tool.
Selecting & Masking
The first thing I’m going to do is select the subject using the Quick Selection Tool. If you aren’t familiar with this tool, I encourage you to read through this post that I wrote a while back:Selecting Objects & Refining Edges in Adobe Photoshop
As I’m selecting, I’ll be sure to do as good of a job as possible and to stay within the lines.
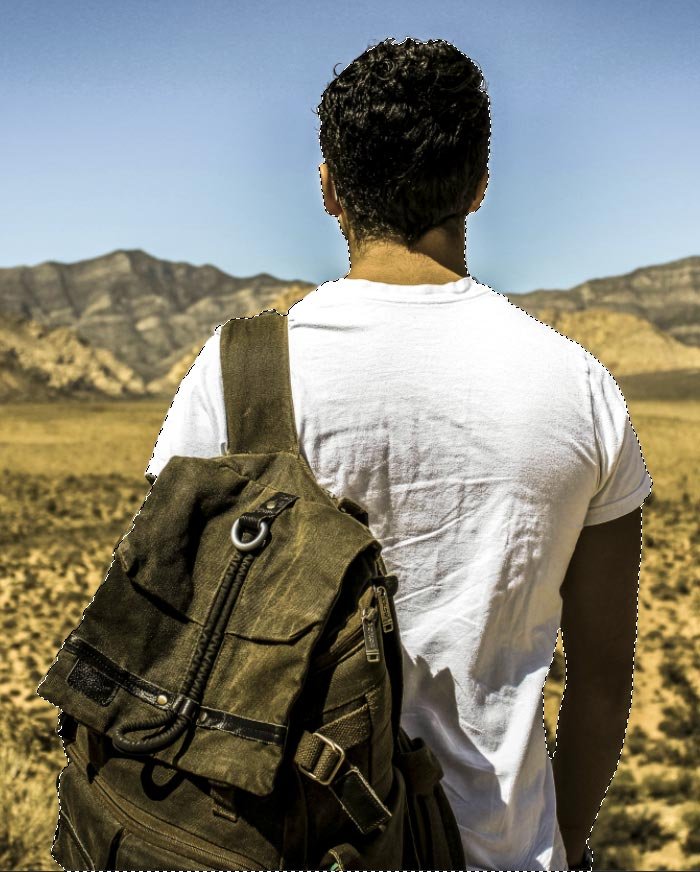
If you look at the above screenshot, you’ll see the marching ants outlining the hiker. And if you look closely at the marching ants in the area of the hiker’s hair, you’ll see that some pieces fall outside the zone of selection. I’ll be working on that shortly.
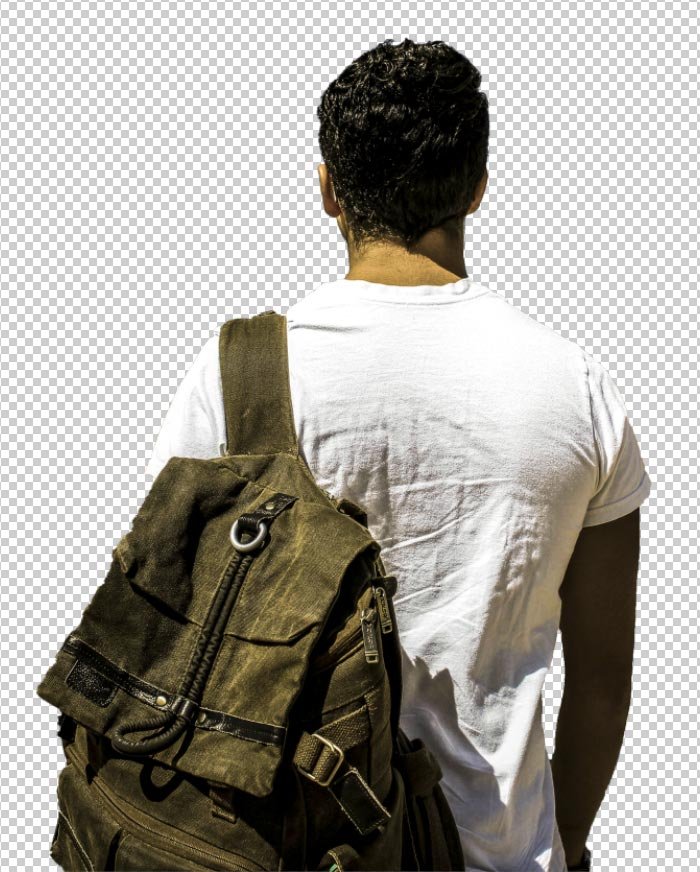
The next thing I’ll do is apply a mask to the selection by clicking on the Mask icon that’s located at the bottom of the Layers panel. In effect, this mask will paint everything that’s outside of the selection black and everything that’s inside the selection white. The reason you’re seeing the checkerboard around the hiker is because there’s currently no background layer. The background is transparent.
Refining the Mask Edge
The beautiful part of working with masks is that you can refine the edge of a selection after it’s made. The refinement works just like it would if you were to do it if the selection was active, like I did in this post.To begin refining, I’ll need to open up the mask Properties panel by double-clicking on the mask thumbnail in the active layer (Layers panel) and click the Mask Edge button.
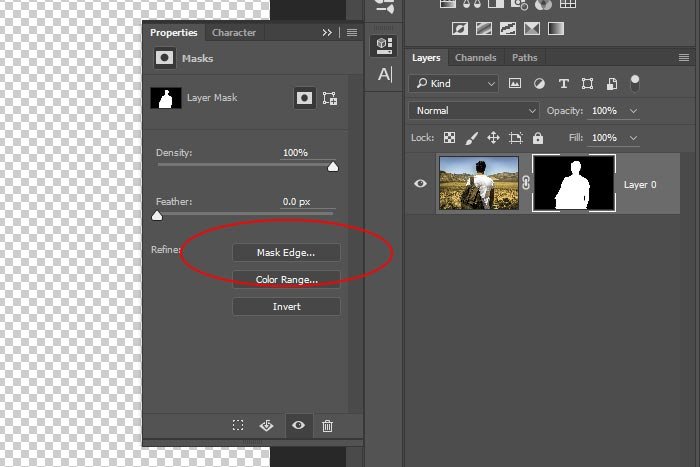
Once the Refine Mask dialog box appears, I can go about adjusting the sliders as I would when refining any edge. In this case, I only increased the Contrast slightly. What I’m really concerned about is getting the hair refined. I know some of it is missing because the pieces that were sticking up weren’t selected properly. To grab that hair and bring it back into the visible area, I’m going to use the Refine Radius Tool. I’ll click the button now.
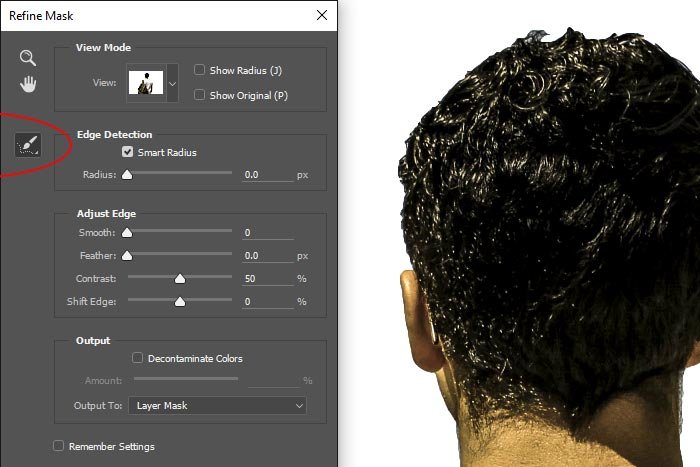
I’ll also click the View drop-down box that’s in the top part of the dialog box and select the choice that offers the white background. I’ll need some contrast so I can see if the hair is being selected when I use the tool.
After I click the Refine Radius Tool button, I can see my mouse pointer turn into the selection tool again. All I have to do is size it appropriately by clicking the [ and ] keys on my keyboard to shrink and grow the tool and then start tracing around any edge that needs a closer look by Photoshop. This truly is a granular approach to refining selections and masks. If you look at the next screenshot, you can see my mouse tracing the side of the head. For a brief time, the background becomes visible.
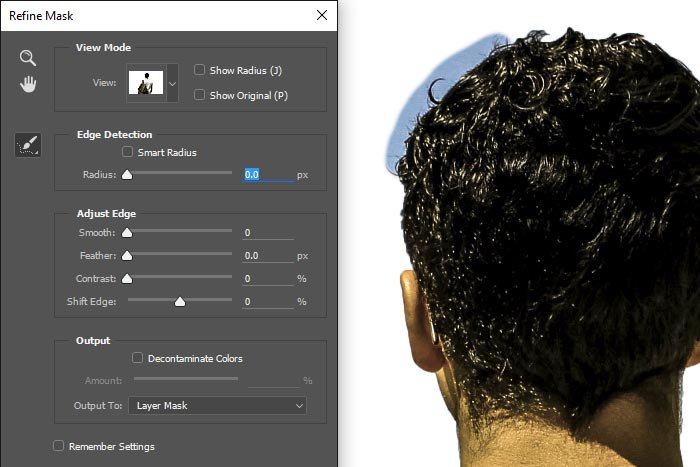
I’ll go ahead and trace all the way around the head and then take a look at the results.
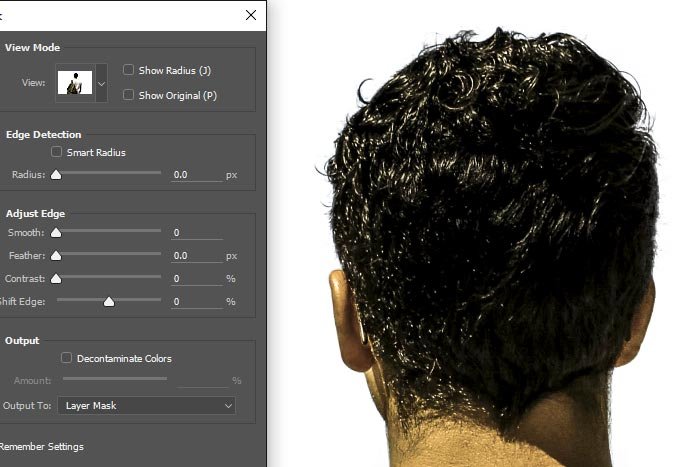
If you look at the hair now, you can see that all the individual pieces are included in the selection. This tool is magic. I’ll now click Okay in the Refine Mask dialog box to accept the changes and close it down.
Adding a Layer & Adjusting Density
Now that the hair has been perfected, I can finish this project up by adjusting the density of the hidden area of this photo. I’m currently totally masking out everything but the hiker, but what I really want to do is darken the hiker’s environment, not hide it completely. To do this, I’ll first need to add a black layer below the photo layer and then adjust the density of the mask.I’ll go ahead and add a black layer under the photo. I’ll do this by clicking the Create New Layer icon at the bottom of the Layers panel and clicking and dragging that layer to the bottom position in the layer hierarchy, if it’s not already there. Then, I’ll choose black from the Color Picker and use the Paint Bucket Tool to fill the layer in.
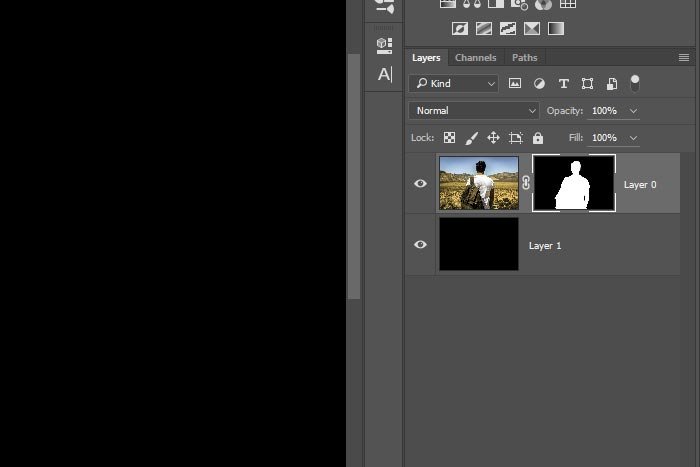
Now, to change the density (opacity) of the mask, I’ll double-click on the mask thumbnail in the Layers panel again and then move the Density slider to the left until it reaches 50%. I think that would be good for my purposes.
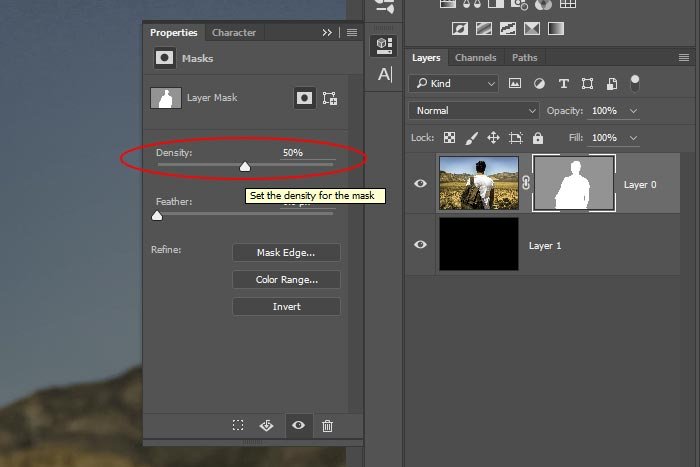
Now, I can see some of the background at 50% opacity while the hiker remains fully visibly at 100% opacity. The mask icon in the Layers panel is evidence of this. The masked area is now gray as opposed to black and the visible area is still white. I can even increase the Density slider to 75% to darken the background more. I’ll do that. Here is the final photo.
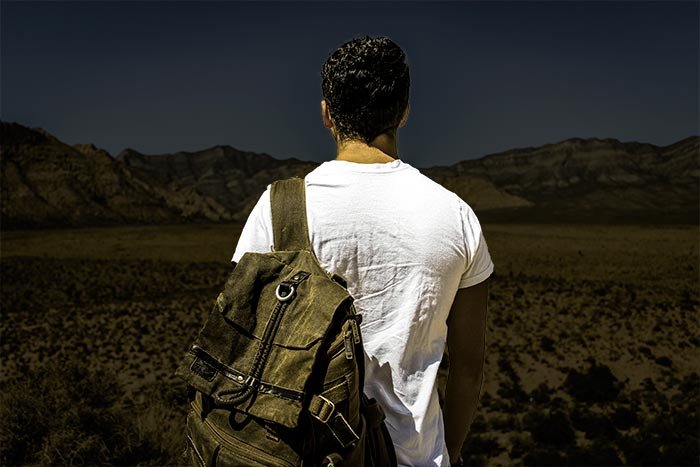
I’d say that’s pretty cool. I’m sure you can find uses for tools like this. If you do, please let me know. I’d love to see some of your projects.
