CaptainDan
Member
- Joined
- May 9, 2021
- Messages
- 113
- Reaction Score
- 0
- Points
- 16
- #1
I've recently noticed that the switch on one of my lamps wasn't working as well as it used to. It was a turn style switch and when I tried to turn the light on, all I would get was a flicker. I'd really have to turn the switch very slowly in order to "catch" the light. And when it was finally on, I'd try to leave it like that as long as possible. Needless to say, it was time to do something about this problem. What were my options? To buy an entirely new lamp? That's just silly. I didn't want to spend that kind of money. I knew how to replace lamp switches, so that's what I decided to do.
I went on Amazon and found a pair of really nice GE lamp switches. The title of the product page was this: GE Gold, Lamp Socket with Push ON/Off 2 Pack, Medium Base, DIY Project, UL Listed, Brushed, 54604. I'm always suspicious of these strange parts being very cheaply made, but the ones I bought were pretty good. As good as can be expected. They did the job well. I bought both for only $5.99, which was about half the price of what my local hardware store wanted to charge me. Here's a link to the page where you can buy these switches: https://amzn.to/3aJrWUY.
If you're interested in replacing your own lamp socket switches, I'll list the easy to follow instructions below along with some handy photos. I just did this project last night, so the steps are fresh in my mind. And if you have any questions, please ask down below. I'd be happy to help in any way I can.
To start off, unplug your lamp and then remove its lampshade.
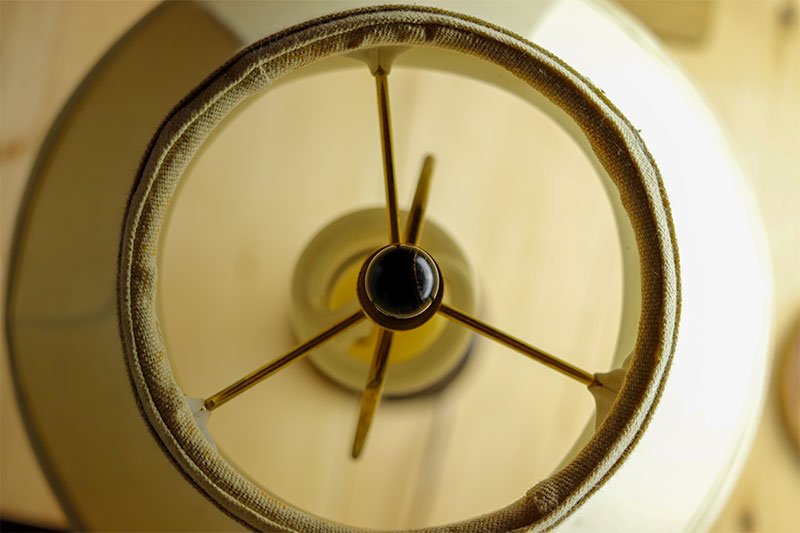
Next, remove the light bulb and the lamp shade mount. The mount is that wire thing that surrounds the light bulb. Not all lamps have this, but mine did. To remove this, you'll need to slide the two copper pieces at the bottom upward, hold them there, and then squeeze the bracket so it loosens up and is removable.
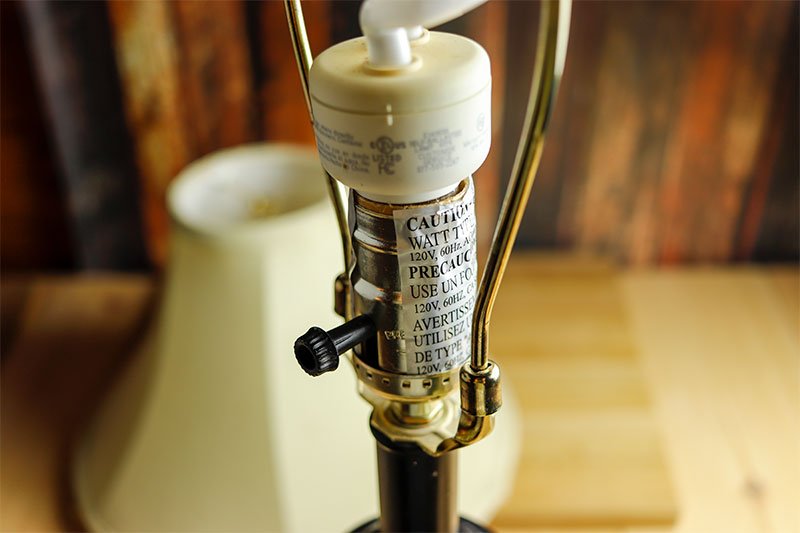
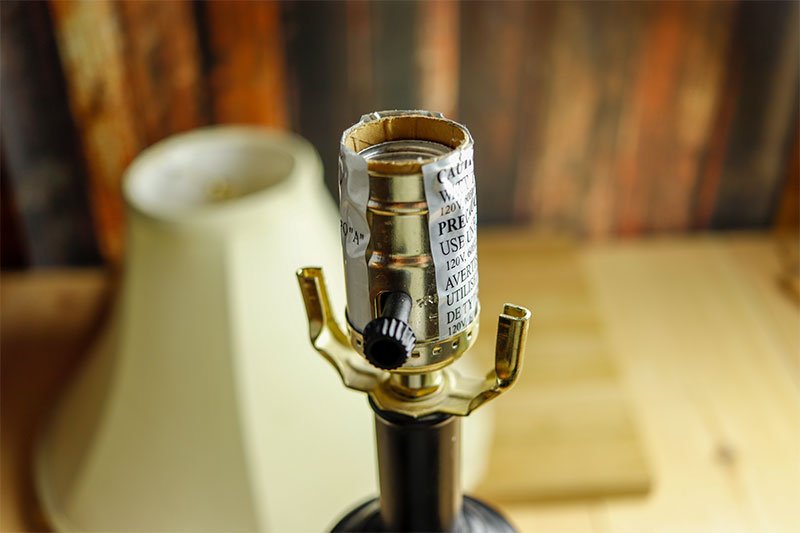
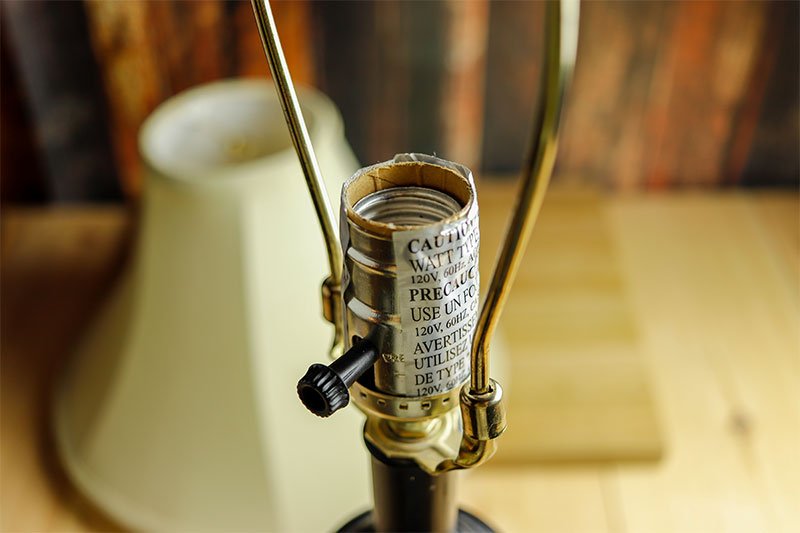
On your lamp, you may not have this feature, but I did on mine. On the side of my lamp, there was a small set screw that stopped the socket from becoming unscrewed. Since I would eventually need to unscrew the socket, I loosened that set screw. The screw takes either a regular or phillips head screwdriver. I used a regular because I got a better connection with that.
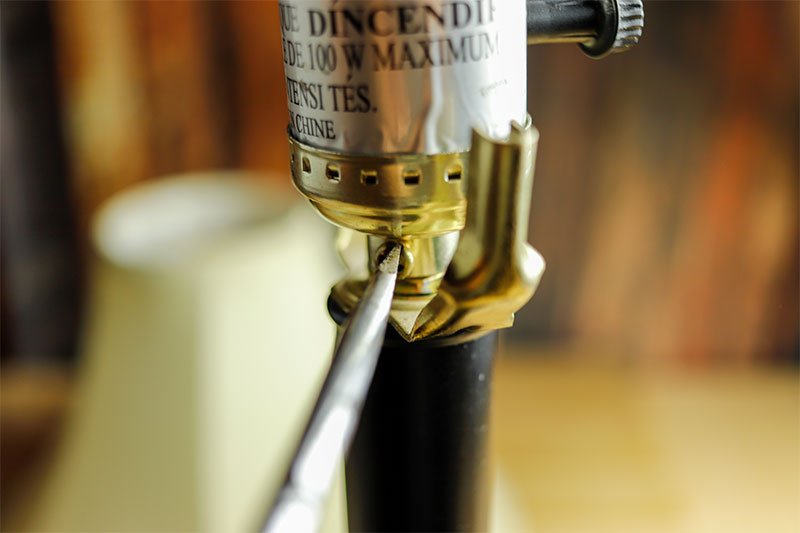
Now, at this point, you may be tempted to unscrew the entire socket from the lamp base. Don't do that. If you do, all you'll do is make a mess of the wires that run through the lamp. A better way is to disassemble the socket parts first and then unscrew later on. So, with a regular screwdriver or awl, pry the two parts apart. They should unsnap fairly easily.
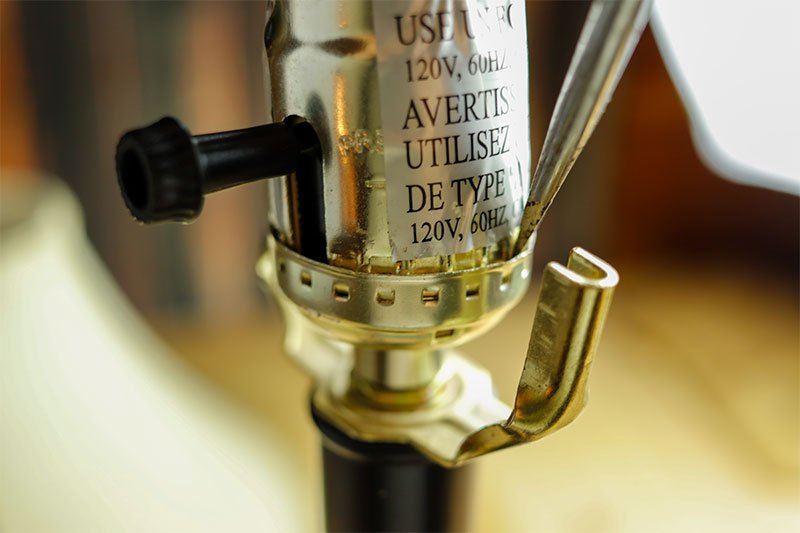
When you've finished with that, you can remove the top piece. This is what you'll be left with. It's the insides of the lamp socket.
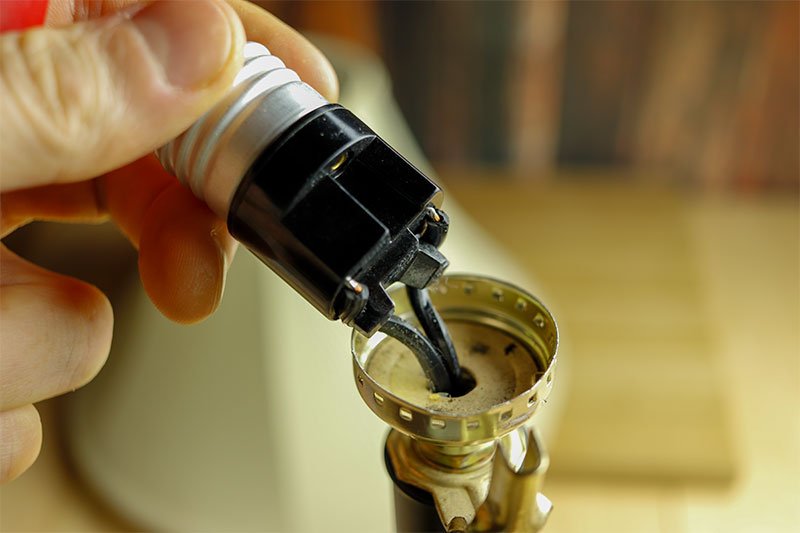
If you have a lamp that has had a repair made to it in the past, your switch may have two screws on either side. Since mine was a fairly new lamp, I had to deal with the factory switch. To disconnect the wires, either loosen the two screws that hold the wires to the switch or cut the wires away from the switch. I tried to wiggle mine loose, but that didn't work. They just broke right off.
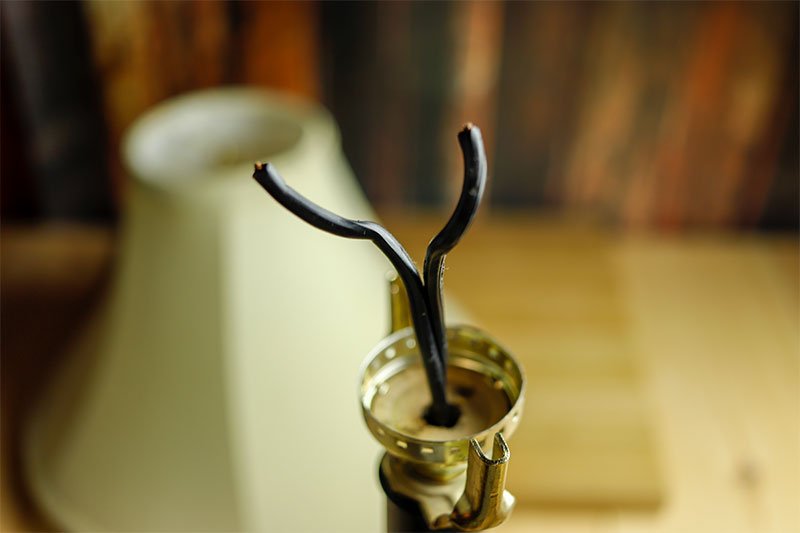
Next, you'll need to strip the wires. This can be tricky if you've never done it before. If you have a wire stripper, use that. You probably already know what you're doing. If you don't, you can lightly bite down on the wires with a pair of cutting pliers to strip them. If you have a razor blade, you can cut the plastic coating away from the wires. I suggest you learn how to do this first so you don't cut yourself.
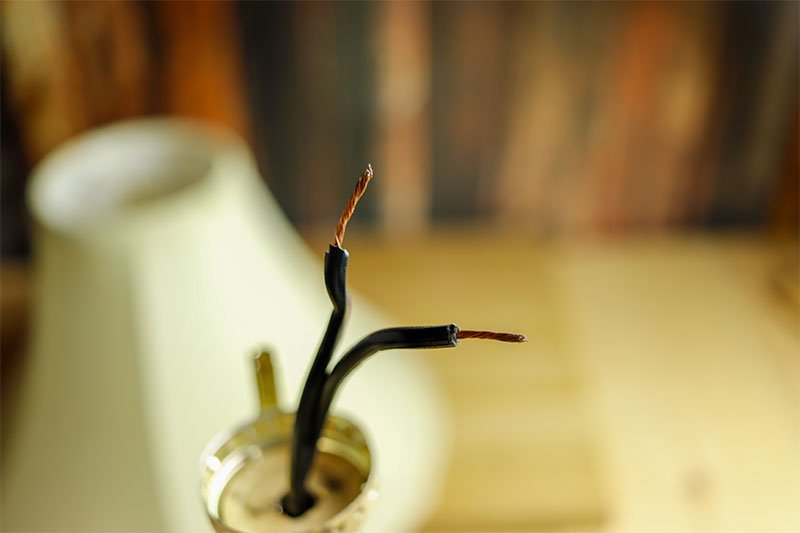
At this point, you can twist the old socket base counter clockwise to remove it. Just pull it right off those wires once it's unscrewed. Then, slide the new socket base over the wires and screw it on in the old one's place. Don't over tighten. Just make sure it's snug.
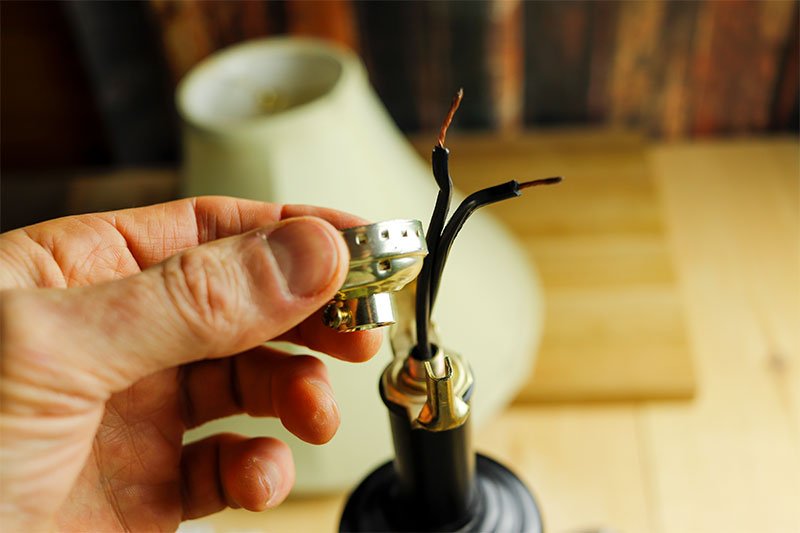
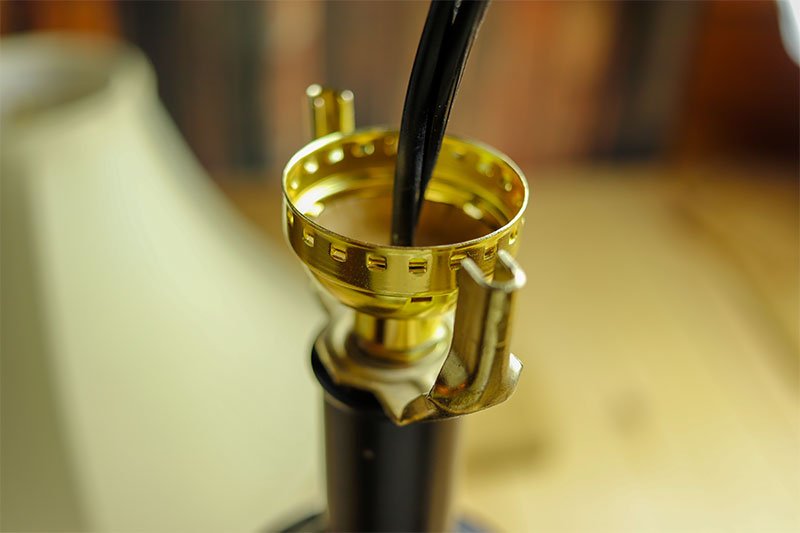
Now you can finally attach the wires to the new switch. Using a flat head screwdriver, place the wires with a slight bend in them on the switch and then tighten the screws. It doesn't matter which wire goes where. The one thing you do want to be careful of is how far the wire coating is sticking out from the switch. The top part of the socket needs to slide over the entire assembly, so make sure those wires are flush.
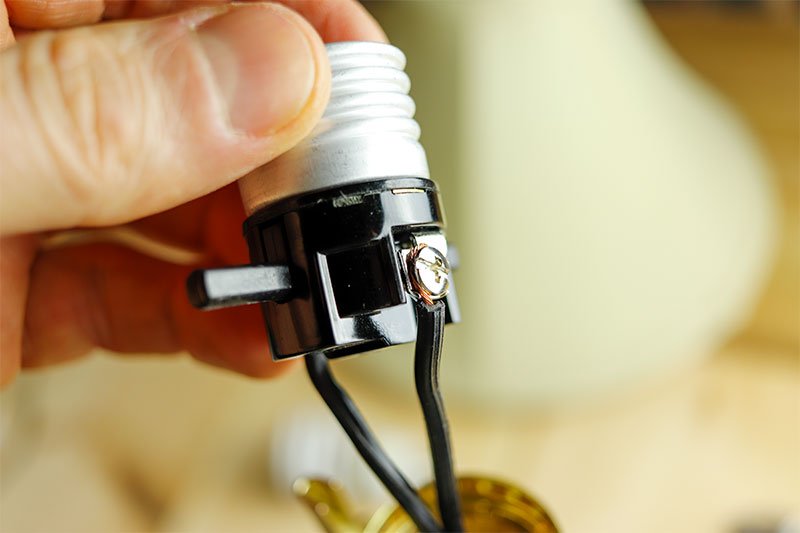
Next, slide the top piece over the switch.
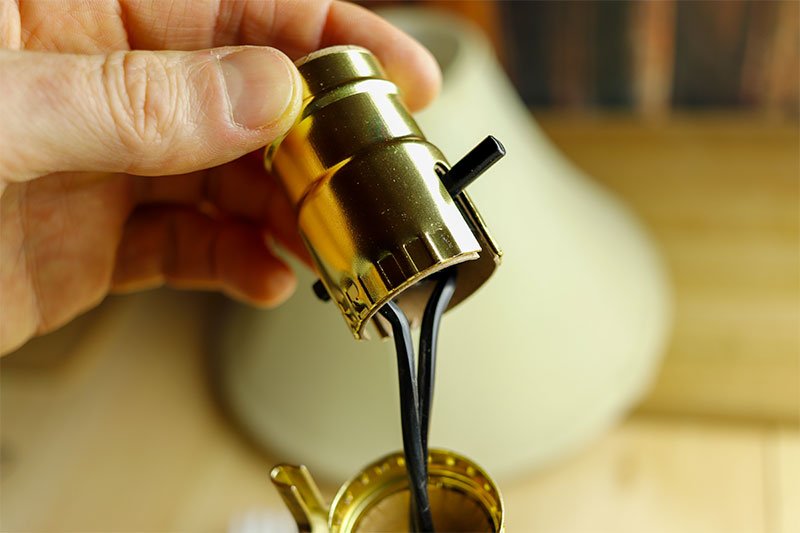
And finally, push the top part of the switch into the bottom part. Push firmly and you should hear a snap when it's been connected securely. Make sure it is, because you don't want these parts coming apart in the future.
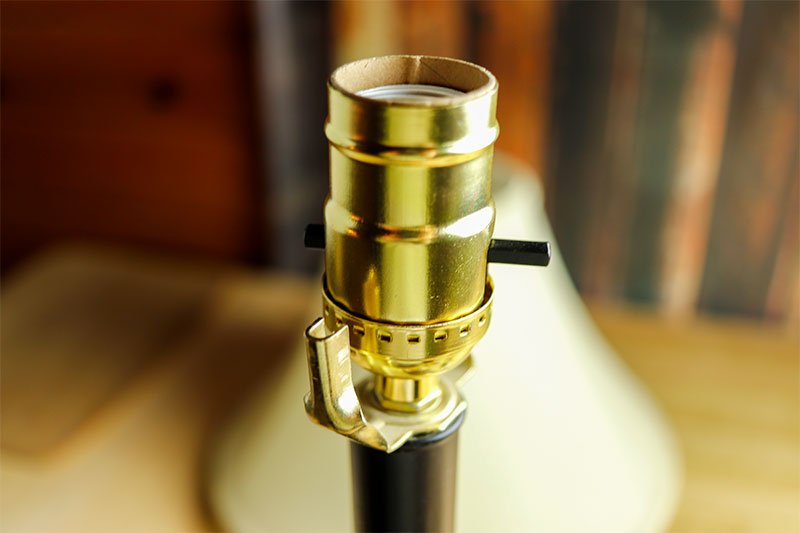
To test your lamp, simply screw a light bulb into the socket, plug the lamp in, and turn or flip the switch.
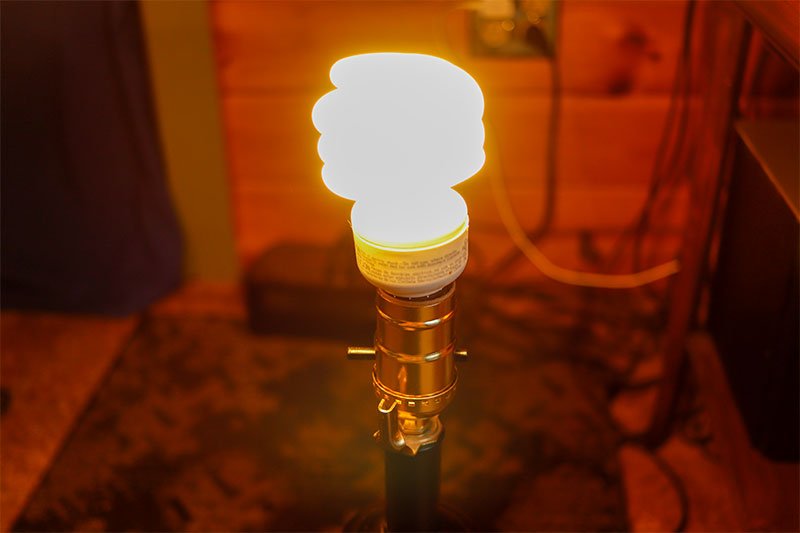
If everything works properly, go ahead and reassemble your lamp and enjoy your new light!
I went on Amazon and found a pair of really nice GE lamp switches. The title of the product page was this: GE Gold, Lamp Socket with Push ON/Off 2 Pack, Medium Base, DIY Project, UL Listed, Brushed, 54604. I'm always suspicious of these strange parts being very cheaply made, but the ones I bought were pretty good. As good as can be expected. They did the job well. I bought both for only $5.99, which was about half the price of what my local hardware store wanted to charge me. Here's a link to the page where you can buy these switches: https://amzn.to/3aJrWUY.
If you're interested in replacing your own lamp socket switches, I'll list the easy to follow instructions below along with some handy photos. I just did this project last night, so the steps are fresh in my mind. And if you have any questions, please ask down below. I'd be happy to help in any way I can.
To start off, unplug your lamp and then remove its lampshade.

Next, remove the light bulb and the lamp shade mount. The mount is that wire thing that surrounds the light bulb. Not all lamps have this, but mine did. To remove this, you'll need to slide the two copper pieces at the bottom upward, hold them there, and then squeeze the bracket so it loosens up and is removable.


On your lamp, you may not have this feature, but I did on mine. On the side of my lamp, there was a small set screw that stopped the socket from becoming unscrewed. Since I would eventually need to unscrew the socket, I loosened that set screw. The screw takes either a regular or phillips head screwdriver. I used a regular because I got a better connection with that.

Now, at this point, you may be tempted to unscrew the entire socket from the lamp base. Don't do that. If you do, all you'll do is make a mess of the wires that run through the lamp. A better way is to disassemble the socket parts first and then unscrew later on. So, with a regular screwdriver or awl, pry the two parts apart. They should unsnap fairly easily.

When you've finished with that, you can remove the top piece. This is what you'll be left with. It's the insides of the lamp socket.

If you have a lamp that has had a repair made to it in the past, your switch may have two screws on either side. Since mine was a fairly new lamp, I had to deal with the factory switch. To disconnect the wires, either loosen the two screws that hold the wires to the switch or cut the wires away from the switch. I tried to wiggle mine loose, but that didn't work. They just broke right off.

Next, you'll need to strip the wires. This can be tricky if you've never done it before. If you have a wire stripper, use that. You probably already know what you're doing. If you don't, you can lightly bite down on the wires with a pair of cutting pliers to strip them. If you have a razor blade, you can cut the plastic coating away from the wires. I suggest you learn how to do this first so you don't cut yourself.

At this point, you can twist the old socket base counter clockwise to remove it. Just pull it right off those wires once it's unscrewed. Then, slide the new socket base over the wires and screw it on in the old one's place. Don't over tighten. Just make sure it's snug.


Now you can finally attach the wires to the new switch. Using a flat head screwdriver, place the wires with a slight bend in them on the switch and then tighten the screws. It doesn't matter which wire goes where. The one thing you do want to be careful of is how far the wire coating is sticking out from the switch. The top part of the socket needs to slide over the entire assembly, so make sure those wires are flush.

Next, slide the top piece over the switch.

And finally, push the top part of the switch into the bottom part. Push firmly and you should hear a snap when it's been connected securely. Make sure it is, because you don't want these parts coming apart in the future.

To test your lamp, simply screw a light bulb into the socket, plug the lamp in, and turn or flip the switch.

If everything works properly, go ahead and reassemble your lamp and enjoy your new light!
