KodyWallice
Member
- Joined
- May 7, 2021
- Messages
- 123
- Reaction Score
- 1
- Points
- 23
- #1
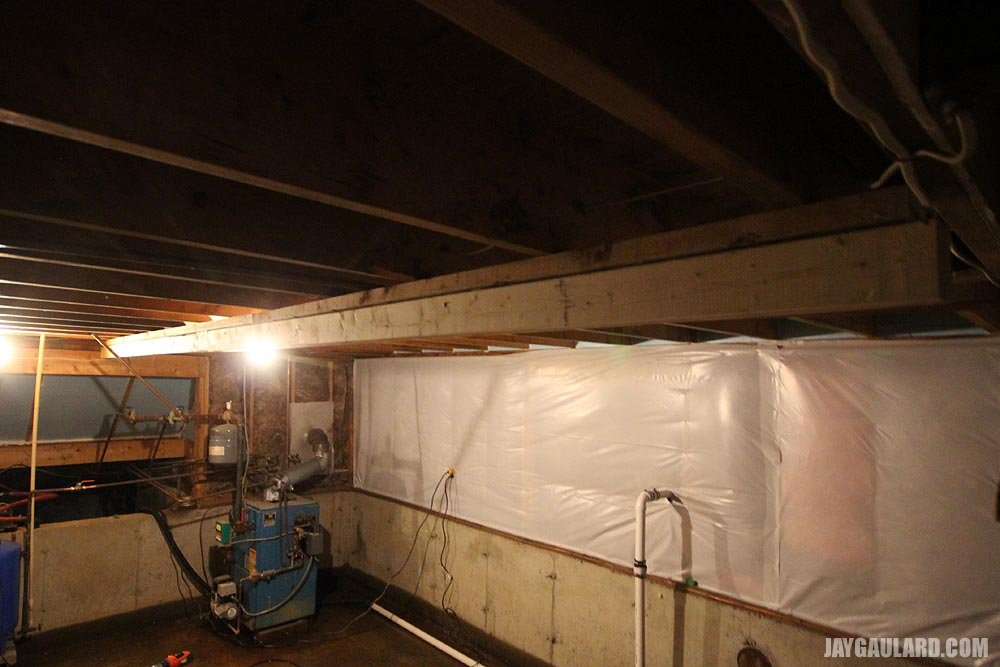
One of the first things I noticed while looking at this house when we were in the market was the lousy shape of the basement. I heard that there was a little moisture on the floor (the remedy of which I will discuss later), was informed by the home inspector that the insulation fitted in between the floor (upstairs) joists was installed up side down (which I already fixed), and some of the foundation mortar joints needed to be finished. But one thing that really stood out to me was noticed when I was upstairs. In the living room and along the hallway that runs the length of the house, there seemed to be a slight dip. Now, this really annoys me, not because I am a little on the anal side when it comes to this stuff, but because when I was renting an apartment a few years back, I actually had to use a rope tied from my rolling chair to the corner leg of my desk to stop the chair from rolling to the center of the room when I was sitting on it. That is how crooked and sagging the floor was. After a year of that, you can understand why I was so angered by this little dip. I had to find out what was causing it.
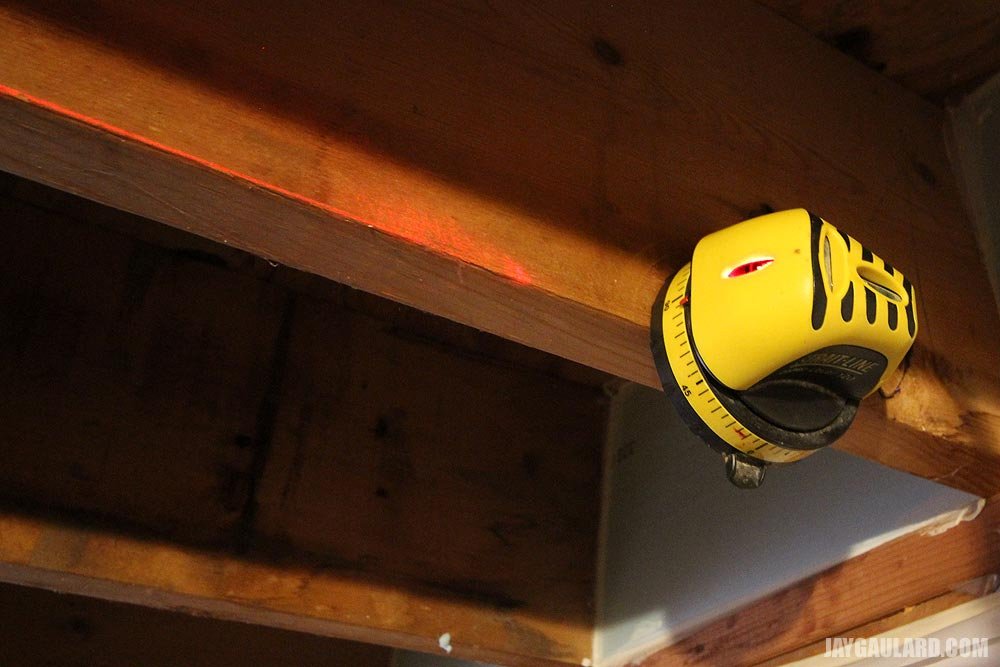
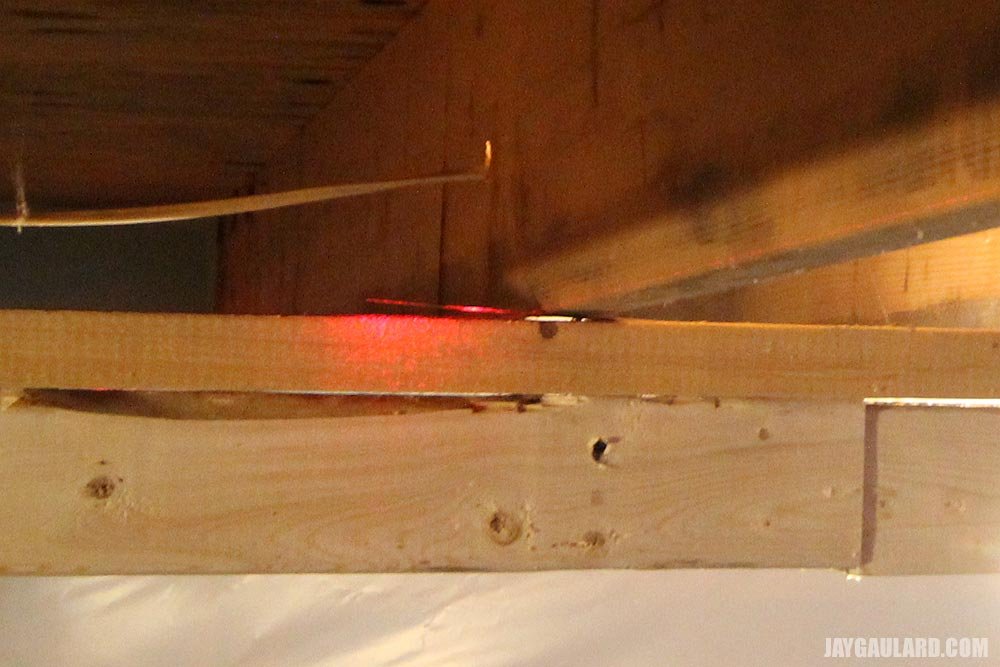
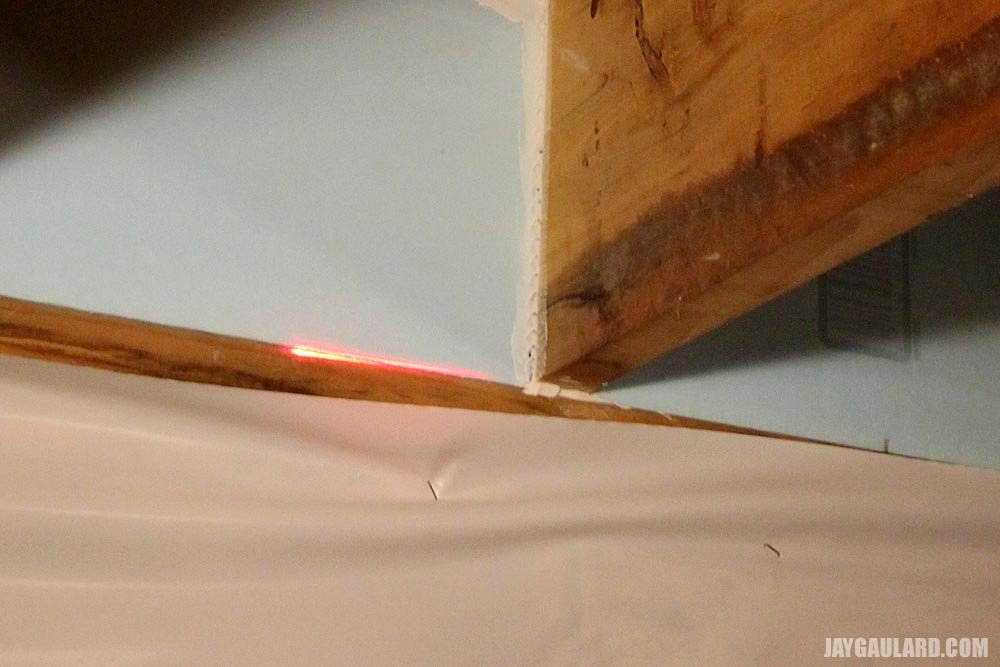
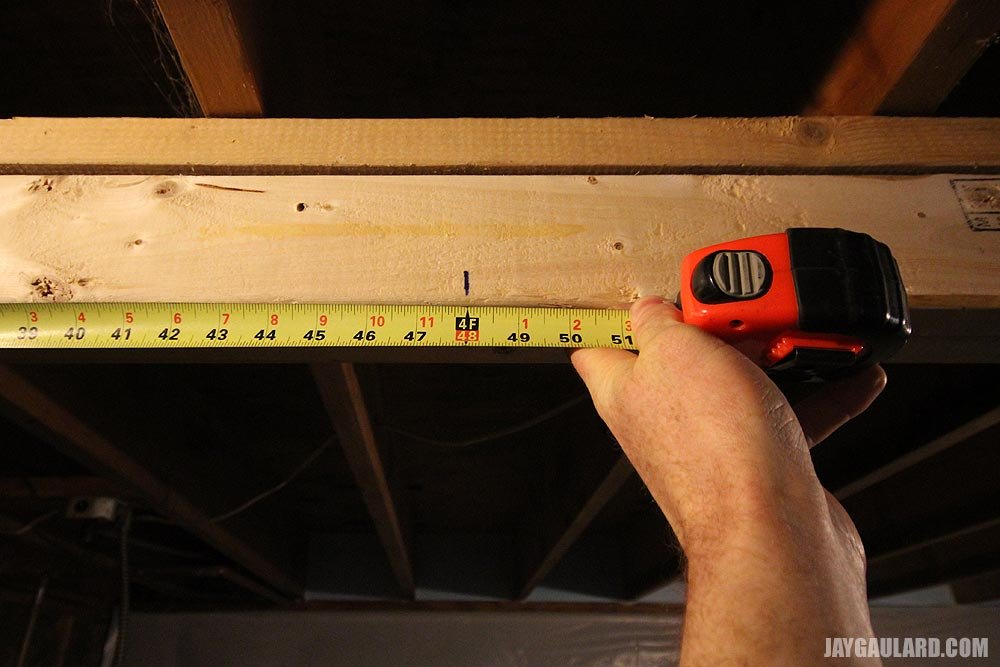
I went downstairs into the basement and inspected the entire foundation. No cracks. It looked fine. I went to Home Depot and bought one of those laser line tools. I mounted the laser light on one side of the girder beam and ran it down the entire length…AH HA! The center of the beam towards the middle of the house was about an inch lower than the ends at the foundation. Looks like the original lally columns and footings settled a bit over time. Well, looks like I found my first project.
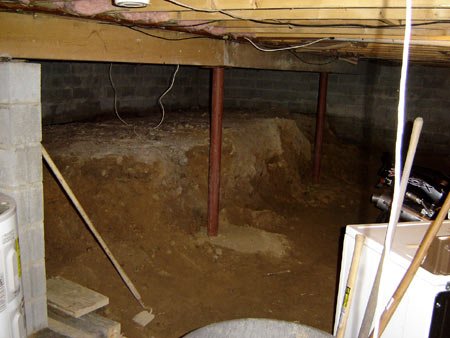
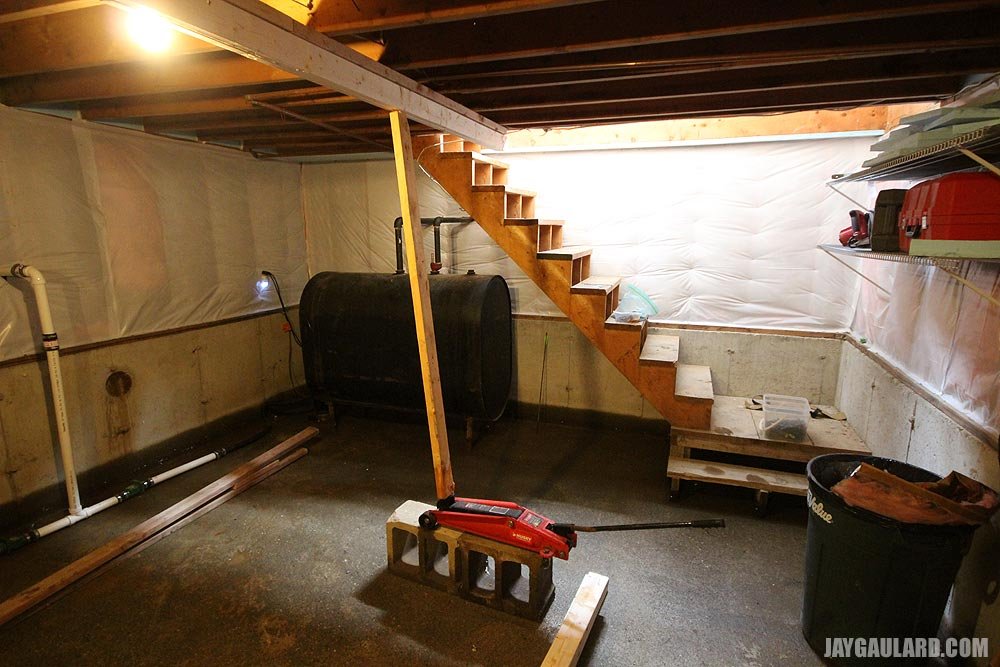
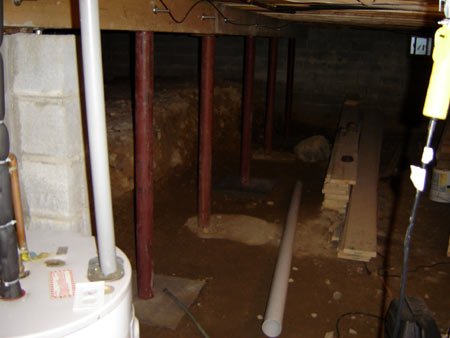
Along with the orignal lally columns, was also a little concerned about the cement block column (all the way to the left of the picture above). It was installed on a tilt. So that, along with two settled lally column footings, gave me a sense of urgency. I was in the mood for a challenge anyway. I decided to put in three additional footings and columns, this time to maximum code compliance. I would put one column in between each of the existing columns.
I dug the first hole closest to the foundation wall. I dug it about one and a half feet deep. Then, I constructed a form from cut 2″x10″s so it would create a footing of two feet wide by one foot high. Then, I hung a plumb line from the girder beam just to make sure the form was exactly centered under the beam. I measured this about 10 times. I also made sure the form was perfectly level.
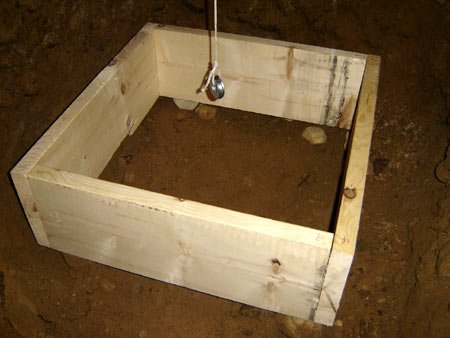
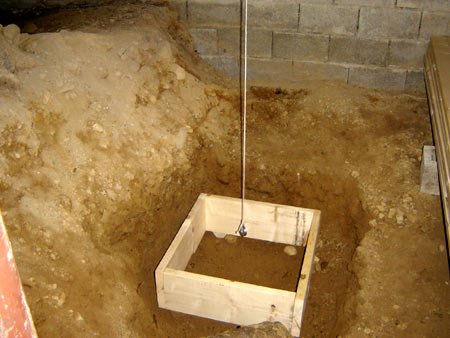
Once again, I measured the actual form to make sure I cut everything correctly. I kept thinking that one day the building inspector was going to show up with a micrometer and inspect everything I did. I actually called the building department and they told me that this did not need to be inspected since I was adding in between the existing footings, and they met compliance back when the house was built.
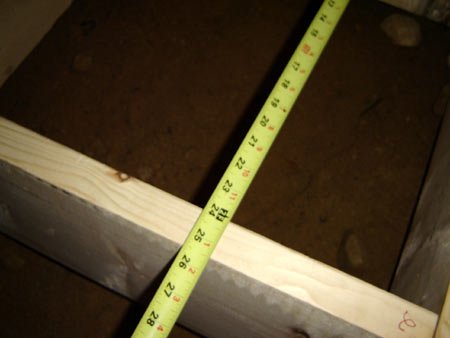
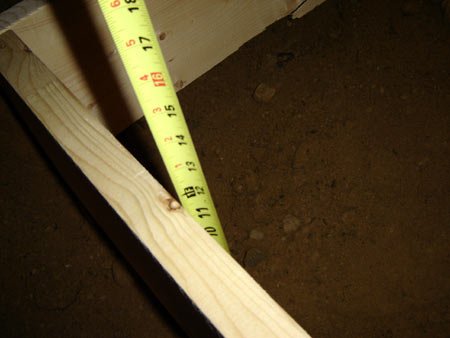
Building code calls for the footing to be one foot deep by two feet wide. Since I made a form from 2″x10″s, I needed to keep it about 2-3 inches off the ground. I accomplished this by propping the form up on some rocks that I dug up. Then, I measured to make sure I was perfect (again). I really needed to do this a lot, it kept shifting.
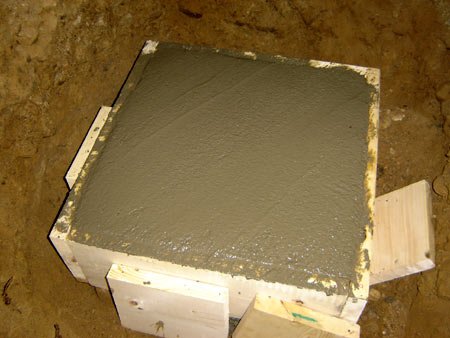
When everything was absolutely perfect, I mixed a few bags of Quikrete Concrete Mix in my wheelbarrow. The form took a total of 7 bags. I smoothed it out real nice.
I waited a day for the concrete to set and then popped off the form.
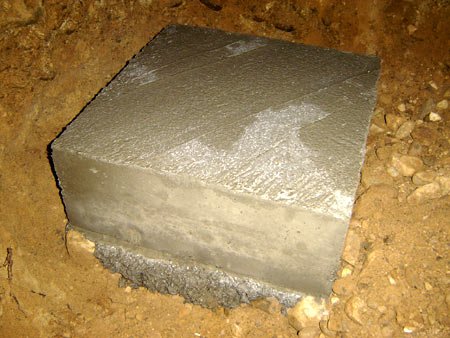
Now that's what I call footing. Let that sucker try to settle. One thing I forgot to mention was that I sprayed water from my hose into the empty hole before I put the form in, then I let it dry. That made sure the dirt was nice and compact. I also put in a few pieces of rebar for added strength. You don’t need to do that for a footing this small, but I didn’t want to take any chances.
The cement calls for a cure time of 7 days for a 2500psi compressive strength and a 28 day cure time for the full 4000psi compressive strength. I have heard that concrete never stops curing. You also need to make sure the concrete stays moist to cure correctly. I am sure we all have seen a sidewalk that hasn’t cured properly…chipping and flaking to expose the gravel contained within. To follow the instructions, I filled in around the footing, wet the top of it and layed some plastic over it. I wet the top every day for 7 days.
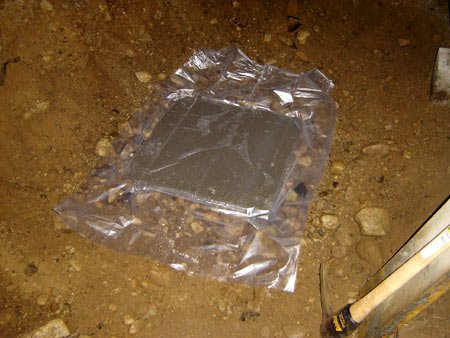
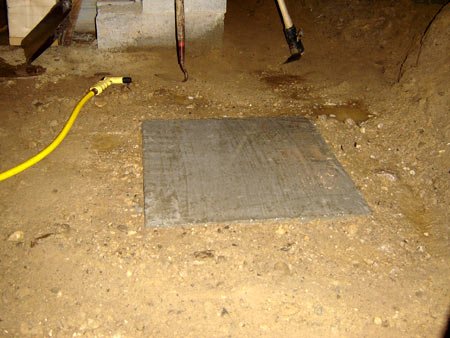
I followed these same exact steps for the next two footings. The following photo is of the final completed footing.
For the last column, I decided to try my hand at building a cement block wall. There was room and how else is a new homeowner supposed to get experience? Those temporary columns on the right came out of there after I was done…they stayed on hold for a future project.
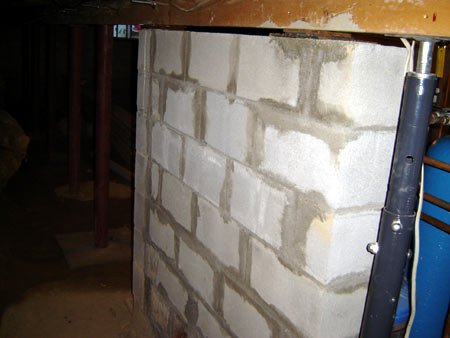
Believe it or not, this wall is perfectly level in every direction. I filled the last two blocks in solid because that's where I put the weight of the girder beam.
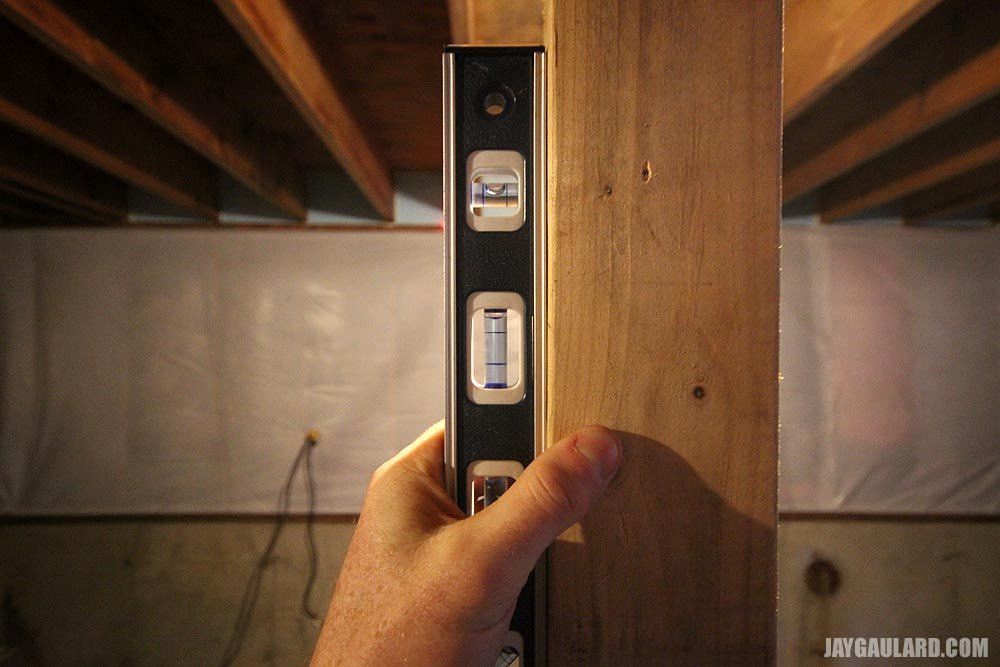
After all the concrete in the footings was cured properly, I went to a local lumberyard, purchased three lally columns and had them cut to my measurements. These are the familiar maroon ones filled with concrete. I'm not sure of the weight each one can support, but I have a feeling it is more than enough. I then purchased a 20 ton bottle jack and jacked up the area next to each existing column. When there was enough clearance from the plate on the top of the each column and the bottom of the girder beam, I slid in a quarter inch thick 6″x6″ square steel plate. I did this for each existing column as a spacer. I read somewhere that you should only jack up a house one eighth of an inch per day so the sheetrock upstairs won’t crack. I did a quarter inch per day because I was going to tackle the upstairs sheetrock later anyway. After about a week, and enough spacers to make the girder beam perfectly straight, as indicated by my laser, I jacked up the girder beam and put in each new lally column on each new footing. Each one had a great tight fit.
If you are planning a project like this, I really suggest you have a professional do it. You can get quite freaked out by all the squeaking that the wood does when it is jacked up.
In the photo below, you can see all of the lally columns in a row…the originals and the new ones. What a project! No more dip in the floor upstairs…nice and level. Just wait until I'm done digging out the entire basement. Almost there…
COMMENT: You continue to impress me with your feats of daring do.
COMMENT: If you are digging out your cellar, be careful. I know of one homeowner who was removing dirt from his cellar and he had fieldstone walls for a foundation. Well, it was pouring outside on a Saturday night when my husband got a phone call in the middle of a ball game saying that his friend's foundation wall just caved in. He asked if my husband could help him out. Well, he went there and sure enough, the homeowner had taken too much dirt out in one spot and water had begun to come into his basement along with a section of his wall that lay in a rubble.
COMMENT: Yes, good point. You do need to be very careful when doing any digging in the basement, especially with a stone foundation. Sometimes things are better left alone. Luckily, our foundation was poured (constructed), built, and then back filled. I know exactly where the footing is.
COMMENT: Hey - I have a similar issue. My house only has 1 original beam across the center of the home. The home inspector suggested adding 2 additional beams and installing lally colums to support those. When you say you used 7 bags to make that footing, how much was that? Seven 50 lb bags, 80 lb bags?
COMMENT: I believe they were 80lb bags. Also, the laser level was key with this project.
COMMENT: What did you use to secure the lally columns to the concrete?
COMMENT: Nothing. I didn't think they'd move at all, so I left them merely pressed onto the concrete by the weight of the house. Although, you do bring up a valid point. I wouldn't want to back into one of them with a ride-on lawnmower or something some day. I'll need to look into securing them somehow.
COMMENT: I don’t know why you say that people should not do this on their own and instead hire a professional. Have you left anything out? Is there anything in particular to look out for in the beginning that would prohibit your method? I like the way you over-engineer things – a professional probably would not do that. These questions are purely academic in that I live in a house with no basement and most of the houses built in the last 20 years in my half of the state are on a slab. BTW, thanks for your post.
COMMENT: Thanks for sharing your experience! I live in a house that was built in the 1840s and it has TEMPORARY adjustable steel jacks in the basement! I’ve already replaced one of them and another one has now rusted out and fallen! I had no idea what to do (besides continue the cycle of replacement). I have spent the last hour looking for the proper way to fix this problem and every website tells me all sorts of stuff that has nothing to do with what I have going on. Yours was the EXACT answer that I needed. I already have cement in my basement but since I am unsure of the thickness of the cement, I will still add the footers like you did. I will also purchase lallys to replace every temporary jack. I appreciate the detail in your descriptions and the great pictures so that I know exactly what to do. Thanks again!
COMMENT: In your case, if you see the bottoms of the lally columns rusting due to moisture on the ground, since you're going to be pouring new footing anyway, you may want to consider making those footings extra thick so they are raised off the ground a foot or so. That'll keep them dry. Also, you can spray some oil on the bottoms of the columns so they don't rust out so fast. Just some ideas...
I went downstairs into the basement and inspected the entire foundation. No cracks. It looked fine. I went to Home Depot and bought one of those laser line tools. I mounted the laser light on one side of the girder beam and ran it down the entire length…AH HA! The center of the beam towards the middle of the house was about an inch lower than the ends at the foundation. Looks like the original lally columns and footings settled a bit over time. Well, looks like I found my first project.

Along with the orignal lally columns, was also a little concerned about the cement block column (all the way to the left of the picture above). It was installed on a tilt. So that, along with two settled lally column footings, gave me a sense of urgency. I was in the mood for a challenge anyway. I decided to put in three additional footings and columns, this time to maximum code compliance. I would put one column in between each of the existing columns.
I dug the first hole closest to the foundation wall. I dug it about one and a half feet deep. Then, I constructed a form from cut 2″x10″s so it would create a footing of two feet wide by one foot high. Then, I hung a plumb line from the girder beam just to make sure the form was exactly centered under the beam. I measured this about 10 times. I also made sure the form was perfectly level.


Once again, I measured the actual form to make sure I cut everything correctly. I kept thinking that one day the building inspector was going to show up with a micrometer and inspect everything I did. I actually called the building department and they told me that this did not need to be inspected since I was adding in between the existing footings, and they met compliance back when the house was built.

Building code calls for the footing to be one foot deep by two feet wide. Since I made a form from 2″x10″s, I needed to keep it about 2-3 inches off the ground. I accomplished this by propping the form up on some rocks that I dug up. Then, I measured to make sure I was perfect (again). I really needed to do this a lot, it kept shifting.

When everything was absolutely perfect, I mixed a few bags of Quikrete Concrete Mix in my wheelbarrow. The form took a total of 7 bags. I smoothed it out real nice.

I waited a day for the concrete to set and then popped off the form.

Now that's what I call footing. Let that sucker try to settle. One thing I forgot to mention was that I sprayed water from my hose into the empty hole before I put the form in, then I let it dry. That made sure the dirt was nice and compact. I also put in a few pieces of rebar for added strength. You don’t need to do that for a footing this small, but I didn’t want to take any chances.
The cement calls for a cure time of 7 days for a 2500psi compressive strength and a 28 day cure time for the full 4000psi compressive strength. I have heard that concrete never stops curing. You also need to make sure the concrete stays moist to cure correctly. I am sure we all have seen a sidewalk that hasn’t cured properly…chipping and flaking to expose the gravel contained within. To follow the instructions, I filled in around the footing, wet the top of it and layed some plastic over it. I wet the top every day for 7 days.

I followed these same exact steps for the next two footings. The following photo is of the final completed footing.

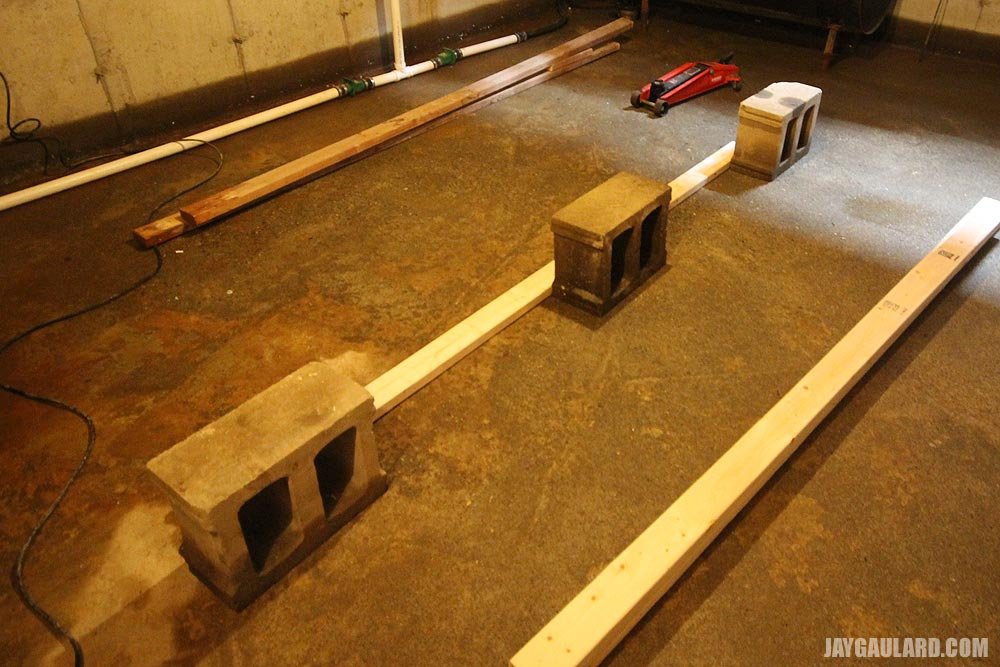
For the last column, I decided to try my hand at building a cement block wall. There was room and how else is a new homeowner supposed to get experience? Those temporary columns on the right came out of there after I was done…they stayed on hold for a future project.

Believe it or not, this wall is perfectly level in every direction. I filled the last two blocks in solid because that's where I put the weight of the girder beam.
After all the concrete in the footings was cured properly, I went to a local lumberyard, purchased three lally columns and had them cut to my measurements. These are the familiar maroon ones filled with concrete. I'm not sure of the weight each one can support, but I have a feeling it is more than enough. I then purchased a 20 ton bottle jack and jacked up the area next to each existing column. When there was enough clearance from the plate on the top of the each column and the bottom of the girder beam, I slid in a quarter inch thick 6″x6″ square steel plate. I did this for each existing column as a spacer. I read somewhere that you should only jack up a house one eighth of an inch per day so the sheetrock upstairs won’t crack. I did a quarter inch per day because I was going to tackle the upstairs sheetrock later anyway. After about a week, and enough spacers to make the girder beam perfectly straight, as indicated by my laser, I jacked up the girder beam and put in each new lally column on each new footing. Each one had a great tight fit.
If you are planning a project like this, I really suggest you have a professional do it. You can get quite freaked out by all the squeaking that the wood does when it is jacked up.
In the photo below, you can see all of the lally columns in a row…the originals and the new ones. What a project! No more dip in the floor upstairs…nice and level. Just wait until I'm done digging out the entire basement. Almost there…

COMMENT: You continue to impress me with your feats of daring do.
COMMENT: If you are digging out your cellar, be careful. I know of one homeowner who was removing dirt from his cellar and he had fieldstone walls for a foundation. Well, it was pouring outside on a Saturday night when my husband got a phone call in the middle of a ball game saying that his friend's foundation wall just caved in. He asked if my husband could help him out. Well, he went there and sure enough, the homeowner had taken too much dirt out in one spot and water had begun to come into his basement along with a section of his wall that lay in a rubble.
COMMENT: Yes, good point. You do need to be very careful when doing any digging in the basement, especially with a stone foundation. Sometimes things are better left alone. Luckily, our foundation was poured (constructed), built, and then back filled. I know exactly where the footing is.
COMMENT: Hey - I have a similar issue. My house only has 1 original beam across the center of the home. The home inspector suggested adding 2 additional beams and installing lally colums to support those. When you say you used 7 bags to make that footing, how much was that? Seven 50 lb bags, 80 lb bags?
COMMENT: I believe they were 80lb bags. Also, the laser level was key with this project.
COMMENT: What did you use to secure the lally columns to the concrete?
COMMENT: Nothing. I didn't think they'd move at all, so I left them merely pressed onto the concrete by the weight of the house. Although, you do bring up a valid point. I wouldn't want to back into one of them with a ride-on lawnmower or something some day. I'll need to look into securing them somehow.
COMMENT: I don’t know why you say that people should not do this on their own and instead hire a professional. Have you left anything out? Is there anything in particular to look out for in the beginning that would prohibit your method? I like the way you over-engineer things – a professional probably would not do that. These questions are purely academic in that I live in a house with no basement and most of the houses built in the last 20 years in my half of the state are on a slab. BTW, thanks for your post.
COMMENT: Thanks for sharing your experience! I live in a house that was built in the 1840s and it has TEMPORARY adjustable steel jacks in the basement! I’ve already replaced one of them and another one has now rusted out and fallen! I had no idea what to do (besides continue the cycle of replacement). I have spent the last hour looking for the proper way to fix this problem and every website tells me all sorts of stuff that has nothing to do with what I have going on. Yours was the EXACT answer that I needed. I already have cement in my basement but since I am unsure of the thickness of the cement, I will still add the footers like you did. I will also purchase lallys to replace every temporary jack. I appreciate the detail in your descriptions and the great pictures so that I know exactly what to do. Thanks again!
COMMENT: In your case, if you see the bottoms of the lally columns rusting due to moisture on the ground, since you're going to be pouring new footing anyway, you may want to consider making those footings extra thick so they are raised off the ground a foot or so. That'll keep them dry. Also, you can spray some oil on the bottoms of the columns so they don't rust out so fast. Just some ideas...

