JGaulard
Administrator
Staff member
Site Supporter
Sr. Site Supporter
Power User
- Joined
- May 5, 2021
- Messages
- 319
- Reaction Score
- 2
- Points
- 18
- #1
It’s been a busy day. I’m all finished with my work, so I thought I’d sit back to write for a while. Writing is such a relaxing activity for me; it helps with the unwinding process. Although, I’m not sure how much unwinding I can do right now because I’ve still got to practice playing guitar. I don’t usually begin that until around 9pm, so I’ve got some time. After that though, Laura and I will eat our dinner. We’ve been eating so late these days. Sometimes not until after 10pm. It’s terrible, I know, but the days are so full. Food is the last thing on our minds. It’s almost as if it’s something we just need to get out of the way.
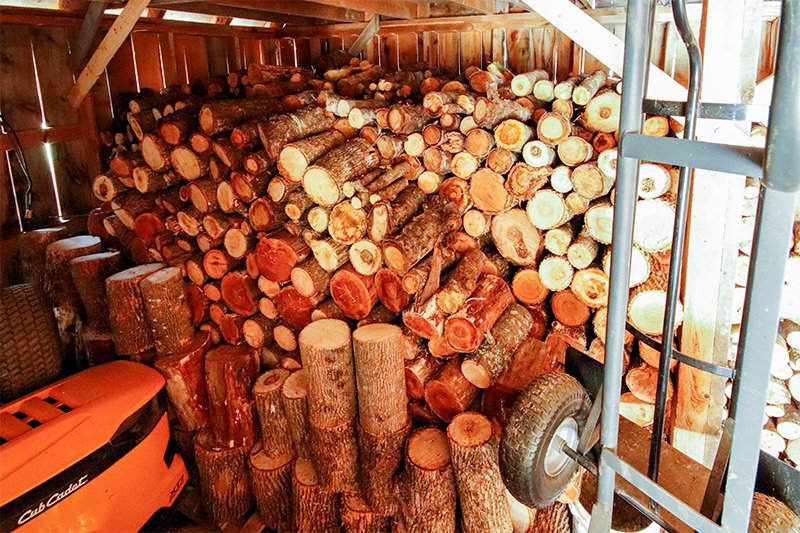
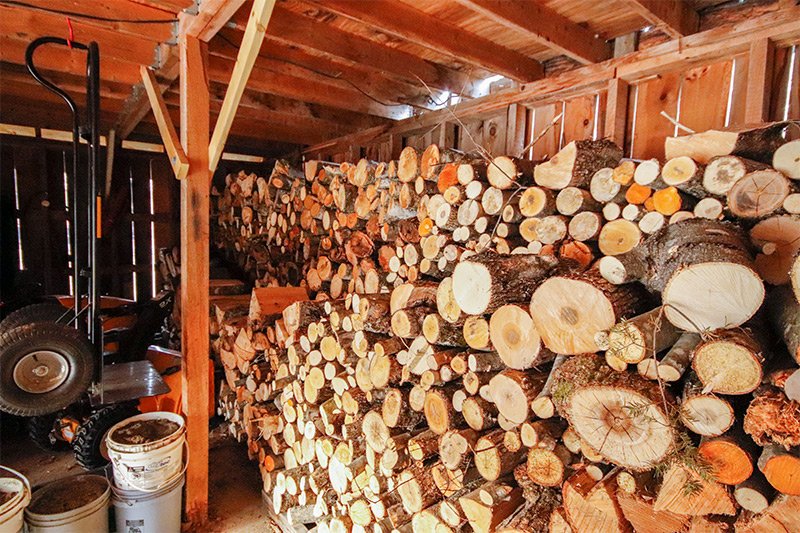
I began the day by riding the ATV back into the woods with the trailer in tow. My goal was to again haul some firewood from there to the garage. I spent about three or four hours doing that and in the process, I got my nice new work gloves completely covered in pine sap. I already told you about that Eastern White Pine leader that I cut up for firewood, but what I didn’t tell you was that the pieces began bleeding pitch all over the place moments after I cut them. The pitch looked like small bubbles oozing out of the cut ends. Since each piece was rather large, I was forced to use my axe to split them. Once I was done with that, I’d pick up and toss each of the split pieces into the trailer. You should see the axe handle. It’s totally covered in black sap. I’m sure the sap was semi-clear at one point, but all the handling today made it much darker. To be blunt, it’s very gross. It’s a sticky mess that I hope eventually dries up.
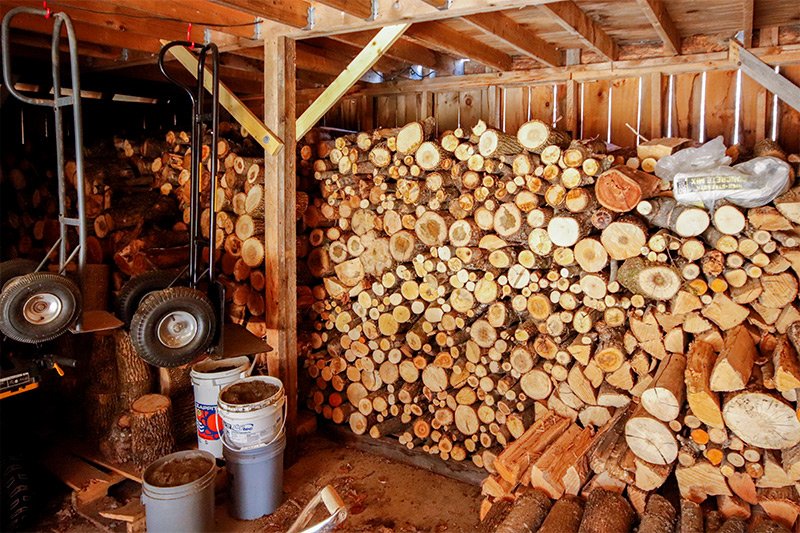
I am getting there though. I’m mostly finished with my third row. I hope to fill the garage with five 24 foot rows. I don’t know if I’ll make it with what I’ve got in the back, but if I don’t, I’ll order two cord from the dealer I referred to in my last post. He’ll help me out. He always does.
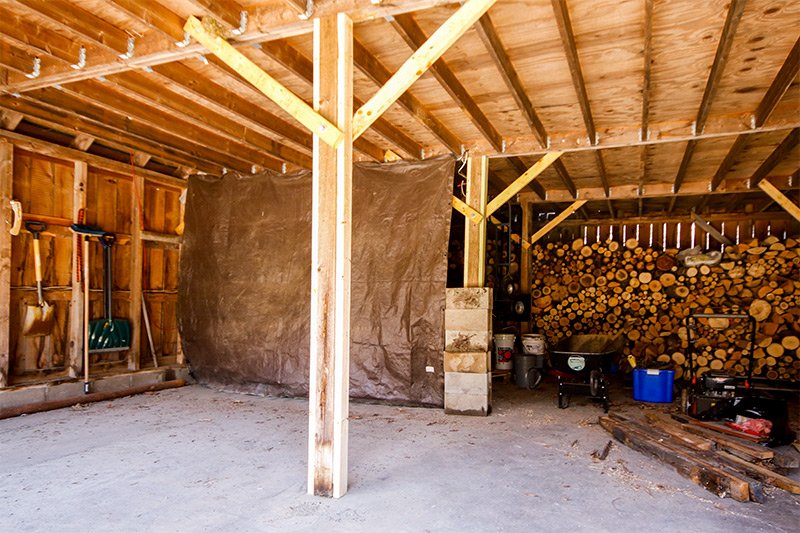
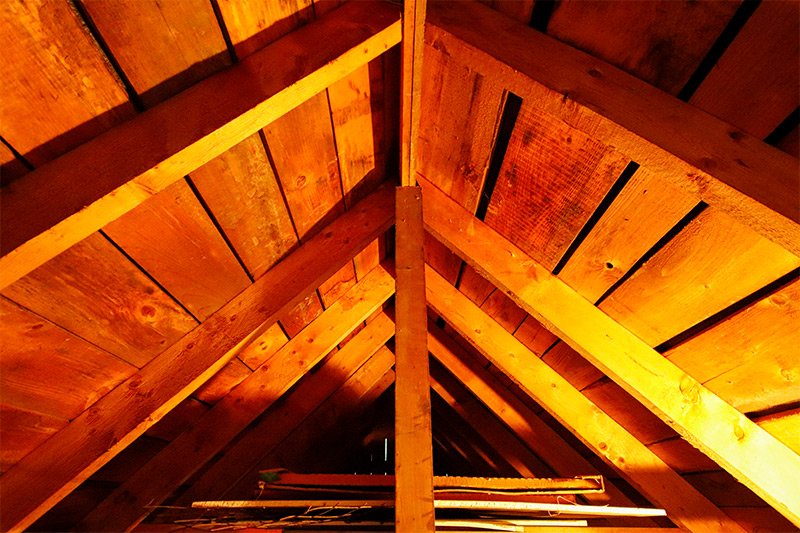
The real drama and the point of this post is to talk about the bulging wall we’ve got in the garage in which I’m storing the firewood. This bulging wall is starting to make me slightly nervous. At first, I thought it was like this when we bought the house six years ago, but I’m starting to think that it’s getting worse. I don’t know if my eyes are deceiving me, but there seems to be slight movement. Or, as I should say, there seems to have been slight movement. Let me show you what I’m referring to.
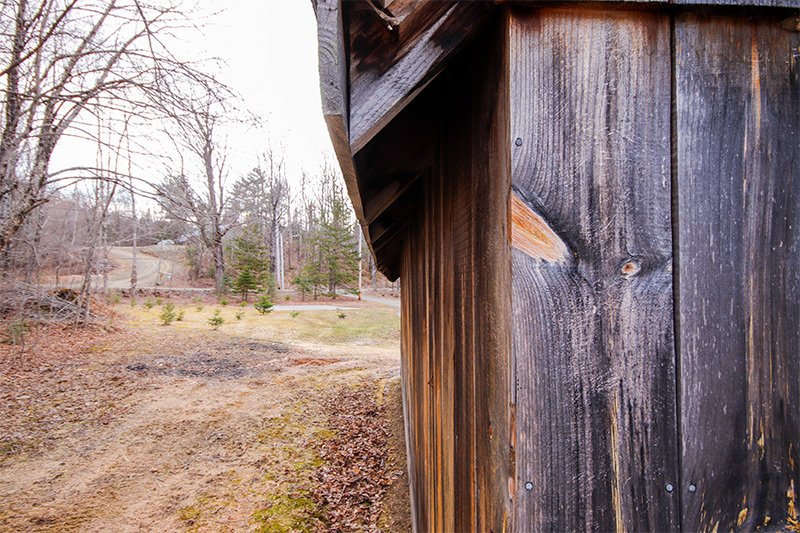
Take a look at this next picture. I know it’s tough to see, but the wall of the garage/wood shed is bulging out slightly. In the photo, the wall is bulging to the left.
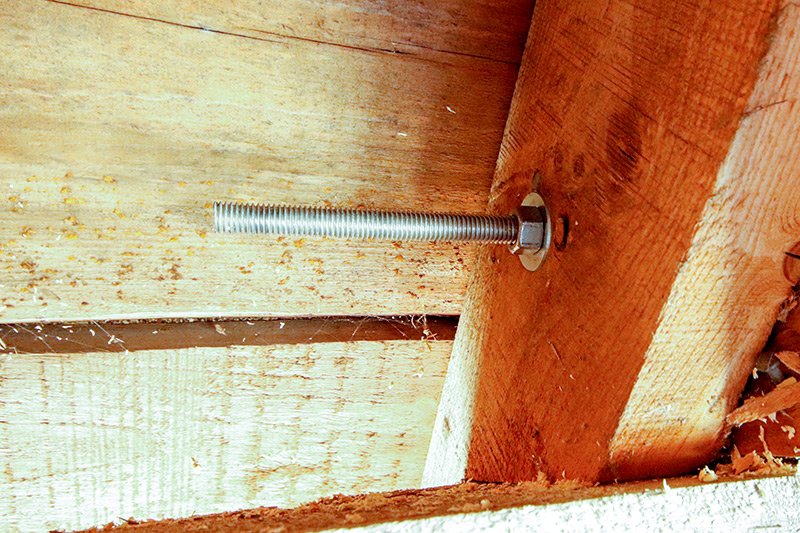
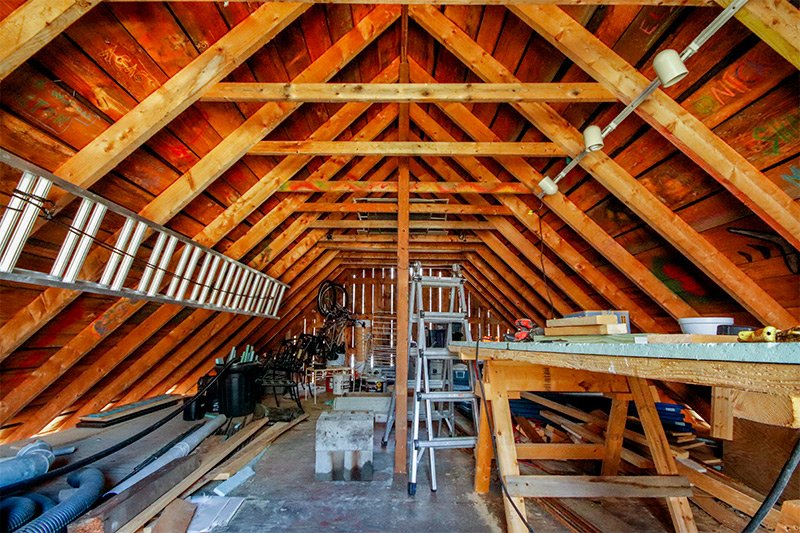
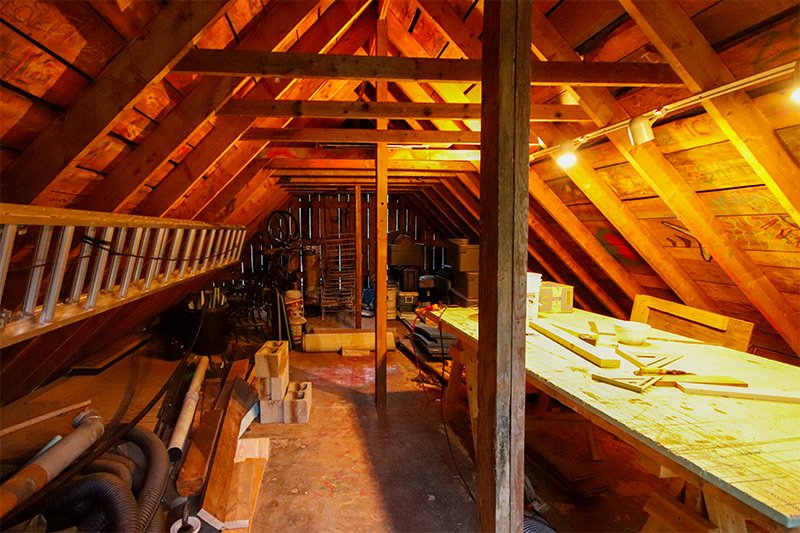
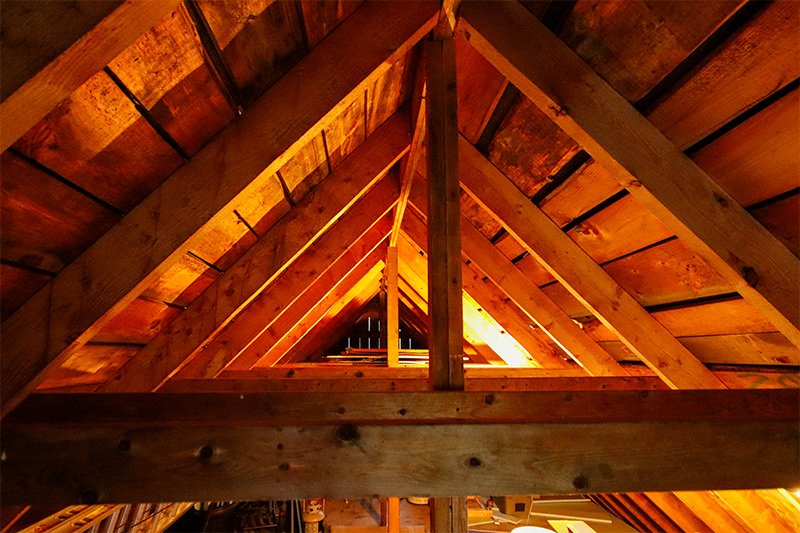
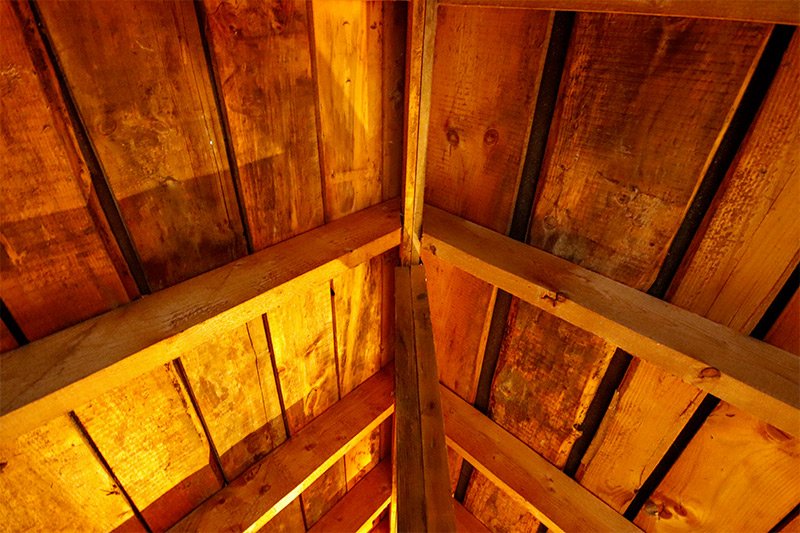
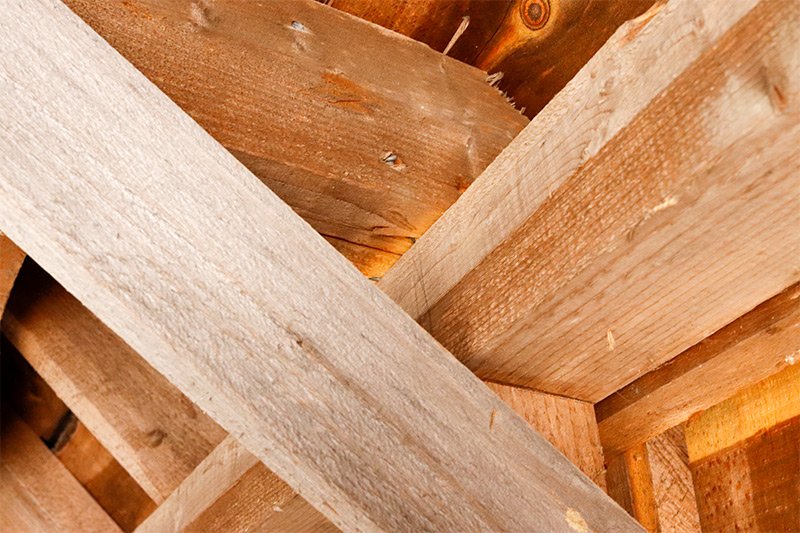
Now take a look at how the rafters are forcing the top plate to separate from the beams. These photos are from the inside of the garage. Take notice of the lighter wood where the beam meets the top plate.
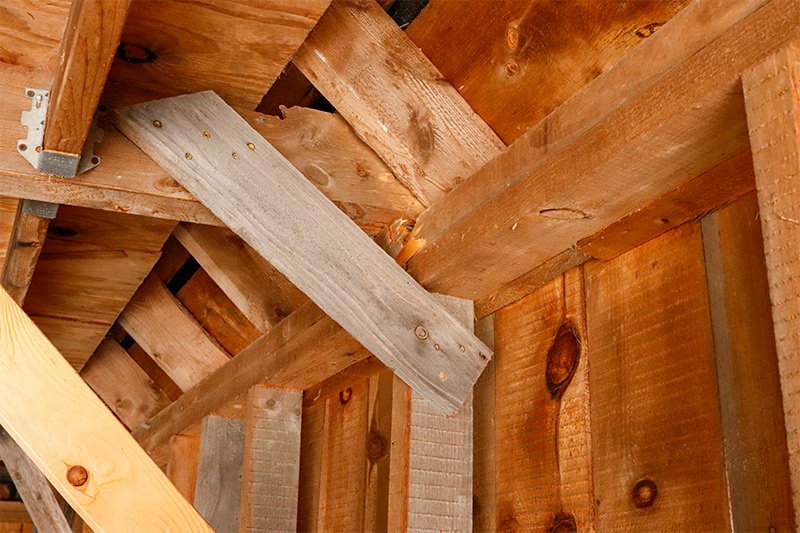
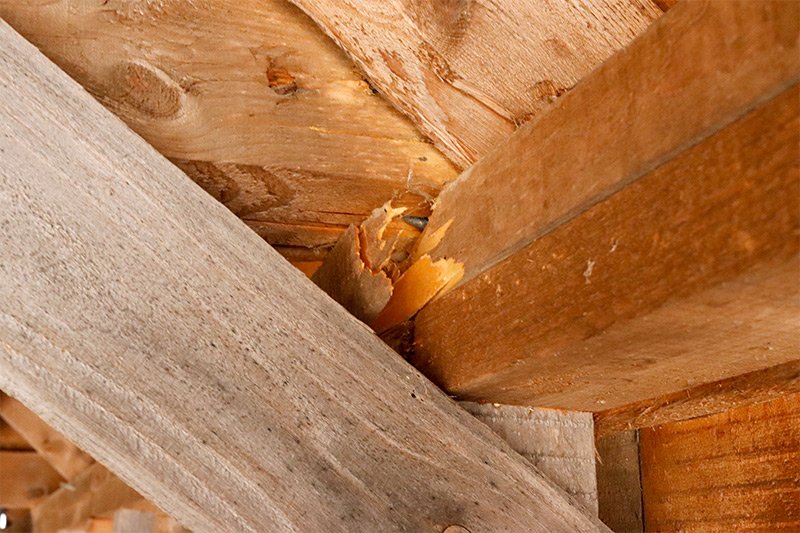
At first, I thought someone had backed or drove into the wall of the garage from the inside. That would explain how the top of the wall was being pushed out like it is. But then, as I began educating myself about bulging walls in general, I discovered that the bulge was most likely caused by the weight of heavy snow over time. This is what Maine Preservation says about bulging walls:
“Some say lightweight balloon framing was named for its vulnerability to being carried away by wind. But this is not the system’s biggest failing. With balloon framing, the weight of the roof assembly is carried by the rafters. Where the rafters meet the outside walls, the tremendous force of this load is transferred to the vertical studs and carried down to the sills and foundation walls below. The weak point in the system is the area where rafters meet studs, or precisely where you’ve noticed bulging. Sagging of the ridgeline — a coincident condition — is often a symptom of the same problem. Factor in the additional burden of ice and snow building up over 120 years and you’ve got a weakened and potentially unsafe building.”
My jaw dropped when I read this. This is exactly what we’ve got going on here. There are no vertical posts holding up the ridgeline of this garage, so, just like Maine Preservation said, all the weight of the snow has pushed the walls apart, leaving me with a bulge on one side and a sagging roofline. And to think, I thought someone drove into the wall. Shame on me.
Initially, I though this would be an easy fix. This past Friday I purchased a nice Reese Power Puller (cable hand winch) from Tractor Supply in hopes that I could connect one end of the winch to the wall top plate and the other to some fixed element of the garage and simply pull the wall back in place. After some serious effort today, I learned that this strategy wasn’t about to happen any time soon. Allow me to present a few photos of my setup. Mind you, I attempted a few different winch position scenarios with one very good one at the end. This was the first, which didn’t work well at all. Really, by running the winch cable here like I did, I was merely trying to see how long it was. I wanted to see what I was dealing with. I knew the cables would bind like they did.
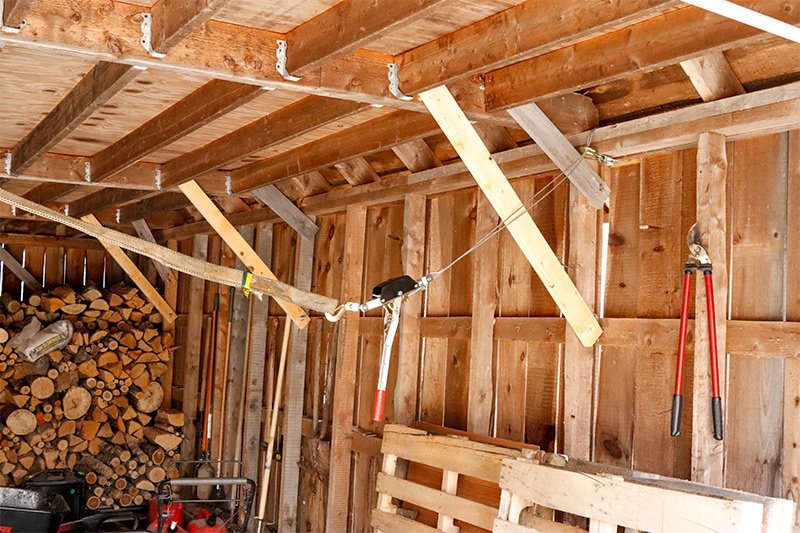
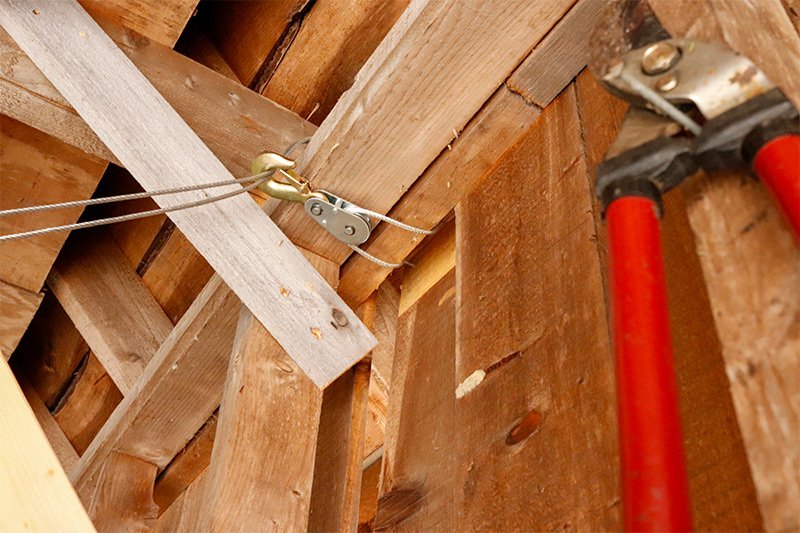
What I ended up doing was making multiple wraps around that top plate with a short piece of tree climbing rope I have and then using a towing strap to secure the other end of the winch to the beam. It worked very well, but didn’t accomplish what I set out to do. I wasn’t able to pull the wall back into place. The wood squeaked and groaned, but the wall didn’t move. It freaked me out because I was inside of the garage when it was doing this, but I’m used to this type of thing. I once jacked up our first house due to a sagging girder beam.
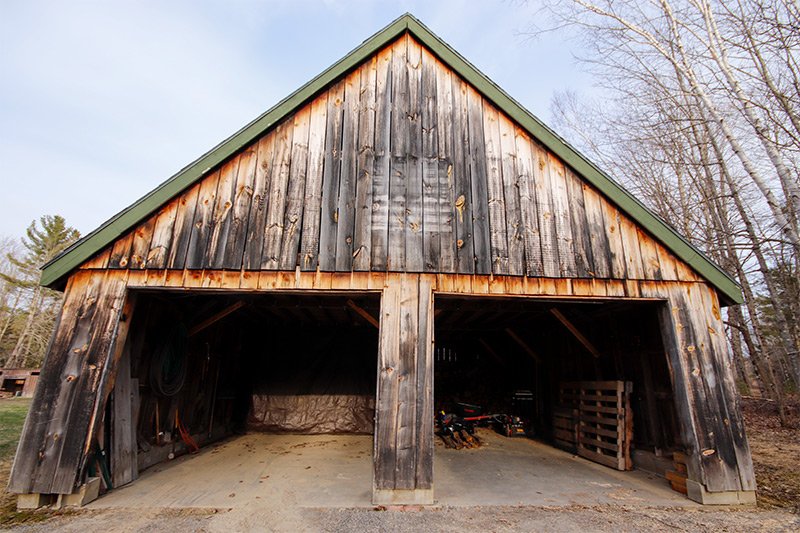
By the way, here’s a photo of the garage I’m dealing with. Don’t worry, it’s not really that crooked, I just used a wide angle lens for this shot, which distorted things.
With my newfound knowledge, I now have a plan. What I’m going to do is go upstairs in the garage, locate the support posts that are downstairs, and use a car jack to lift the sagging roof ridge so it’s perfectly straight again. I’ll install some posts right above the lower ones to secure the roof in position, which should hopefully lighten the load that’s pushing the walls out. After I’m finished with that, I’ll head back downstairs to secure three cables; one to each respective position on the wall and then to their respective positions on their respective beams, respectively.
After I failed to pull the wall back into position this afternoon, I came back inside and was lucky enough to locate a video on Youtube that explained almost the exact situation we’re dealing with here. Take a look at this:
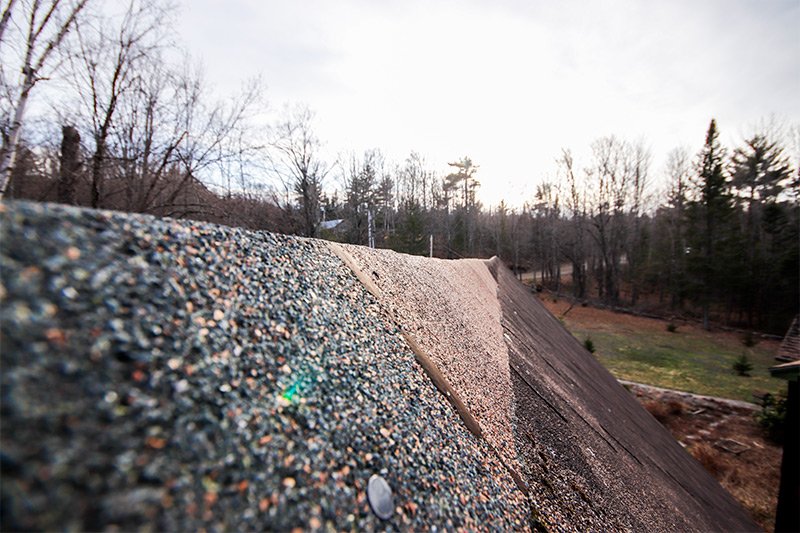
The funny thing is, I hadn’t even considered that we had a sagging roof ridge as well as a bulging wall. After watching the above video, I went back outside to check out the top of the roof. I pulled the ladder out and climbed up top with my camera in hand. Check this out. Even though it’s not terribly obvious, the ridge is, in fact, sagging. I couldn’t believe it.
I think my plan will fix things right up though. I’ll just need some posts, but I’ll grab them when I can. This garage definitely can’t wait to be repaired until after another winter though, so I better hop on this.
Getting long, isn’t it?

I’m telling you, I may go all the way. I’m liking the way this is looking. I’ve never had such a beard and I’m finding the experience thrilling!
Take care of yourselves and those around you. Until next time.
I began the day by riding the ATV back into the woods with the trailer in tow. My goal was to again haul some firewood from there to the garage. I spent about three or four hours doing that and in the process, I got my nice new work gloves completely covered in pine sap. I already told you about that Eastern White Pine leader that I cut up for firewood, but what I didn’t tell you was that the pieces began bleeding pitch all over the place moments after I cut them. The pitch looked like small bubbles oozing out of the cut ends. Since each piece was rather large, I was forced to use my axe to split them. Once I was done with that, I’d pick up and toss each of the split pieces into the trailer. You should see the axe handle. It’s totally covered in black sap. I’m sure the sap was semi-clear at one point, but all the handling today made it much darker. To be blunt, it’s very gross. It’s a sticky mess that I hope eventually dries up.
I am getting there though. I’m mostly finished with my third row. I hope to fill the garage with five 24 foot rows. I don’t know if I’ll make it with what I’ve got in the back, but if I don’t, I’ll order two cord from the dealer I referred to in my last post. He’ll help me out. He always does.

The real drama and the point of this post is to talk about the bulging wall we’ve got in the garage in which I’m storing the firewood. This bulging wall is starting to make me slightly nervous. At first, I thought it was like this when we bought the house six years ago, but I’m starting to think that it’s getting worse. I don’t know if my eyes are deceiving me, but there seems to be slight movement. Or, as I should say, there seems to have been slight movement. Let me show you what I’m referring to.
Take a look at this next picture. I know it’s tough to see, but the wall of the garage/wood shed is bulging out slightly. In the photo, the wall is bulging to the left.

Now take a look at how the rafters are forcing the top plate to separate from the beams. These photos are from the inside of the garage. Take notice of the lighter wood where the beam meets the top plate.


At first, I thought someone had backed or drove into the wall of the garage from the inside. That would explain how the top of the wall was being pushed out like it is. But then, as I began educating myself about bulging walls in general, I discovered that the bulge was most likely caused by the weight of heavy snow over time. This is what Maine Preservation says about bulging walls:
“Some say lightweight balloon framing was named for its vulnerability to being carried away by wind. But this is not the system’s biggest failing. With balloon framing, the weight of the roof assembly is carried by the rafters. Where the rafters meet the outside walls, the tremendous force of this load is transferred to the vertical studs and carried down to the sills and foundation walls below. The weak point in the system is the area where rafters meet studs, or precisely where you’ve noticed bulging. Sagging of the ridgeline — a coincident condition — is often a symptom of the same problem. Factor in the additional burden of ice and snow building up over 120 years and you’ve got a weakened and potentially unsafe building.”
My jaw dropped when I read this. This is exactly what we’ve got going on here. There are no vertical posts holding up the ridgeline of this garage, so, just like Maine Preservation said, all the weight of the snow has pushed the walls apart, leaving me with a bulge on one side and a sagging roofline. And to think, I thought someone drove into the wall. Shame on me.
Initially, I though this would be an easy fix. This past Friday I purchased a nice Reese Power Puller (cable hand winch) from Tractor Supply in hopes that I could connect one end of the winch to the wall top plate and the other to some fixed element of the garage and simply pull the wall back in place. After some serious effort today, I learned that this strategy wasn’t about to happen any time soon. Allow me to present a few photos of my setup. Mind you, I attempted a few different winch position scenarios with one very good one at the end. This was the first, which didn’t work well at all. Really, by running the winch cable here like I did, I was merely trying to see how long it was. I wanted to see what I was dealing with. I knew the cables would bind like they did.


What I ended up doing was making multiple wraps around that top plate with a short piece of tree climbing rope I have and then using a towing strap to secure the other end of the winch to the beam. It worked very well, but didn’t accomplish what I set out to do. I wasn’t able to pull the wall back into place. The wood squeaked and groaned, but the wall didn’t move. It freaked me out because I was inside of the garage when it was doing this, but I’m used to this type of thing. I once jacked up our first house due to a sagging girder beam.
By the way, here’s a photo of the garage I’m dealing with. Don’t worry, it’s not really that crooked, I just used a wide angle lens for this shot, which distorted things.

With my newfound knowledge, I now have a plan. What I’m going to do is go upstairs in the garage, locate the support posts that are downstairs, and use a car jack to lift the sagging roof ridge so it’s perfectly straight again. I’ll install some posts right above the lower ones to secure the roof in position, which should hopefully lighten the load that’s pushing the walls out. After I’m finished with that, I’ll head back downstairs to secure three cables; one to each respective position on the wall and then to their respective positions on their respective beams, respectively.
After I failed to pull the wall back into position this afternoon, I came back inside and was lucky enough to locate a video on Youtube that explained almost the exact situation we’re dealing with here. Take a look at this:
How to Fix a Sagging Roof Ridge
The funny thing is, I hadn’t even considered that we had a sagging roof ridge as well as a bulging wall. After watching the above video, I went back outside to check out the top of the roof. I pulled the ladder out and climbed up top with my camera in hand. Check this out. Even though it’s not terribly obvious, the ridge is, in fact, sagging. I couldn’t believe it.

I think my plan will fix things right up though. I’ll just need some posts, but I’ll grab them when I can. This garage definitely can’t wait to be repaired until after another winter though, so I better hop on this.
Beard Update
I’d also like to take this opportunity to give you an update on my beard. After thinking about it, I’m going to say that I’m at or around the 30 day mark. I last shaved about two weeks after my most recent Jiu-Jitsu class, which was on March 10. That puts me at approximately March 24, which is close enough to one month. Here I am, in all my glory. I think I’ll continue taking update shots with my cat, since he seems to enjoy such things.Getting long, isn’t it?

I’m telling you, I may go all the way. I’m liking the way this is looking. I’ve never had such a beard and I’m finding the experience thrilling!
Take care of yourselves and those around you. Until next time.

