Search

Stone Dust for Roads & Driveways

  • Thread starter JGaulard
  • Start date
JGaulard

JGaulard

Administrator
Staff member
Site Supporter
Sr. Site Supporter
Power User
Joined
May 5, 2021
Messages
319
Reaction Score
2
Points
18
  • #1

Topping a Driveway with Stone Dust​

The first question I’m sure you have is: what the heck is stone dust? Well, I can tell you that it’s not exactly stone, nor is it dust. It’s a coarser version of regular sand. Stone dust is the byproduct of crushed rocks. Gravel, if you will. As the rock crusher crushes larger rocks, chips and edges of those larger rocks fall through the screen to create stone dust. This is the stuff that people use underneath pavers when they install those beautiful driveways you see all over the place. The reason they use it is because it packs like nothing else and becomes very firm once it’s settled in. And these attributes are exactly why I like to top our driveway with this material. It’s perfect for this type of thing, as long as the driveway is somewhat level. If it’s on a steep hill, some of it will likely wash away during heavy rain storms. If you have a hill for a driveway, you’ll want to get some 3/4 inch gravel instead. That won’t wash away.

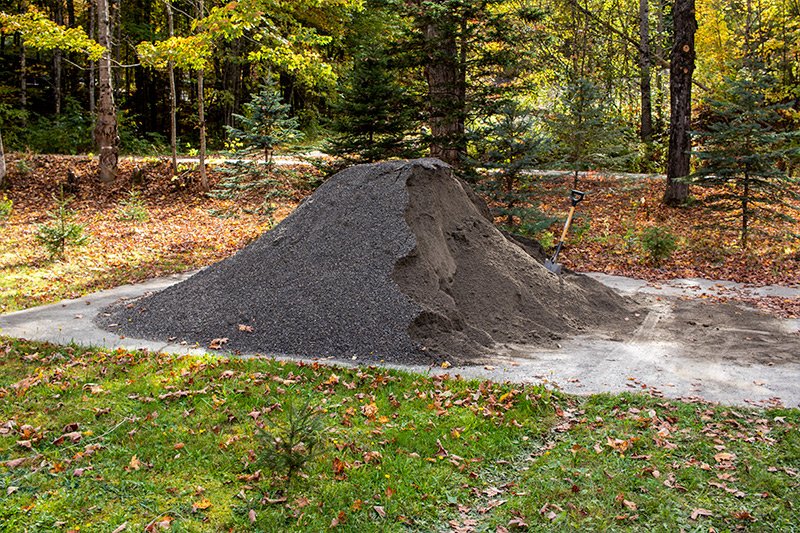
Here’s a photo of some of the stone dust that I recently had delivered here at the house.
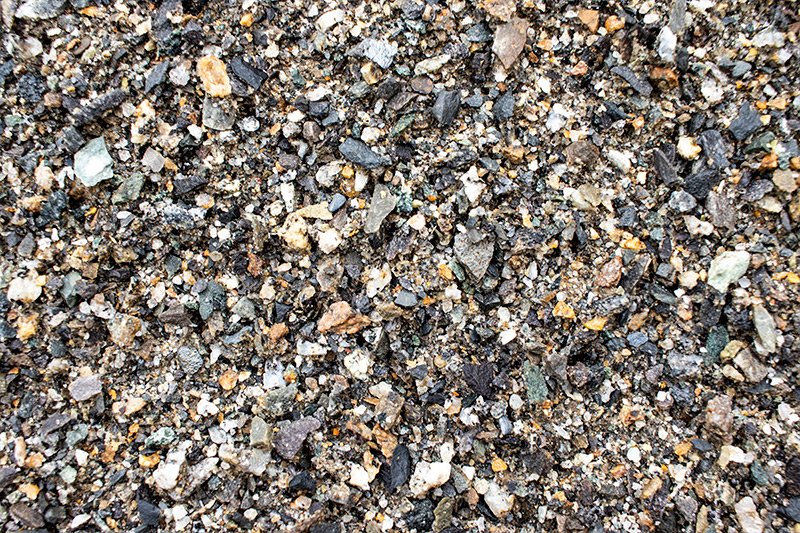
stone-dust.jpg

I purchased 18 yards of this material from E.L. Vining & Son down in Farmington, Maine a few days ago. It cost $12 per yard with free delivery. So the entire dump truck load was $200 and change. Not bad. What I’d like to do with it is top a few areas of the driveway as well as create a bridge over a small swampy area that’s tough to walk through in the woods. I need to make it dry so I can get back there with the ATV and trailer to haul out some firewood. I’ve got lots of firewood back there that needs to be liberated.

This is the pile of stone dust that was delivered. I wish I was standing next to it because it looks so small. There’s not much to relate it to.
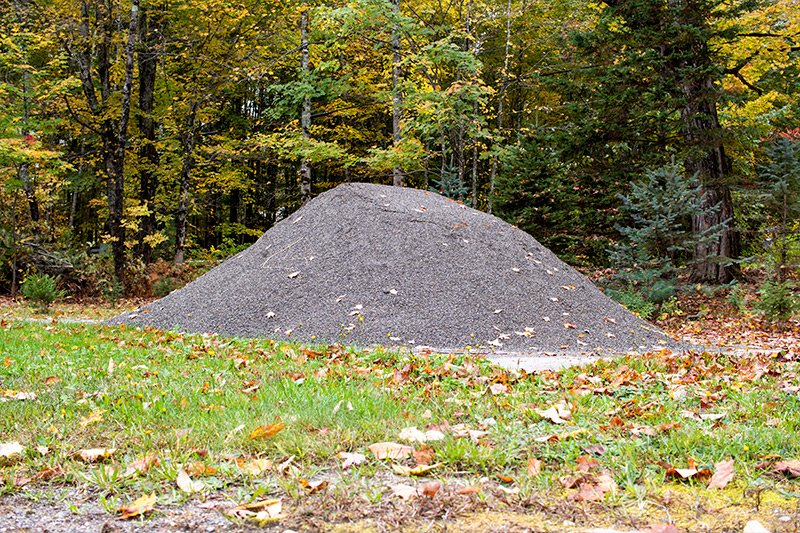
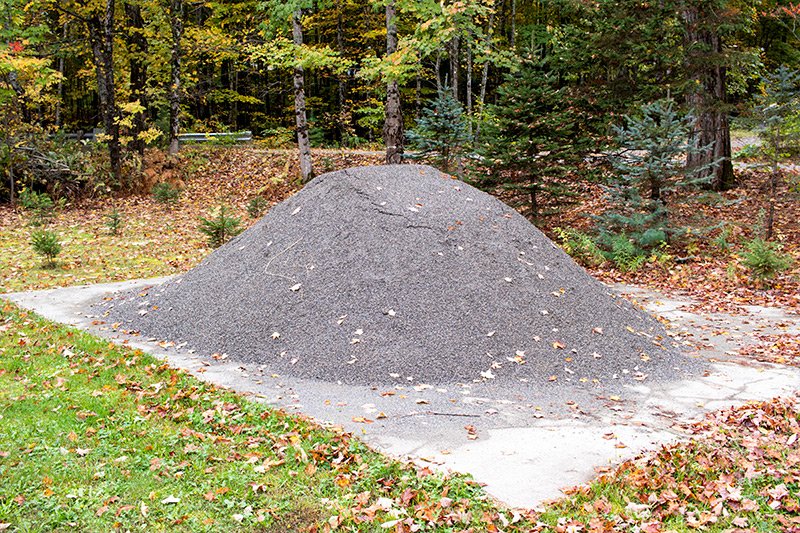
pile-sand.jpg pile-stone-dust.jpg

I’m not sure of what type of rock this came from, but what I do know is that I bought about 20 yards last year for the driveway and it worked great. It’s very hard and I didn’t fling any rocks across the yard with the snowblower. That was a bonus.

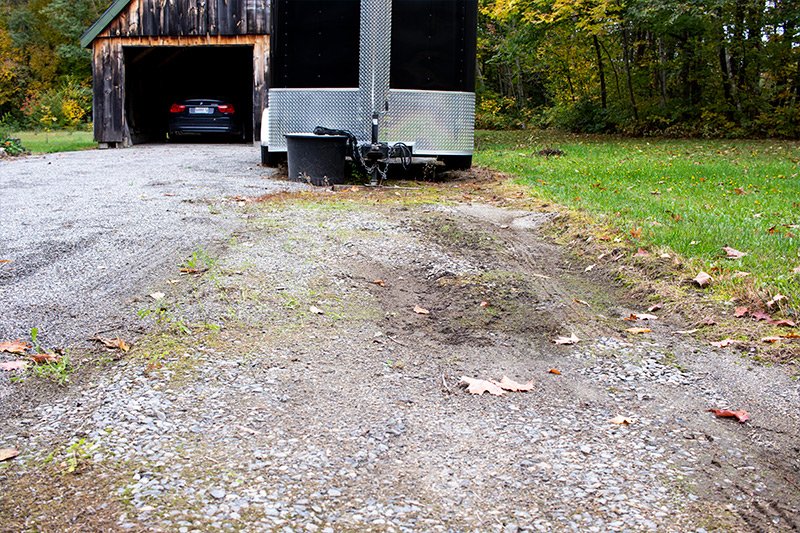
I’ll get to the project back in the woods in a few days. I’ve got Ian coming over to help out with that on Friday, so that should be fun. We’ll be using the ATV, along with my new trailer to haul the material back there, so I’ll take lots of photos for you. What I’d like to show you today is the small repair job I did on the driveway. I still have a lot more to do, but this isn’t a bad start, considering it was the worst area. This is the area I used to get stuck in with the truck. The tires on one side would sink into the dirt as the winter progressed and the freeze/thaw would melt the snow and then freeze the water around my tires. Then, I’d try to drive the truck out of the driveway, only to realize that I was stuck. This has happened more than once and it’s such a pain. I don’t want it to ever happen again.

This is the summertime view of this bumpy part of the driveway.
bumpy-dirt-driveway.jpg digging-pile-stone-dust.jpg muddy-driveway.jpg old-gravel-driveway.jpg

There was gravel over this driveway at some point in the past. That’s since been pushed down into the dirt.

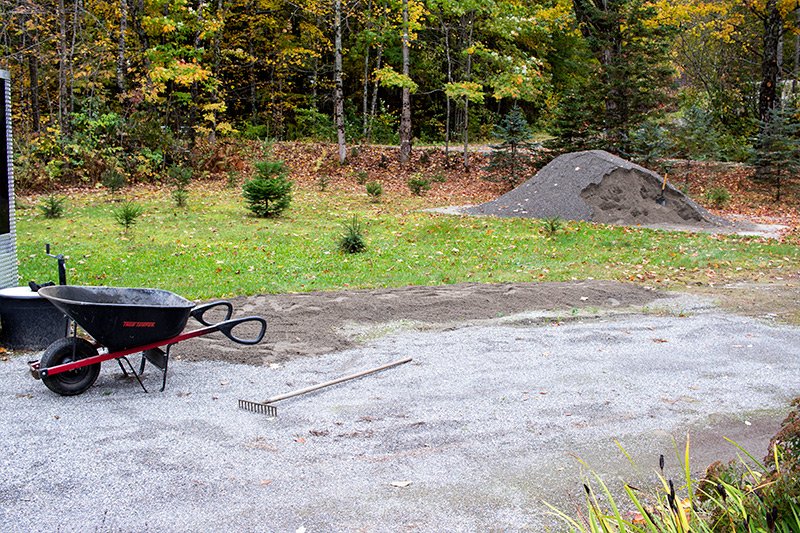
I’d say that is about six wheelbarrow loads in. I managed to fill in the worst part of the driveway along the edge. I didn’t think I was going to have to go so deep, but what the heck. May as well fix it correctly the first time.
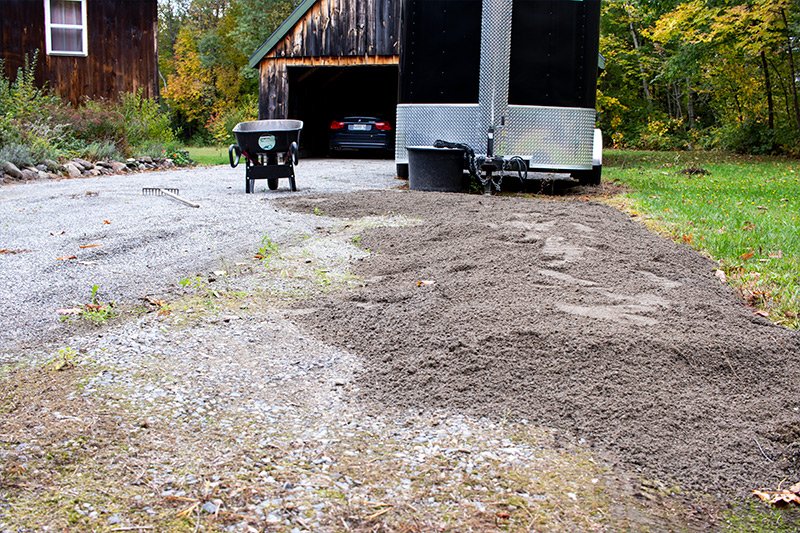
applying-stone-dust-driveway.jpg driveway-repair.jpg

And this is what it looks like after about 12 wheelbarrow loads. I forgot how back-breaking this type of work is. I kept wanting to quit for the day and then I said, “Just one more.” A few times.
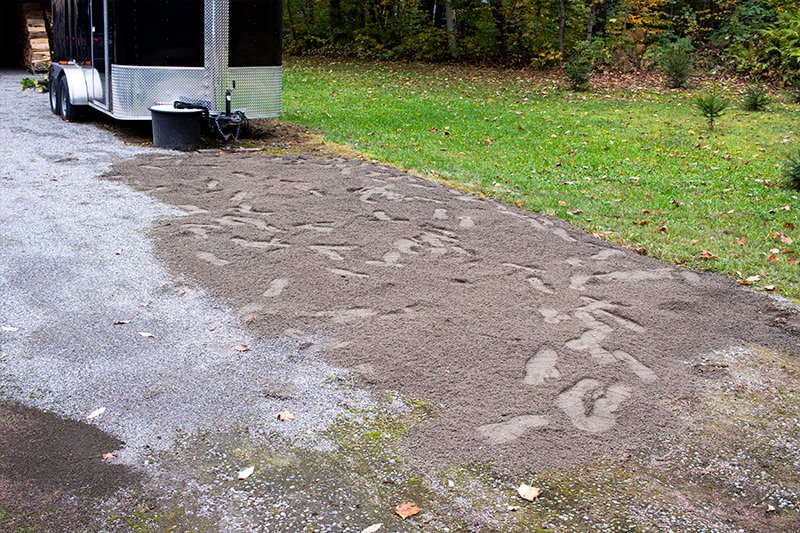
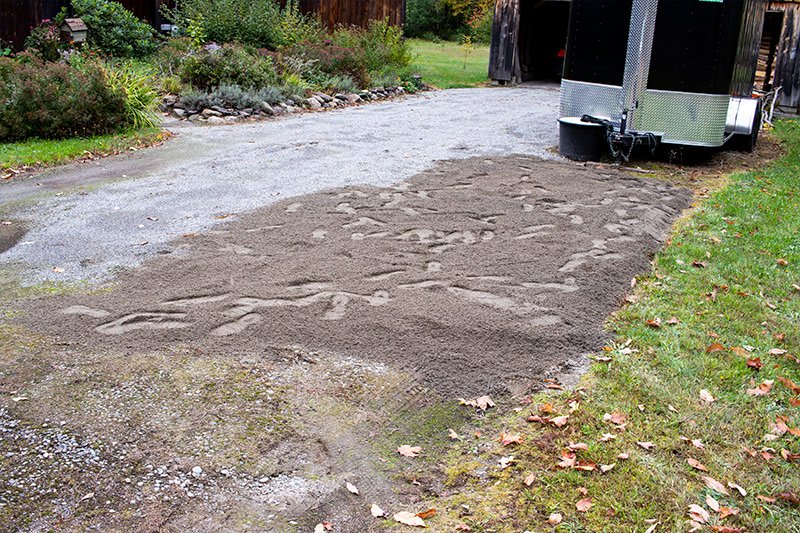
gravel-driveway-repair.jpg packing-down-stone-dust-driveway.jpg

After I smoothed this material with the rake, I walked all over it to pack it down. Then I smoothed it again. It’ll actually match the rest of the driveway once it rains. I know it looks brown now, but it’ll eventually turn blue like the stuff next to it.

Oh yeah, this is the chunk I took out of the pile to make this repair.
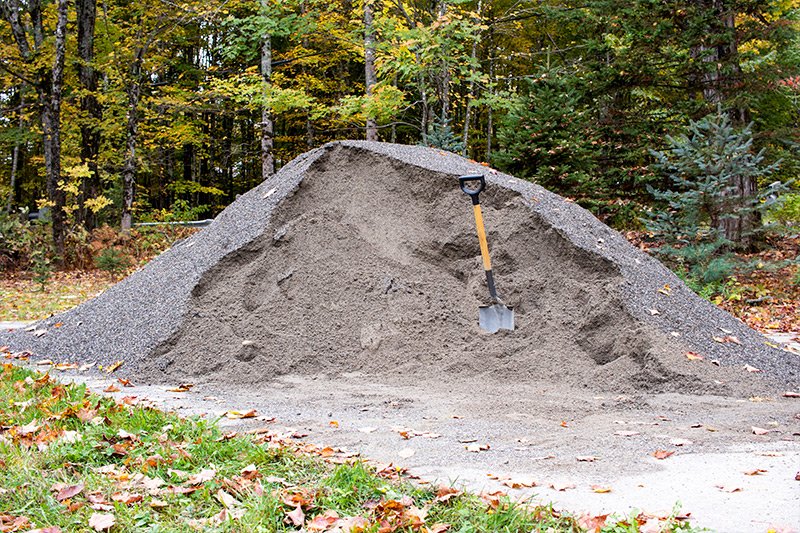
digging-pile-stone-dust.jpg
 
JGaulard

JGaulard

Administrator
Staff member
Site Supporter
Sr. Site Supporter
Power User
Joined
May 5, 2021
Messages
319
Reaction Score
2
Points
18
  • #2

Part 2 of Driveway Repair​

I did a lot of work outside on the driveway this afternoon. It’s strange – I thought I was actually becoming lazy over the summer. I didn’t want to do anything. The moment the heat and humidity disappeared though, I jumped out of my seat and ran outside to get things done. In the past month alone, I’ve completed so many small projects. I was actually going to push this driveway project off until the spring, but I knew I wouldn’t want to do it then either. I just decided to get it out of the way now. Plus, I really need to fill in the swamp trail back in the woods (that’s why I had the sand delivered in the first place). I’ll take lot of pics of that as it’s being completed.

Let’s see, where did I leave off? Oh yeah, I was about half way done with the driveway repair. I had about 15 more wheelbarrow loads left to finish up what I wanted to finish up. I do want to mention that I’ll be continuing on with the driveway if I find that I have remaining stone dust after we’re finished in the woods. I won’t write about the driveway anymore though. I don’t want to beat a dead horse.
Today’s goal was to finish spreading sand around in some parts that were farthest away from the house as well as to fill in under the trailer. For that, the trailer would need to be pulled from the spot it’s been sitting in for the past few years.

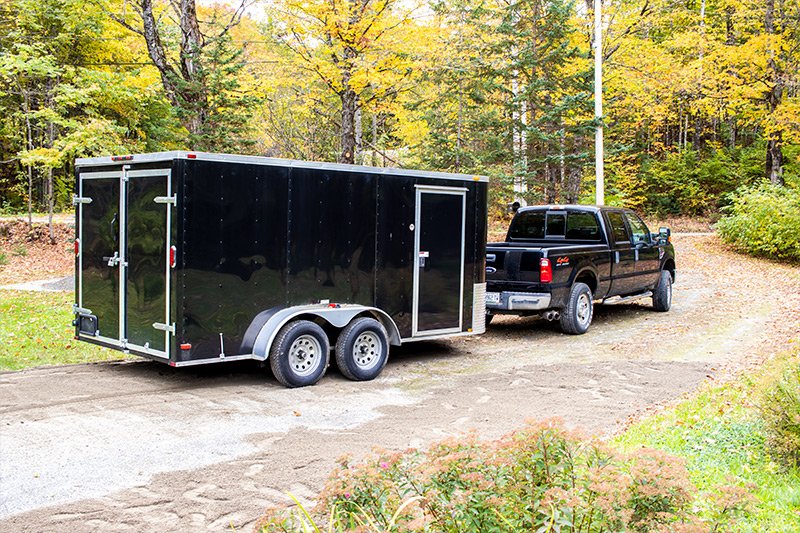
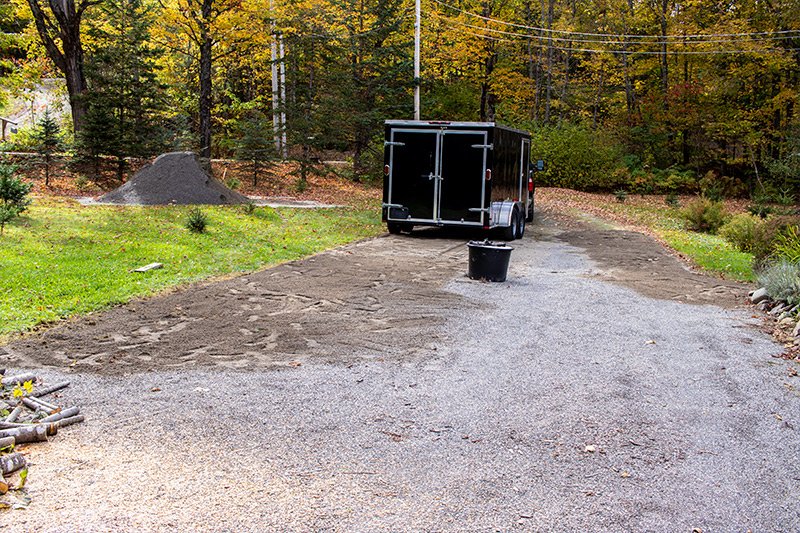
This is my 2008 Ford F250 and my 7’x14′ Arising Industries enclosed trailer. It’s such a sweet setup.

arising-industries-trailer.jpg

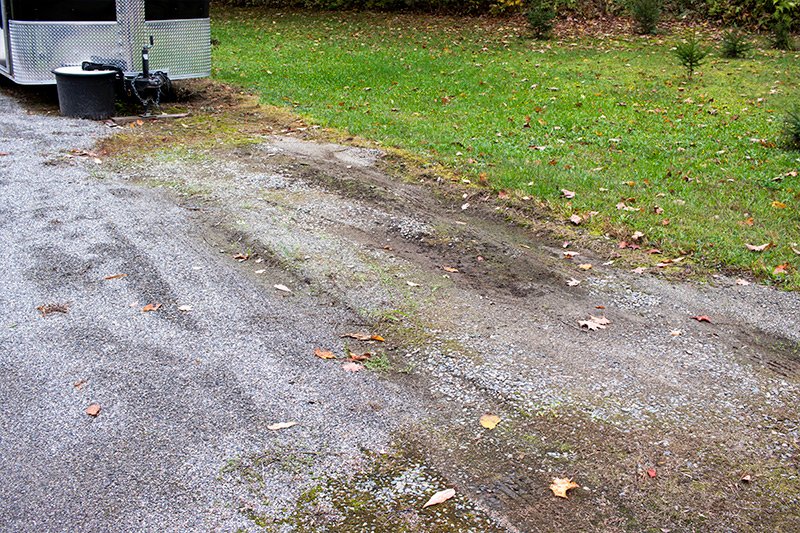
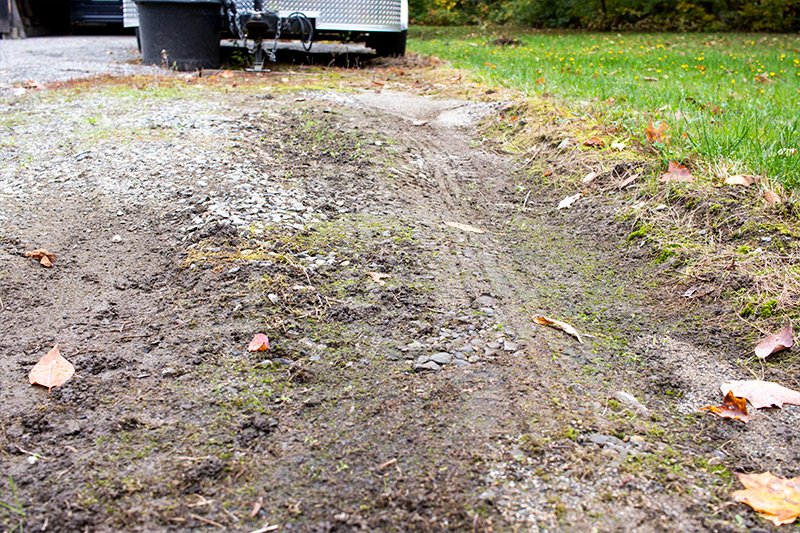
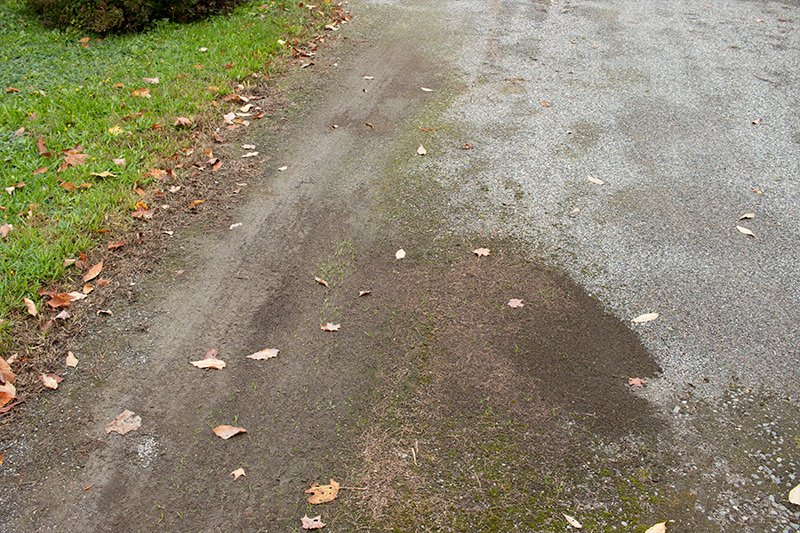
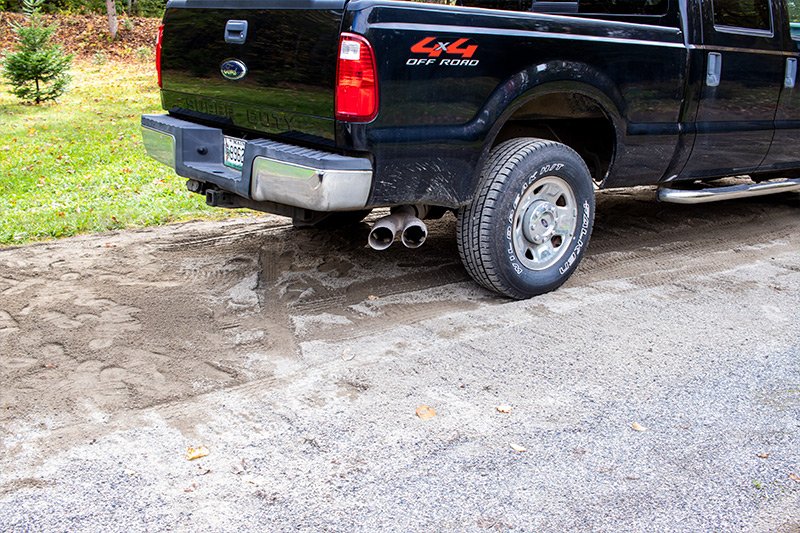
Look what moving the truck and trailer left behind. Ugh. It’s so ugly.

rutted-gravel-driveway.jpg

It’s difficult to see in this photo, but that dirt and old gravel area is all rutted up. The trailer was sinking into it. I couldn’t stand it any longer.

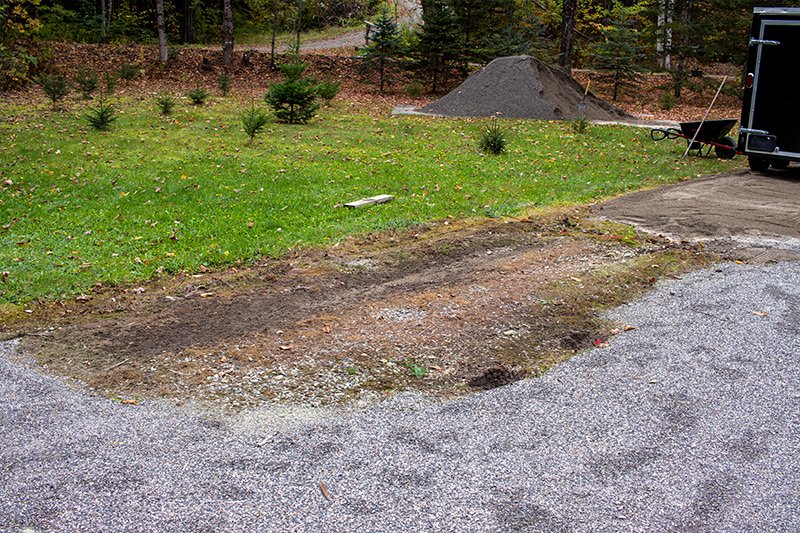
There was also a low part of the driveway that would puddle up as it rained. It got muddy, so I wanted to fill that area in with the sand as well. Take a look.

low-part-driveway.jpg

I first tackled the puddle area of the driveway. I’d say that took five wheelbarrow loads in all. Maybe six. I’ll tell you one thing, it doesn’t get any easier filling wheelbarrows with rock dust as you get older. Not one bit.

driveway-puddle-repair.jpg filled-in-low-area-driveway.jpg

I then tackled the worst area. The one underneath where the trailer sat. This took no fewer than 12 wheelbarrow loads. It’s done though and the stone dust is nice and deep. You’ll see that in a later image.

driveway-repair-muddy-area.jpg repairing-sinking-gravel-driveway.jpg

I love looking at these photos. I don’t know who I’m writing this post for, you or me. Either way, the driveway now has a nice new thick layer of sand that will pack down as hard as rock. I love this rock dust.

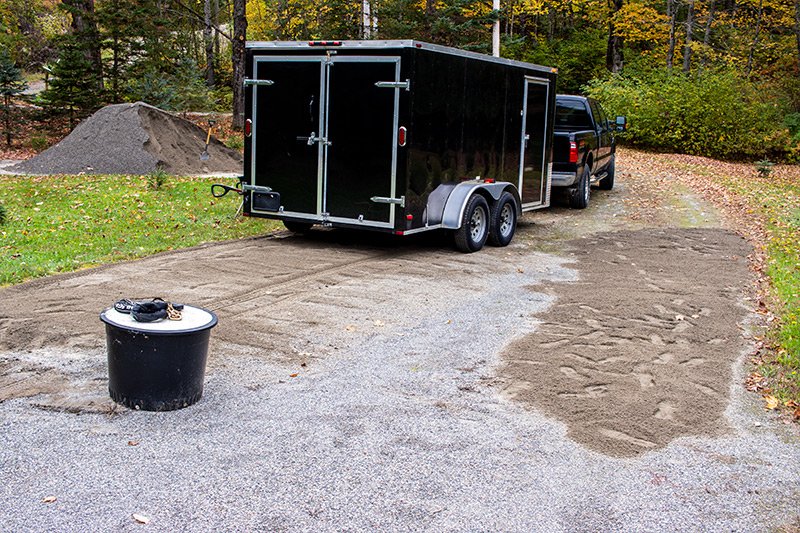
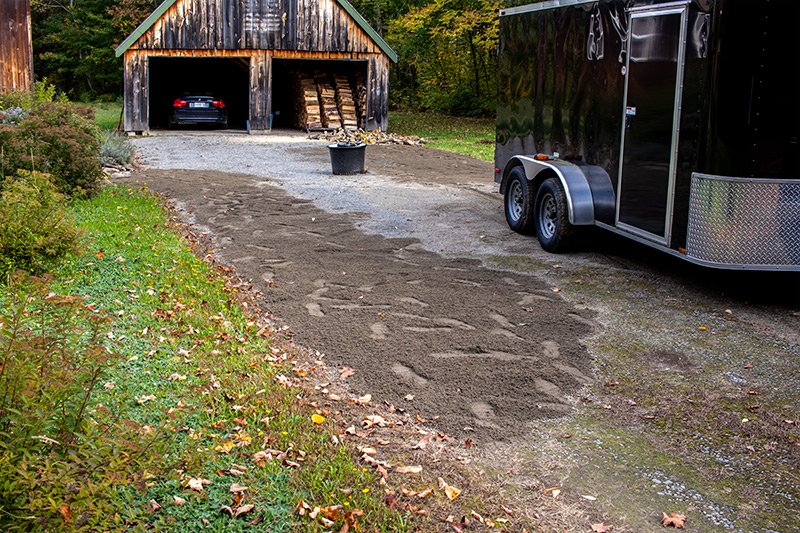
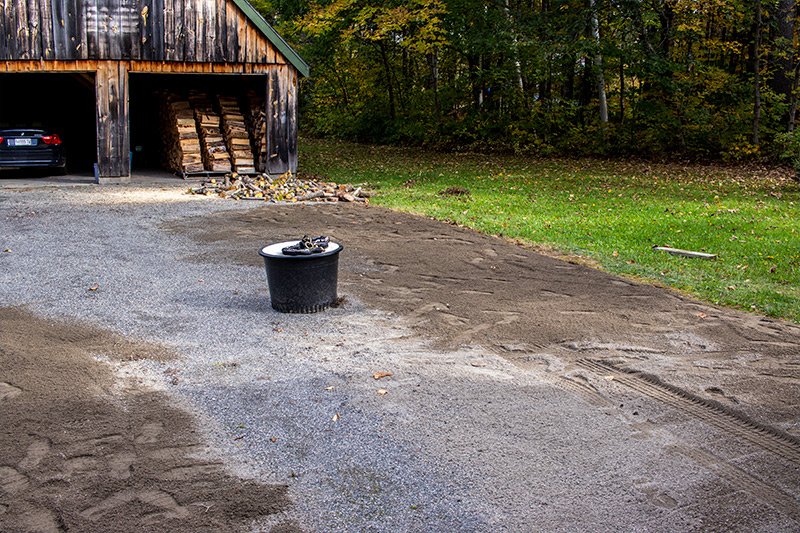
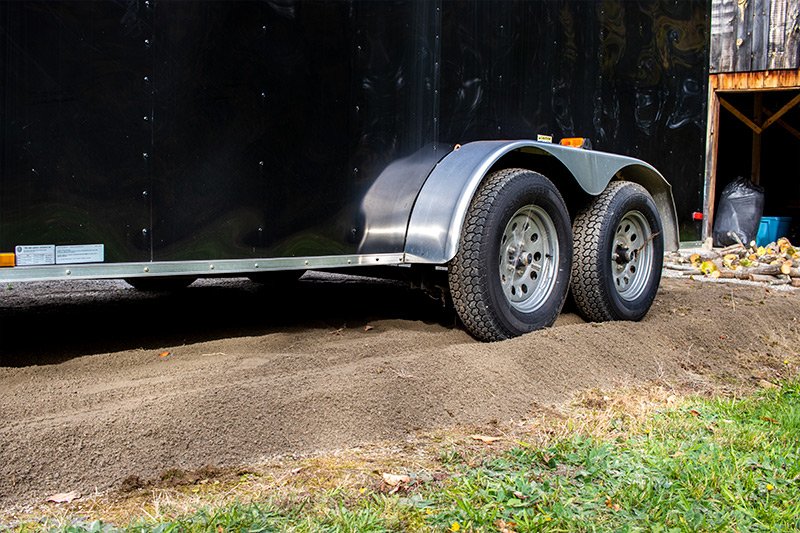
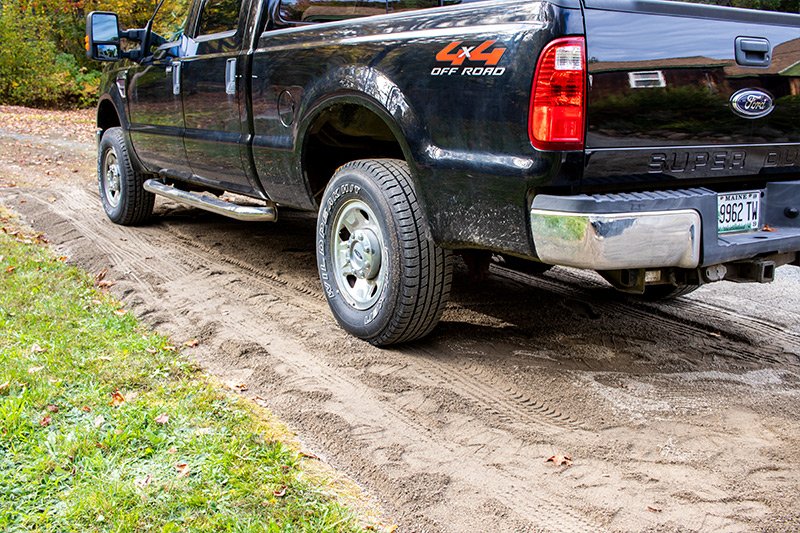
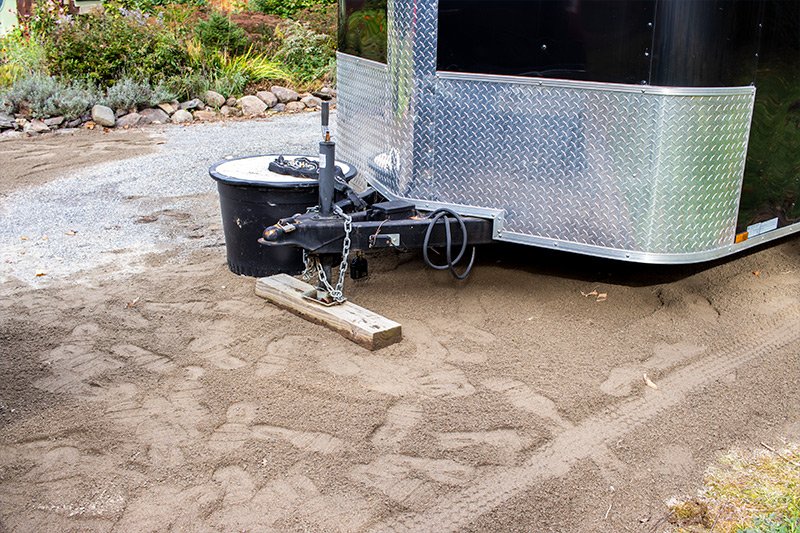
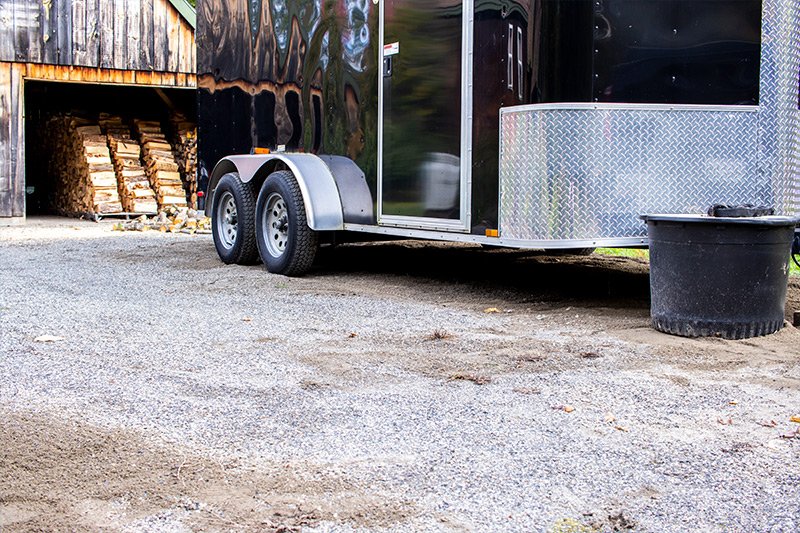
Take a look at some photos of the driveway after I drove over it by backing the trailer into position.

enclosed-trailer-double-axle.jpg ford-f250-stone-dust-driveway.jpg parking-enclosed-trailer-driveway.jpg pickup-truck-gravel-driveway.jpg

I can’t tell you how good it feels to have both the truck and trailer not sinking into the old gravel anymore. That was horrible to see.

This is the Arising Industries enclosed trailer parked in its new spot, nice and high up. I love seeing this.

arising-industries-enclosed-trailer-maine.jpg

And finally, I’d say I used up about six of the 18 yards of material. I’ve definitely got enough for the woods tomorrow. That’s going to be fun. Until next time!

partial-pile-rock-dust.jpg
 
JGaulard

JGaulard

Administrator
Staff member
Site Supporter
Sr. Site Supporter
Power User
Joined
May 5, 2021
Messages
319
Reaction Score
2
Points
18
  • #3

Making a Stone Dust Road in the Woods​

Here’s a fun one for you. This past Friday, I spent the entire day shoveling sand from a pile up near our driveway into my handy ATV trailer and then emptying that trailer all the way back in the woods. My goal was to make a short road through a wet area so we wouldn’t have to hop from rock to rock anymore as we were trying to cross. While it’s not too treacherous to cross mid-winter while everything is frozen solid, it’s a real pain during the spring and summer. Oh yeah, and fall. I’ve wetted a foot wet on more than one occasion. And the thing is, it’s not even like there’s any water there. It’s all mud. So anyway, I wanted to fill the area in so we would have an easier time with our walking as well as an easier time crossing with the ATV.

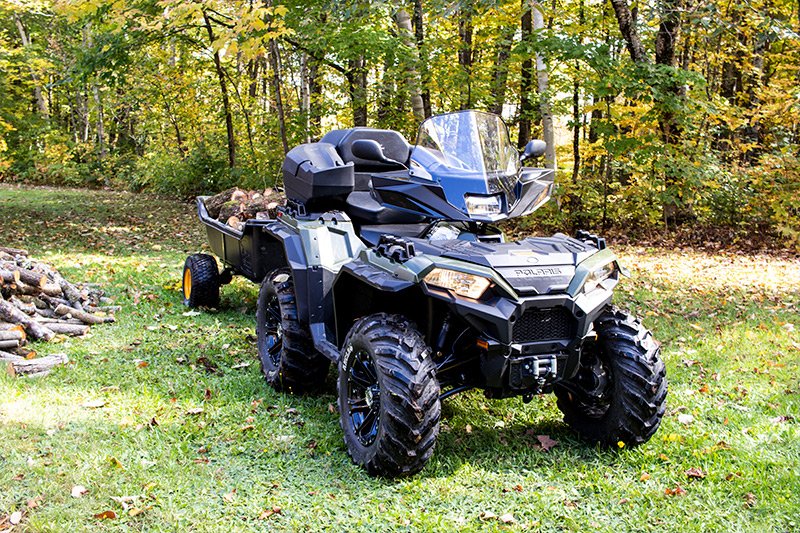
You already know about the quad. What you don’t know about is my new Polar ATV trailer. I bought this trailer a few months ago from Home Depot. They delivered it to me for free and it’s been in storage since I purchased it. This past Friday was the first time I used it. It’s rated to carry 1,500 pounds, so I figured it would be fine to move some sand. Who the heck knows how much sand weighs? Apparently, a lot. More on that later.

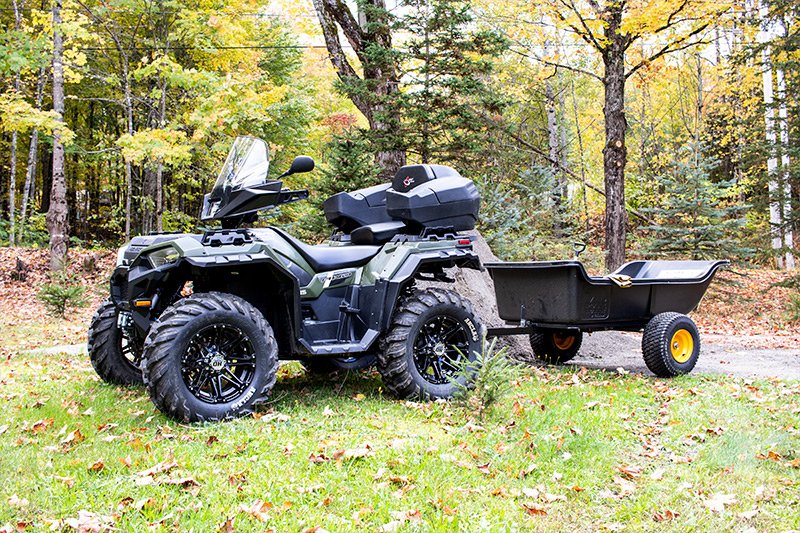
Here’s a photo of the quad and the trailer.

polaris-sportsman-850-polar-atv-trailer.jpg

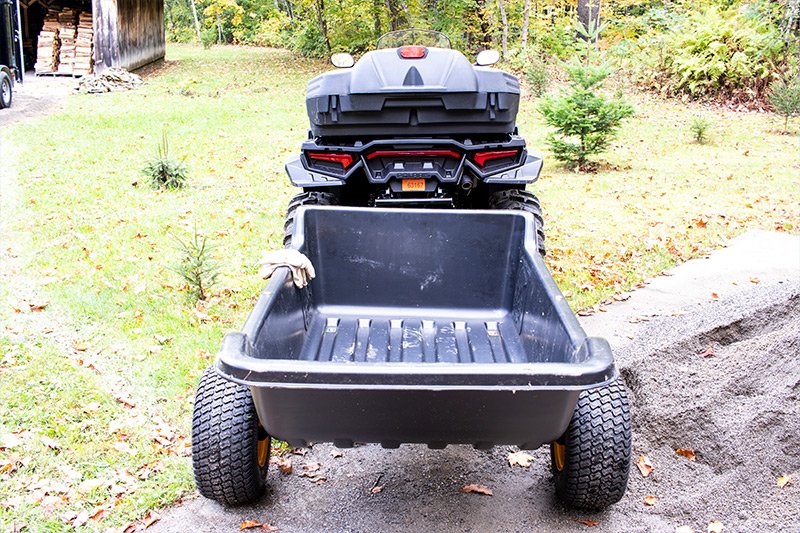
This is the trailer while empty.

empty-trailer.jpg

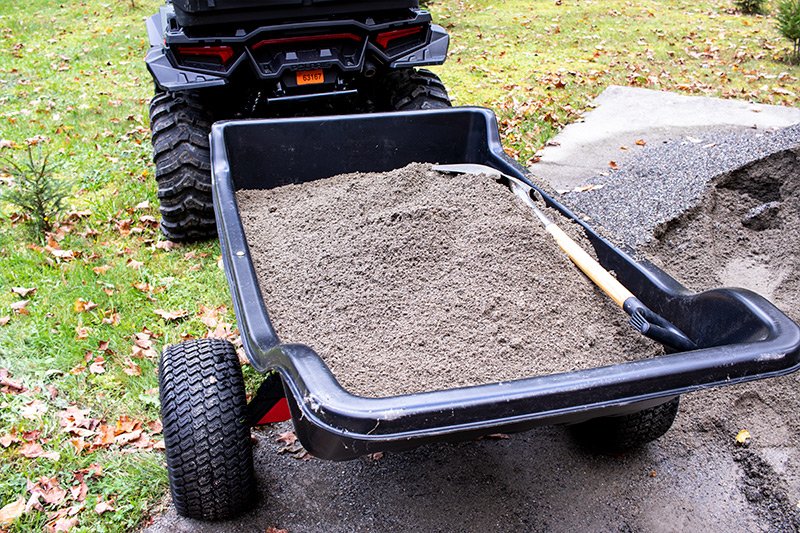
And here it is with about two wheelbarrow’s worth of sand in it.

trailer-carrying-sand.jpg

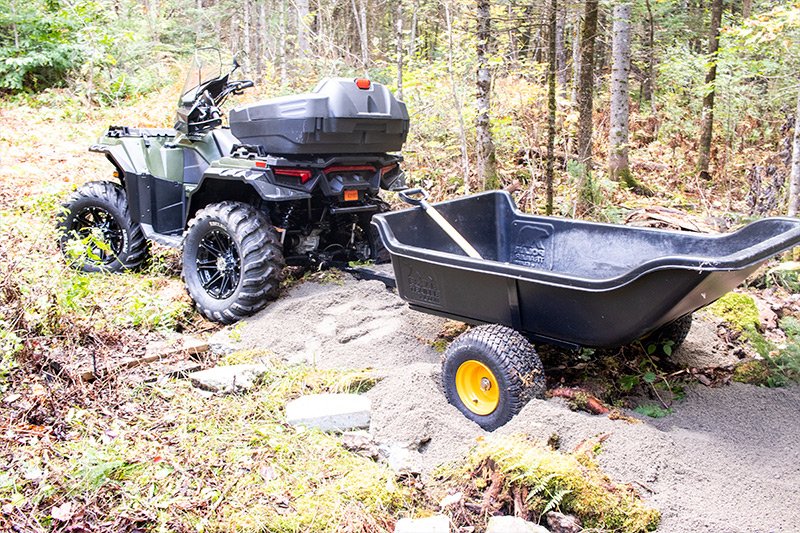
I figured that I would drive the ATV back into the woods and cross the wet area about half way. Then, I’d dump the trailer and pull the sand out of it. Easier said than done. The first time I tried to cross, I got stuck. So that’s where I dumped the sand.

stuck-quad-trailer.jpg

While the setup doesn’t appear to be stuck in the above photo. It was. What’s tough to see is the hitch that’s resting on a stump. Once I emptied the trailer and flipped the ATV into 4-wheel drive though, I drove right out of the area.

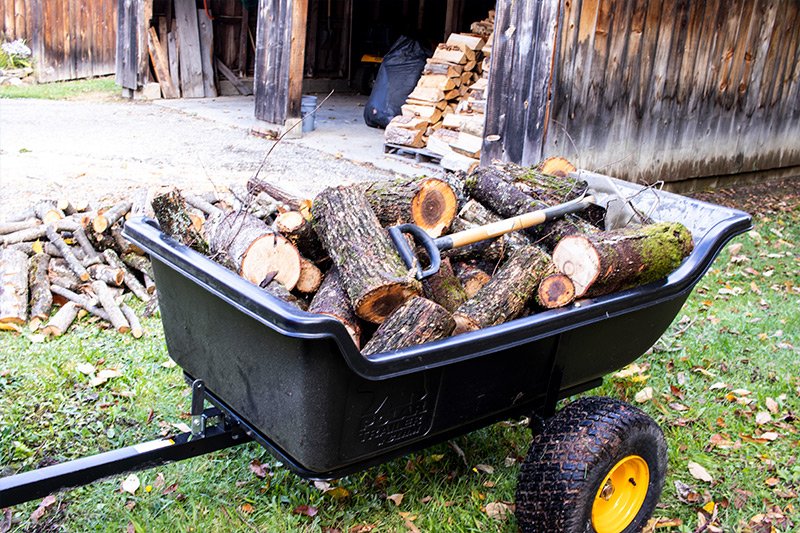
The entire purpose of this project was to make it easier for me to ride back into the woods while pulling the trailer to haul firewood back out. And since I had a pile of wood sitting near the area in which I was working, I thought it would be a good idea to get a feel for that type of hauling. So, I filled the trailer with wood and pulled it out. Boy did that feel good.

firewood-in-polar-trailer.jpg polaris-sportsman-hauling-firewood.jpg

After a day’s worth of digging and hauling, a path/road began to form.

gravel-path-through-woods.jpg

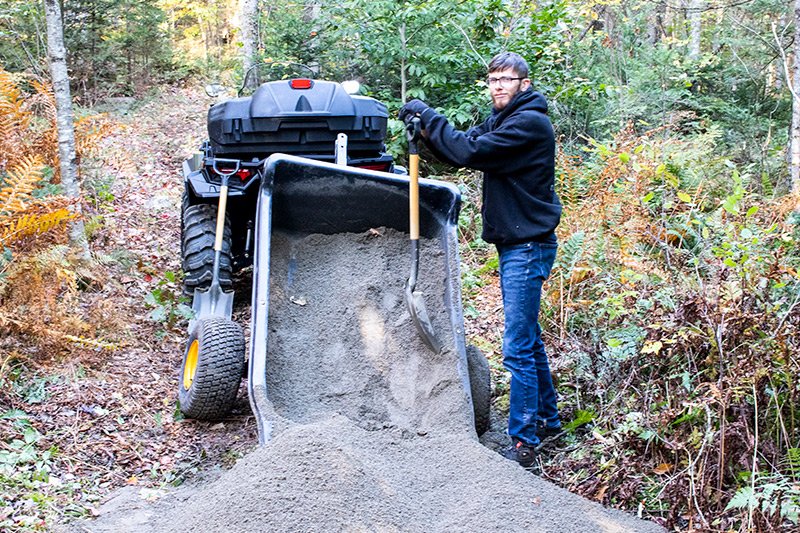
Good thing my friend Ian stopped by to help during the day. He did a heck of a lot of shoveling and his assistance was much appreciated. He’s an animal!

ian.jpg

This is the road about half way finished.

shoveling-sand.jpg

We did some more work after this last photo, but it’s still not finished. I’ve got to install a pipe that will lie across the path (under the sand) and then I need to transport even more sand back there. I still have a few yards left. I may even need to buy more of it next year to finish up. I walked back there this morning after a full day’s rain yesterday and there’s one mushy part. That will need to be addressed.

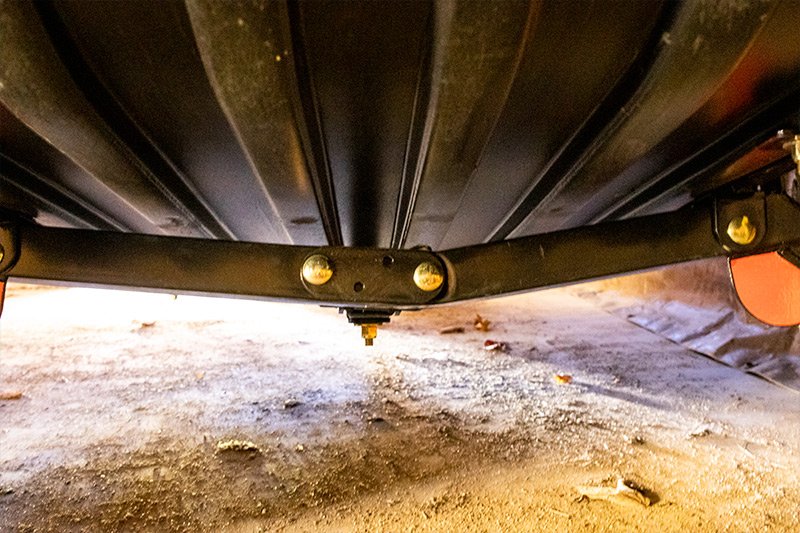
The big issue that surrounded all of our work was the bending of my trailer’s axle. While these trailers are rated for 1,500 pounds, I wouldn’t recommend putting even half that weight in there. The tubing of the axle seems to be thinner than tubing elsewhere and it’s not a tough thing to bend. Take a look.

bent-polar-trailer-axle.jpg

I mean, the metal actually wrinkled. That just shows how thin it is. I actually bent it back yesterday, so at least it’s straight. This Wednesday, I’ll be visiting a steel fabricator to purchase two 2×2 steel tubes. I’ll be bolting those tubes onto the axle and the hitch bar. That was slightly warped as well. I’ll discuss my ingenious bending technique in my next post. For now, thanks for reading!
 
JGaulard

JGaulard

Administrator
Staff member
Site Supporter
Sr. Site Supporter
Power User
Joined
May 5, 2021
Messages
319
Reaction Score
2
Points
18
  • #4

Completed Sand Path Through Woods​

Part 2

I’ve had a pile of about three yards of stone dust (sand) staring at me ever since the last time I dug into it. That’s got to be a few weeks by this point. I haven’t been too eager to transport it to the area of the woods it was intended for because I’m not sure my back has healed since the last time I did that. It’s so repetitive. And tiring. I’m not lazy by any means, but digging this stuff is just so exhausting. And repetitive. Did I mention that?

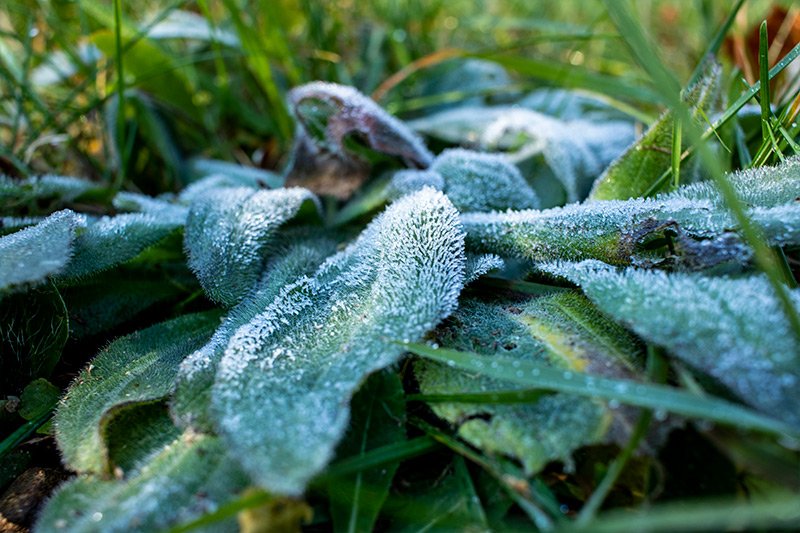
Still, it needed to be done because the cold weather is upon us. I woke up to frost this morning, which means the pile of sand will be frozen solid in no time if I don’t put it where it needs to go.

frost.jpg

I’m always so amused with myself when I try to show off our frost. In a month’s time, we very well may have four feet of snow sitting on the ground and I’ll yell over to Laura, “Hey, remember that time I was telling people that we had frost?” Too funny. As much as I love snow though, hopefully it’ll wait a little longer than a month to rear its head. Although, it does make for some wonderful hiking. Hmmm…

Anyway, let’s get on with it.

Yesterday, I moved seven trailer loads of sand. It was the entire pile. And yes, I was hurting by the time I finished my digging. Between Friday night’s Jiu-Jitsu and Saturday’s shoveling, I felt like I got hit by a bus – twice. The Jiu-Jitsu is bad enough and getting worse as I get older. But that’s fine. It keeps me svelte.

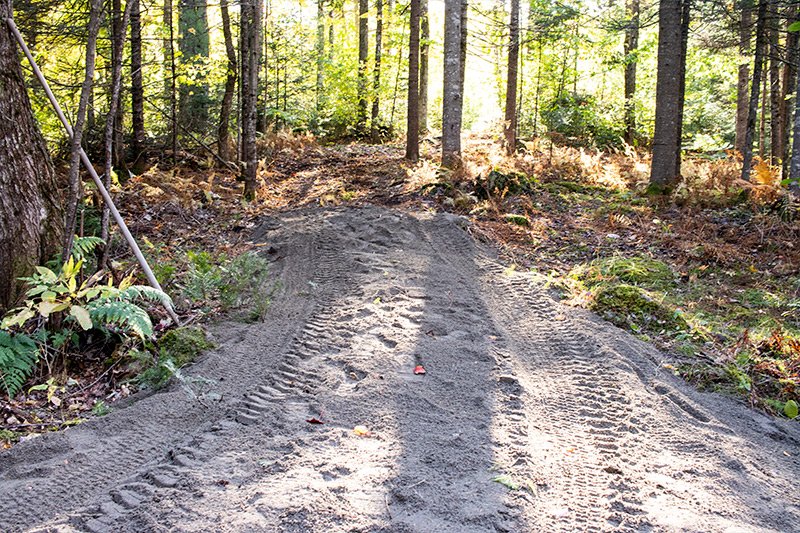
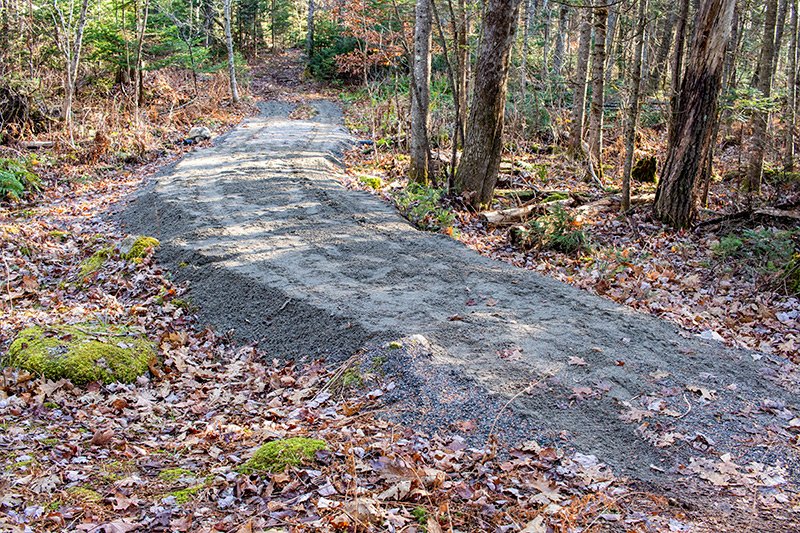
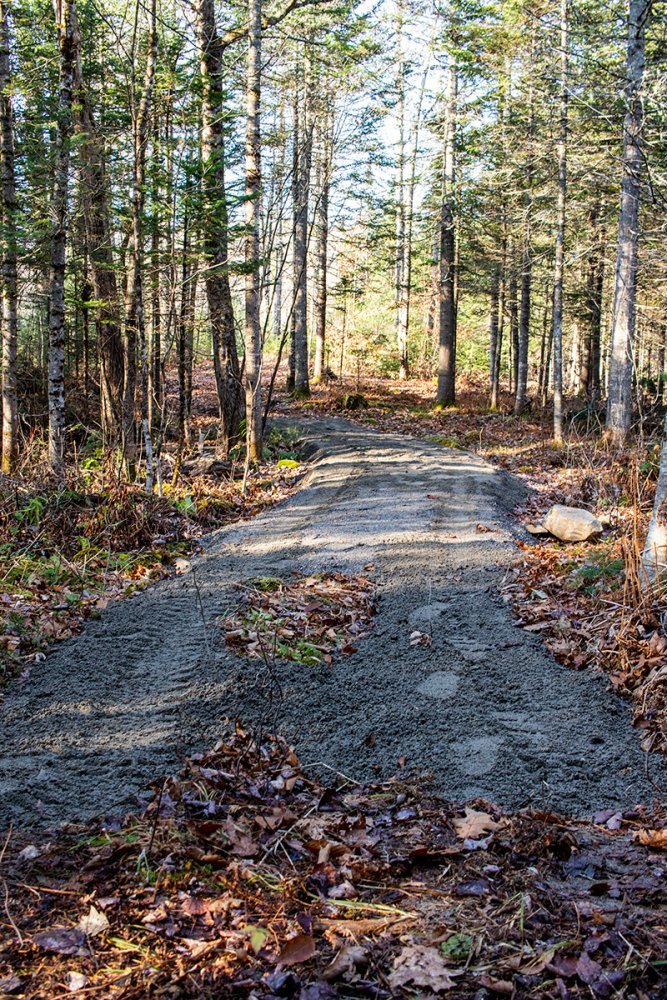
Part of me was eager to finish up the road in the woods because what I had already completed had settled some. Its appearance was somewhat lumpy and I so wanted to see a smooth path I could be proud of. Luckily, I had just enough material to make that happen. Take a look at this. The product of my labor.

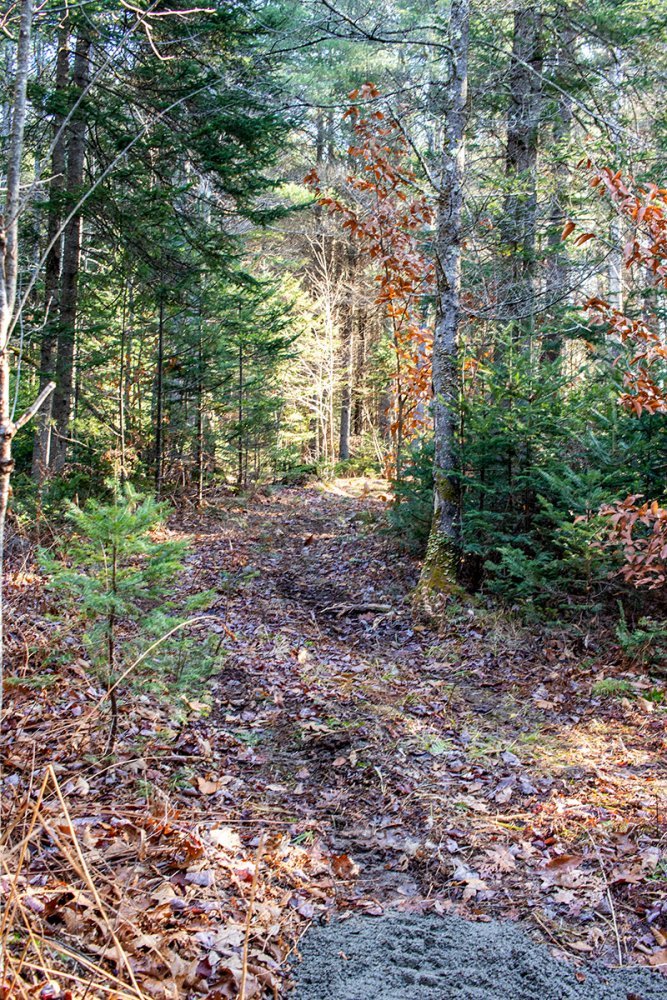
dirt-road-in-woods.jpg

Do you find it strange that this path doesn’t appear that involved but it’s actually a good 12 yards of material? That’s a pretty decently sized dump truck’s worth of sand. It really doesn’t look like a lot at all when it’s just sitting there like that.

Oh yeah, the reason I wrote, “Until Next Year” up in the title of this post if because I intend to add a bit of width to the “land bridge” in the spring. It’s good the way it is, but I would like to have some wiggle room when I drive the ATV over it.

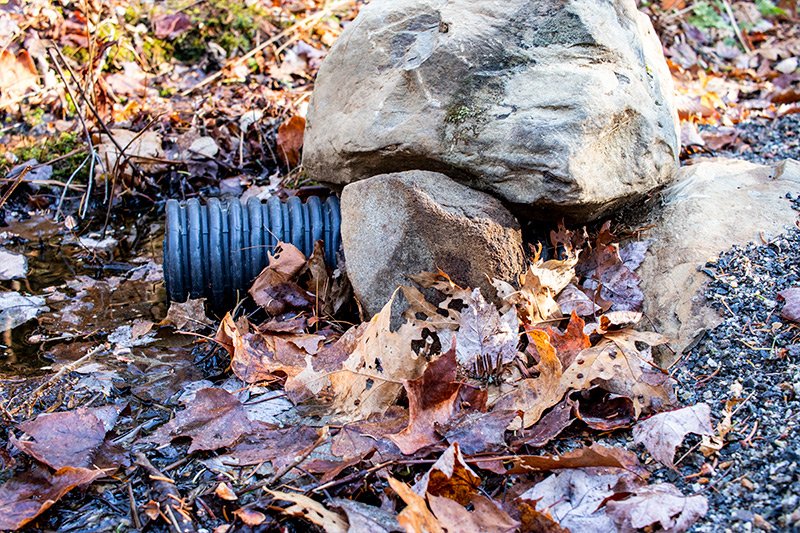
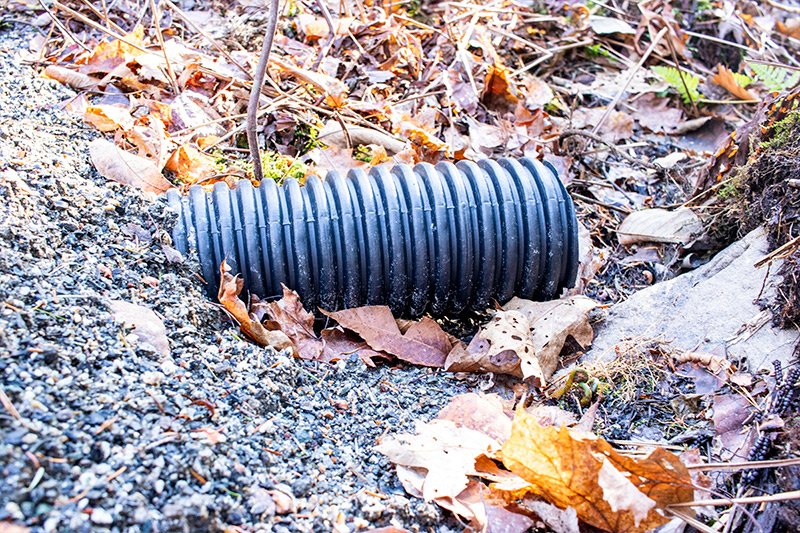
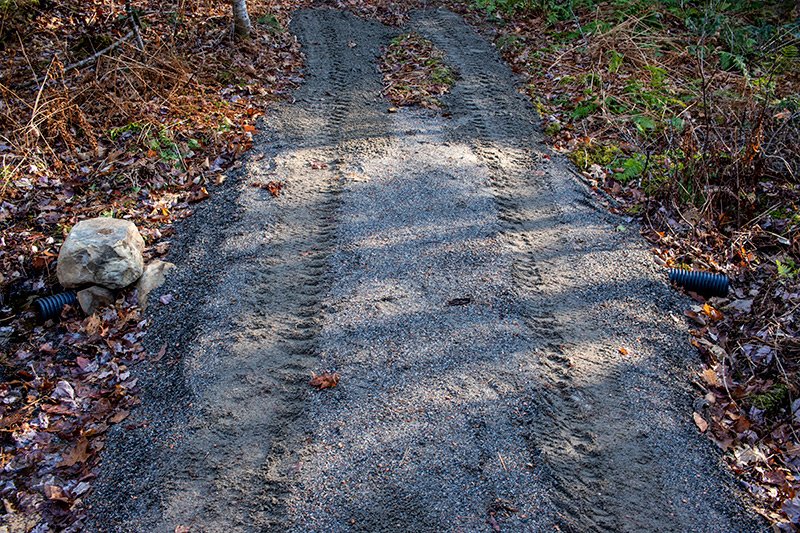
We had a good solid rain a few weeks ago. When I went out to check on the road (yes, I do that in the morning), I found that water had accumulated in one side of it and was flowing over the sand. I knew the area was wet, but I didn’t know that it was actually a path for water to escape the area. Moments later, I found myself standing over it with a piece of pipe in hand, along with a shovel. I dug a trench and placed the pipe in it. Then I covered the pipe with material and watched as all the water flowed through. That pipe wasn’t buried too deep before yesterday, but now it’s down there pretty good.

pipe-inlet.jpg pipe-outlet.jpg pipe-under-dirt-road.jpg

Good thing I had a lot of pipe on hand or else some of the sand may have washed away. I’ve got over 100 feet of the black flexible type.

So that’s basically it. I shoveled a lot, moved some stuff and did the necessary raking to smooth everything out nicely. It was beautiful here yesterday. About 55 degrees and sunny. It was the perfect weather for taking care of some projects outside. Besides the sand, I also cut down two small dead trees for firewood (which we’re burning as I sit here and type) and cleared a small area in the woods so I can easily drive my ATV in a loop when returning from a sand run as opposed to unhooking the trailer, turning around and then connecting the trailer again. It’s so much easier this way. Today, I plan on heading back there again with my chainsaw to start on a new trail. It’s going to run through one of the more beautiful areas of the property, so I’m excited about that. Lot’s of pine trees and moss underfoot.

Here’s one last view of the road. It’s primarily for me to stare at during those winter days I can’t get outside. But you’re welcome to enjoy it as well.

homemade-sand-road-woods.jpg

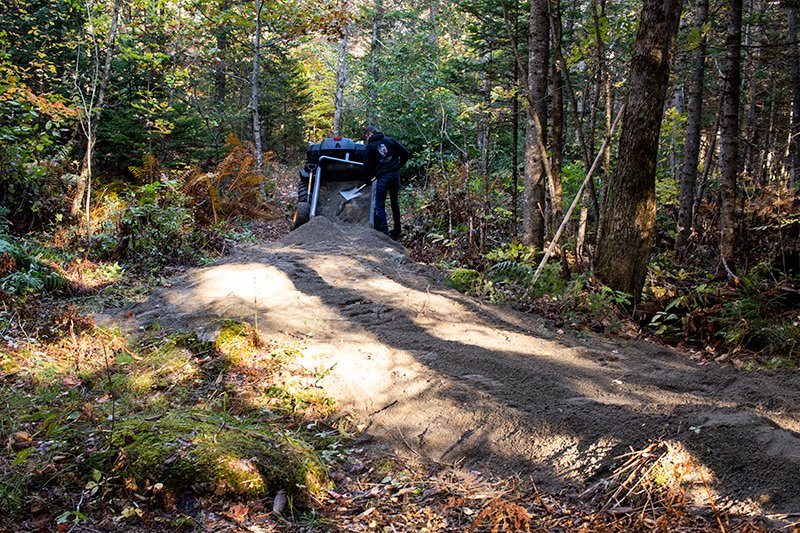
This is a look up into the woods. I’ll be back in this area in just a few minutes with my saw and some clippers. I can spend hours back there and I do. Have a great day!

beautiful-trailer-through-woods-maine.jpg

COMMENT: I appreciated your articles on your site just now.

I just took a look at my Polar 1500 HD, and the bed is approximately 1x3x5. Just a bit less than 3′ wide, and taking a guess about the back of the trailer that’s angled up. So, say 15 cubic feet, since it’s heaped up in the middle a bit. Mostly guesswork on the pic, sorry if I’m off.

Natural sand is ~100 – 120 lbs. per cubic foot, depending if it’s dry or wet. Manufactured sand, which it looks like in the pic is ~110 – 130 lbs. per cubic foot, dry to wet.

So, assuming 15 cubic feet, that would be 1,500 – 1,950 lbs. in the trailer. Probably all good until a rut or good bump caused all that weight to come down on the axle, bending it. At least it doesn’t look like a sagging bend, it looks like a stress bend.

Best guess is the trailer was overloaded for the trail.. The 4 wheel axle for that trailer would likely help, because the walking axle really smooths out the ride on bumpy trails.

My 1500 HD is 7 years old, and given that I know about how much wood I burn each winter, I can confidently say that it’s hauled 60+ cords of wood in that time., and I have not treated it lightly. No issues with the trailer. It’s been the best I’ve ever had. If I did break it, I don’t think I could fix it on my own like you did. Tip of the hat to you on that.

Anyways, the reason that I happened to find your site is that I’m scratching my head trying to figure out how to piggyback my log splitter onto the trailer. I think I’d give up the dump capability in order to do that, because it just feels like such a good idea to be able to pull both out, and toss the split pieces in the trailer as I run the splitter as a back saving idea. Would bolting 1/4″ steel channel onto the trailer be a viable idea, in your opinion?

Also, check out something called a Log Ox for loading the trailer with wood. Huge time and back saver., and practically made for the trailer height. The trailer rails allow you to fit a lot more wood in, if you want to give that a try. I went back later & bought them & it was well worth it.
 
Top