Cameron
Member
- Joined
- May 10, 2021
- Messages
- 108
- Reaction Score
- 3
- Points
- 23
- #1
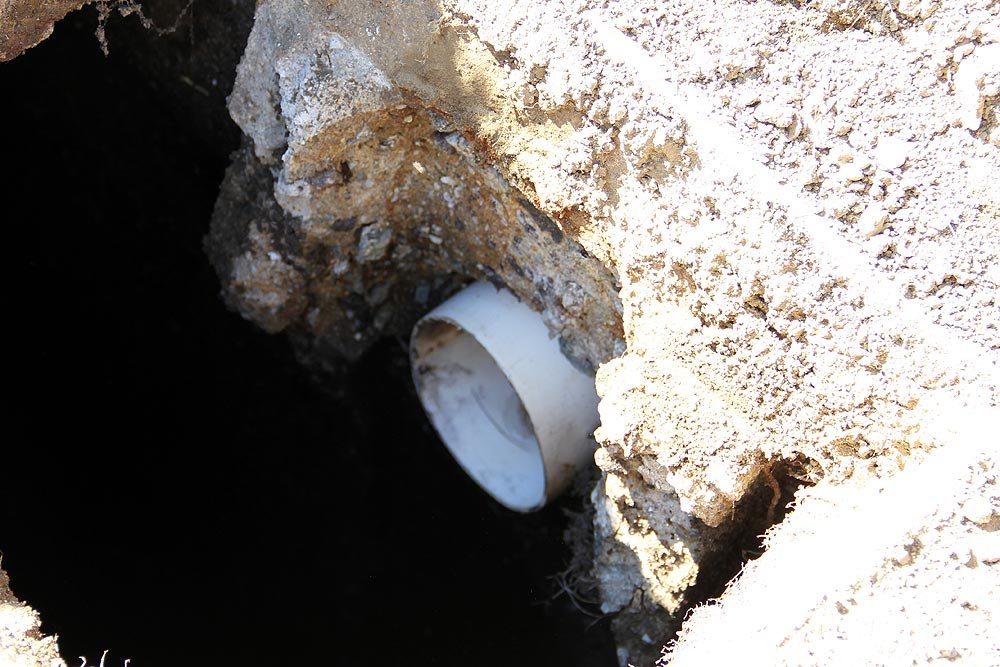
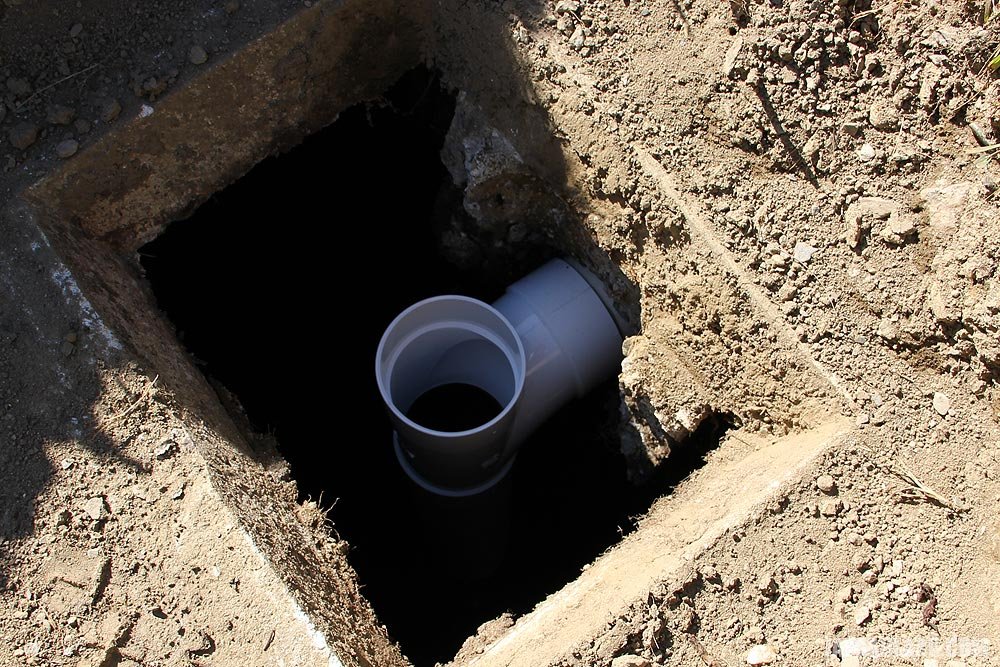
Funny thing happened - I had to install a new septic tank baffle. For one reason or another, our existing concrete baffle broke off and is currently sitting at the bottom of the tank. Here is a picture of the exit pipe that leads to the fields from the tank with no baffle.
Don’t know what a septic tank baffle is? Well, check out this video…
Easily Inspect and Replace Your Septic Tank Output Baffle When Necessary
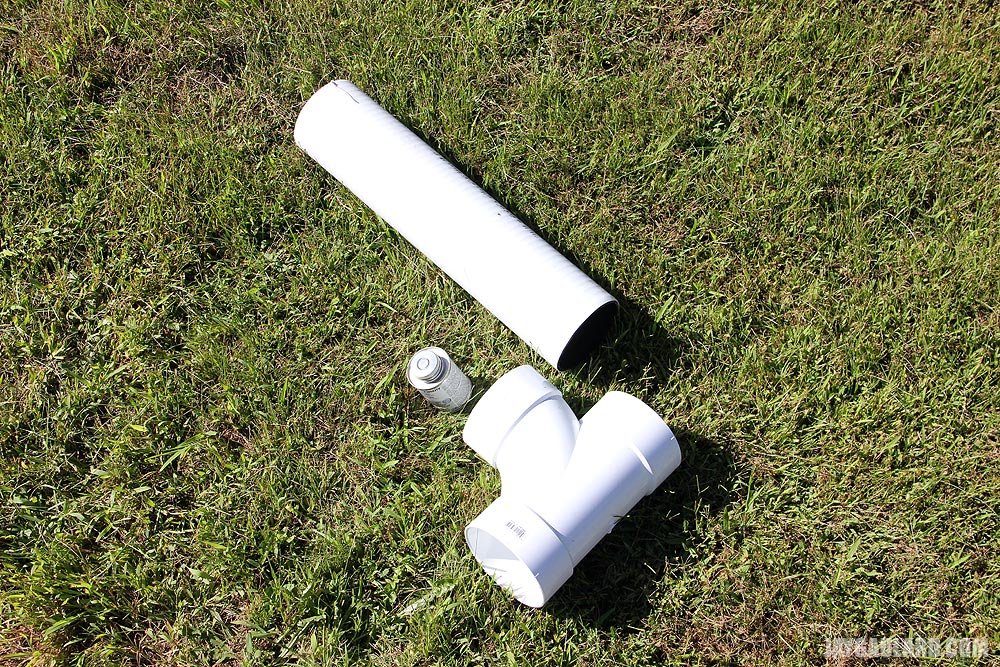
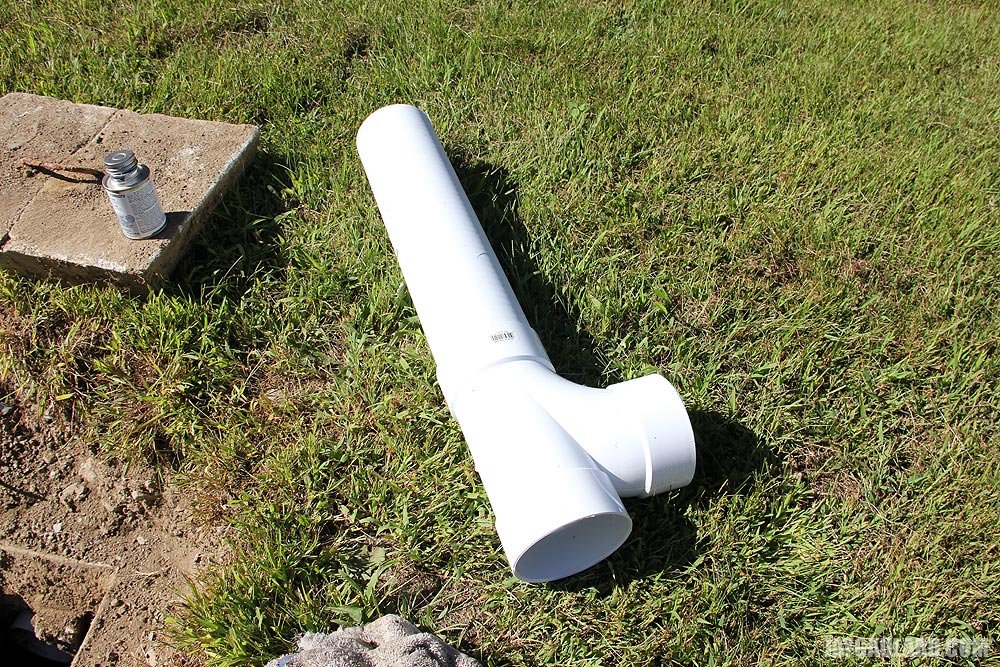
Anyway, replacing a baffle takes about 15 seconds. It’s really easy once you have the necessary parts. In this case, all I needed was a “sanitary T” and 18 inches of white drainage pipe from Campbell’s Building Supply. A fella at Campbell’s was kind enough to cut the pipe for me, since we took the car over and the entire length wouldn’t fit in the car without being reduced. I also needed PVC cement, which I already had.
Now, I was informed that I should complete this task before the tank fills back up, which would happen in a matter of days. The septic dude told me that the job gets exponentially dirtier if the tank is full. I did this the day after we had the tank pumped and it’s still fairly empty as I sit here writing this. I guess I had more time than he let on.
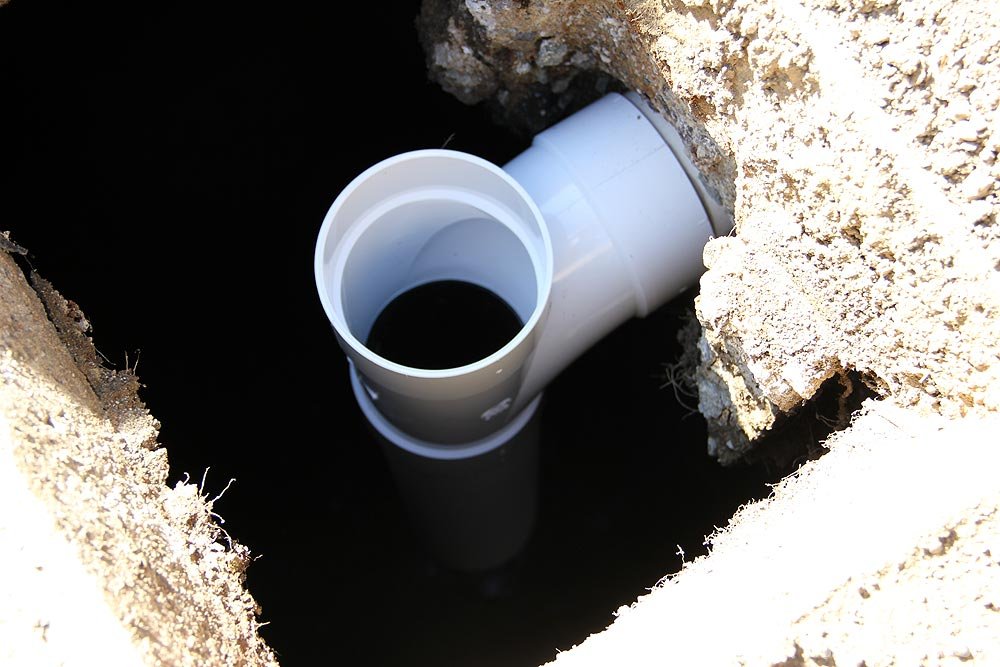
Here are two pictures of the baffle installed in the tank. Basically, its purpose is to only let liquid flow out of the tank and into the leach fields. Solids flowing out is a bad thing.
To attach the baffle to the exit pipe in the tank, I simply applied glue to the pipe and the baffle and put them together like I did before. Perfect.
UPDATE: I just wanted to mention that I pulled off this setup and re-installed it with screws because I didn’t trust the PVC cement. I didn’t need the pipe falling off in the septic tank and floating there for years without me having any idea what happened.

Don’t know what a septic tank baffle is? Well, check out this video…
Easily Inspect and Replace Your Septic Tank Output Baffle When Necessary
Anyway, replacing a baffle takes about 15 seconds. It’s really easy once you have the necessary parts. In this case, all I needed was a “sanitary T” and 18 inches of white drainage pipe from Campbell’s Building Supply. A fella at Campbell’s was kind enough to cut the pipe for me, since we took the car over and the entire length wouldn’t fit in the car without being reduced. I also needed PVC cement, which I already had.


Now, I was informed that I should complete this task before the tank fills back up, which would happen in a matter of days. The septic dude told me that the job gets exponentially dirtier if the tank is full. I did this the day after we had the tank pumped and it’s still fairly empty as I sit here writing this. I guess I had more time than he let on.
Here are two pictures of the baffle installed in the tank. Basically, its purpose is to only let liquid flow out of the tank and into the leach fields. Solids flowing out is a bad thing.
To attach the baffle to the exit pipe in the tank, I simply applied glue to the pipe and the baffle and put them together like I did before. Perfect.


UPDATE: I just wanted to mention that I pulled off this setup and re-installed it with screws because I didn’t trust the PVC cement. I didn’t need the pipe falling off in the septic tank and floating there for years without me having any idea what happened.

