15Katey
Member
- Joined
- May 10, 2021
- Messages
- 130
- Reaction Score
- 0
- Points
- 23
- #1
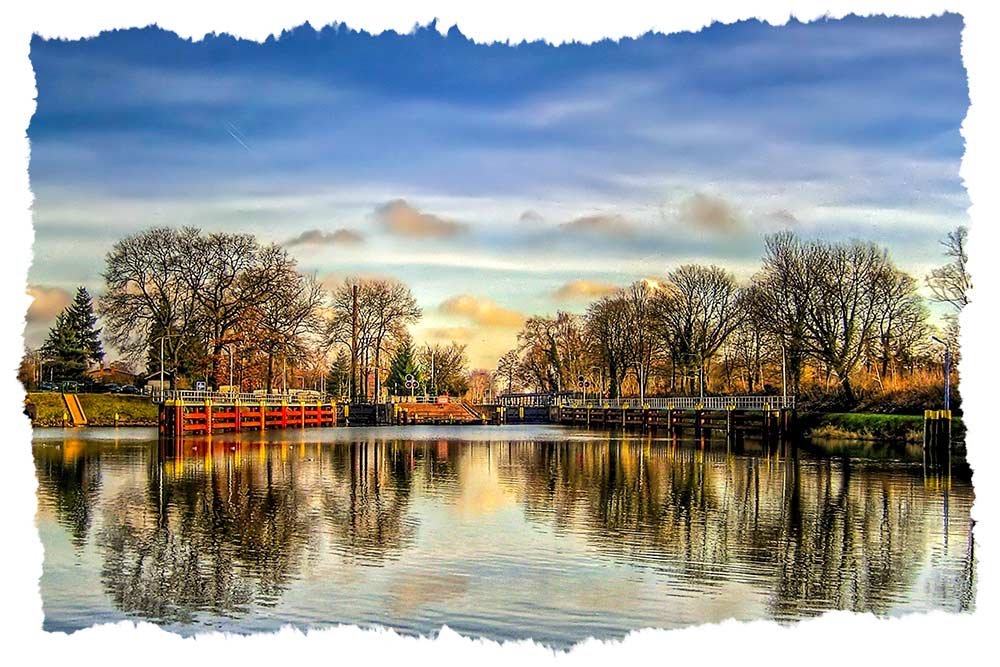
For as long as I can remember, I’ve seen torn paper edge effects applied to photos that have been digitally processed. I’ve always wondered how people manage to create that effect. I mean, I know there are some “auto” effect filters out there, but being my curious self, I wondered how the folks who make the auto edge effect filters actually do it. Those auto things don’t always give the desired result. I’m the type of person who enjoys the freedom to create the effect I’m after – all by myself.
Well, a while back, I finally found the answer. And believe it or not, it’s really easy to get something like this done. Actually, it’s super easy. The most challenging part is finding or making some torn edges to use.
In today’s post, I’m going to show you exactly how you can create a torn edge effect and apply it to a photograph while working in Adobe Photoshop. I’ll also let you know where you might find some torn edges to work with and how you can create them yourself.
Where to Get Torn Edges
For this project, I needed some torn edges to apply to the demo photo I’ll be using in this post. My first thought was to head towards some free stock image websites, where my search paid off. I went to The Stocks, where I nosed around a bit and found a few good samples. I settled on one and that’s what I’ll be using for this project. It looks like this:
Now, if you have a scanner, you can simply tear a piece of paper and scan it with the scanner lid in the raised position. With the lid raised, the background will remain black while the paper correctly scans white. Also, you can just as easily tear a piece of paper, lay it on a black surface and take a photo of it. From there, open it in Camera Raw, Lightroom or Adobe Photoshop and increase the contrast until any haziness or gray areas are removed. That would be fine. After you’re finished capturing the edge with either of the methods I just described, you’d save it as a file and continue on with what I’m about to share in this post below.
I do want to mention one more thing before I move on. If you’re creative and careful enough, I think you might be able to conjure up something that looks like a torn edge with one of the many brushes Photoshop offers. I messed around with one for a little while and I came up with some examples below.
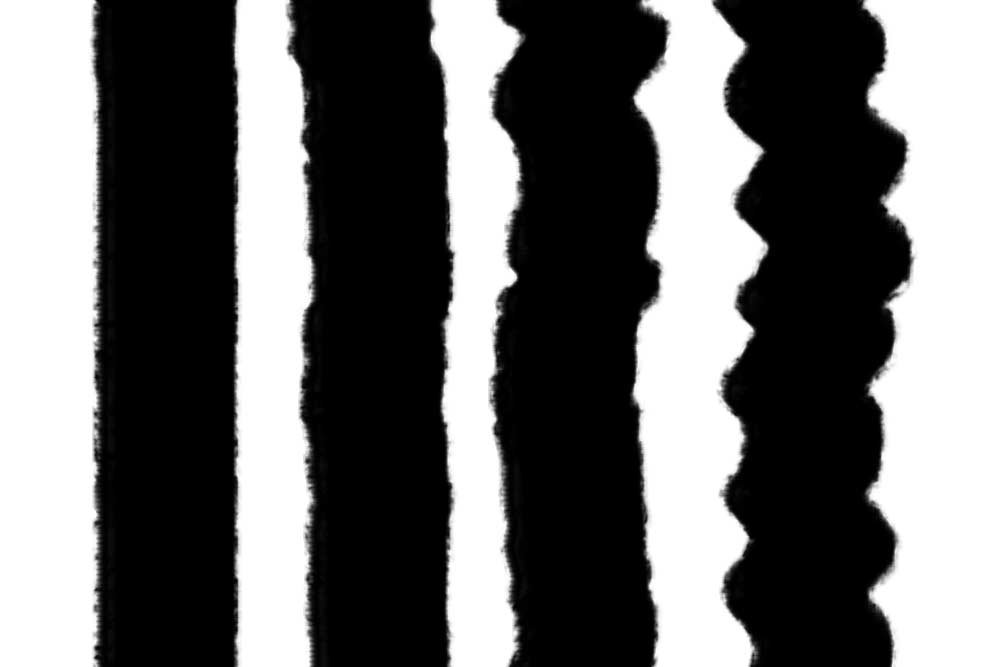
While I know the third and fourth strokes are off the wall and don’t look very good, the first two might pass for something. Granted, I only spent about 10 seconds on these, but I wanted to show you the possible edges you can get with a brush.
Both Files in One Tab
After opening both the photo and the torn edge file into Photoshop, I resized the width of the torn edge file so it equaled the width of the photo. I did this because the tear file was about twice the width of the photo and if I left it that wide, the details of the tear would be far too coarse. I wanted it fine and realistic looking. I then dragged the edge file into the same tab the photo is in. For a tutorial on how to move a layer from one tab into another tab, please review this post:Tips For Tabs & Guides in Adobe Photoshop
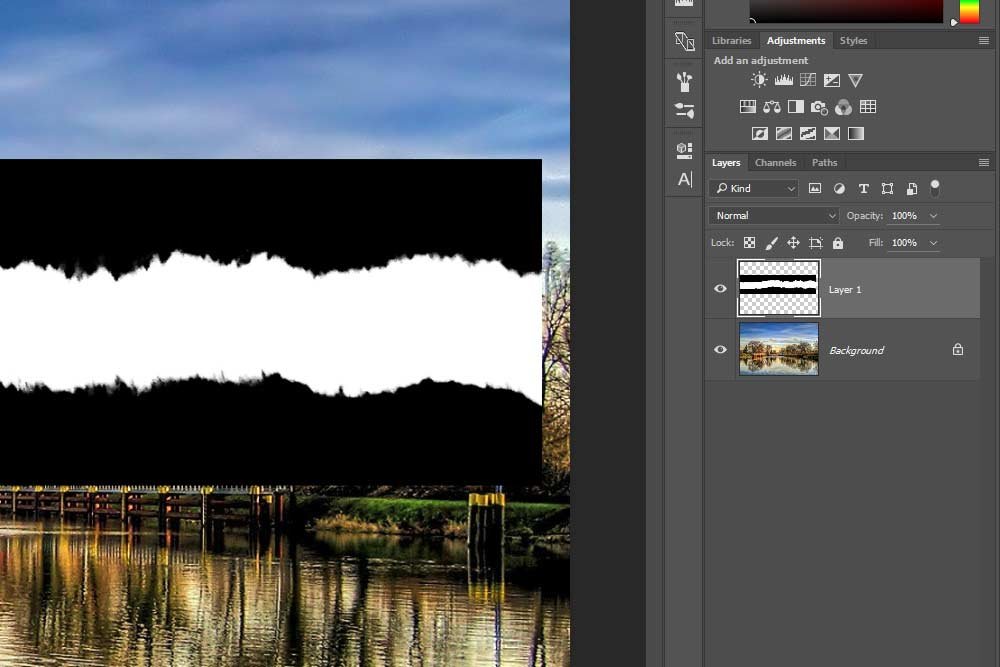
Here’s a screenshot of what things look like at this point:
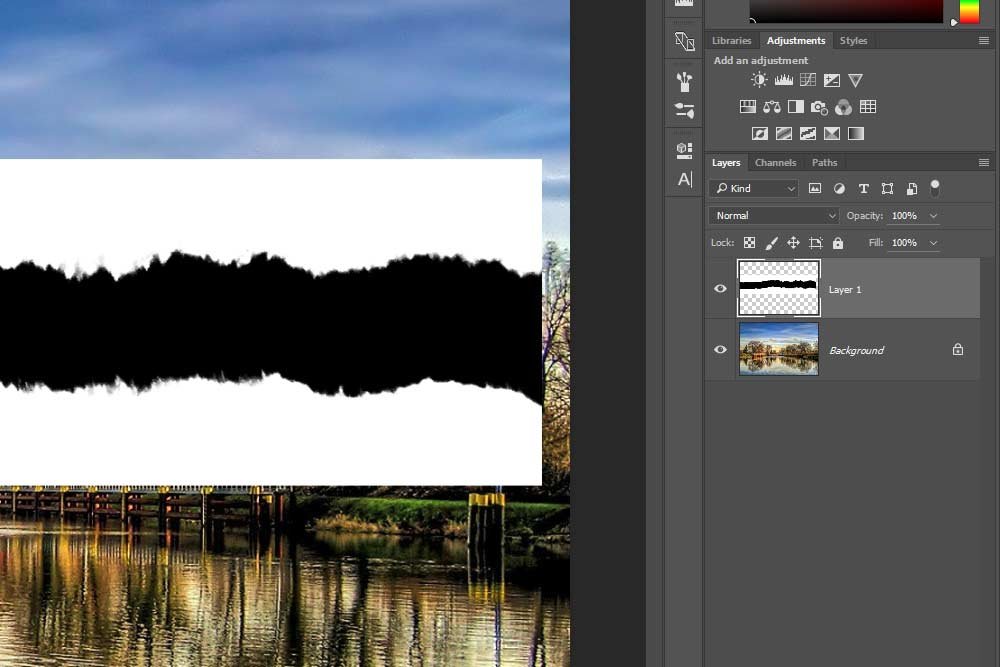
As you can see, I’ve got two layers. The background layer is the photo itself and the layer above that is the edge.
Deciding the Edge Color
At this point, I need to decide on the color of the edge. Right now, I’ve got something that would look like a photo on a black background, meaning, everything outside of the torn edge would be black. This is because the area inside the tear is black. If I wanted to reverse that and have a white border, I could simply head up to the Image > Adjustments > Invert menu item and select it.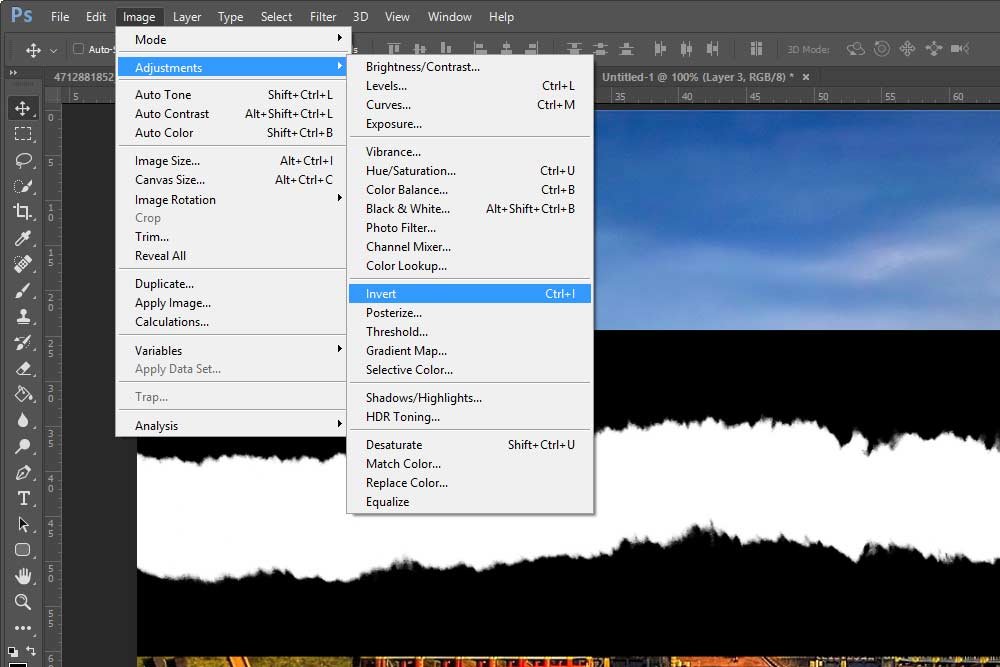
This will invert the colors of whatever layer is selected. In this case, the tear layer is selected, so now the edges will be white because the area inside the tear is black.
Don’t worry if you find this confusing. Everything will become clear in just a minute.
Duplicating the Edge Layer
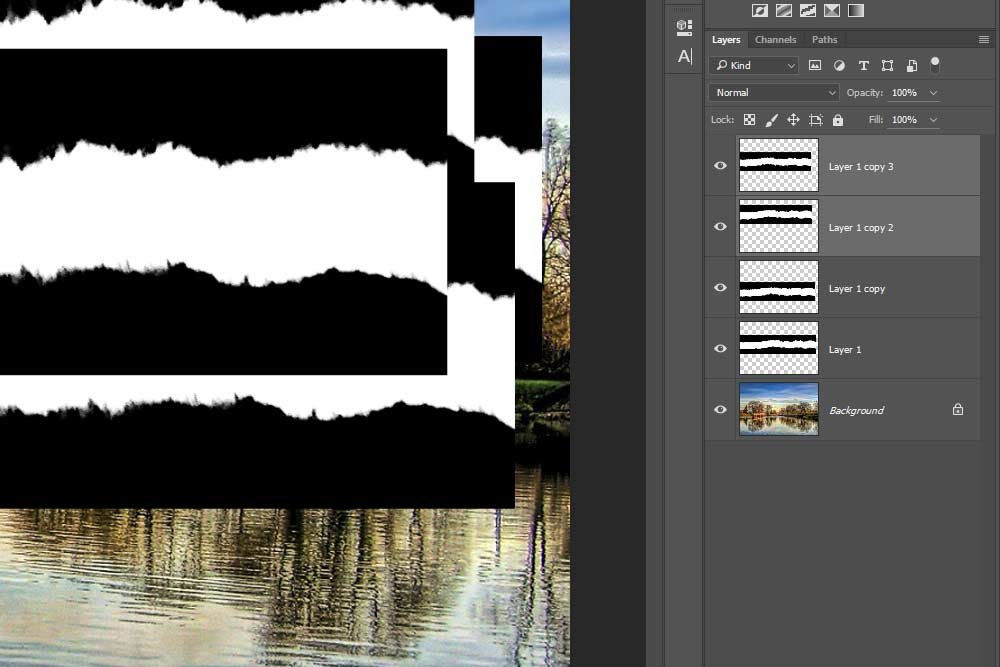
Since I only have one edge layer and I have four edges I’d like to apply this effect to, I’ll need to do some duplicating. To start off, I’ll drag the layer in question down to the Create New Layer icon at the bottom of the Layers panel to create one copy. If you’d like to read a tutorial that covers how to duplicate a layer, please review this post:Working With Layers in Adobe Photoshop
Next, I’ll select both of the edge layers and drag them down to the same icon. Doing this will create two more copies of the same layer, for a total of four. Once I do this, I’ll have one for each side of the photo.
Transforming the Side Layers
At this point, I can arrange two of the layers to sit horizontally across the top and bottom edges of the photo. I’ll do this to the bottom-most edge layers in the Layers panel. After that, I’ll select the two remaining layers at the same time and head up to the Edit > Transform > Rotate 90 Degrees Clockwise menu item and select it.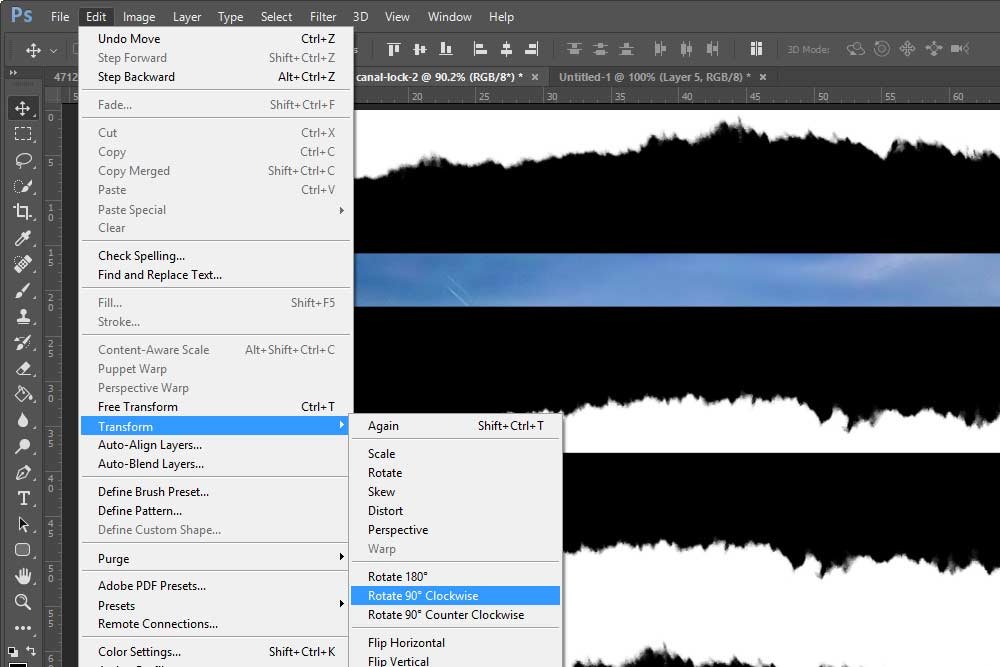
Doing this will transform the two side layers so they sit vertically as opposed to horizontally. I’ll also press Ctrl+t on my keyboard to use the Free Transform tool to shrink these two side layers so they are no longer taller than the sides of the photo.
Lastly, I’ll select just one layer at a time and move them to either side of the photo. At this point, the photo should be completely surrounded by edge layers.
Using a Blend Mode
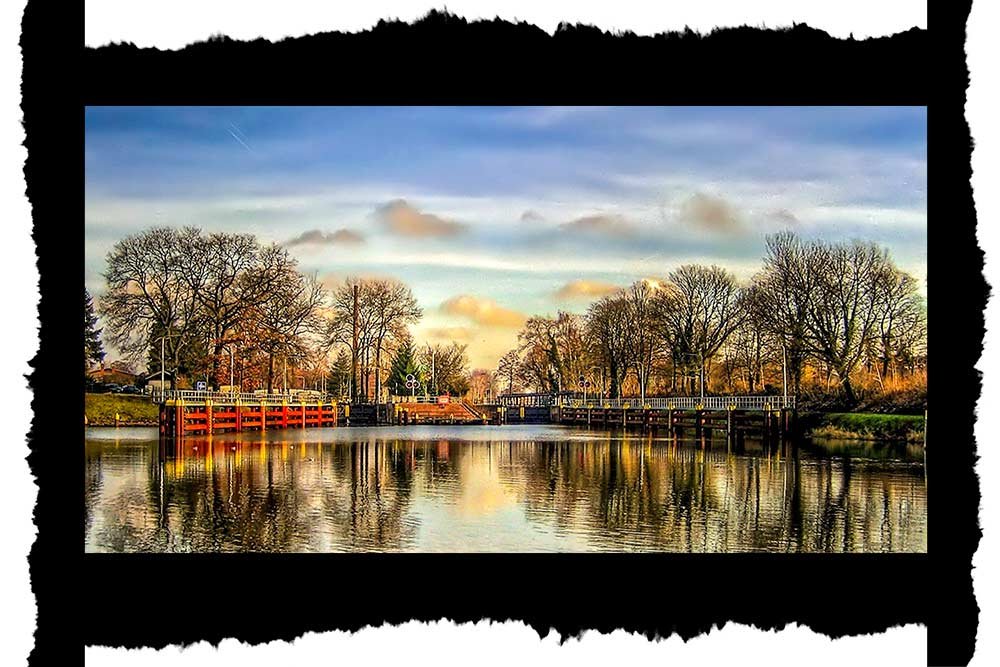
While the look of the picture is coming along and actually might appear kind of neat, it’s not what I’m going for. To remove the black from the edge layers, I’ll select them all at the same time by clicking on the top one, holding down the Shift key on my keyboard, and then clicking on the bottom one. Once I have the layers selected, I’ll click the blend mode drop-down that’s in the Layers panel and choose Screen.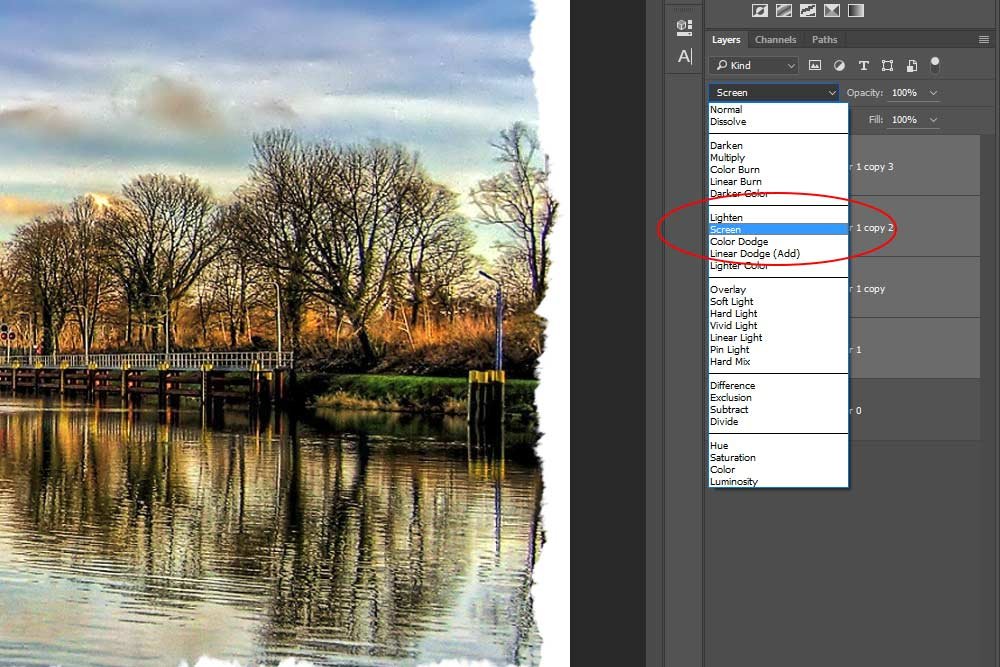
If you remember back from my previous posts, by using the Screen blend mode, you’re essentially removing any black from the layer it’s applied to. If you’d like to learn more about blend modes in general, please take a look at these posts:
What are Blending Modes in Adobe Photoshop?
Learning the Difference Between Blending Modes in Adobe Photoshop
Quick Keyboard Shortcut Guide For Blending Modes in Adobe Photoshop
After that, I’ll have the final photo.

Black Background
What I’ve created here is a photo with a torn edge effect that looks like it’s sitting on a white background. If I wanted to reverse things and have a black background, all I’d have to do is select one edge layer at a time and press Ctrl+i on my keyboard to invert it. I’d do this for all four layers and the colors would be reversed. Then, I’d select all four layers, just like I did above, but this time, I’d choose the Multiply blend mode. This blend mode is the opposite of Screen in that instead of removing black, it removes white from a layer. Here is the photo after I do that.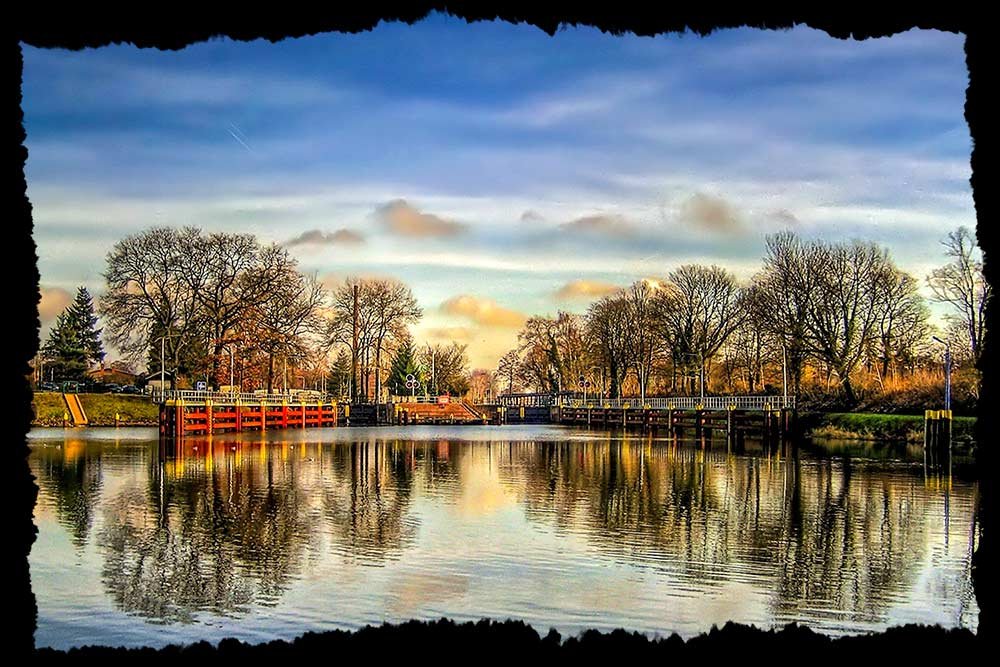
I hope you’ve enjoyed today’s post. If you have any questions, please leave them in the comment area below. I absolutely love questions and answer them very quickly. Thanks!
Photo credit (torn paper edge): halseike via Visualhunt.com / CC BY
COMMENT: I need neither a black nor a white background, but just the background that’s already there, a textured blen of hues…this will take a bit of figuring out.
COMMENT: Put the background in a higher layer than the image. We’ll cut out the ‘torn’ shape to reveal the image underneath. Mute/make invisible that layer temporarily. Copy and paste, flip and rotate all the black and white strips of torn paper in position to frame the image. Merge all their layers. Select all the black using the magic wand. Ctrl + I to invert the selection. Hit delete to get rid of the white. Ctrl + I again to reselect all the black. Swap layers to the background layer. Turn that layer on again. Hit delete. Hey presto; torn paper image. Try a texturise canvas filter to enhance the effect.
