EmeraldHike
Member
- Joined
- May 10, 2021
- Messages
- 133
- Reaction Score
- 0
- Points
- 21
- #1
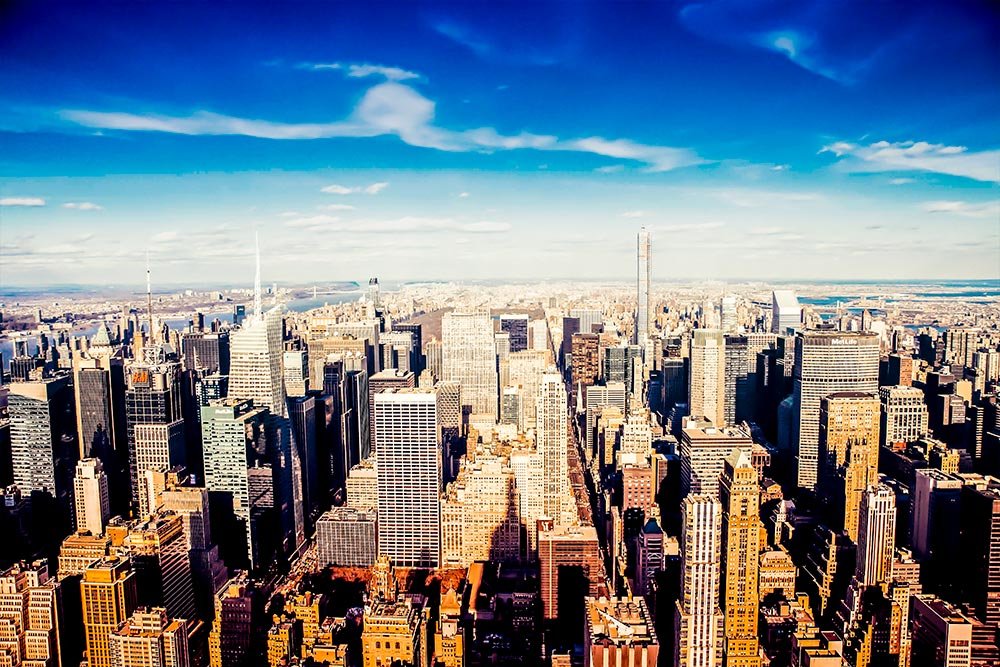
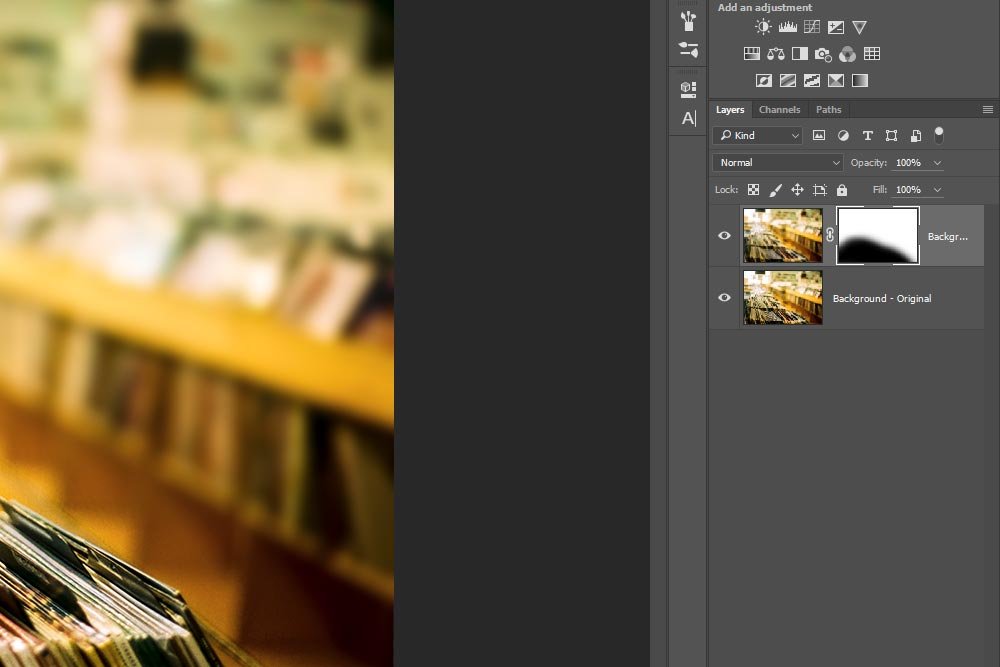
Working with masks in Photoshop is the best way to go in regards to blending photos and manipulating adjustment layers. But, as good as masks are, there come times when it’s challenging to see exactly what you’re doing. For instance, let’s say you’re using an adjustment layer to brighten or darken different areas of a photograph. Let’s also say that the areas you’re working on are rather small and detailed. When painting those detailed areas with either a white brush or a black one, in general, the only locations that visibly show the changes are the photo itself and the small thumbnail in the layers panel. Viewing your changes in these two areas is fine most of the time, but when it really matters, you’ll likely need a better way.
In today’s post, I’m going to cover four power tips for viewing and working with masks super efficiently in Adobe Photoshop. I’ll show you exactly how you can flip between two different masking views that take out any guesswork while painting. Also, I’ll explain how you can quickly turn the working mask on and off. Basically, how you can hide it and then unhide it so you can see your changes quickly. Lastly, I’ll offer a keyboard shortcut that will hasten your hiding and revealing by jumping back and forth between the white and black in your color picker. This is all done by using a few keys on your keyboard.
If you need a refresher on what masks are and how to best use them in Photoshop, please take a look at some of my previous posts. By the time you’re finished with them, you’ll be up to speed and ready to move forward with this tutorial.
What are Layer Masks in Adobe Photoshop?
Using Masks to Colorize Only Part of a Photo in Adobe Photoshop
Using Multiple Color Range Masks in Adobe Photoshop
Example Photo
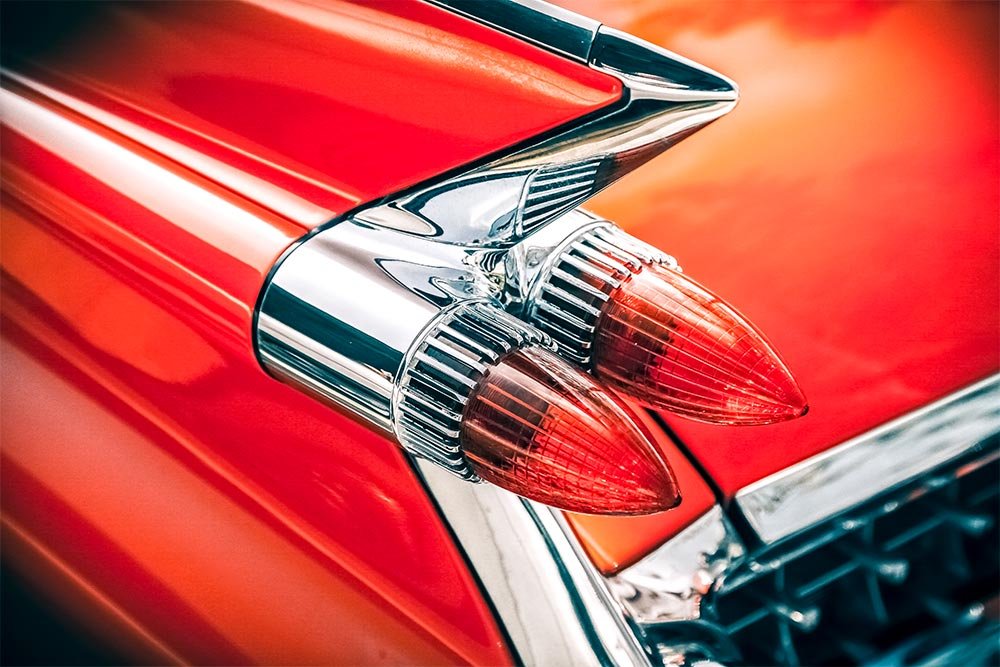
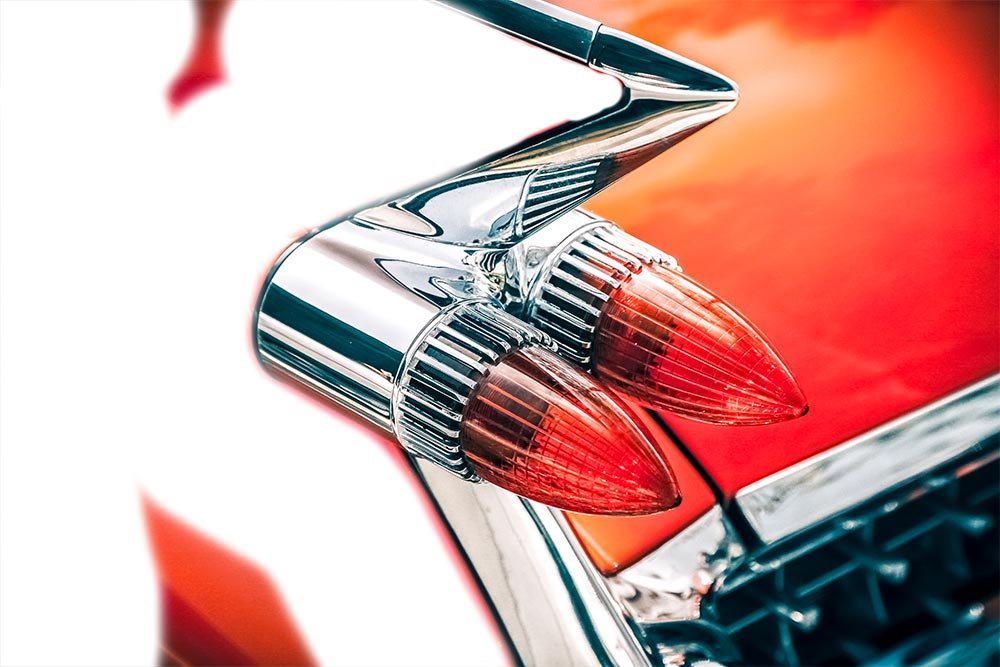
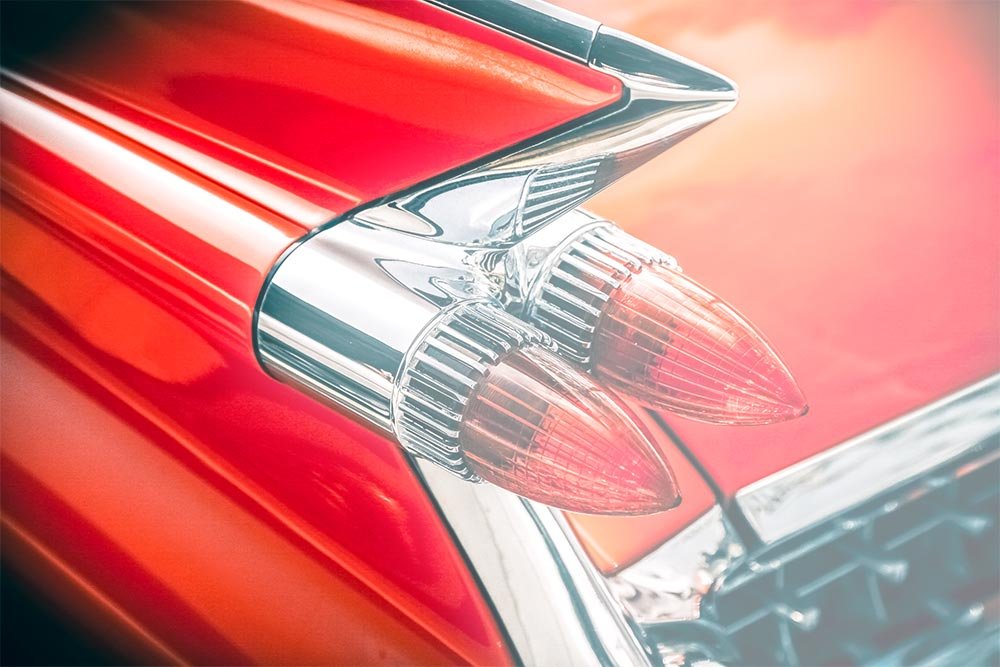
If you look at the top of this post, you’ll see the example photo I’ll be working with. Now, I want you to realize that there’s nothing I particularly want to change about this photo, but for the sake of explaining what I need to explain, I’ll apply an adjustment layer to it in. I’ll choose something that’s obvious, such as the Hue/Saturation adjustment layer, to help make my point. And in doing so, I’ll deviate from the primary tutorial for just a moment to talk about how to “colorize” a photo in an effort to give it a sepia look.Giving the Photo a Sepia Look
If you aren’t aware, sepia is a reddish-brown color associated particularly with monochrome photographs of the 19th and early 20th centuries. I’m sure you’ve seen these types of photos. Some folks call them vintage, antique or rustic, but you can call them whatever you want. And as a matter of fact, I’ll be writing a few posts in the future that talk about this topic in full detail, so stay tuned for them.Anyway, applying this type of look is rather simple. All I’ll do is head up to the Adjustments panel and click on the Hue/Saturation icon. This will create the appropriate adjustment layer in the Layers panel.
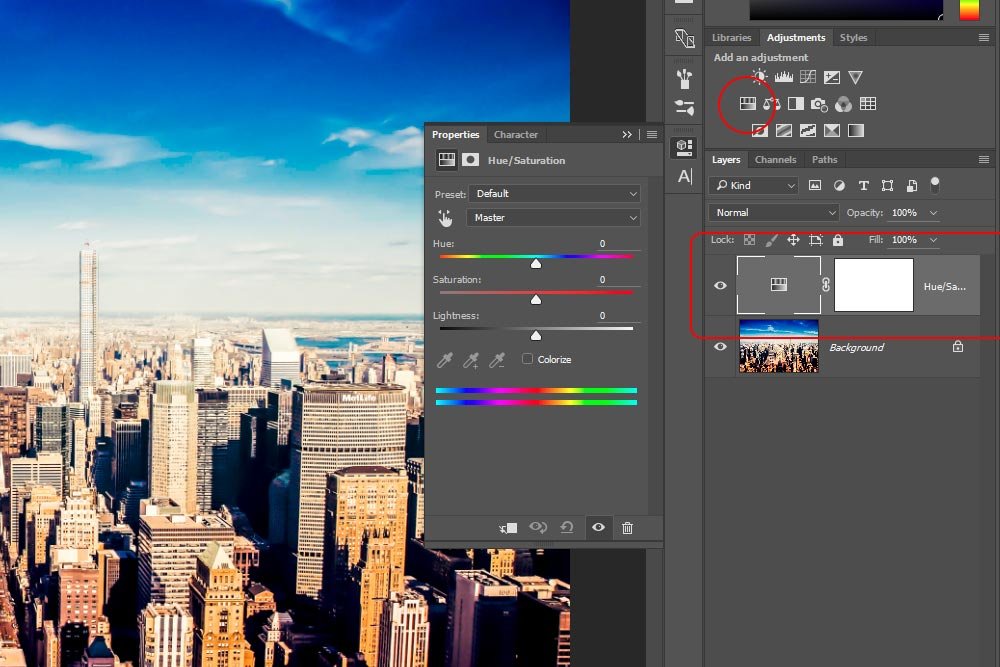
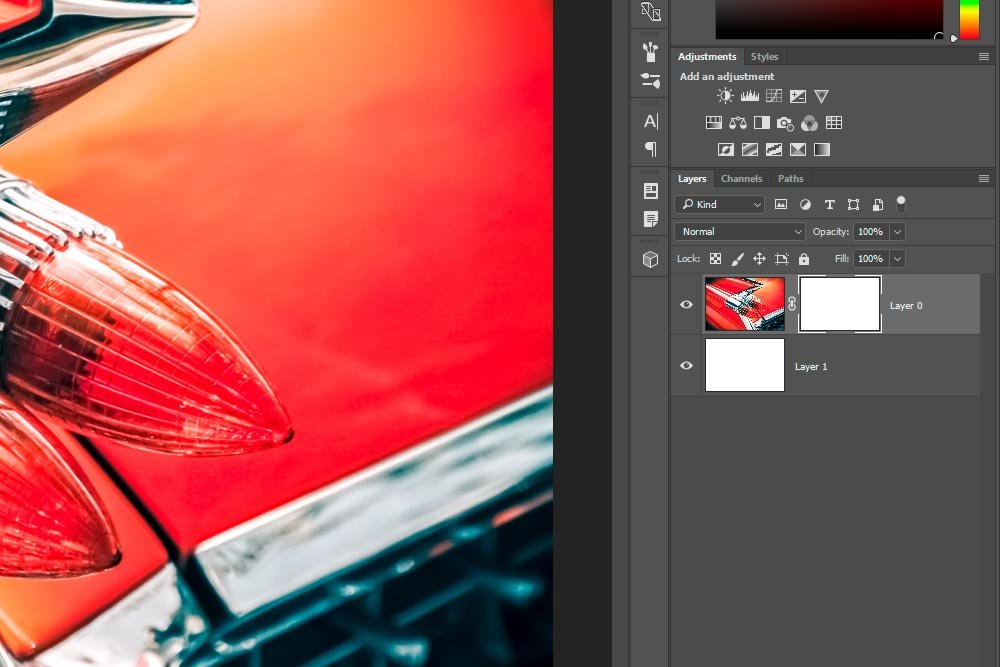
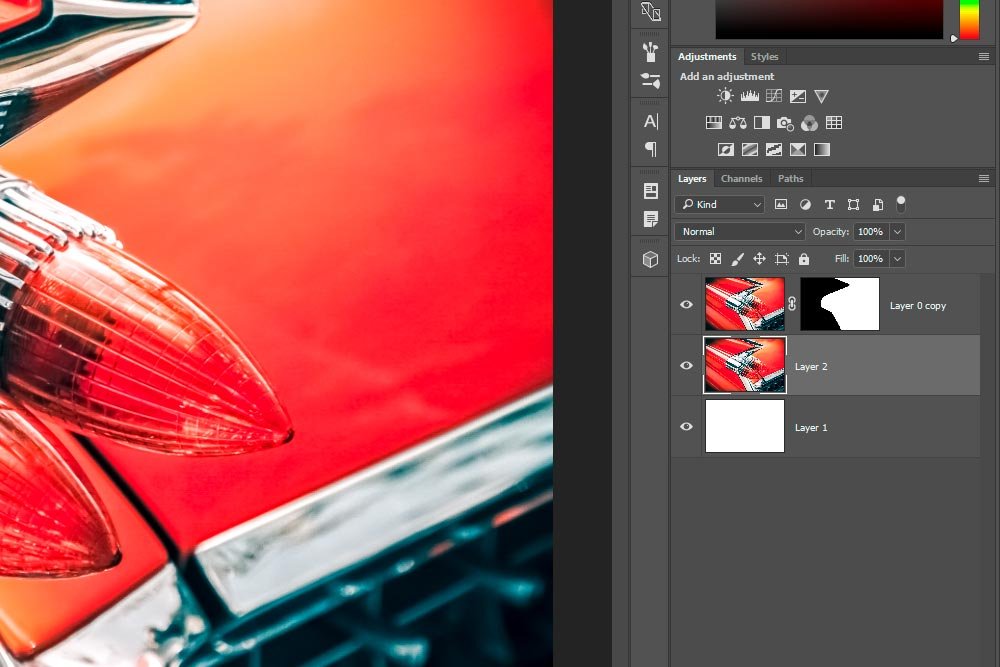
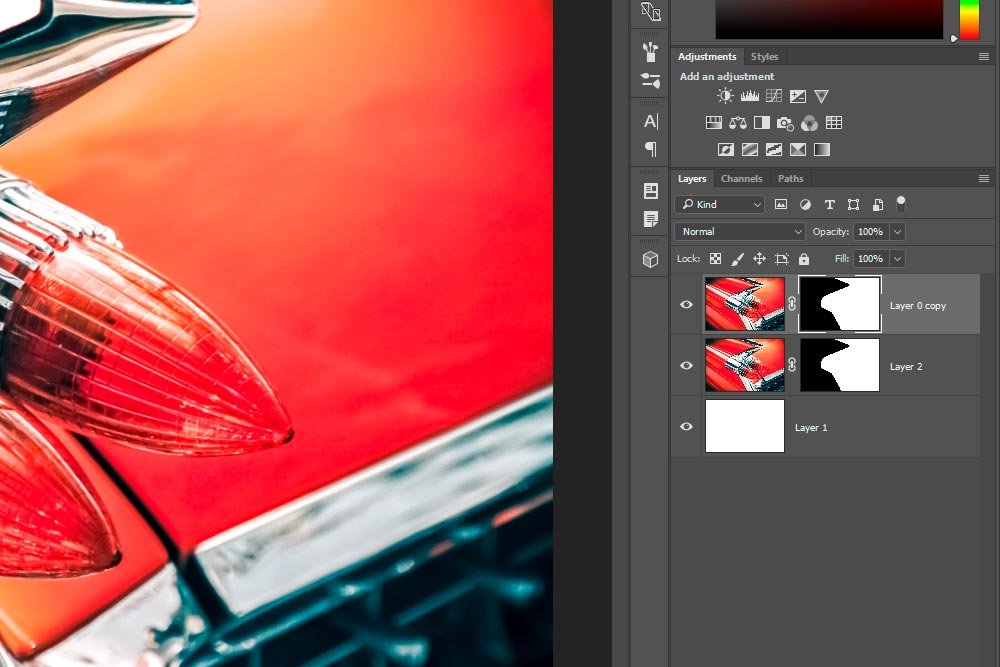
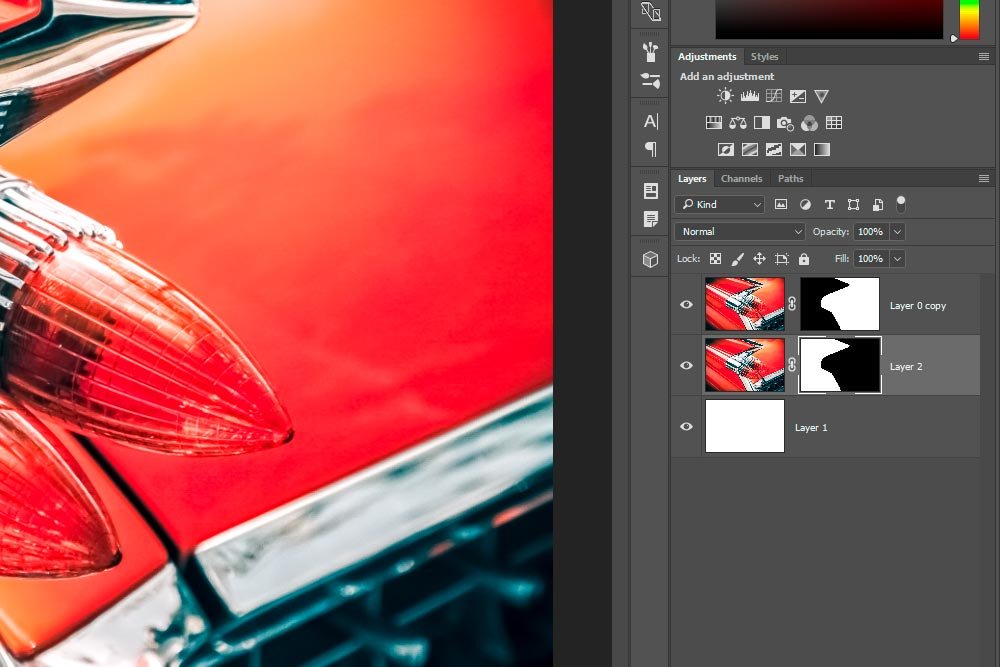
If you take a look at the new adjustment layer that’s outlined in red, you’ll see that the related mask is fully white. This means that any change I make to this layer will be fully revealed, which is what I want right now.
At this point, I’m going to click the Colorize check box that’s located at the bottom of the Hue/Saturation Properties panel. I’ll also push the Hue slider all the way to the left. This will mute all colors except the red/brown that I’m after.
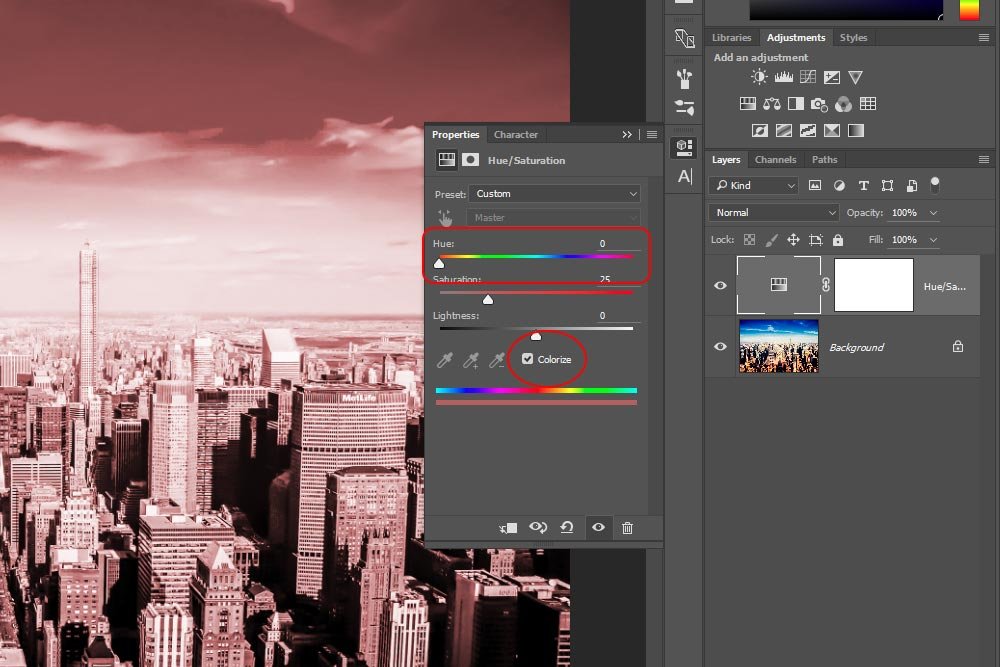
This is the photo after these changes have been made.
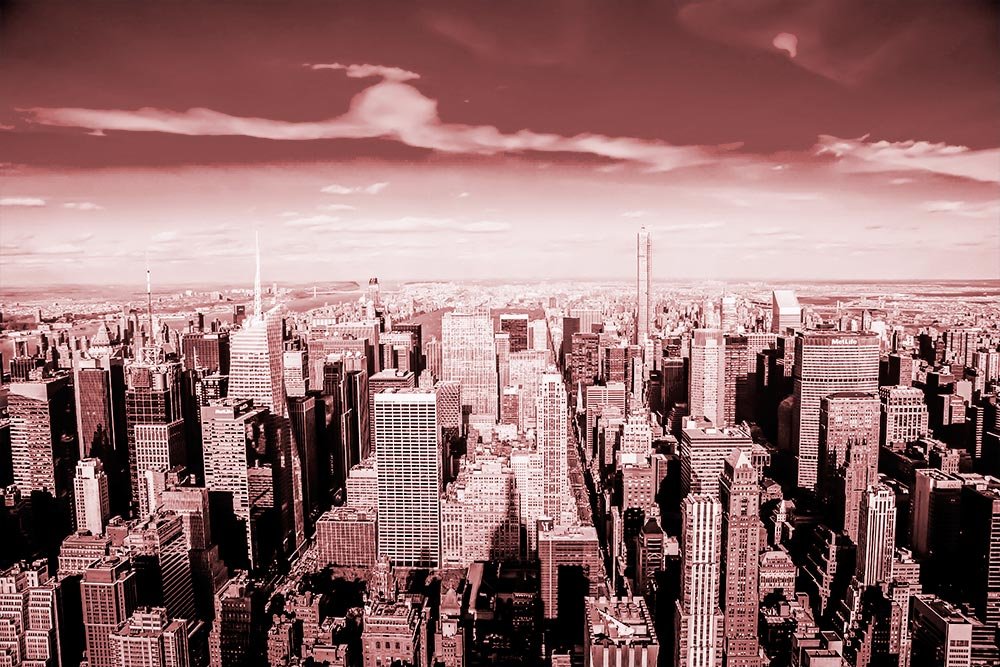
Editing the Mask
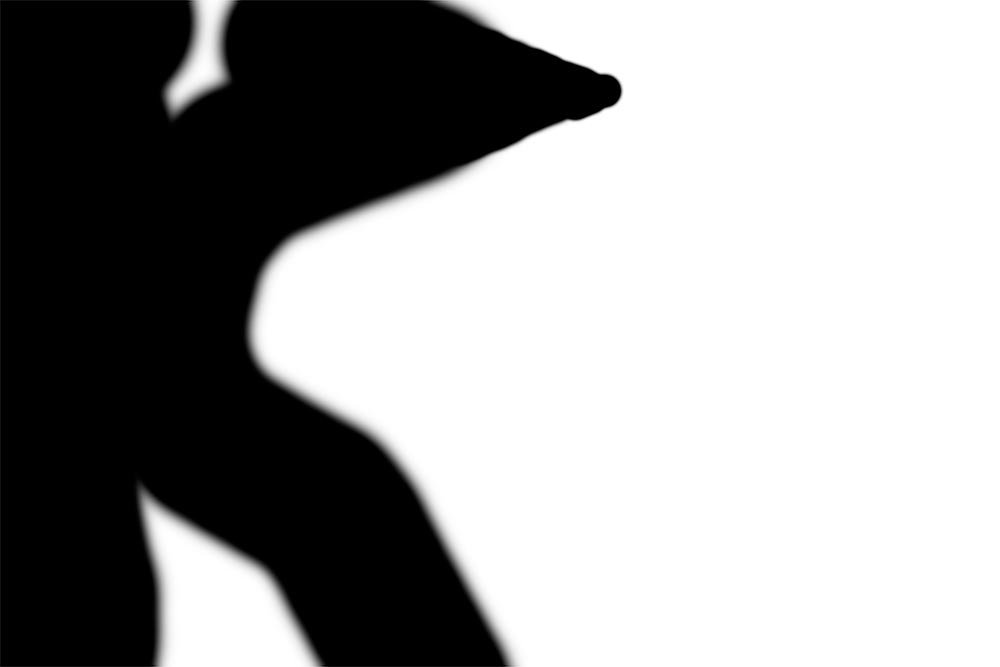
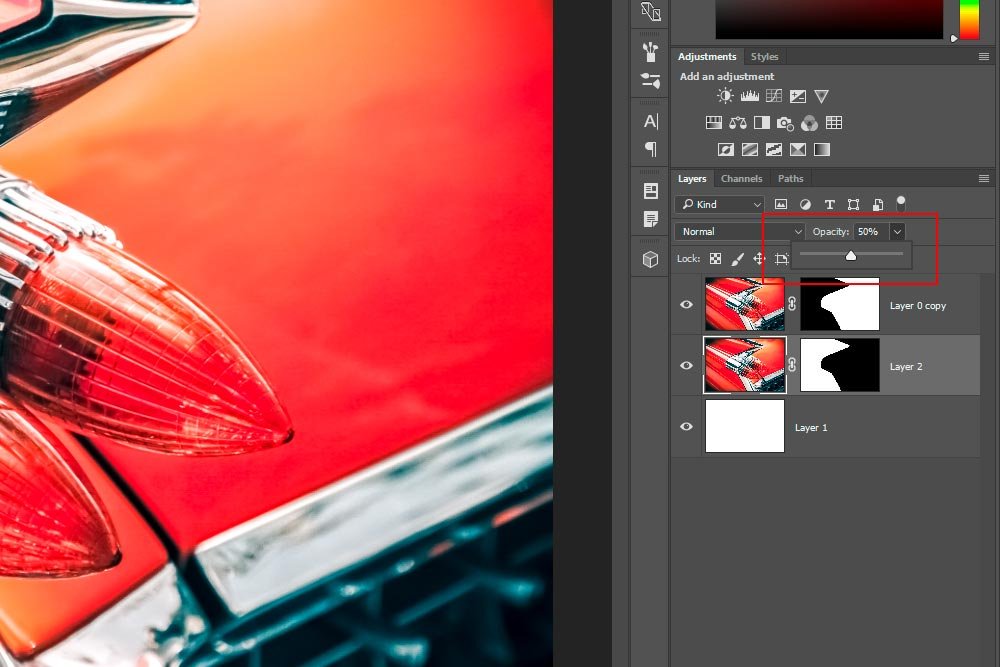
Before I can get to the power tips, I have to make a change to the mask. Do do this, I’m going to make sure I have black chosen in the color picker and that my Brush Tool is active. I’ll resize the brush so it can work efficiently and then edit the Opacity up in the options bar. I’ll change the opacity to 50%, so my changes are softer than they would be if I left them at 100%.Finally, I’ll paint the sky area black to erase some of the sepia coloring. I’d like to bring the sky back somewhat from where it is now.
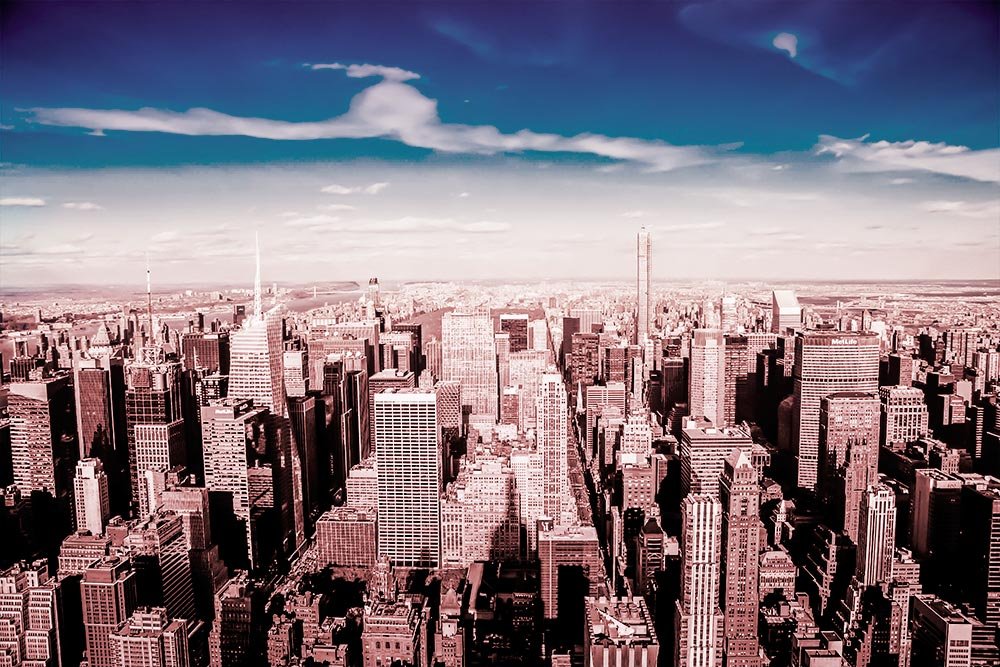
Okay, I now have a working file that will allow me to move on with the tips I’d like to show.
Tip #1 – Large Mask View
Even though I didn’t make any intricate or detailed changes via this mask, this tip will still help you out.Right now, the only way I can see that I made a change to the adjustment layer mask is to look at the photo directly or to look at the mask thumbnail in the Layers panel. Those options aren’t very good. What if there was a larger view? Well, there is.
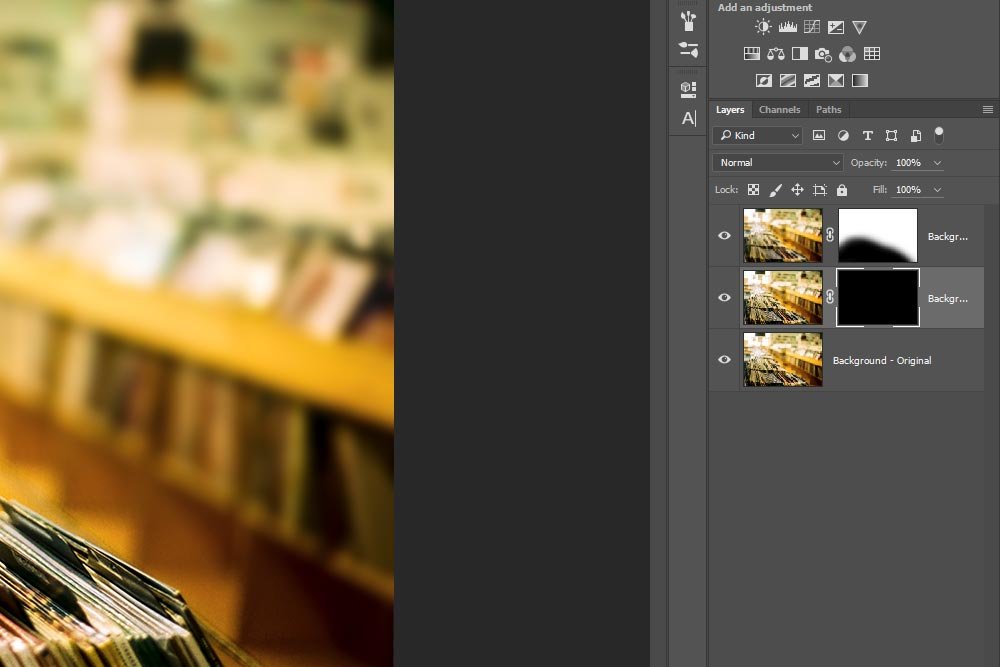
If I move my mouse pointer so it sits right on top of the layer mask thumbnail in the Layers panel and press Option (Mac) or Alt (Windows) and left click on my mouse, the entire photo will be covered by the mask itself.
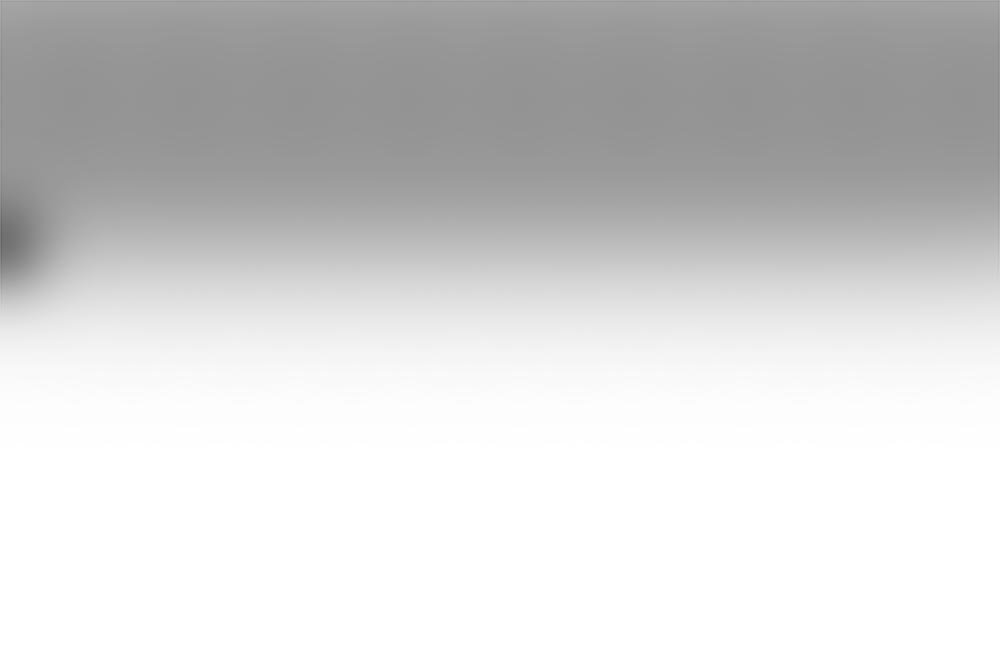
By having a large mask view like this, I can go ahead and make edits to it that I wouldn’t have otherwise been able to make. To change things back to their regular view, all I have to do is repeat the steps I took above. Option or Alt click. That’s it.
Tip #2 – Overlay View
The tip above is good, but I have an even better one. The issue with having a solid overlay like the one above is that I can’t see what I’m editing. This may be good for filling in solid areas or for changing black to white and vice-versa, but for continuous editing, not so much. Luckily, there’s another overlay option that shows the photo behind the large view of the mask.If I roll over the mask thumbnail again and click Shift+Option or Shift+Alt and left click, I’ll get an easier view to work with.
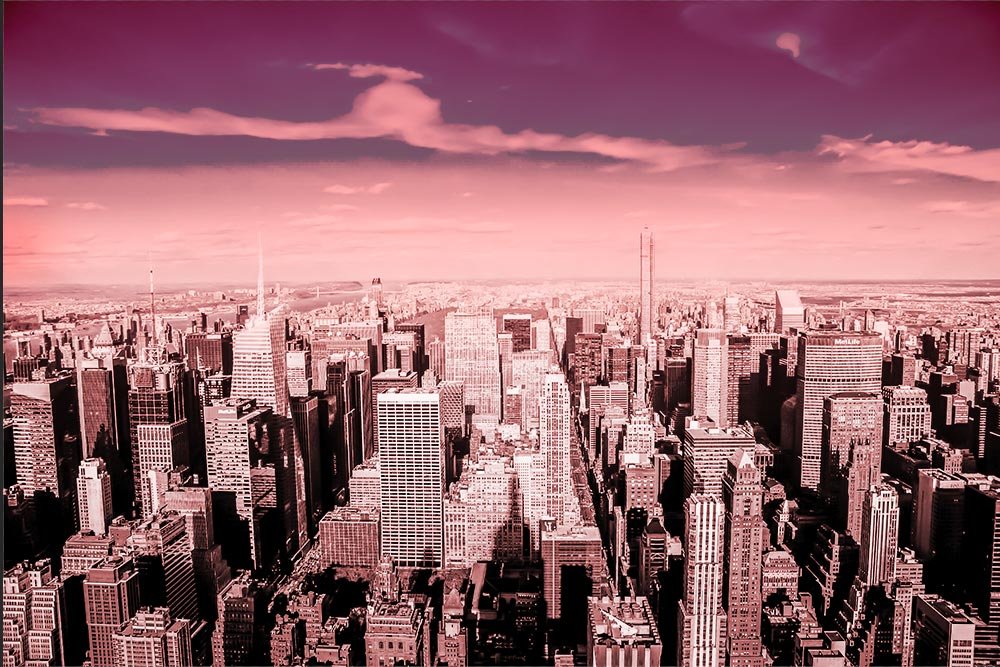
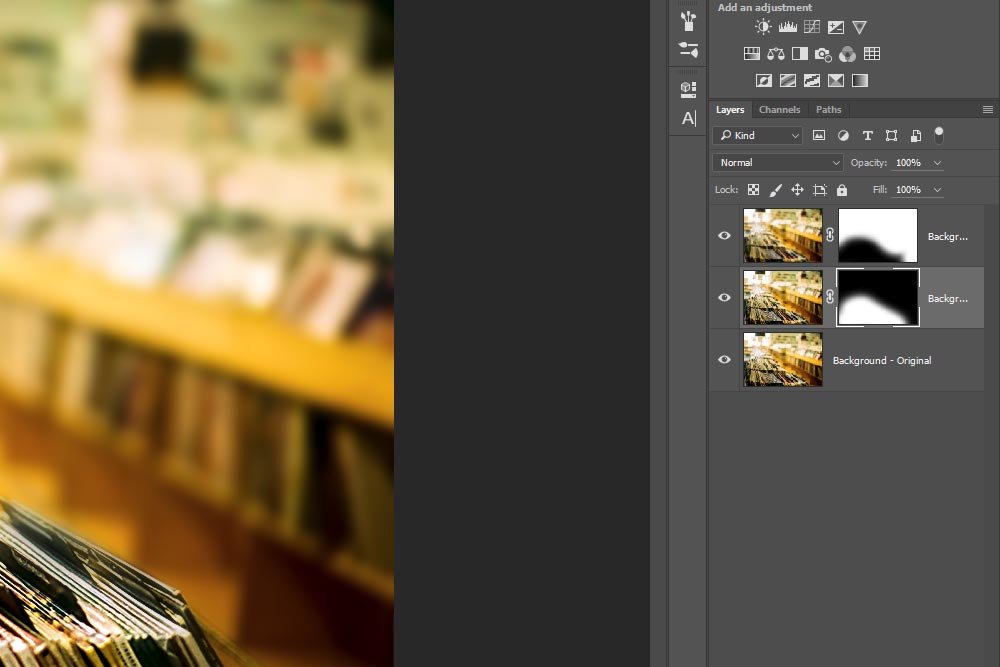
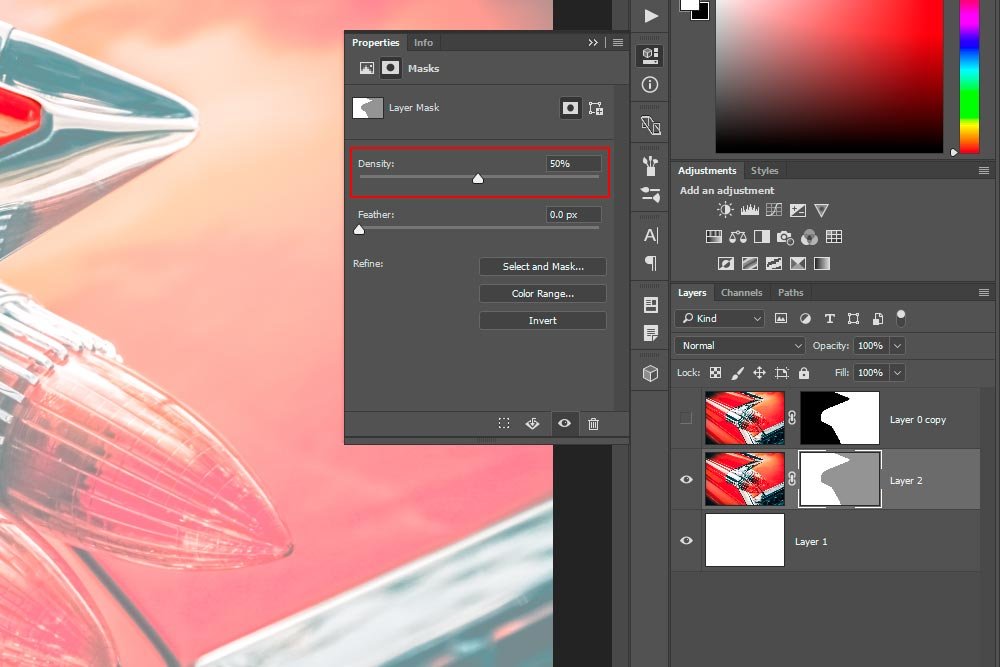
In this case, the areas where the mask is hidden (gray or black) have turned to red and the areas where the mask is in effect (white), there is no red. This is extremely handy because it offers the ability to continue working in this mode.
To change things back to the regular view, simply Shift+Option or Shift+Alt again.
Tip #3 – Hide the Mask
Every application I’ve ever worked with has had a before/after view. I love this because while I’m editing, the original fades from memory. By pushing a key or two, I can jump back and forth between the photo I originally opened to the one I worked on and edited. The great thing is, while editing a mask, I also have this type of option.Turning on and off a mask is simple. All that needs to be done is to, once again, roll your mouse pointer over the mask thumbnail, hold down the Shift key on your keyboard and left click with your mouse. Once you do this, a red X will appear over the thumbnail and the view of the photo will return as though a mask was never applied.
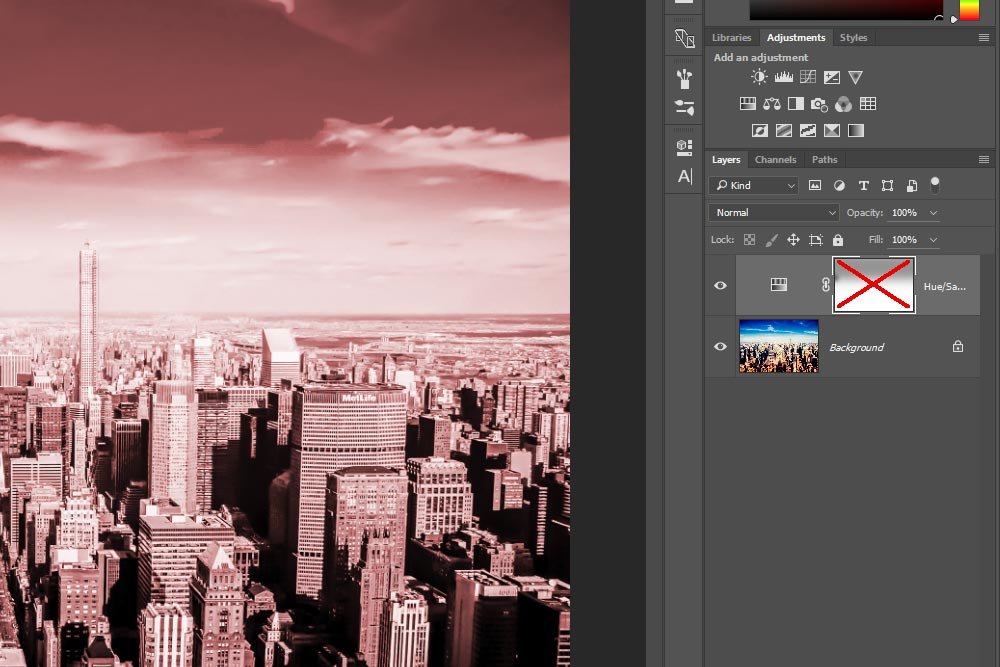
To turn the mask back on, or unhide it, again, repeat the above steps. Shift and left click.
Tip #4 – Jump Between White and Black
There are two very important keyboard shortcuts you need to know when working with masks. In this final section, I’ll talk about both of them.First, we have the left bracket [ and the right bracket ]. If you click the left bracket, the size of the brush you’re working with will get smaller. If you click the right bracket, it will get bigger. This is, how do I say, INCREDIBLY useful. Once you use these keyboard shortcuts for changing the size of your brush, you’ll never ever go back to doing it with your mouse.
Second, we have the X key on your keyboard. As you well know, the colors white and black are extraordinarily important when it comes to working with masks. Without a keyboard shortcut for switching between these two colors, we have to go over and click the little color picker double arrow. This by itself is a shortcut, but there’s an even faster one.
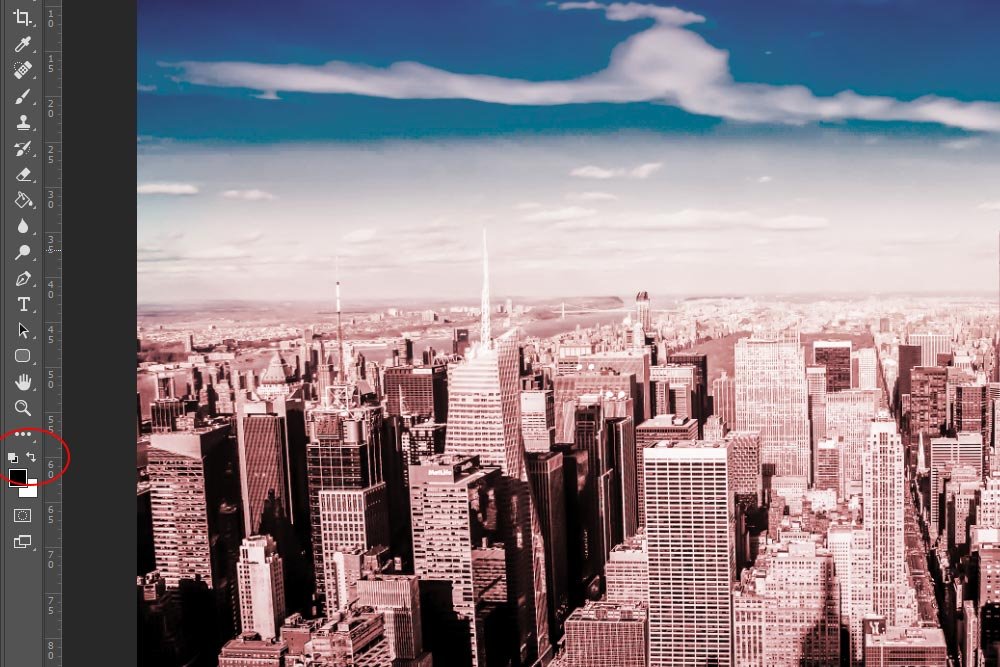
Instead of rolling over and clicking on the double arrow, simply press the X key on your keyboard. It does the same exact thing. It switches the foreground and background colors. So, if you already have black and white set for those two colors, you’re set up for some quick editing.

