EmeraldHike
Member
- Joined
- May 10, 2021
- Messages
- 133
- Reaction Score
- 0
- Points
- 21
- #1
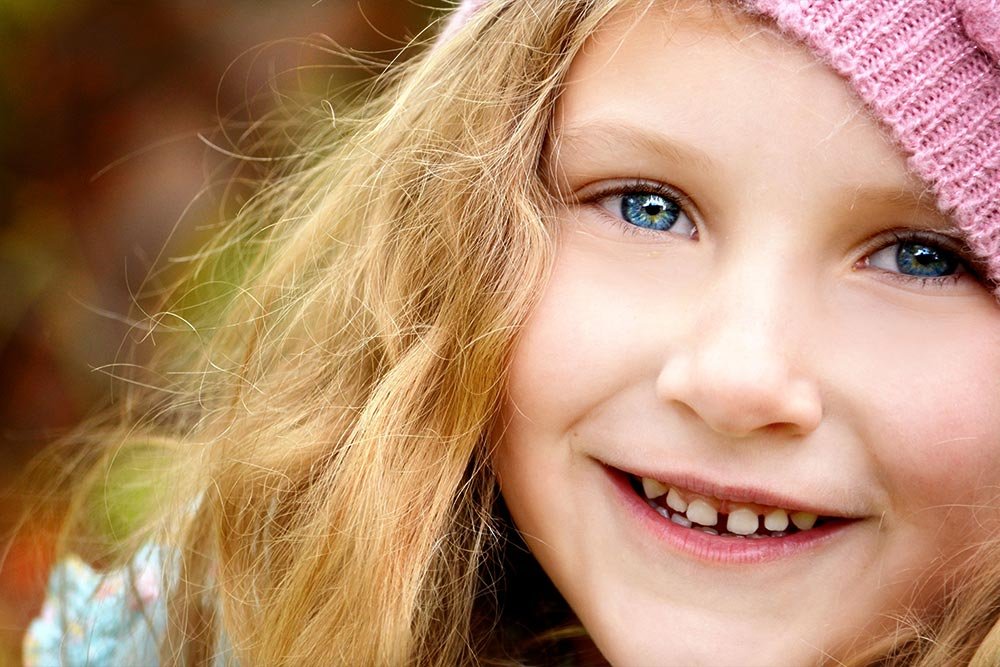
Among the next few posts, I’ll be writing about how to work on portraits in Adobe Photoshop. It’s important to realize that very few (if any at all) portrait photos are released into the wild without being touched. Oftentimes, they’re edited in Photoshop in such a way that accentuates specific areas of the image. In the posts that I write on this topic, I’ll begin with the outer edges of a portrait of a young girl and move in towards her primary focal point – her eyes. Since this is a multi-step process, I decided to break this serious up into multiple posts.
In today’s post, I’ll demonstrate how to begin editing a photo like this. While this type of work isn’t terribly challenging, it does require a good eye and some knowledge of the basic necessary steps. More precisely, I’ll be creating a very light and subtle vignette that encapsulates the model’s face, again, working in from the edges of the photo.
Original Photo
Below is the original portrait photo. The difference between it and the final photo won’t be very noticeable at all, and that’s the point. Drawing in someone’s eyes is a delicate maneuver and must be completed in a way that’s inviting as opposed to abrupt.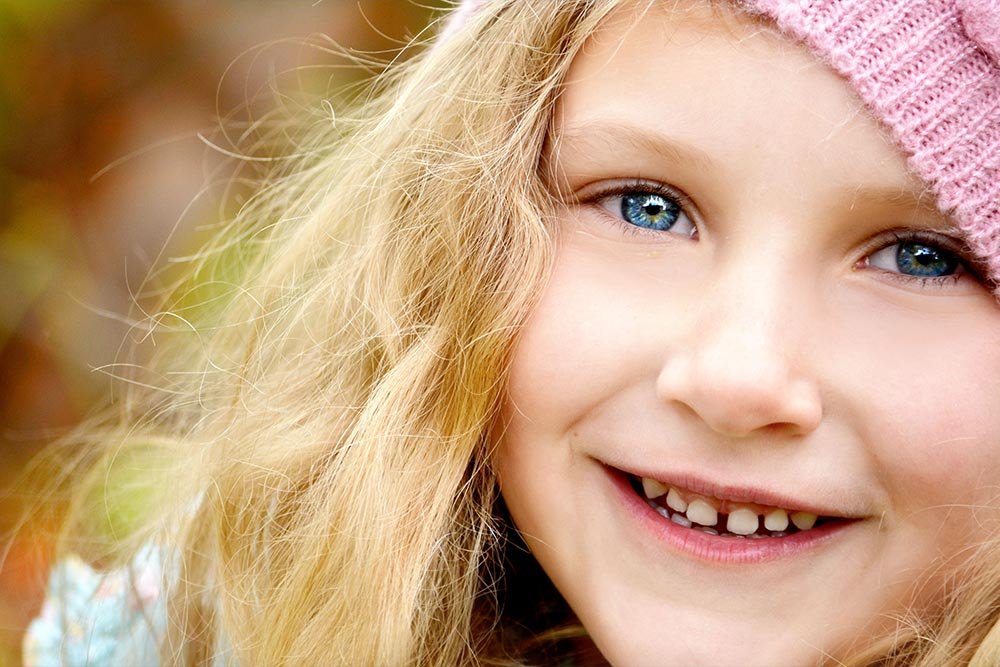
Creating a New Layer
Since my goal is to darken the edges of this portrait while leaving the model’s face alone, I’ll need a new layer. I wouldn’t want to touch the original layer because if I did, it would be awfully challenging to undo anything I might want to change in the future. By creating a new layer and working in that layer to make my changes, I’m creating an environment that’s called non-destructive. At any point, I could simply delete the top layer to start everything over from the beginning. Think about it like covering a car with clear plastic wrap and then painting it. It will look nice, but if you wanted to paint the car a different color, all you’d need to do is pull off the wrap.Creating a new layer today is going to be a bit different than way I’ve done it in the past on this blog. While I normally move down to the bottom of the Layers panel and just click the Create New Layer icon, I’m going to add one more step to the process for this project. Before I click the icon, I’m going to press and hold the Alt key on my keyboard (Option on Mac). Doing so will open a small dialog box.
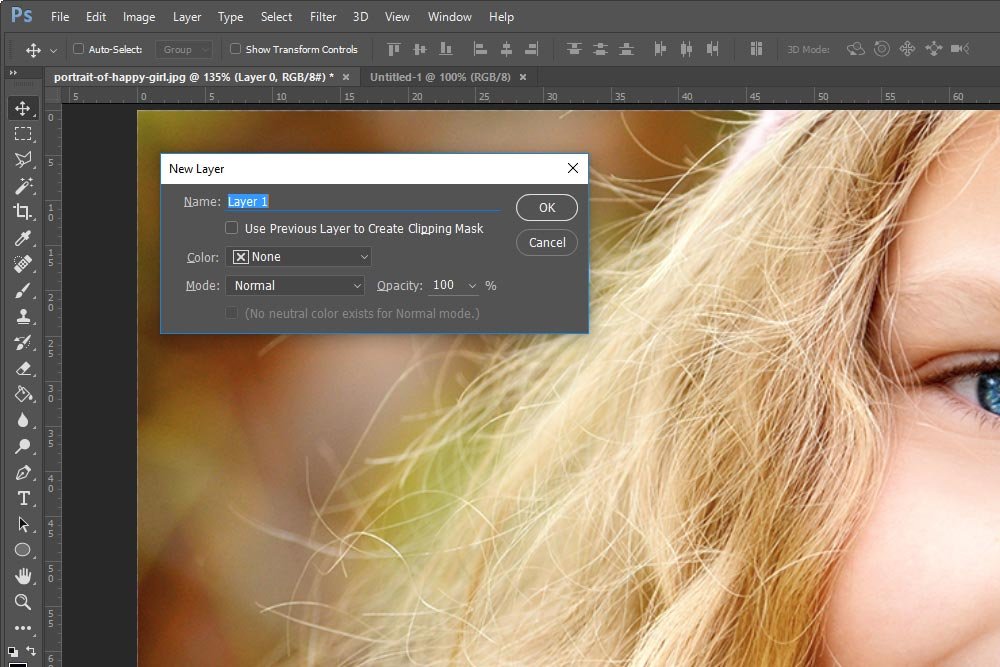
This box is called the New Layer dialog. Inside it, there are a few options. I’ll only be taking advantage of three today.
First, I’m going to name the new layer. Since I’ll be creating a vignette, I’ll call it Vignette. Second, I’ll click Soft Light in the Mode drop-down.
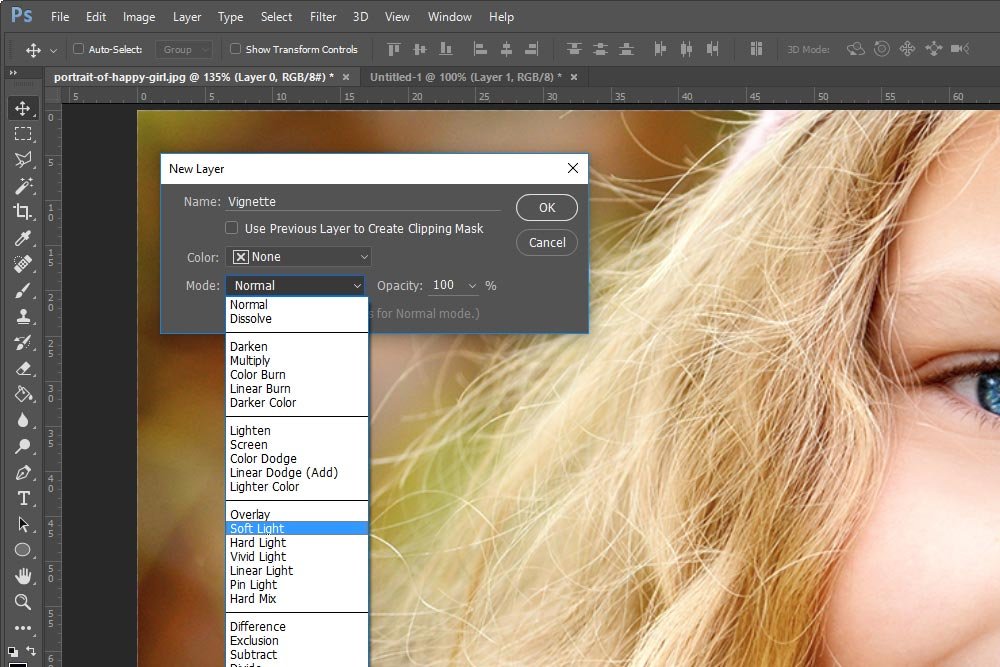
Finally, I’ll check the box that says Fill With Soft Light Neutral Color (50% Gray).
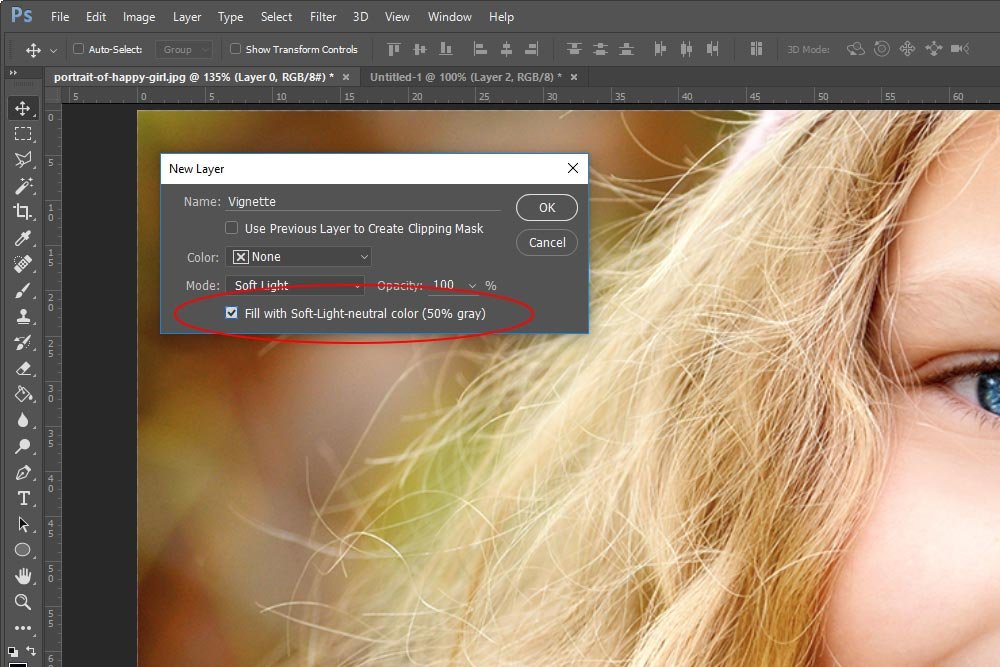
You may be asking yourself why I did all this. Well, let’s take a look at Adobe’s description of the Soft Light blending mode:
Darkens or lightens the colors, depending on the blend color. The effect is similar to shining a diffused spotlight on the image. If the blend color (light source) is lighter than 50% gray, the image is lightened as if it were dodged. If the blend color is darker than 50% gray, the image is darkened as if it were burned in. Painting with pure black or white produces a distinctly darker or lighter area, but does not result in pure black or white.
Since my goal is to burn the edges of this portrait, this should work out perfectly.
Burning the Edges
Before I begin anything else, let’s take a look at my Layers panel.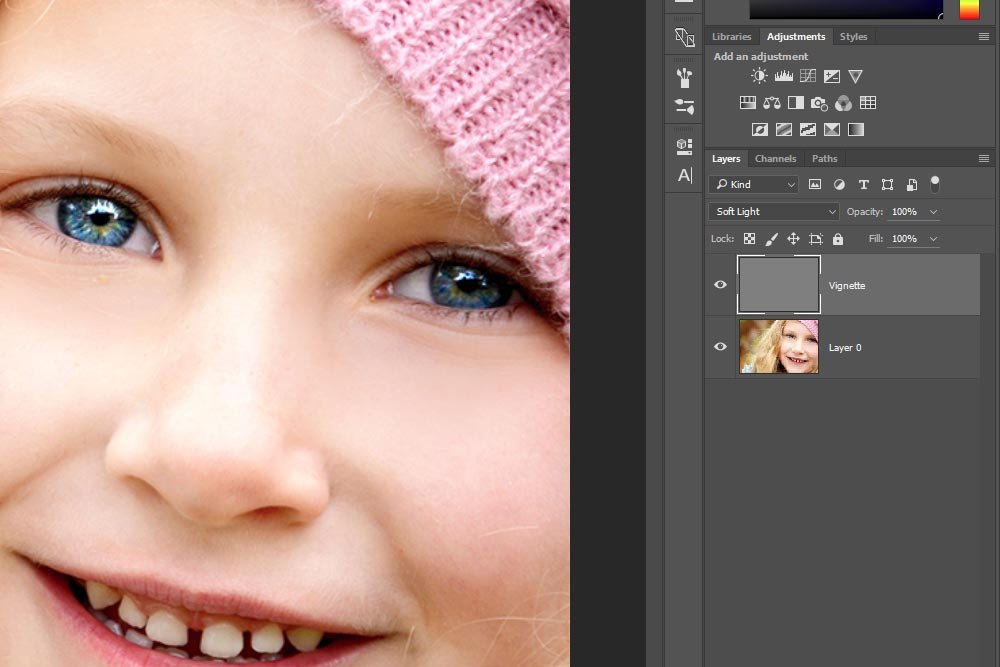
As you can see, I have the background (original image) layer as well as a new solid gray layer that has a blend mode applied to it. Now, just to let you know, I could have gone about creating this new layer a multitude of ways, but the method I used is the most simple.
The oddest thing about what I currently have going on is that the top gray layer is virtually invisible. That’s only because the Soft Light blend mode is applied. If I turned that mode off and back to Normal, the image would be hidden by the layer.
Remember, when using this blend mode along with a solid gray layer, all I need to do to darken, or burn, an area of an image is to paint it black. To lighten it, or dodge, I’d similarly paint it white. Since I want to darken, I’ll select my Brush Tool, choose a preset brush and make sure my color picker is set to pure black.
The goal here is subtlety. I don’t want any burning to be very noticeable. For this step of the project, all I want to do is to draw the viewer’s eye towards the face. Because of this requirement, I’m going to move the opacity of my brush to 25% up in the options bar.
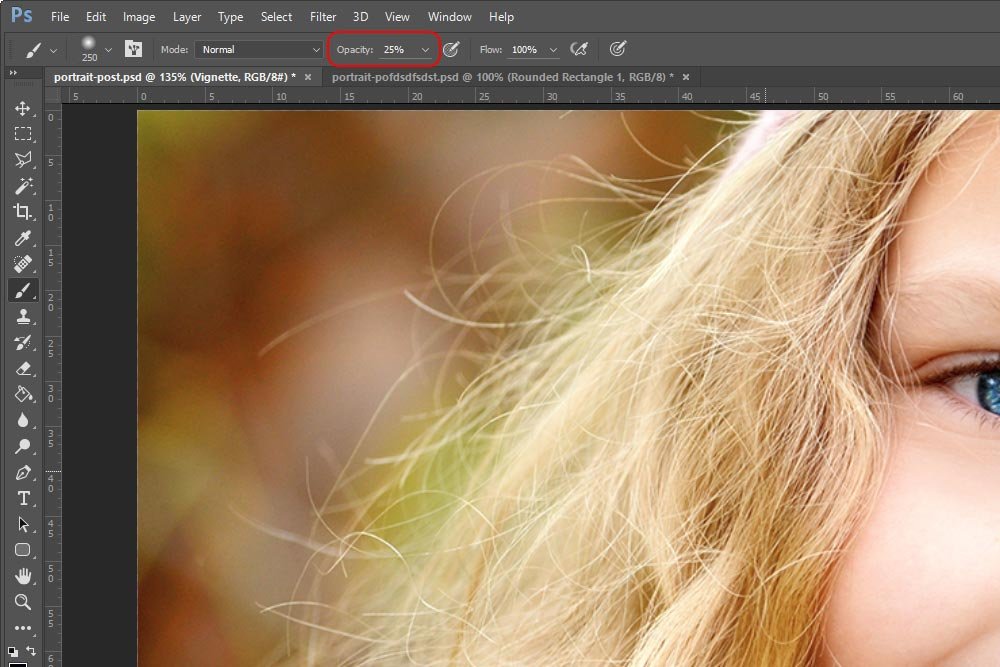
If I kept the opacity at 100%, the burn would be far too harsh.
Finally, with my brush size, shape, edge softness and opacity set, I can begin painting anywhere in the image that I don’t want attention drawn to. Basically, this means everything but the model’s skin.
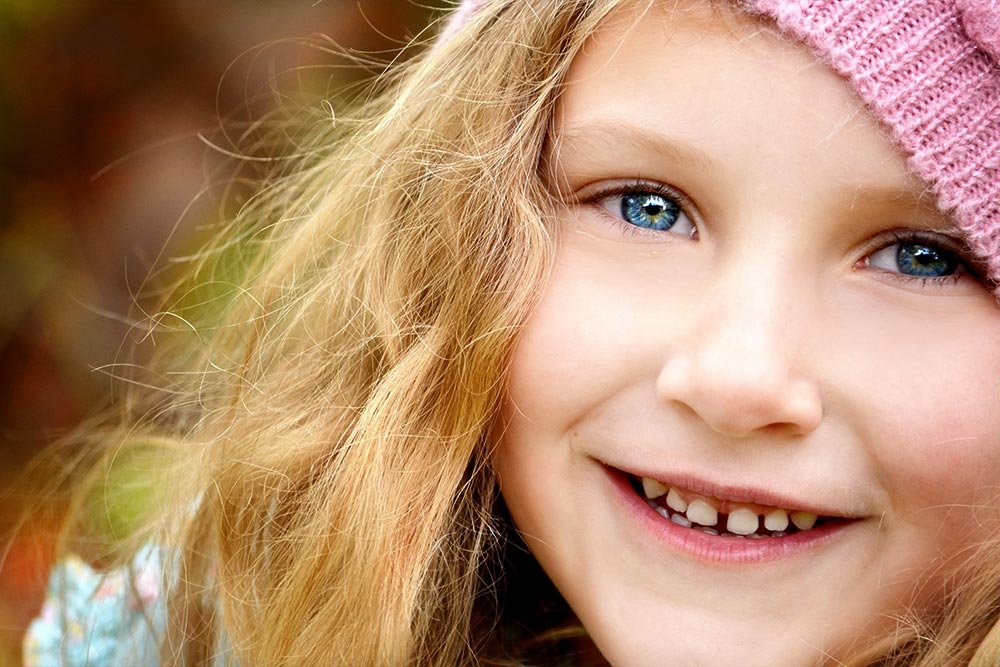
Now let’s take a look at the Layers panel.
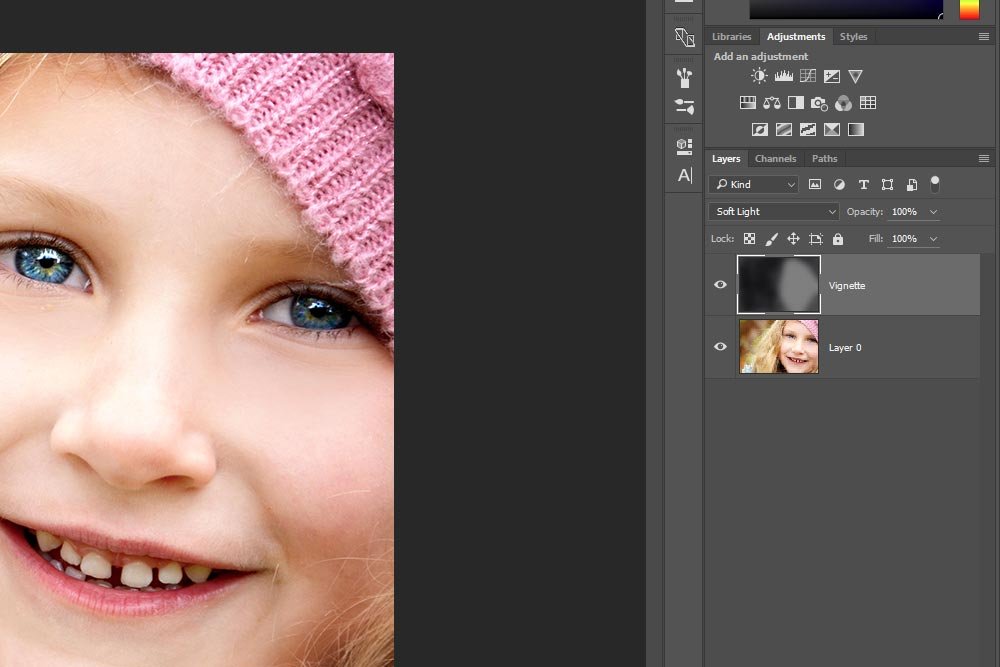
As you can see, I now have a vignette that surrounds the girl’s face.
While the change isn’t dramatic and you may be thinking I’m crazy right now, there surely is a change. Take a look at the next photo.

I’d say that’s enough for this step of the process. For each future step, I’ll be linking back to this post as well as placing links in this post to the future ones.
