LukeLewis
Member
- Joined
- May 7, 2021
- Messages
- 134
- Reaction Score
- 0
- Points
- 21
- #1
In a few of my previous posts, I covered how to go about correcting lens distortion in a photograph inside of Adobe Camera Raw. In those posts, I discussed how to fix lens distortion itself as well as how to use the Guided Upright tool. While both posts I just referenced use Camera Raw to fix distorted photos, I’d like to take this opportunity today to let you know that Adobe Lightroom offers the same exact features. If you know how to use these tools in Camera Raw, you should have no problems when it comes to using them in Lightroom.
In today’s post, I’m going to give you a quick overview of both the Lens Correction and Transform panels in Adobe Lightroom. It’s inside of these panels that the tools I referenced above are held. Luckily, it’s not very difficult to go about correcting an image using these tools because their offerings aren’t very extensive. They’re also very easy to understand.
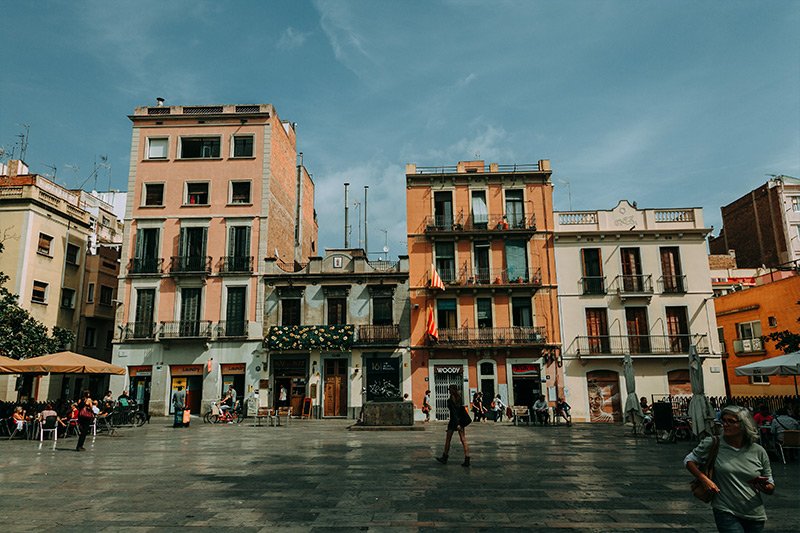
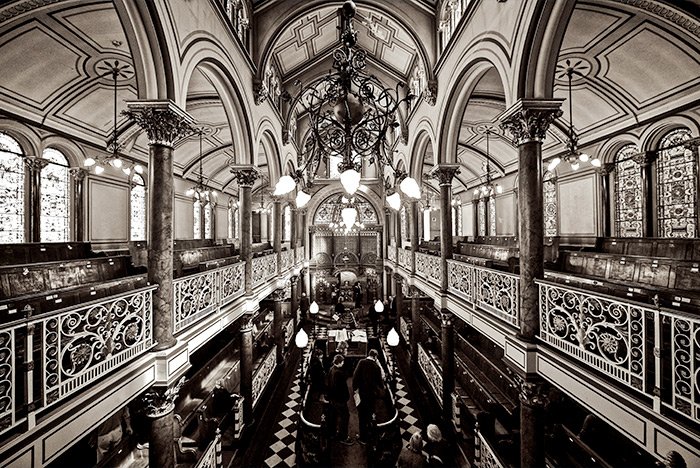
For today’s demonstration, I’ll be using a photograph of some indoor architecture. It’s exactly these types of photos that can show distortion the most, so it’s important to form a routine to run your images through to fix this sort of thing. It’s actually a good idea to run nearly every photo you take through this sort of correction, except, of course, if you’re going for a particular type of a look.
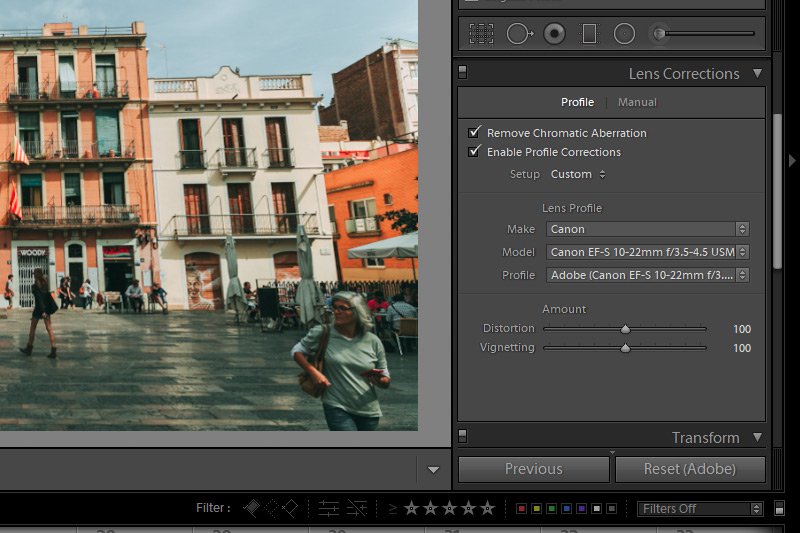
I’ve already got the image opened up in Lightroom, so I’ll head over to the Lens Correction panel. I’ll then click the Enable Profile Corrections check box.
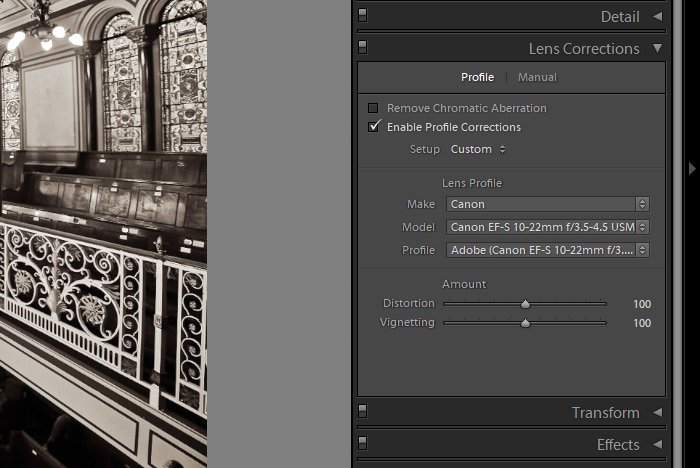
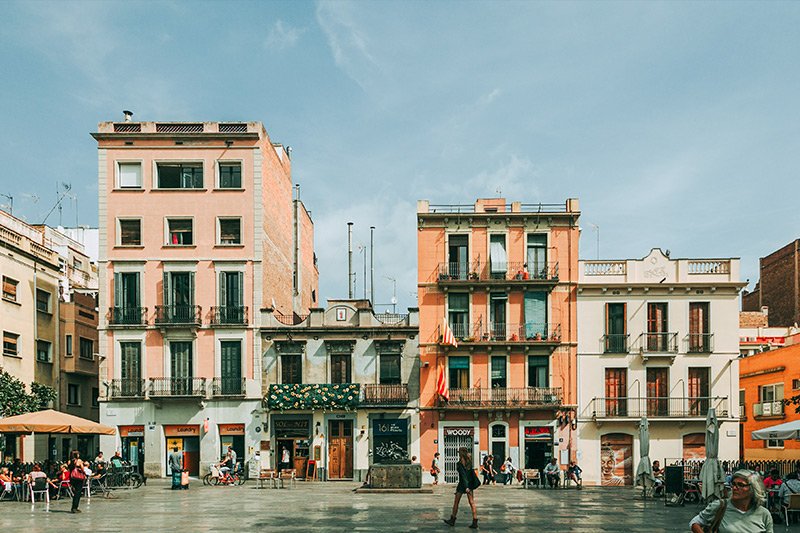
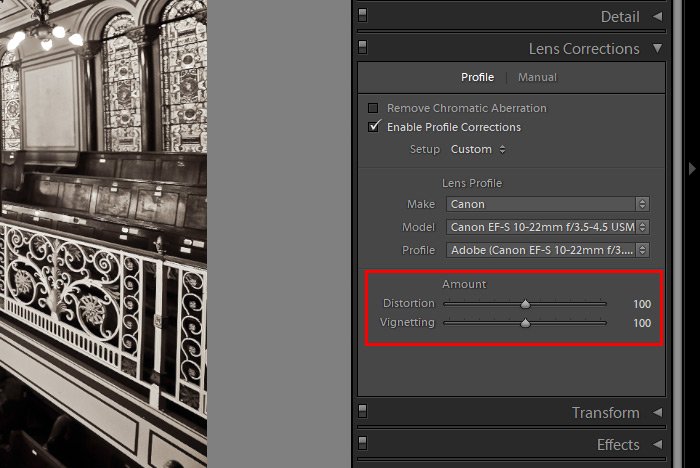
When I checked that box, Lightroom determined what type of camera and lens combination was used to capture the image and then made corrections based off that information. So, the photo was distorted before the box was checked and then a bit less distorted after it was checked. If I wanted to go even further and make corrections based on what I feel is necessary, I could always move down a tad and push both the Distortion and Vignetting sliders until I see a result I like. The Distortion slider will emphasize the Barrel Distortion corrections that were already made automatically and the Vignetting slider will either brighten or darken the edges of the image.
If, for some reason, Lightroom can’t pick up on what type of camera was used to take the photo, there is another option. I’ll click on the Manual link inside of the Lens Correction panel and then push the Distortion > Amount slider back and forth until I see the result I like.
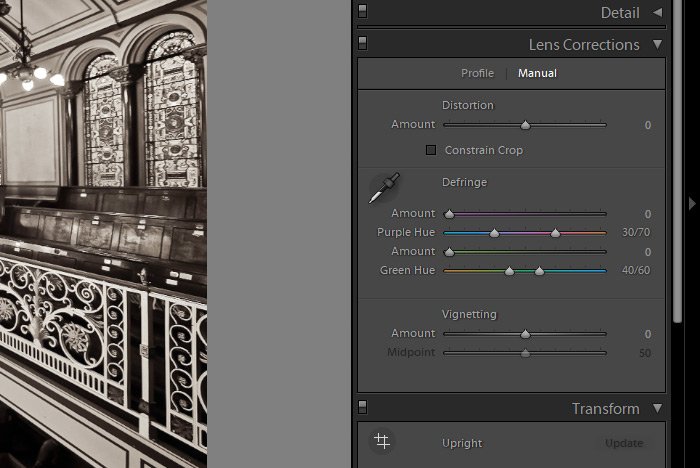
As a word of warning, this slider is much more dramatic than those in the previous Profile section. A little goes a long way with this one. I’ll push this slider all the way to the right to demonstrate. Let’s see what that does to the photo.
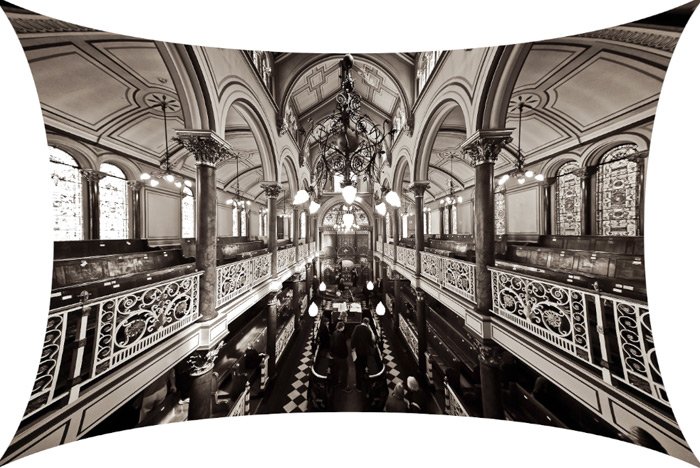
See what I’m saying here? So be careful with this one.
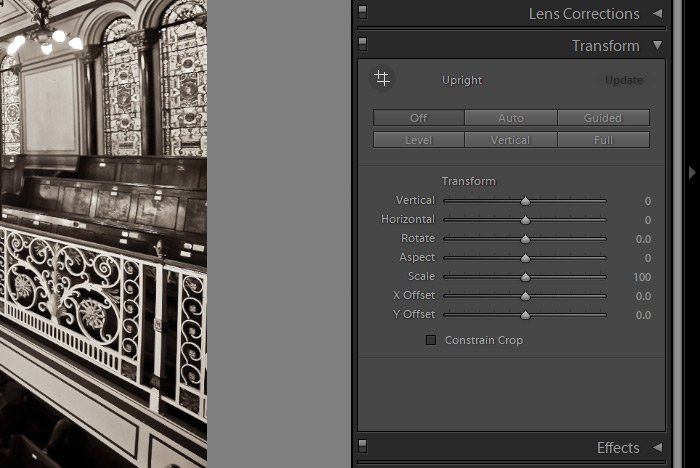
If you felt as though you needed some custom improvements, you can always push the associated sliders down below. As an example, I’ll push the Horizontal slider to the right. Let’s see the result of that.
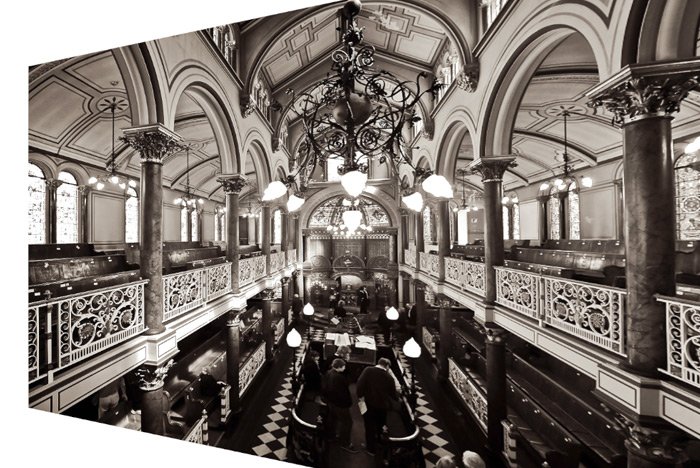
As you can see, these corrections have the capability of being quite dramatic as well.
With the tools I discussed in this post, you can make most necessary corrections to your photos. In subsequent posts, I’ll be covering how you can take advantage of these same tools to alter images other than buildings, cities and things like that. If you have any questions about what I shared here today, please ask below or in the Lightroom section of the discussion forum. Thanks for reading!
In today’s post, I’m going to give you a quick overview of both the Lens Correction and Transform panels in Adobe Lightroom. It’s inside of these panels that the tools I referenced above are held. Luckily, it’s not very difficult to go about correcting an image using these tools because their offerings aren’t very extensive. They’re also very easy to understand.
For today’s demonstration, I’ll be using a photograph of some indoor architecture. It’s exactly these types of photos that can show distortion the most, so it’s important to form a routine to run your images through to fix this sort of thing. It’s actually a good idea to run nearly every photo you take through this sort of correction, except, of course, if you’re going for a particular type of a look.

The Lens Correction Panel
I’m sure you’ve seen lens distortion before. You may not have noticed it in many photos, but you most likely will if you look at an image that was captured using a wide angle lens. Typically, you’ll see a slight bulge or shrinkage that originates from the center of the image and also curves, or bows, in areas that are supposed to consist of straight lines. Finally, the most common feature of lens distortion includes a darkening of the photo’s edges. This is called vignetting. So we’ve got Barrel Distortion, Pincushion Distortion and Vignetting. These are all simple enough to correct inside of the Lens Correction panel.I’ve already got the image opened up in Lightroom, so I’ll head over to the Lens Correction panel. I’ll then click the Enable Profile Corrections check box.

When I checked that box, Lightroom determined what type of camera and lens combination was used to capture the image and then made corrections based off that information. So, the photo was distorted before the box was checked and then a bit less distorted after it was checked. If I wanted to go even further and make corrections based on what I feel is necessary, I could always move down a tad and push both the Distortion and Vignetting sliders until I see a result I like. The Distortion slider will emphasize the Barrel Distortion corrections that were already made automatically and the Vignetting slider will either brighten or darken the edges of the image.

If, for some reason, Lightroom can’t pick up on what type of camera was used to take the photo, there is another option. I’ll click on the Manual link inside of the Lens Correction panel and then push the Distortion > Amount slider back and forth until I see the result I like.

As a word of warning, this slider is much more dramatic than those in the previous Profile section. A little goes a long way with this one. I’ll push this slider all the way to the right to demonstrate. Let’s see what that does to the photo.

See what I’m saying here? So be careful with this one.
The Transform Panel
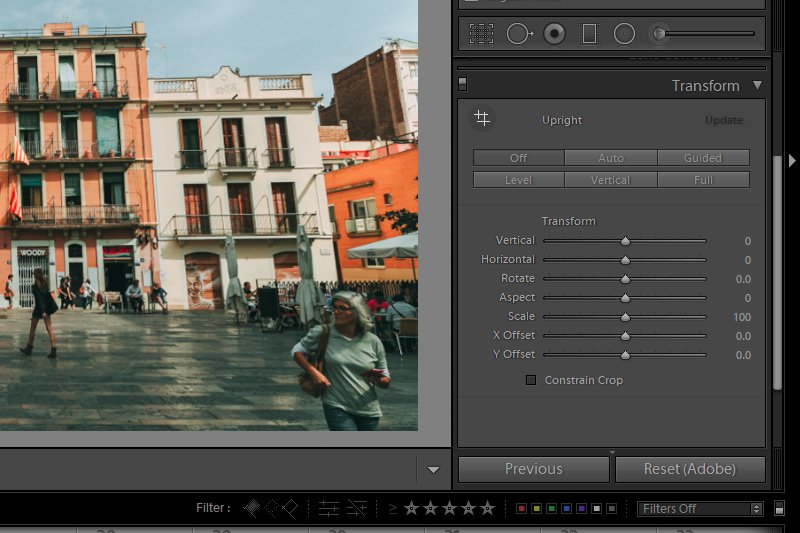
If I saw straight edges in the photo that were leaning one way or another or that were distorted in some fashion, I could make tremendous improvements by taking advantage of the Transform panel. Inside this panel is the Upright tool, which does a remarkable job at straightening things out. While I won’t get into every nuance this tool has to offer, I will tell you that by clicking each of the available buttons up at the top of the panel, you’ll easily see the effects they can offer. For best results, I’ve found that the Auto and the Full buttons give the best results. They straighten lines out the most effectively so the photo appears the way reality intended.
If you felt as though you needed some custom improvements, you can always push the associated sliders down below. As an example, I’ll push the Horizontal slider to the right. Let’s see the result of that.

As you can see, these corrections have the capability of being quite dramatic as well.
With the tools I discussed in this post, you can make most necessary corrections to your photos. In subsequent posts, I’ll be covering how you can take advantage of these same tools to alter images other than buildings, cities and things like that. If you have any questions about what I shared here today, please ask below or in the Lightroom section of the discussion forum. Thanks for reading!

