EmeraldHike
Member
- Joined
- May 10, 2021
- Messages
- 133
- Reaction Score
- 0
- Points
- 21
- #1
The Liquify Filter in Adobe Photoshop is almost an application in and of itself. It’s super powerful and it can add a level of creativity to a photo or graphic rarely seen anywhere else. If someone asked me about this filter, I would simply tell that “It’s huge.” That’s all I’d say. Well, maybe after that, I’d then go into my usual routine of telling them far too much and way more than they were asking about. That’s just the way I am.
In today’s post, I’d like to do some exploring inside of the Liquify Filter panel. Inside of this panel is an independent interface that can be used to do all sorts of things. From expanding to contracting, twirling and positioning. It’s a really great tool to learn about and become familiar with, so, if you have any interest in altering a photo to look completely different than it once did, please read on below. I’ll be covering many of the features of this filter, one by one and with examples of the output of each.

If I ever want to get back to the original image, I’ll have that ability.
What are Smart Objects in Adobe Photoshop?
As you can see, the layer is now a Smart Object.
I didn’t even have to click on the small lock icon to unlock the layer. The convert option was already available in the menu.
After I do that, I’ll see an entirely new window open. This is the Liquify panel.
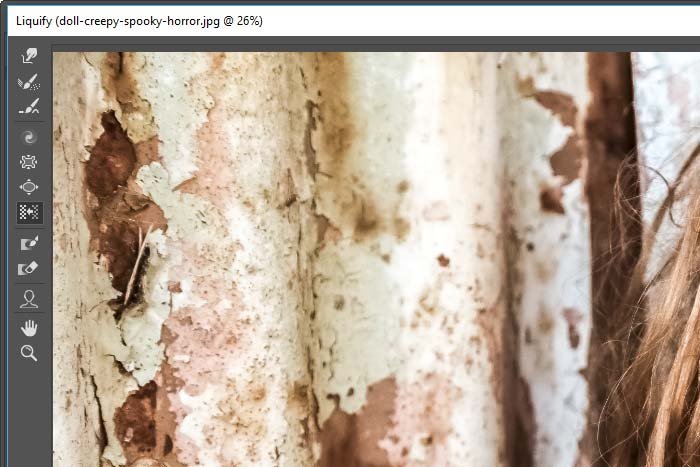
Before I go any further, I want to tell you that there’s an entire strategy built around using this filter. Oftentimes, you’ll want to select and duplicate a particular object into its own layer before using the Liquify Filter on that layer. This is done to create separation from the original image. Since I don’t need any separation and since I’m merely partaking in a few demonstrations, I’ll skip the selections and placing things in their own layers. I’ve just gone ahead and launched the entire image into this filter. Perhaps in the future, I’ll talk more about different methods one can use to go about refining their workflow when it comes to a tool like this.
Also, just to let you know, most of the tools used in this filter act just like the Brush Tool does. In other words, when you click on them to use them, you’ll see a circle that you can resize either larger or smaller. Much of this filter really is a glorified Brush Tool. The only difference is, you can do a heck of a lot more with this thing than you can do otherwise.
How to Adjust the Brush Tool Settings in Adobe Photoshop
Also, I’d like to let you know that I’ll be showing you just the basics today. There is a lot more to this tool than I’ll be discussing here. In future posts, I’ll flesh out much more.
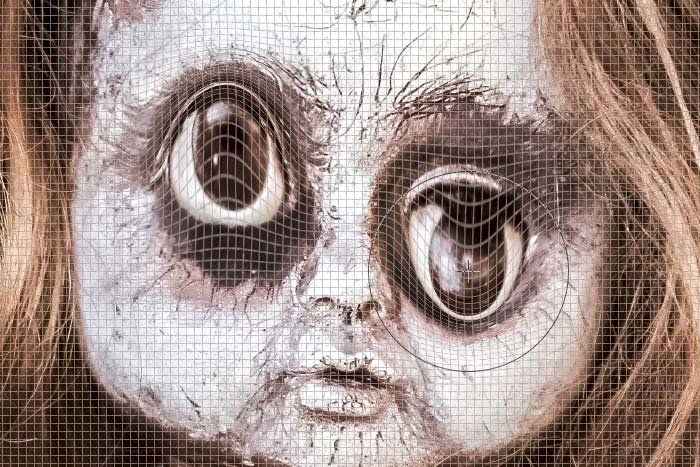
I’ll go ahead and do this. I’ll click and drag on the doll’s eyes to distort both of them. I’ll drag one up and one down.
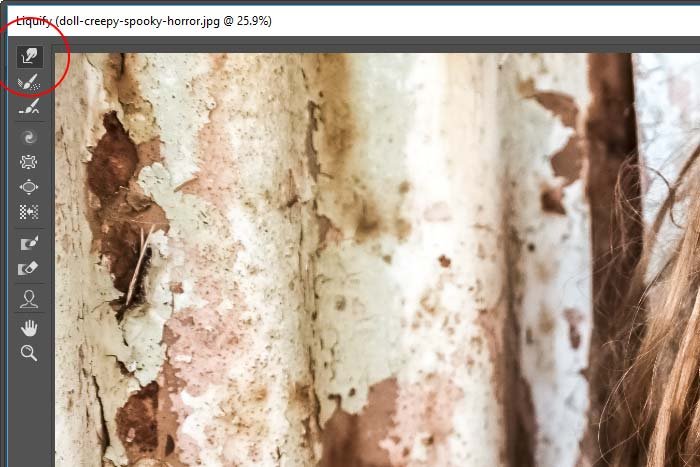

In the above screenshot, you can see the brush I was using. It’s hanging out in the doll’s hair. It has a crosshairs at its center.
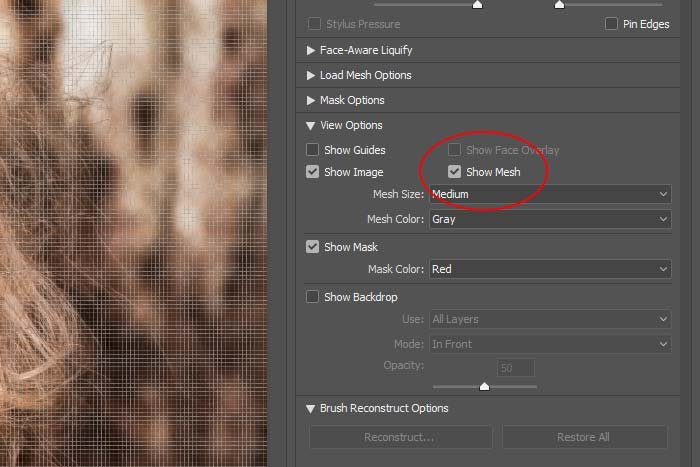
Since it’s oftentimes challenging to see exactly where you’ve made changes, after a bunch of changes have been made, there’s an option to turn on a mesh overlay. This overlay displays lines that curve where any change has been instigated. To turn this feature on and off, simply click inside of the check box over in the right panel area.
Take a look how the result looks. It’s clearly visible where I made the distortions. There’s no question about it.
To activate this tool, I’ll click the second button over inside the left toolbar. It’s called the Reconstruct Tool.
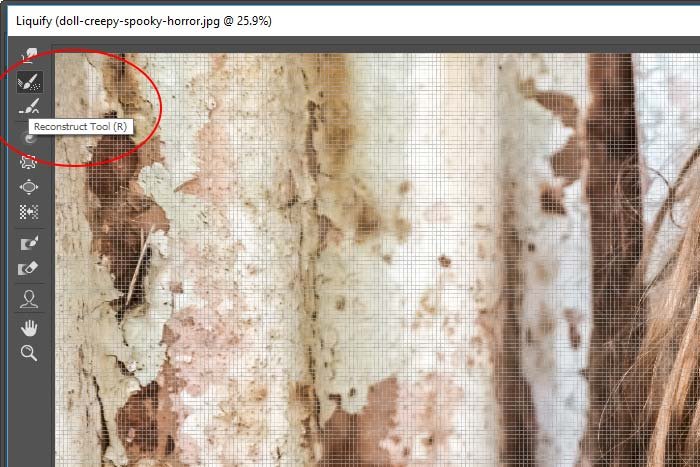
This tool appears the same way the previous one did. It looks like a brush. To reconstruct something I’ve, in this case, warped, all I need to do is click on top of whatever it was that I manipulated. I can also click and drag this brush around to make sure I got everything. I’m going to put the left eye back where it was.

Again, I could have done this only half way or more or less. I wanted to undo the entire warp on this side, so I went a bit further than most people would go. This tool is sort of like magic. It won’t go further than the look of the original photo or graphic, so there’s no need to be light handed with it. Also, just a few dabs are sometimes all that’s necessary.
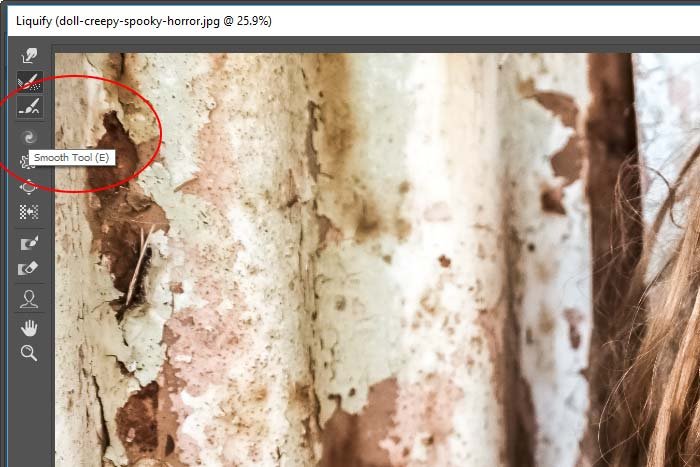
In this next screenshot, I warped the left eye too much. To tamp things back down and to make the warp more rounded, I glided the Smooth Tool brush over the top of the warp a bit. That mellowed things out and forced the warp back into position some.

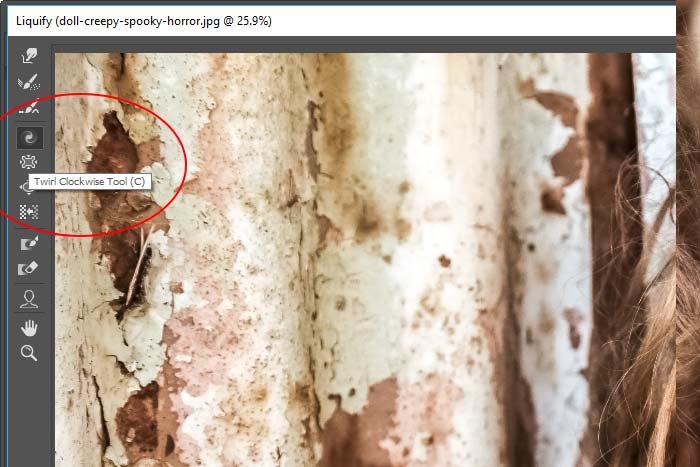

Again, you can use the Reconstruct Tool to undo any twirling you find yourself in the middle of. That really is a great tool to take advantage of.
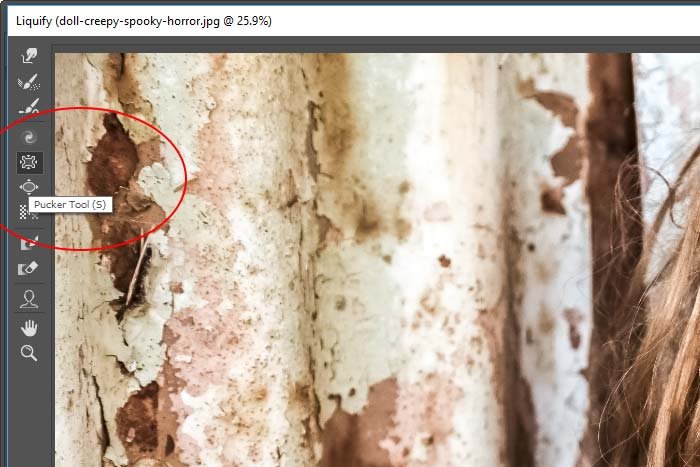

By the way, this is one way to reduce various sizes of parts of people’s bodies. When you hear that someone’s arms or waist was Photoshopped, this is one way to go about doing that.
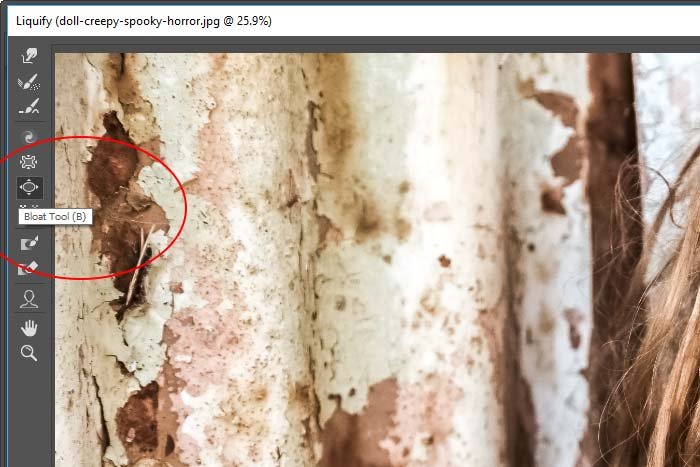
This tool does exactly the opposite of what the Pucker Tool does. It enlarges areas. So, if you’d like to make something larger in a photograph, simply activate this tool by clicking its icon and then resize your brush. Click on the area you’d like to make bigger and there you go. In the example below, you can see the size of the brush I used as well as the larger eyes that I bloated. Pretty cool.

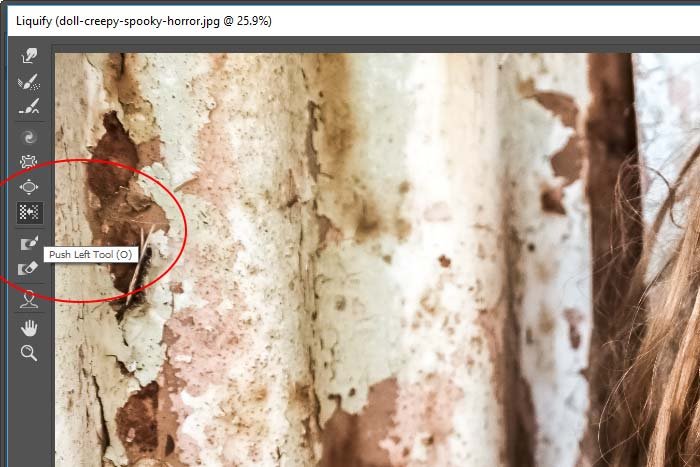
In this next screenshot, I dragged up over the left eye and then dragged down over the right eye. You can see how they were pushed apart.

You can also see how easy it is to make someone look completely different than they once did. All this with the Liquify Filter.
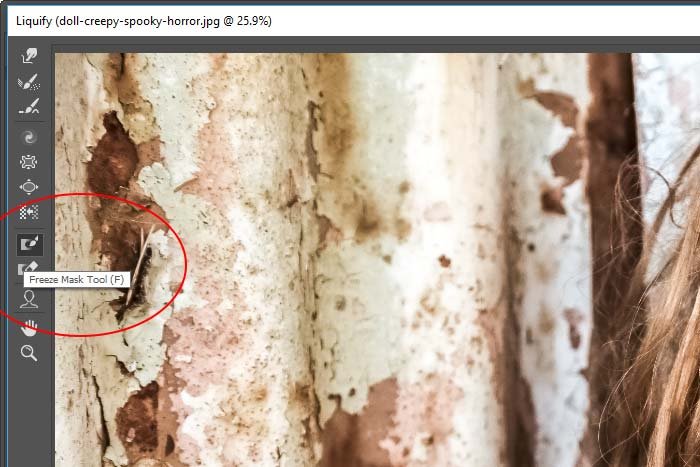
Let’s say I wanted to twirl the lower half of the doll’s face, but that I didn’t want any of the upper portion of the face touched or altered. To accomplish something like this, I can’t just make the brush smaller. I’d need something to block out the top portion of the face from being twirled – completely.
If I activate the Freeze Mask Tool, I can size my brush appropriately and then paint over any portion of the photo that I don’t want affected by any other liquify tool. In the example below, I painted over the top portion of the doll’s face. Then, I activated the Twirl Tool and, like I did earlier, twirled the face. As you can see, the bottom portion of the face is twisted, but the top portion of the face hasn’t been touched at all.

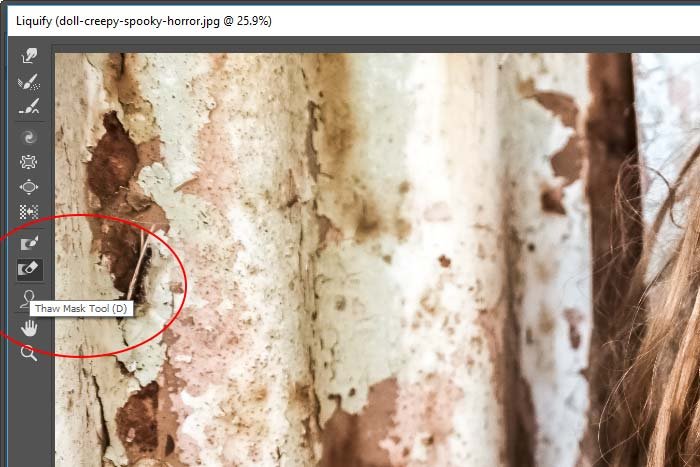
If I previously used the Freeze Mask Tool and painted some areas red that I didn’t necessarily want painted red, I can unpaint them with this tool. All I’d have to do is click to activate this tool and then size the brush. I can paint this new brush over the red areas to remove that red. This one is sort of like an erasure. It just undoes what was once done.
——
As I mentioned above, I’ll be writing more posts on the Liquify Filter tool in upcoming posts. These new posts will undoubtedly touch upon the right side of the Liquify panel that deals with all sorts of controls. I’ll discuss them later. In the meantime, if you have any questions or concerns regarding this post, please leave them in the comment section below. Thanks for reading!
In today’s post, I’d like to do some exploring inside of the Liquify Filter panel. Inside of this panel is an independent interface that can be used to do all sorts of things. From expanding to contracting, twirling and positioning. It’s a really great tool to learn about and become familiar with, so, if you have any interest in altering a photo to look completely different than it once did, please read on below. I’ll be covering many of the features of this filter, one by one and with examples of the output of each.
Demo Photo
For today’s post, I’ll be using a photo of a very creepy doll. The reason I chose this photo was because of the fact that it had some really nice features that I’d like to demonstrate on. Namely, the eyes. Many of the tools in the Liquify Filter would work perfectly with a face like this and I think what I decide to cover will be clearly understood.
Converting to a Smart Object
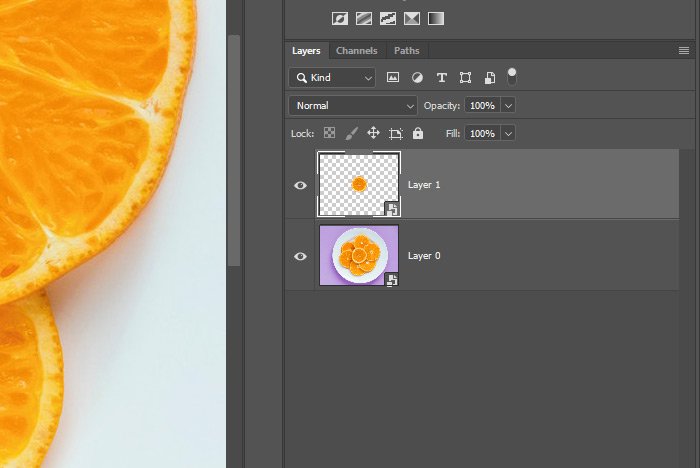
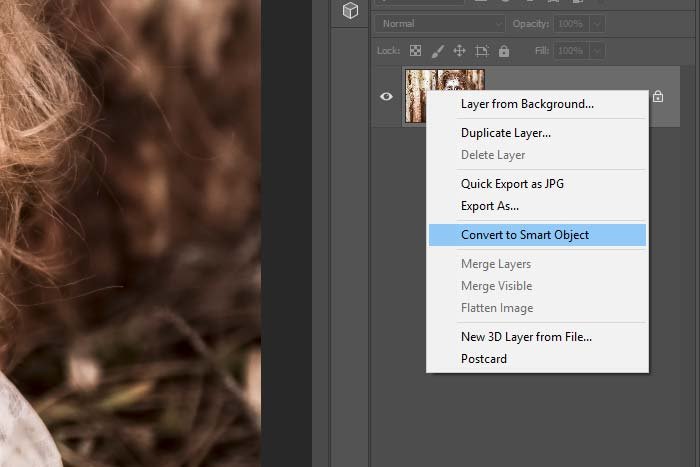
Because I’d like to make my changes in a non-destructive manner and also because I’d like to have the ability to go back and make changes with this particular filter (if need be), I’ll go ahead and convert the background image layer into a Smart Object. To do this, I’ll simply right-click on the layer in question and select Convert to Smart Object.
If I ever want to get back to the original image, I’ll have that ability.
What are Smart Objects in Adobe Photoshop?
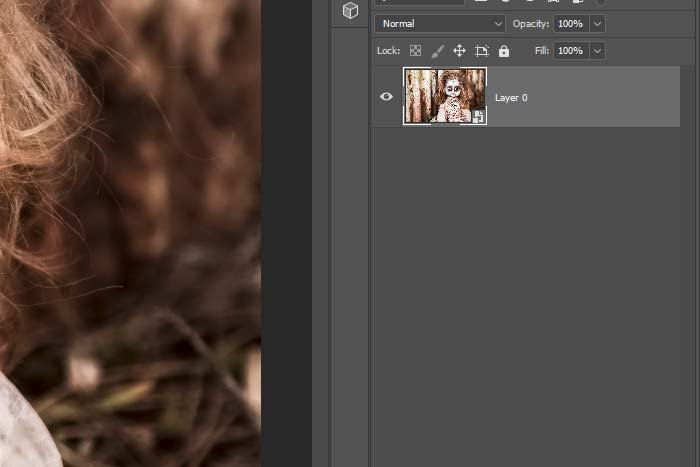
As you can see, the layer is now a Smart Object.

I didn’t even have to click on the small lock icon to unlock the layer. The convert option was already available in the menu.
Accessing the Liquify Filter
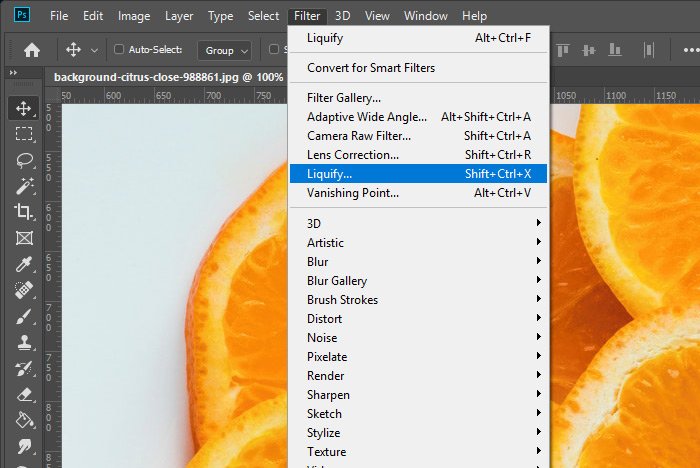
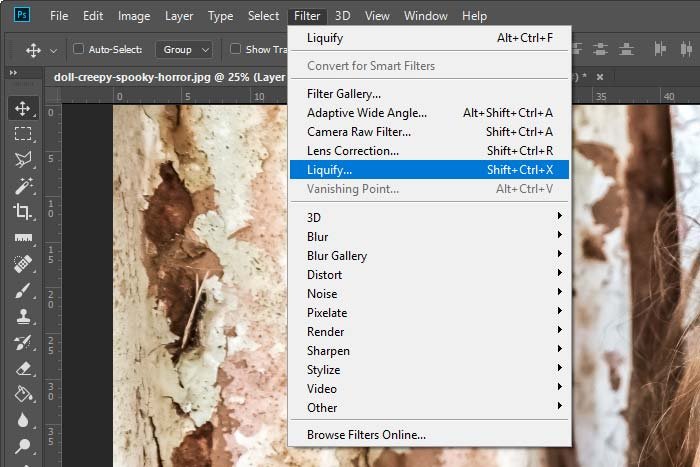
Okay, to access the Liquify Filter, I’ll head up to the Filter > Liquify menu item and click.
After I do that, I’ll see an entirely new window open. This is the Liquify panel.

Before I go any further, I want to tell you that there’s an entire strategy built around using this filter. Oftentimes, you’ll want to select and duplicate a particular object into its own layer before using the Liquify Filter on that layer. This is done to create separation from the original image. Since I don’t need any separation and since I’m merely partaking in a few demonstrations, I’ll skip the selections and placing things in their own layers. I’ve just gone ahead and launched the entire image into this filter. Perhaps in the future, I’ll talk more about different methods one can use to go about refining their workflow when it comes to a tool like this.
Also, just to let you know, most of the tools used in this filter act just like the Brush Tool does. In other words, when you click on them to use them, you’ll see a circle that you can resize either larger or smaller. Much of this filter really is a glorified Brush Tool. The only difference is, you can do a heck of a lot more with this thing than you can do otherwise.
How to Adjust the Brush Tool Settings in Adobe Photoshop
Also, I’d like to let you know that I’ll be showing you just the basics today. There is a lot more to this tool than I’ll be discussing here. In future posts, I’ll flesh out much more.
Forward Warp Tool
The first thing many of us think of when we imagine the Liquify Filter is warping or distorting something. Well, wouldn’t you know it, the very first tool on the left menu can do just that. It’s called the Forward Warp Tool and if you select it and resize your brush by pressing the [ or ] keys on your keyboard, you can distort any part of the image you’d like.I’ll go ahead and do this. I’ll click and drag on the doll’s eyes to distort both of them. I’ll drag one up and one down.


In the above screenshot, you can see the brush I was using. It’s hanging out in the doll’s hair. It has a crosshairs at its center.
Since it’s oftentimes challenging to see exactly where you’ve made changes, after a bunch of changes have been made, there’s an option to turn on a mesh overlay. This overlay displays lines that curve where any change has been instigated. To turn this feature on and off, simply click inside of the check box over in the right panel area.

Take a look how the result looks. It’s clearly visible where I made the distortions. There’s no question about it.

Reconstruct Tool
I would say that 99% of what folks do inside the Liquify Filter panel, they’d like to undo. For instance, I was just playing with warping the eyes. I don’t really want to do that. Instead of clicking the Cancel button down at the bottom of the panel to close things out and start all over again, I can opt to reconstruct what I’ve constructed. In other words, I can undo my changes, to any degree I’d like. They don’t have to be completely reversed. They can be semi-reversely or only slightly reversed.To activate this tool, I’ll click the second button over inside the left toolbar. It’s called the Reconstruct Tool.

This tool appears the same way the previous one did. It looks like a brush. To reconstruct something I’ve, in this case, warped, all I need to do is click on top of whatever it was that I manipulated. I can also click and drag this brush around to make sure I got everything. I’m going to put the left eye back where it was.

Again, I could have done this only half way or more or less. I wanted to undo the entire warp on this side, so I went a bit further than most people would go. This tool is sort of like magic. It won’t go further than the look of the original photo or graphic, so there’s no need to be light handed with it. Also, just a few dabs are sometimes all that’s necessary.
Smooth Tool
Let’s say I made a fairly sharp warp. I don’t know how – perhaps I used a brush that was too small and the warp came out tighter than I’d like. I’d like to take the edge off of it. To smooth out the sharp warp, I can use the Smooth Tool. It does exactly what I described.
In this next screenshot, I warped the left eye too much. To tamp things back down and to make the warp more rounded, I glided the Smooth Tool brush over the top of the warp a bit. That mellowed things out and forced the warp back into position some.

Twirl Clockwise Tool
This tool is extremely straightforward. It twirls things if you click on them. The default state of this tool is to rotate, or twirl, things clockwise. To twirl them counterclockwise, all you’d need to do is to hold down the Alt key on your keyboard. While holding that key down, click again and the twirl will be reversed.

Again, you can use the Reconstruct Tool to undo any twirling you find yourself in the middle of. That really is a great tool to take advantage of.
Pucker Tool
The Pucker Tool is so fun to play with. It does the opposite of what the Bloat Tool (up next) would do and that is it shrinks things. Part of the reason I chose this creepy photo to play with is because of this tool. I wanted to see what the face would look like if I shunk it a bit. To shrink, or pucker, something, all you have to do is appropriately size the Pucker Tool brush and click. The longer you click, the more the area will pucker.

By the way, this is one way to reduce various sizes of parts of people’s bodies. When you hear that someone’s arms or waist was Photoshopped, this is one way to go about doing that.
Bloat Tool
Puckering is fun, but bloating is more fun. The next tool on the list is called the Bloat Tool.
This tool does exactly the opposite of what the Pucker Tool does. It enlarges areas. So, if you’d like to make something larger in a photograph, simply activate this tool by clicking its icon and then resize your brush. Click on the area you’d like to make bigger and there you go. In the example below, you can see the size of the brush I used as well as the larger eyes that I bloated. Pretty cool.

Push Left Tool
The next tool I’d like to talk about is called the Push Left Tool. This is one that should be used with care because it’s quite powerful. In later posts, I’ll talk about how you can limit and reduce the effects of each tool, but for now, just know that if you activate this tool, click and drag up, you’ll push whatever content that’s underneath your brush to the left. If you click and drag down, you’ll push the content to the right.
In this next screenshot, I dragged up over the left eye and then dragged down over the right eye. You can see how they were pushed apart.

You can also see how easy it is to make someone look completely different than they once did. All this with the Liquify Filter.
Freeze Mask Tool
This is where things begin to get interesting. Much of what I’ve shown you above was like using a sledgehammer to get things done in Photoshop. Sometimes, you need to liquify with care and for that, more delicate tools are necessary. This is where the Freeze Mask Tool comes into play.
Let’s say I wanted to twirl the lower half of the doll’s face, but that I didn’t want any of the upper portion of the face touched or altered. To accomplish something like this, I can’t just make the brush smaller. I’d need something to block out the top portion of the face from being twirled – completely.
If I activate the Freeze Mask Tool, I can size my brush appropriately and then paint over any portion of the photo that I don’t want affected by any other liquify tool. In the example below, I painted over the top portion of the doll’s face. Then, I activated the Twirl Tool and, like I did earlier, twirled the face. As you can see, the bottom portion of the face is twisted, but the top portion of the face hasn’t been touched at all.

Thaw Mask Tool
The final tool I’ll be showing you today is called the Thaw Mask Tool. This one is really easy to grasp.
If I previously used the Freeze Mask Tool and painted some areas red that I didn’t necessarily want painted red, I can unpaint them with this tool. All I’d have to do is click to activate this tool and then size the brush. I can paint this new brush over the red areas to remove that red. This one is sort of like an erasure. It just undoes what was once done.
——
As I mentioned above, I’ll be writing more posts on the Liquify Filter tool in upcoming posts. These new posts will undoubtedly touch upon the right side of the Liquify panel that deals with all sorts of controls. I’ll discuss them later. In the meantime, if you have any questions or concerns regarding this post, please leave them in the comment section below. Thanks for reading!

