WendyMay
Member
- Joined
- May 11, 2021
- Messages
- 142
- Reaction Score
- 0
- Points
- 21
- #1
Much of what you can accomplish inside of Adobe Photoshop is very straightforward. If you want to resize a photograph, all it takes is a few simple clicks. To alter some colors or adjust the contrast of that same photo, just a few more clicks. Many of the online Photoshop tutorials available can teach you what you need to do for about 90% of the scenarios you come across, but for the rest of them, you’ll need to use your creativity. Once you know the basics of how Photoshop works, you’ll need to piece things together to figure out new ways of working with your own style. Trust me, there’s a lot you can do inside this application. I’m not even sure anyone has figured the entire thing out yet. Sometimes, it seems to go on forever. And I’ve been working with Photoshop for over 20 years. It’s deep.
In today’s post, I’d like to wander through a scenario of my own in an effort to show you just how you can mix and match a few of Photoshop’s more simple features. I’ll use adjustment layers, layer groups and Smart Objects to alter an image in an entirely new way. If you read this post all the way through to the bottom, I’m certain you’ll learn something new.

After that, I’ll add a Vibrance adjustment and I’ll push the Vibrance slider that’s contained within partly to the right, just to add a touch of extra color. And finally, I’ll add a Black & White adjustment. I’ll set the blending mode for this one to Overlay as well and I’ll set the layer Opacity to 50%.
This is what the Layers panel looks like at this moment.
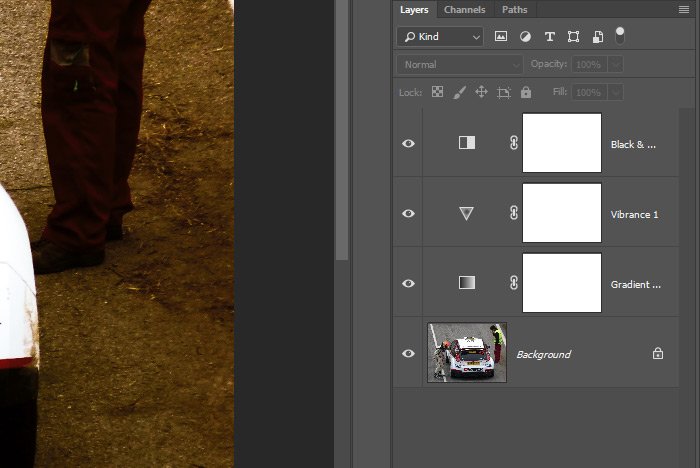
And this is what the image is looking like. I’m simply trying to change the appearance of it to make it look more interesting.

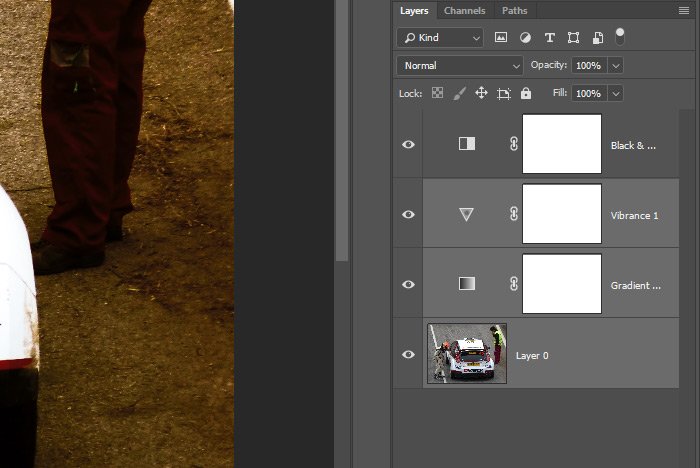
Anyway, let’s say that I have the image as well as the two bottom adjustment layers etched in stone and I know that they won’t need to be touched in the future. Right now, they’re taking up a lot of real estate in the Layers panel, so a great way to both minimize their space usage as well as protect them from being accidentally adjusted when they aren’t supposed to be is to group them. So that’s what I’ll do right now. I’ll unlock the bottom layer by clicking on the small padlock icon in the image layer and then I’ll highlight the three bottom layers, leaving the top one unselected.
After that, I’ll use the keyboard shortcut of Ctrl+G to group those selected layers. That’s Command+G for those using Mac.
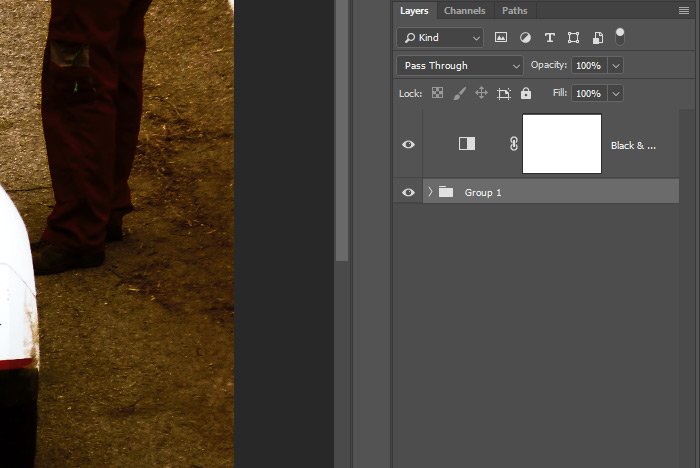
At this point, I can mess around as much as I went with the Black & White adjustment layer and not even think about the two adjustment layers in the group. This is a trick that professional users employ every day. They tuck what they’re not using into groups to both control those things in an easier fashion as well as to save space.
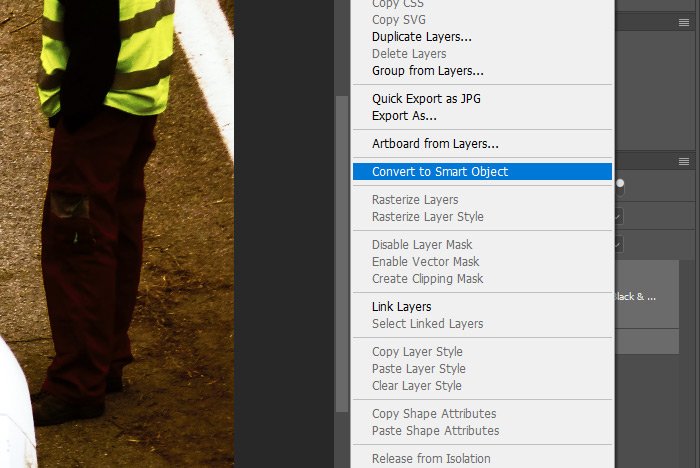
After doing that, both of those layers will turn into just one Smart Object layer that’s familiar looking because of the icon in the lower right corner of the thumbnail.
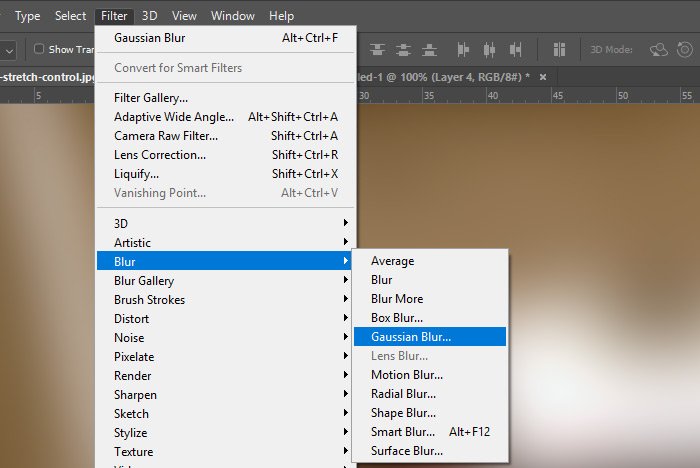
I’ll go up to the Filter > Blur > Gaussian Blur menu item and click.
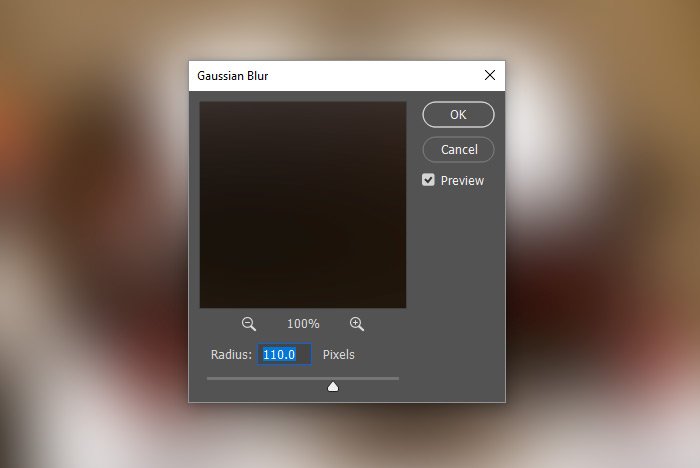
When I do that, the Gaussian Blur dialog box will appear. I’ll slide the Radius slider over to the right until I reach a value of 110 pixels.
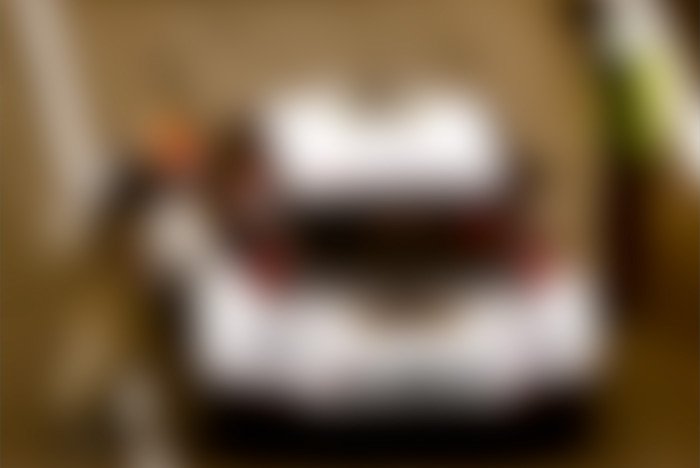
After that, I’ll click the OK button and I’ll be left with a very blurry image.
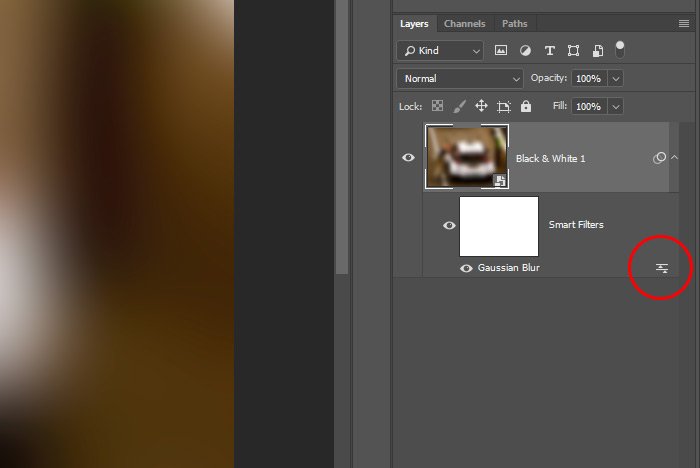
It’s not until I click the Blending Mode icon in the Smart Filter layer and change the Blend Mode to Soft Light that the image sharpens up and displays the effect I’m after.
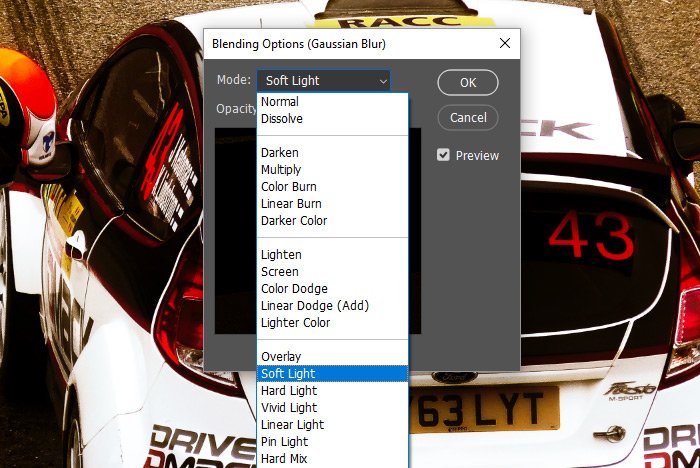
Check this out. Here’s the photograph with the adjustment layers as well as the filter applied to it.
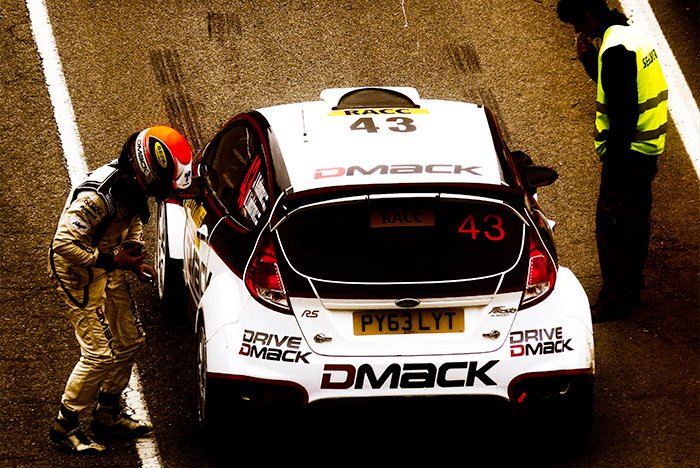
Pretty cool, right? The photo is becoming more and more interesting as I write.
What’s really nice is that I can still double-click on the Smart Object to enter into it and work on the original adjustments if I ever saw the need. The adjustment layers and the group are all intact right inside the Smart Object. Grouping things and converting the individual layers essentially simplified the Layers panel and offered some more flexibility.
I hope I clearly explained how to group layers with adjustment layers as well as how to convert groups and adjustment layers into Smart Objects in Adobe Photoshop. If you have any questions regarding this post, please let me know down below. Also, you can always ask any question you’d like in the Photoshop discussion board. Thanks for reading!
In today’s post, I’d like to wander through a scenario of my own in an effort to show you just how you can mix and match a few of Photoshop’s more simple features. I’ll use adjustment layers, layer groups and Smart Objects to alter an image in an entirely new way. If you read this post all the way through to the bottom, I’m certain you’ll learn something new.
Today’s Demo Photo
For today’s post, I’ll be using a photo of anything. Like so many other posts where the photo content doesn’t matter, I picked this one up from a huge pile of pictures. Here it is. It’s of a race car.
Adding Some Adjustment Layers
To start things off, I’ll need to set my file up. For this section, I’ll be adding three different adjustment layers that will alter the appearance of this image. I’ll start off by adding a Gradient Map from the Adjustments panel. I’ll set the colors of the gradient to go from a dark orange on the left to white on the right. Then, I’ll set the blending mode to Overlay and I’ll keep the Opacity set to 100%.After that, I’ll add a Vibrance adjustment and I’ll push the Vibrance slider that’s contained within partly to the right, just to add a touch of extra color. And finally, I’ll add a Black & White adjustment. I’ll set the blending mode for this one to Overlay as well and I’ll set the layer Opacity to 50%.
This is what the Layers panel looks like at this moment.

And this is what the image is looking like. I’m simply trying to change the appearance of it to make it look more interesting.

Trick for Protecting Layers
As you can see in the Layers panel, I’ve got one primary layer and three adjustment layers. Each of the three adjustment layers are affecting the photo as well as the adjustment underneath it. If I were to change the order of the adjustment layers, the look of the image would change as well. That’s not important at this very moment, but I thought I’d mention it.Anyway, let’s say that I have the image as well as the two bottom adjustment layers etched in stone and I know that they won’t need to be touched in the future. Right now, they’re taking up a lot of real estate in the Layers panel, so a great way to both minimize their space usage as well as protect them from being accidentally adjusted when they aren’t supposed to be is to group them. So that’s what I’ll do right now. I’ll unlock the bottom layer by clicking on the small padlock icon in the image layer and then I’ll highlight the three bottom layers, leaving the top one unselected.

After that, I’ll use the keyboard shortcut of Ctrl+G to group those selected layers. That’s Command+G for those using Mac.

At this point, I can mess around as much as I went with the Black & White adjustment layer and not even think about the two adjustment layers in the group. This is a trick that professional users employ every day. They tuck what they’re not using into groups to both control those things in an easier fashion as well as to save space.
Even More Protection with a Smart Object
Smart Objects are extremely versatile. Many people don’t know that it’s possible to transform not only a layer or layers into a Smart Object, but that it’s also possible to transform a group into one as well. Or, in my case today, an adjustment layer and a group. The best part is, it’s just as easy to do this as it is to turn a single layer into one. To convert the remaining adjustment layer and group into a Smart Object, I’ll select both of them in the Layers panel and then right-click on one of them. When the menu appears, I’ll click on the Convert to Smart Object option.
After doing that, both of those layers will turn into just one Smart Object layer that’s familiar looking because of the icon in the lower right corner of the thumbnail.
Applying a Filter to the Smart Object
The real power that comes from converting adjustment layers and groups to a Smart Object lies with the ability to apply filters. If I were to try to apply a filter to the individual layers, I’d have to really think about how I’d cover all of the layers with the one filter. By converting everything to a Smart Object first though, applying a filter is as easy as pie.I’ll go up to the Filter > Blur > Gaussian Blur menu item and click.

When I do that, the Gaussian Blur dialog box will appear. I’ll slide the Radius slider over to the right until I reach a value of 110 pixels.

After that, I’ll click the OK button and I’ll be left with a very blurry image.

It’s not until I click the Blending Mode icon in the Smart Filter layer and change the Blend Mode to Soft Light that the image sharpens up and displays the effect I’m after.


Check this out. Here’s the photograph with the adjustment layers as well as the filter applied to it.

Pretty cool, right? The photo is becoming more and more interesting as I write.
What’s really nice is that I can still double-click on the Smart Object to enter into it and work on the original adjustments if I ever saw the need. The adjustment layers and the group are all intact right inside the Smart Object. Grouping things and converting the individual layers essentially simplified the Layers panel and offered some more flexibility.
I hope I clearly explained how to group layers with adjustment layers as well as how to convert groups and adjustment layers into Smart Objects in Adobe Photoshop. If you have any questions regarding this post, please let me know down below. Also, you can always ask any question you’d like in the Photoshop discussion board. Thanks for reading!
