Newman said:
This is my first time running a dedicated server and I'm going to be transferring all of my websites that are currently on shared hosting to this server. I've never had to set up a new account in WHM or cPanel before, so I'd like to get some instruction for doing so. Can anyone give me the steps for setting up a new website hosting account in cPanel? Thanks.
I can help. The instructions for what you'd like to accomplish are very straightforward. I'll give you the steps below.
1. Log into WHM.
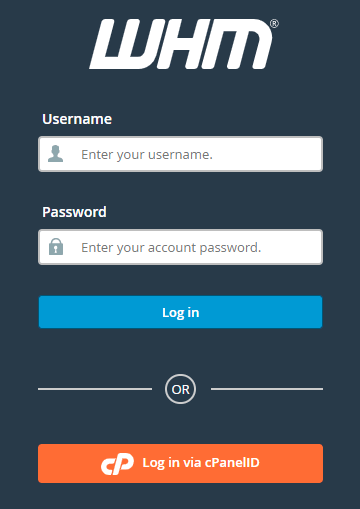
2. Once in WHM, navigate to either
Account Information > List Accounts or to
Account Functions > Create New Account by using the links and drop downs on the left side of the page. If you browse to the first option, you'll see a button at the top of the page that says
Create a New Account. Just click that button with your mouse. If you browse to the second option, you'll see another button that says
Create a New Account. Click that button with your mouse. Both of these links will land you on the same page.
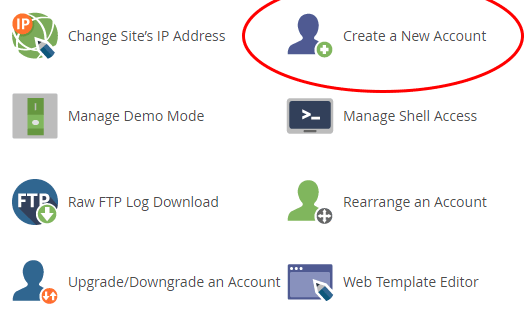
3. When you land on the
Create a New Account page, you'll see a bunch of fields you'll need to fill in. These are basic and easy to understand. The first cluster asks for the domain information.
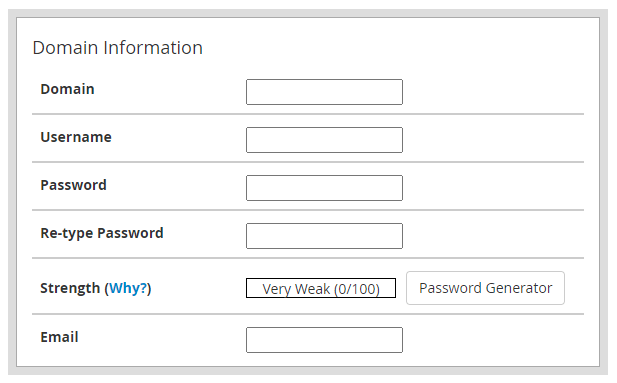
Fill in this information and move onto the next section.
4. In the
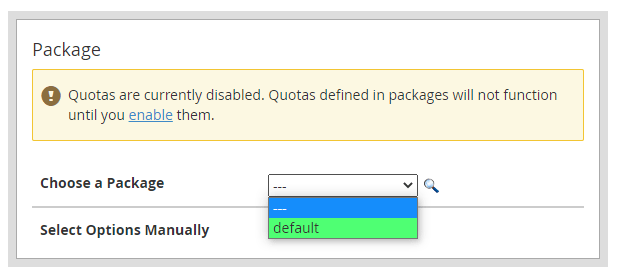
Package section, you'll choose which hosting package you'd like to use. If you haven't set any custom packages, then just choose the
Default option from the dropdown. This option essentially offers unlimited everything to the hosting account you're setting up. This is great for those who are only hosting their own websites on the dedicated server. If you're creating an account for a client or customer and would like to place limits on their usage, then you'll need to click the
Select Options Manually check box. Once you check this box, more options will appear. You'll also have the ability to save your settings for these options as a package for future use.
5. These are the available options I described above.
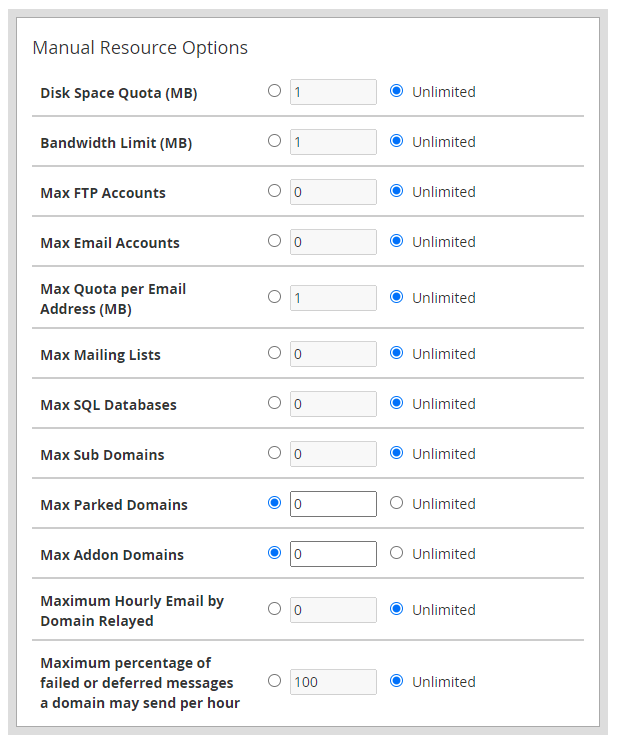
Go ahead and change any as you see fit.
6. In the
Settings area, choose what you'd like to use for the account.
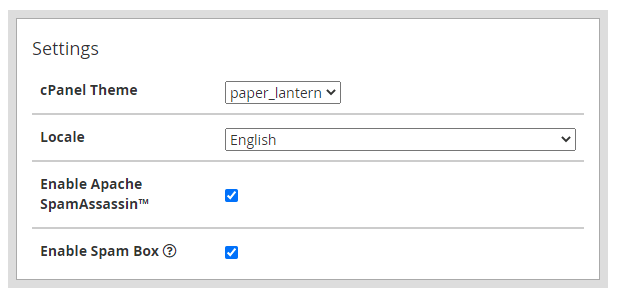
7. If you'd like to make this account a reseller account, you can do that too.

8. In the
DNS Settings section, I check the
Enable DKIM,
Enable SPF, and
Use Registrar's Nameserver Settings options. You can choose what you like, but these are the most straightforward. The first two have to do with ensuring that and email messages that are sent from your server don't end up in spam.
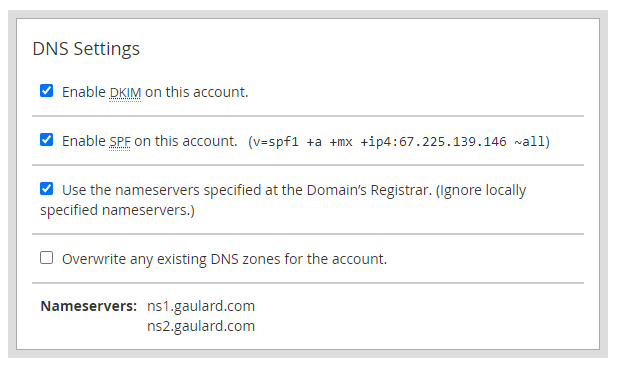
9. For the
Mail Routing Settings settings, unless you've got a specific setup, then I advise you go with the recommended option. This is
Automatically Detect Configuration.
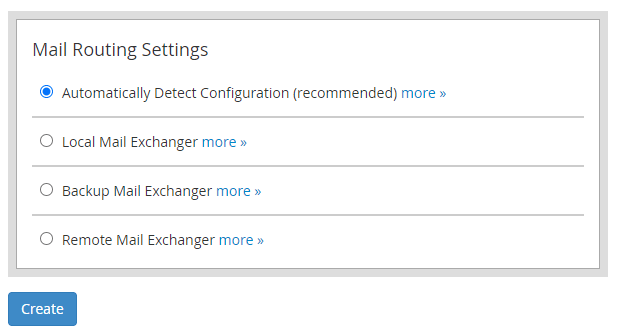
10. Once all of these sections have been configured, then press the
Create button and your new hosting account will be created.


