WendyMay
Member
- Joined
- May 11, 2021
- Messages
- 142
- Reaction Score
- 0
- Points
- 21
- #1
During the usual course of editing photographs, one of the tasks more often than not ends up as an attempt to reduce noise and clarify whatever it is that’s making the photo less than perfect. I know this. I’ve done it a thousand times. Either the photo wasn’t taken properly and I look for a workaround or the ISO setting somehow got screwed up and I end up getting much more “interest” than I had anticipated. Whatever the case, I typically spend a good long time getting rid of unwanted artifacts.
There are cases, however, when someone might actually want as much noise in their photos as they can muster. Let’s say a photographer has a goal of creating drama or an antique feeling. Perhaps something vintage or old. Something before the times of super-high ISO settings and during the times of darkrooms. How would they get that? If cameras are better today than they’ve ever been, it’s highly unlikely that a photographer is going to reach far back in their closet to pull out their 35mm from 1995. It’s much more likely that they’ll look for a solution in one of the many photo editing applications on the market today to do the work for them. Luckily, Adobe Camera Raw offers a feature that helps us create a high-noise vintage feel for our photos. And what’s more – the feature is totally easy to use. I’m talking super simple.
In today’s post, I’ll work towards making a classic, well taken photo look like more of a classic, older style, vintage photo. I want the photo to appear as though it was taken back in the days of film, when the quality of the photo was less likely to be as high as it is today. I’ll be using Adobe Camera Raw for today’s project.
Original Photo
This original photo looks pretty good. The thing is, it looks nothing like what I’d prefer it to look like. While there is some noise in the photo already, I’d like to bump that up quite a bit.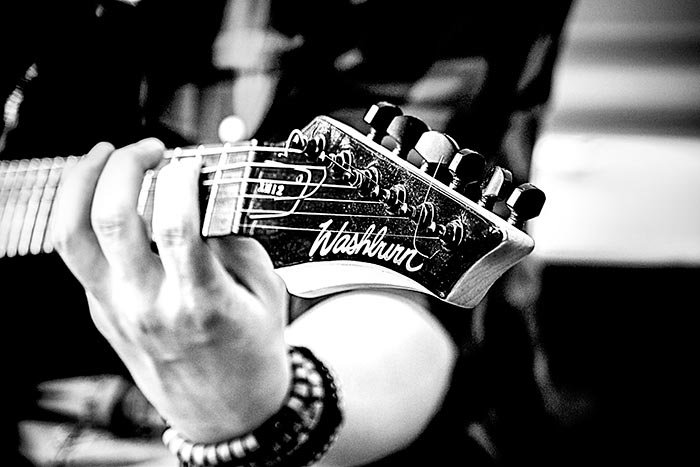
As it stands, the photo merely tells us what’s going on. A man is playing a guitar. It doesn’t make us feel anything though. For that to happen, I need to bring the photo back in time.
The Effects (Fx) Panel
After I open Camera Raw, I can do whatever it is I want to the photo. I would suggest making any edits you want to make to the photo before heading toward the Effects panel. What I’m about to do falls last in the order of operations. If I have any edits to make, I’ll make them and then click the seventh panel icon from the left. It has Fx written on it.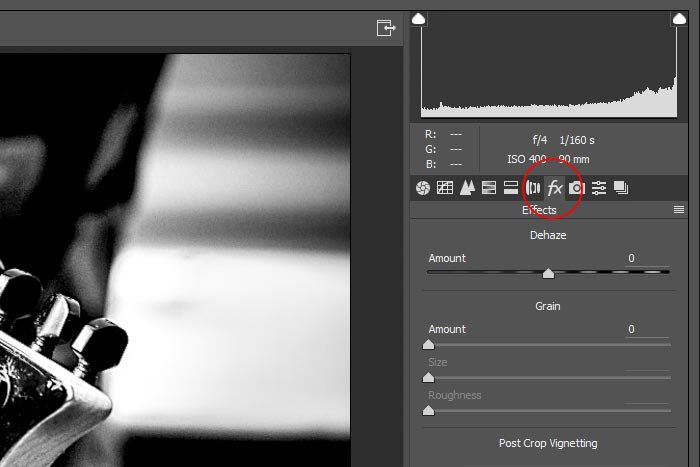
The Grain Sliders
All I need to concern myself with for this project is three sliders. They can be found under the Grain heading and are named Amount, Size and Roughness. Here are some definitions for what each of these sliders mean and can do:Amount: Before touching either of the two sliders below, you must choose a grain amount. Without setting an amount, there’s nothing to adjust further. Put simply, this slider controls the amount of grain that’s added to a photo. To increase it, push to the right. To decrease it, push to the left. To turn off the grain feature completely, push all the way to the left.
Size: This slider controls the size of each actual piece of grain that’s added to a photo. To enlarge grain size, push the slider to the right and to shrink grain size, push to the left. The area to watch with this slider is clarity. The larger the grain is, the more blurry and (obviously) less sharp the photo will become. Large grain size removes edge distinction and contrast.
Roughness: This slider controls the randomness of the grain that’s added to a photo. If you push this slider all the way to the left, the grain looks very orderly and like it was put there (fake). If you push the slider to the right, the highs and lows of the grain tone becomes more mixed up and natural looking. There’s a happy medium in there somewhere – you just have to find it.
Really, that’s it. There’s nothing more to it. For the remainder of this post, I’ll simply push the sliders all the way to the right, one at a time. All I want to show you is the effect each slider has on the outcome of the photo.
First, I’ll push the Amount slider to the right.
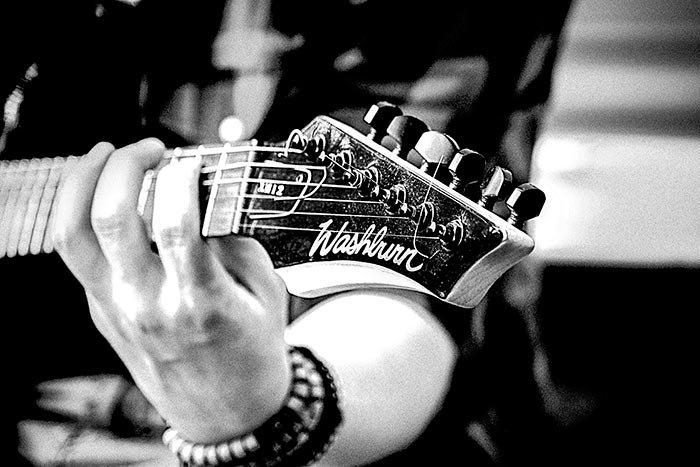
Next, I’ll push the Size slider all the way to the right.
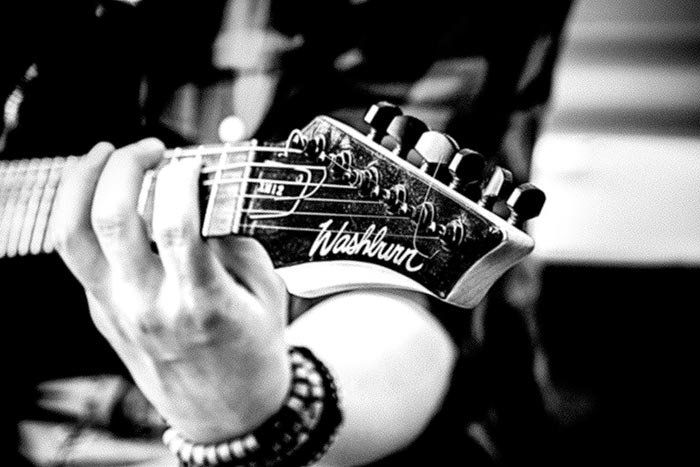
As you can see, not a lot has changed. I can definitely see a difference in the larger version of the photo that I’m working on, but after I reduce the size for this post, much of the grain disappears. It’s not until I push the Roughness slider all the way to the right that the true grain becomes visible.
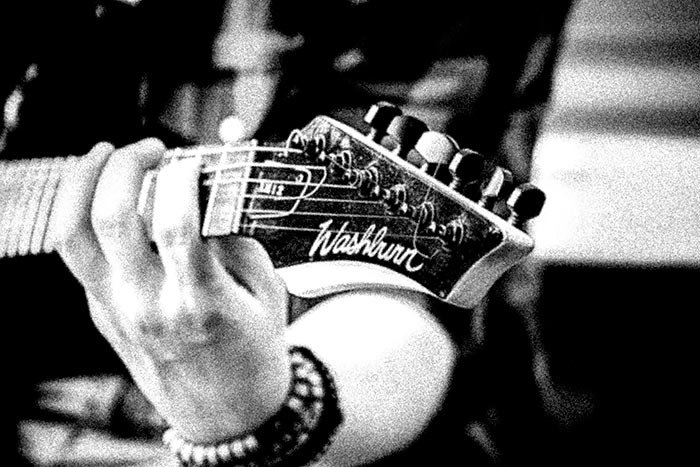
I want to give you a word of warning. The original photo that I’m working on in Camera Raw is 3872×2592 pixels in dimension. When a photo is that large, the grain sliders will have less of an effect on the image. Also, some of the effect is lost when I reduce the size of the image to 700×467 in Photoshop. I’m trying to keep my screenshots as small and light as possible.
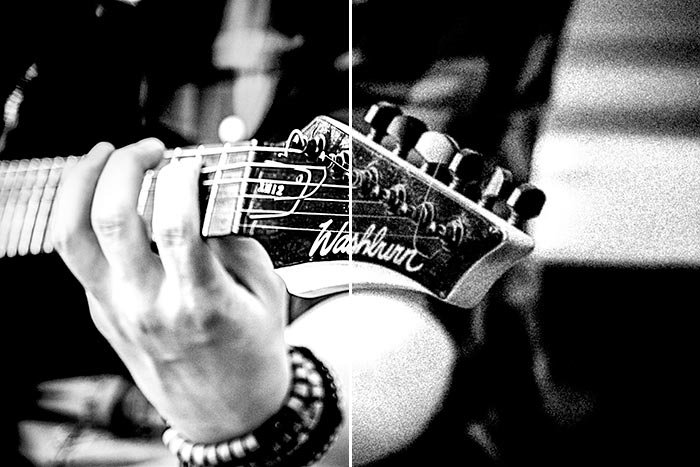
If I began with a smaller photo that has the dimensions of 700×467 and pushed all three sliders to the right, things would look much different. Here’s an example of that.
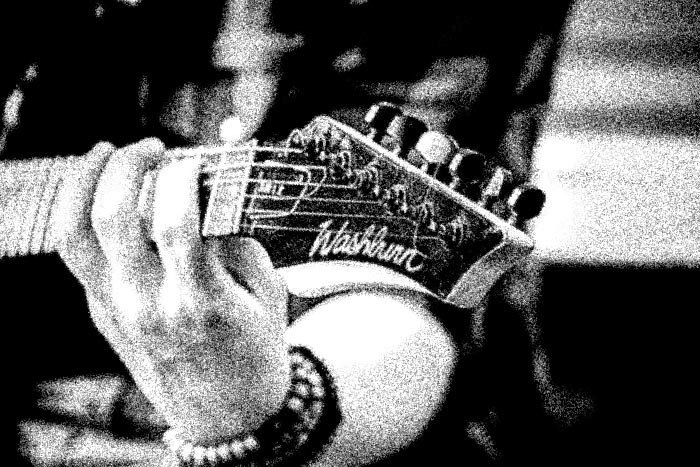
As you see, things don’t look so good. So, there’s a moral to this story – when adding and adjusting grain to give a photo a vintage feel, be sure to pay attention to your original photo dimensions. You’ll likely need to test a bit to see where you’d like to set your sliders.
