JGaulard
Administrator
Staff member
Site Supporter
Sr. Site Supporter
Power User
- Joined
- May 5, 2021
- Messages
- 319
- Reaction Score
- 2
- Points
- 18
- #1
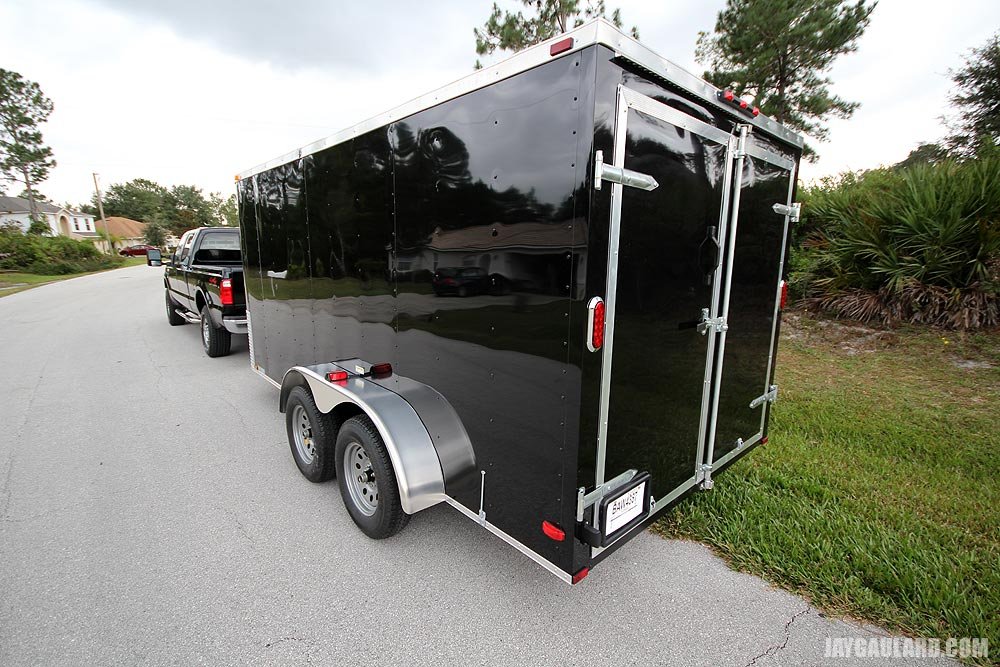
I remember telling you that I had ordered the trailer, but I have yet to post any pictures. I did take a few down in Florida, but wasn’t very pleased with them. Since so much time has passed, I figured that I better get up what I have, because if I don’t, I may never. And that would be a shame.
Also, I recently took a very long trip, basically maxing out the trailer. It, by itself, weighs 2000 pounds. Its capacity is 7000 pounds – gross. I figure I had at least 4000 pounds in it, which I’m sure is a low estimate. Weight has a way with these things. It’s always heavier than you estimate. Anyway, the trailer performed better than I could have imagined. It was strong, didn’t sway at all, had even tire wear (which was virtually nothing) and handled all the bumps and porpoising like a champ. I swear, there were times where I was surprised the thing was still back there. I put this trailer to the test. It passed and was worth the money. Nice job Arising Industries.
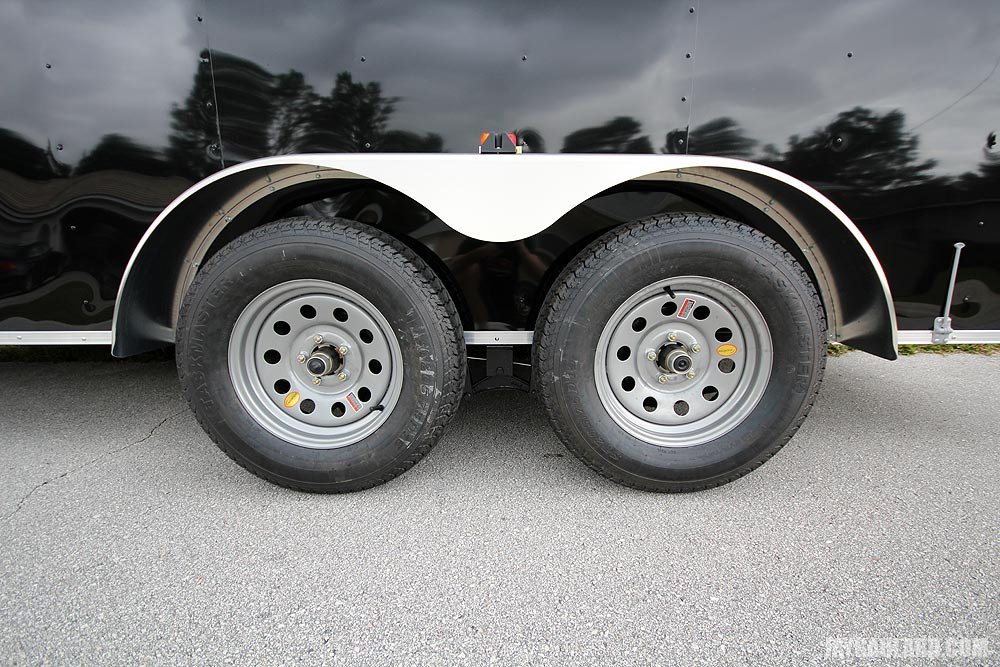
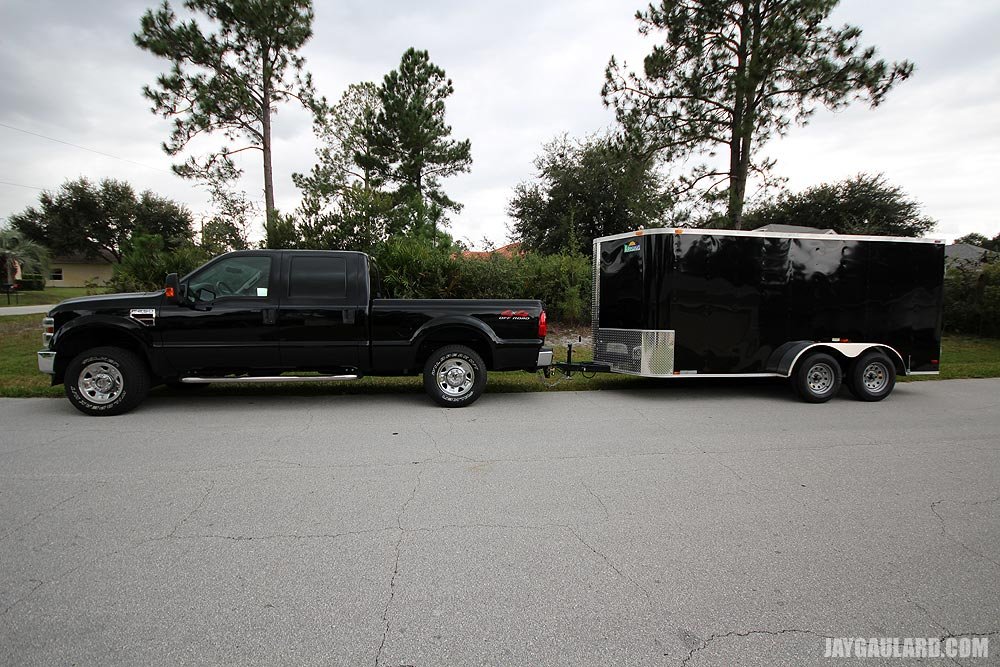
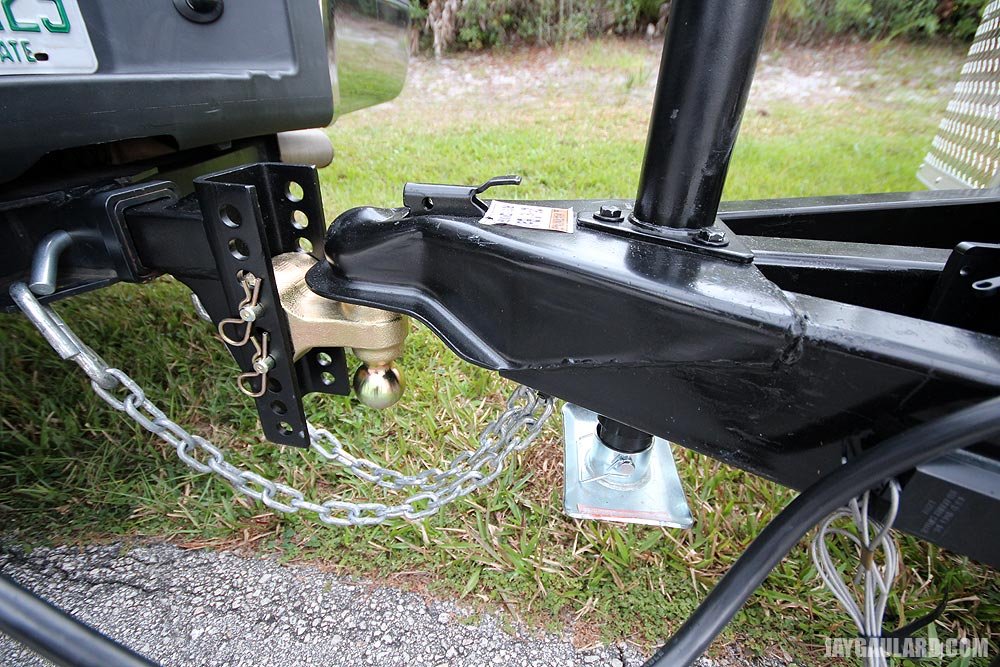
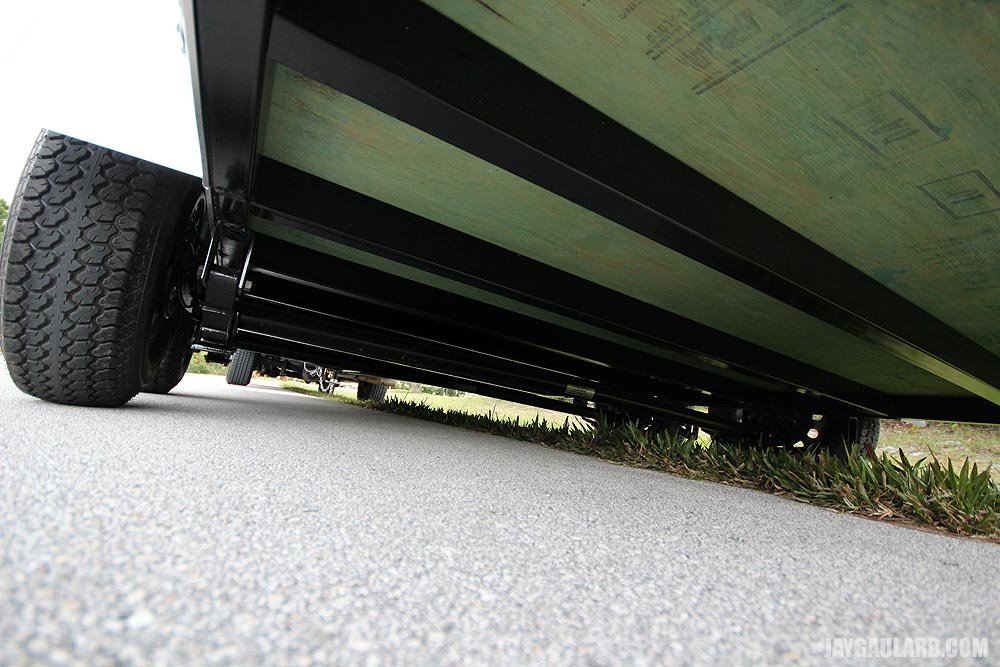
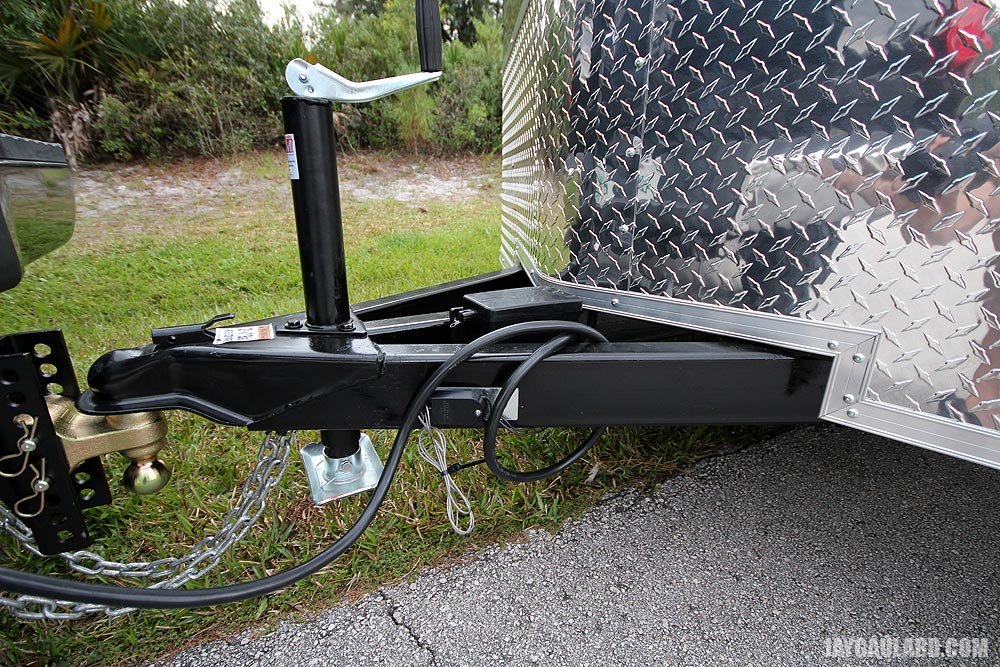
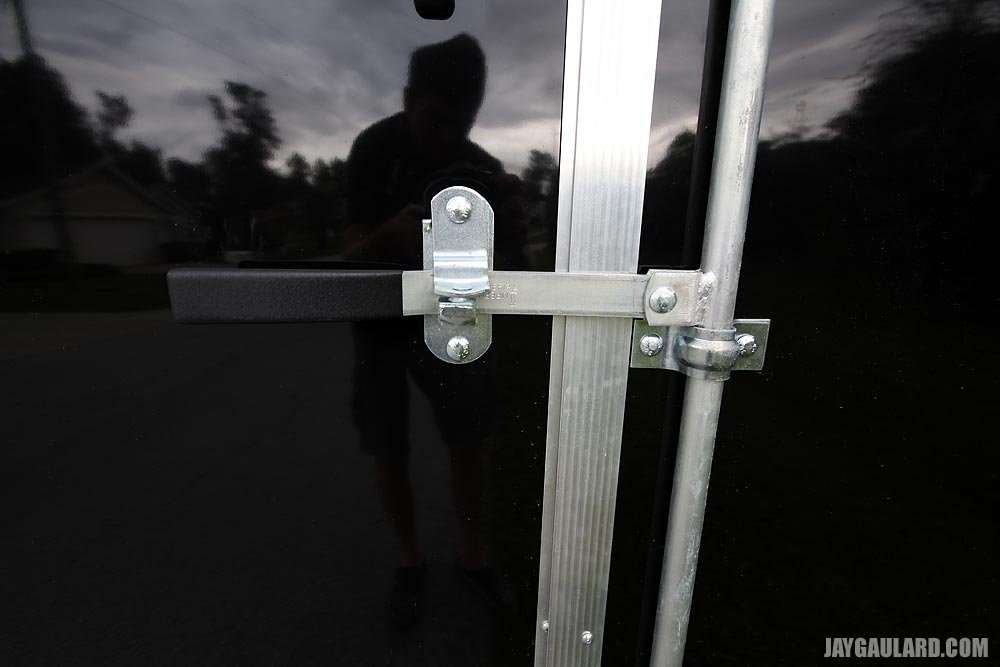
Here are some pictures I took the day I bought the trailer. What I really want to do is to take some of the interior and of all the finer points. Things like the door latches and the dome vent. Also, the interior light isn’t too shabby. But I suppose I’ll have to wait on those things for a nice day. I’ll do it, but for now, enjoy the pictures of what I’ve already taken.
COMMENT: I just picked up a trailer from arising industries last week. I read all the Arising trailer reviews and determined that they were good trailers. There was an error on their part in the placement of the floor track. I do want to say they did everything in their power to make it right. They picked up the trailer 6 hours away and brought it back to me at my location. They went above and beyond to fix the track. I feel they will stand behind their product. Because of this, I give them a great review.
COMMENT: I have no doubt they have a really good product. I put my trailer through a lot of abuse driving from Florida to Maine. I had it loaded to the max. Also, if you think you can simply pull a trailer on the highway and it’ll be a smooth ride, think again. The roads I took weren’t smooth in the least. It got a workout. I do want to mention on thing though – my trailer has only been used once. Like I said, I drove from Florida to Maine. During our trip through New Hampshire, we encountered a small amount of snow. I am sure the town didn’t apply any salt or treatment on the roads (it was basically slush). I took a look under the trailer a few weeks ago and noticed that the black paint on the frame is peeling off and the steel members are beginning to rust. I think the paint job on the frame can be completed with a higher quality paint. I am now planning on either spraying the frame with Rustoleum or undercoating to stop any further rust. Thank you for your comment!
COMMENT: Hi Jay. I am a trailer Dealer here in Georgia. You could have gotten the “salt package” from Arising Industries, through your Dealer. It consists of a tough undercoating, corrosion resistant wire connectors and an isolater between the body side and frame rails to prohibit any salt wash from getting between the metal parts. If you didn’t get that option, you can bring your trailer to a Ziebart or other rustproofing/undercoating company and have it done. A lot of my customers get Rhino Liner or Line-X truck bed sprayed underneath. The cost isn’t that bad and it really provides some killer protection. Best of luck.
COMMENT: Thanks for the comment. Those are some good options you suggested. Since there is already existing rust on the trailer, I decided to go with Fluid Film (undercoating would only cover up a growing rust issue). This seems to be the best protection at this point. And since I rarely, if ever, use the trailer, the Fluid Film won’t readily wear off and will protect the trailer frame from moisture from the ground. I’m aware that this is how trailers are. I must say, I am still impressed by the quality of this one. It’s built solidly and now that I’ve got the rust thing under control, I don’t have to worry about it anymore.
COMMENT: I CURRENTLY A OWNER OF A USED ENCLOSED ARISING TRAILER MFG 12/2010 WITH NO COMPLAINTS ABOUT THE TRAILER! THE MODEL NUMBER IS 8205 TRMC AND ON THE TOP OF THIS TRAILER IT HAS 2 EACH MAX/AIR HAND CRANK OPERATED AIR VENTS. ONE OF THE INNER PLASTIC DOMES THAT YOU HAND CRANK UP IS BROKEN. IT APPEARS THAT YOU MAY HAVE TO REPLACE THE ENTIRE ASSEMBLY. I’M LOOKING FOR A DISTRIBUTOR/DEALER TO PURCHASE THIS PART . ANY SUGGESTIONS?
COMMENT: Give me a call at my Dealership. DIXIE TRAILERS in Lawrenceville Georgia. I will try to find the proper replacement part for you. 678-447-8992.
COMMENT: I have a 2014 Arising Industries trailer and it is hands down the best trailer I’ve owned. I had to replace brake parts because of heavy loads, and the fact that I tend to let the trailer do more braking than needed. I undercoated mine with a spray to stop any rust down here in Florida. The biggest problem with trailers is sometimes they sit more than they are used. And with me being on the water, I have that salt air to tend with. As far as Arising standing behind their product. My trailer is a tall boy with a very big ramp. I had an issue with my ramp cables. I contacted Arising and they sent me cables instantly.
COMMENT: Looking at the enclosed arising trailers what do they use for the frame and how thick is it and the x braces also the rest of the trailer, is z bar used and do they have a option for 10000 gvw.
COMMENT: I had a blow out on my 22 foot driver's side. Anyway, I need to order a driver’s side fender and screws.
Also, I recently took a very long trip, basically maxing out the trailer. It, by itself, weighs 2000 pounds. Its capacity is 7000 pounds – gross. I figure I had at least 4000 pounds in it, which I’m sure is a low estimate. Weight has a way with these things. It’s always heavier than you estimate. Anyway, the trailer performed better than I could have imagined. It was strong, didn’t sway at all, had even tire wear (which was virtually nothing) and handled all the bumps and porpoising like a champ. I swear, there were times where I was surprised the thing was still back there. I put this trailer to the test. It passed and was worth the money. Nice job Arising Industries.
Here are some pictures I took the day I bought the trailer. What I really want to do is to take some of the interior and of all the finer points. Things like the door latches and the dome vent. Also, the interior light isn’t too shabby. But I suppose I’ll have to wait on those things for a nice day. I’ll do it, but for now, enjoy the pictures of what I’ve already taken.


COMMENT: I just picked up a trailer from arising industries last week. I read all the Arising trailer reviews and determined that they were good trailers. There was an error on their part in the placement of the floor track. I do want to say they did everything in their power to make it right. They picked up the trailer 6 hours away and brought it back to me at my location. They went above and beyond to fix the track. I feel they will stand behind their product. Because of this, I give them a great review.
COMMENT: I have no doubt they have a really good product. I put my trailer through a lot of abuse driving from Florida to Maine. I had it loaded to the max. Also, if you think you can simply pull a trailer on the highway and it’ll be a smooth ride, think again. The roads I took weren’t smooth in the least. It got a workout. I do want to mention on thing though – my trailer has only been used once. Like I said, I drove from Florida to Maine. During our trip through New Hampshire, we encountered a small amount of snow. I am sure the town didn’t apply any salt or treatment on the roads (it was basically slush). I took a look under the trailer a few weeks ago and noticed that the black paint on the frame is peeling off and the steel members are beginning to rust. I think the paint job on the frame can be completed with a higher quality paint. I am now planning on either spraying the frame with Rustoleum or undercoating to stop any further rust. Thank you for your comment!
COMMENT: Hi Jay. I am a trailer Dealer here in Georgia. You could have gotten the “salt package” from Arising Industries, through your Dealer. It consists of a tough undercoating, corrosion resistant wire connectors and an isolater between the body side and frame rails to prohibit any salt wash from getting between the metal parts. If you didn’t get that option, you can bring your trailer to a Ziebart or other rustproofing/undercoating company and have it done. A lot of my customers get Rhino Liner or Line-X truck bed sprayed underneath. The cost isn’t that bad and it really provides some killer protection. Best of luck.
COMMENT: Thanks for the comment. Those are some good options you suggested. Since there is already existing rust on the trailer, I decided to go with Fluid Film (undercoating would only cover up a growing rust issue). This seems to be the best protection at this point. And since I rarely, if ever, use the trailer, the Fluid Film won’t readily wear off and will protect the trailer frame from moisture from the ground. I’m aware that this is how trailers are. I must say, I am still impressed by the quality of this one. It’s built solidly and now that I’ve got the rust thing under control, I don’t have to worry about it anymore.
COMMENT: I CURRENTLY A OWNER OF A USED ENCLOSED ARISING TRAILER MFG 12/2010 WITH NO COMPLAINTS ABOUT THE TRAILER! THE MODEL NUMBER IS 8205 TRMC AND ON THE TOP OF THIS TRAILER IT HAS 2 EACH MAX/AIR HAND CRANK OPERATED AIR VENTS. ONE OF THE INNER PLASTIC DOMES THAT YOU HAND CRANK UP IS BROKEN. IT APPEARS THAT YOU MAY HAVE TO REPLACE THE ENTIRE ASSEMBLY. I’M LOOKING FOR A DISTRIBUTOR/DEALER TO PURCHASE THIS PART . ANY SUGGESTIONS?
COMMENT: Give me a call at my Dealership. DIXIE TRAILERS in Lawrenceville Georgia. I will try to find the proper replacement part for you. 678-447-8992.
COMMENT: I have a 2014 Arising Industries trailer and it is hands down the best trailer I’ve owned. I had to replace brake parts because of heavy loads, and the fact that I tend to let the trailer do more braking than needed. I undercoated mine with a spray to stop any rust down here in Florida. The biggest problem with trailers is sometimes they sit more than they are used. And with me being on the water, I have that salt air to tend with. As far as Arising standing behind their product. My trailer is a tall boy with a very big ramp. I had an issue with my ramp cables. I contacted Arising and they sent me cables instantly.
COMMENT: Looking at the enclosed arising trailers what do they use for the frame and how thick is it and the x braces also the rest of the trailer, is z bar used and do they have a option for 10000 gvw.
COMMENT: I had a blow out on my 22 foot driver's side. Anyway, I need to order a driver’s side fender and screws.

