WendyMay
Member
- Joined
- May 11, 2021
- Messages
- 142
- Reaction Score
- 0
- Points
- 21
- #1
This is going to be a super-duper helpful post if you’re into textures in Photoshop. If you’ve ever wanted to convert a shape into something else, this is your chance to learn exactly how to do it. I’ve got an awesome technique for you and I think you’ll love it.
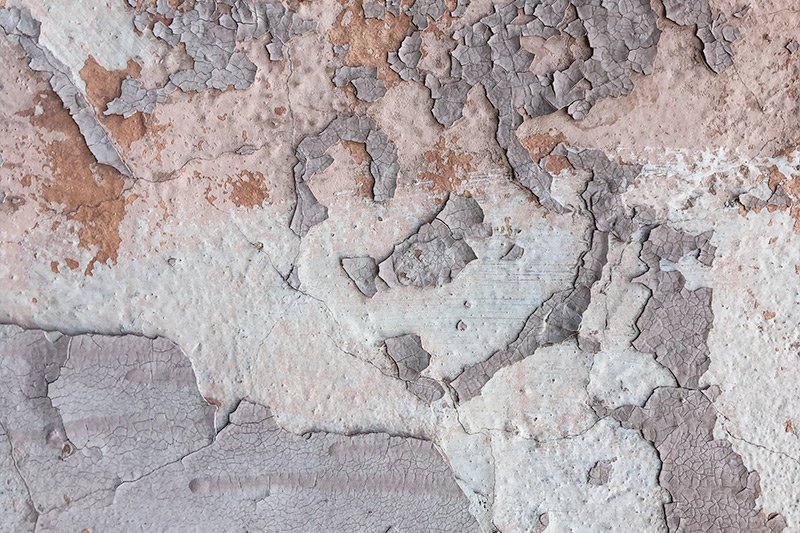
Okay, here’s what I’m talking about. Let’s say you draw a shape out in Photoshop. Let’s say it’s solid black, but instead of it being black, your project calls for it to be some sort of a texture instead. It can be any texture; that’s not what’s important here. What is important is that the shape isn’t a solid color, but a texture instead. And that texture can come from anything, a photo most likely. So if you were to take a picture of a wall that has rough paint that’s flaking off of it, you’d like to make that paint the shape as opposed to the color black.
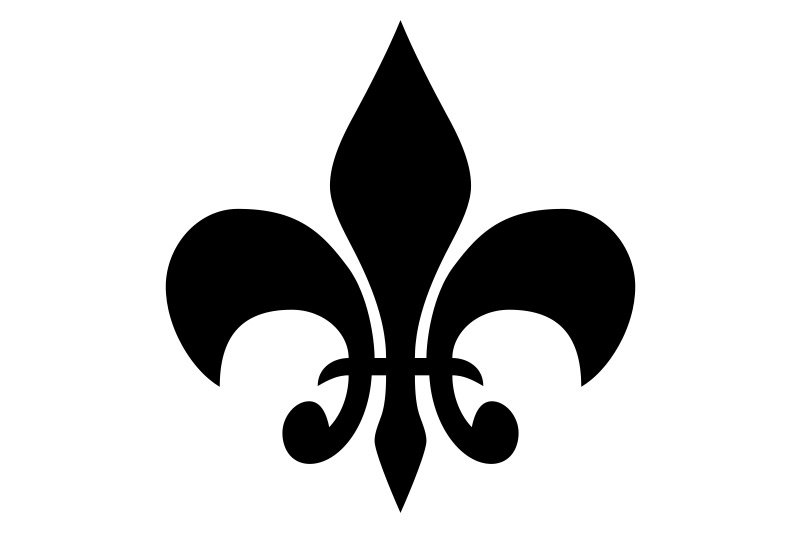
Take a look, this is a great example of a shape that someone might draw in Photoshop. Mind you, the shape can be of anything, not just one of the predefined custom shapes. You can even make your own shape with the Pen Tool.
Instead of the black, you’d prefer to see the texture that’s in this image.
Let me show you how to get this done. It’s super simple and again, I know you’re going to love it.
As it stands, I’ve got two tabs opened up in Photoshop. The first file is the shape I created and the second is this image of the wall. The trick with adding the texture to the shape is that it needs to be copied and pasted into a layer mask. It’s an easy process.
I’ll navigate to the texture tab and use the keyboard shortcut of Ctrl+A to select the entire workspace. Then, I’ll press Ctrl+C to copy the texture layer. That will add the texture layer (the only layer) to my computer’s clipboard. Then, I’ll return to the tab with the shape layer in it. In this file there should be two layers; the original background layer and then the shape layer. I’ll click on the shape layer to select it. Then, I’ll go to the bottom of the Layers panel and click on the Add Layer Mask button. This will add a layer mask to the right of the shape. Take a look.
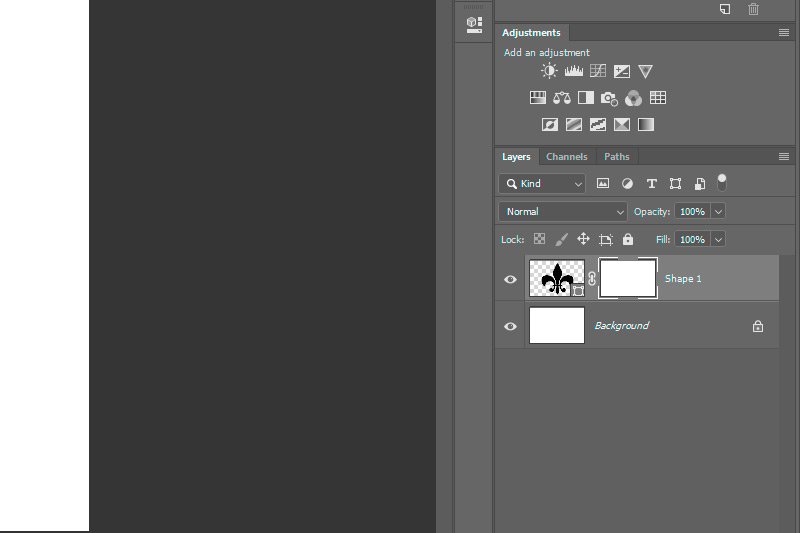
To convert the shape to a texture, I’ll need to paste it right into the mask itself. The way to do this is to hold down the Alt key on my keyboard and then click my mouse pointer once on the mask thumbnail in the Layers panel. This will open the mask up so it’s life-sized.
Once the layer mask is enlarged, I’ll use the keyboard shortcut of Ctrl+V to paste the texture into it. Since the texture I’m using is the same dimensions as the shape workspace, I don’t need to move it around at all. If it was smaller, I’d have to drag it so it was completely covering the shape.
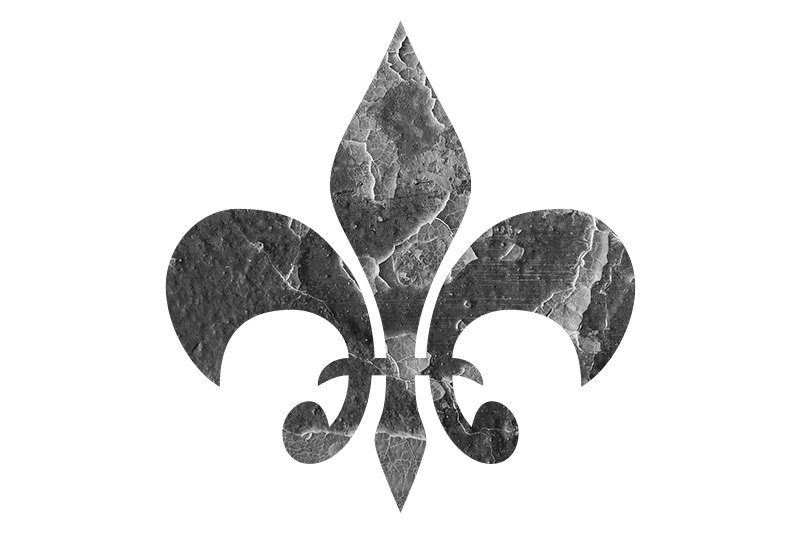
Once that’s done, I’ll simply click the eye icon that sits to the left of the shape layer thumbnail to make that layer visible again. Then, I’ll go to the Select > Deselect menu item to remove the marching ants and deselect the workspace. And that’s it! Take a look at this.
Let me know your thoughts on this. Did you find the technique and example helpful? Thanks!
Okay, here’s what I’m talking about. Let’s say you draw a shape out in Photoshop. Let’s say it’s solid black, but instead of it being black, your project calls for it to be some sort of a texture instead. It can be any texture; that’s not what’s important here. What is important is that the shape isn’t a solid color, but a texture instead. And that texture can come from anything, a photo most likely. So if you were to take a picture of a wall that has rough paint that’s flaking off of it, you’d like to make that paint the shape as opposed to the color black.
Take a look, this is a great example of a shape that someone might draw in Photoshop. Mind you, the shape can be of anything, not just one of the predefined custom shapes. You can even make your own shape with the Pen Tool.

Instead of the black, you’d prefer to see the texture that’s in this image.

Let me show you how to get this done. It’s super simple and again, I know you’re going to love it.
As it stands, I’ve got two tabs opened up in Photoshop. The first file is the shape I created and the second is this image of the wall. The trick with adding the texture to the shape is that it needs to be copied and pasted into a layer mask. It’s an easy process.
I’ll navigate to the texture tab and use the keyboard shortcut of Ctrl+A to select the entire workspace. Then, I’ll press Ctrl+C to copy the texture layer. That will add the texture layer (the only layer) to my computer’s clipboard. Then, I’ll return to the tab with the shape layer in it. In this file there should be two layers; the original background layer and then the shape layer. I’ll click on the shape layer to select it. Then, I’ll go to the bottom of the Layers panel and click on the Add Layer Mask button. This will add a layer mask to the right of the shape. Take a look.

To convert the shape to a texture, I’ll need to paste it right into the mask itself. The way to do this is to hold down the Alt key on my keyboard and then click my mouse pointer once on the mask thumbnail in the Layers panel. This will open the mask up so it’s life-sized.
Once the layer mask is enlarged, I’ll use the keyboard shortcut of Ctrl+V to paste the texture into it. Since the texture I’m using is the same dimensions as the shape workspace, I don’t need to move it around at all. If it was smaller, I’d have to drag it so it was completely covering the shape.
Once that’s done, I’ll simply click the eye icon that sits to the left of the shape layer thumbnail to make that layer visible again. Then, I’ll go to the Select > Deselect menu item to remove the marching ants and deselect the workspace. And that’s it! Take a look at this.

Let me know your thoughts on this. Did you find the technique and example helpful? Thanks!
