Phoenix1
Member
- Joined
- May 7, 2021
- Messages
- 135
- Reaction Score
- 0
- Points
- 23
- #1

Using the Crop Tool in Adobe Photoshop
Cropping photos is probably the most popular task involved with editing images in Photoshop. There are few cases where cropping isn’t an essential step in a photographer’s workflow. It begins like this: open photo, look at it, crop it to size. The thing is, there are many methods of cropping and Photoshop offers a plethora of tools to make your life easier. The era of eyeballing a photo to guess the proper size or aspect ratio is over.In this post, I’m going to cover a basic introduction of using the crop tool. While this tool may appear rudimentary on the surface, it’s actually quite involved. It’s best to learn what it is and what it offers from the very beginning so you don’t pick up any bad habits. Also, by cropping photos correctly, you’ll save a ton of time.
Where is the Crop Tool?
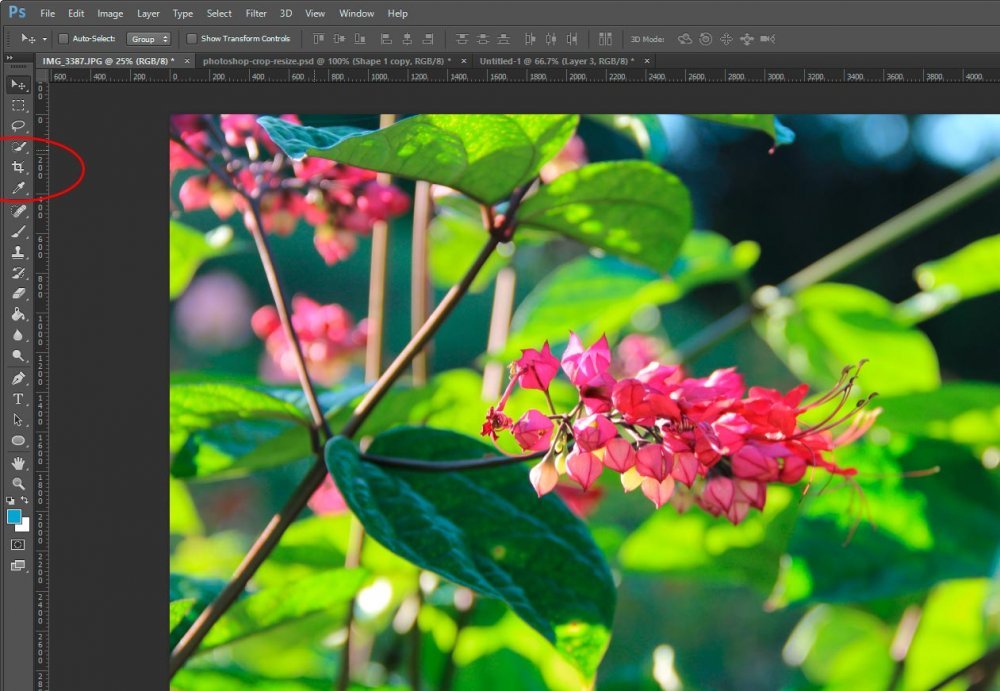
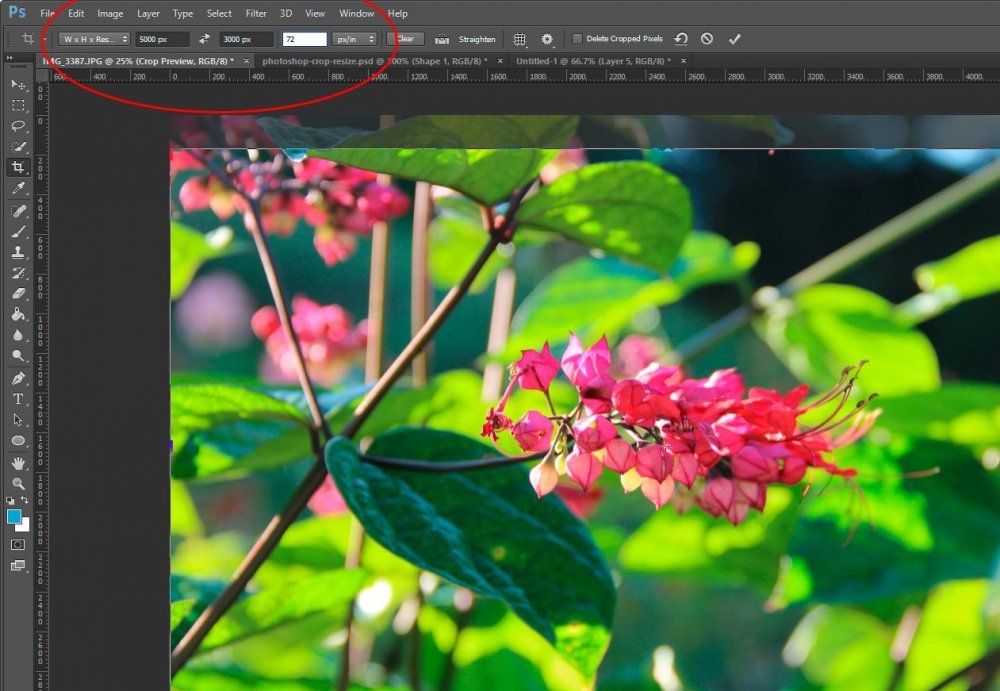
If you take a look over to the left inside the Photoshop toolbar, you’ll see an oddly shaped square inside an icon. The icon is the fifth one down the line of tools. If you don’t see something that looks like two corners coming together, simply click and drag the icon to the right. From there, you should see something that looks like what’s in the red circle below.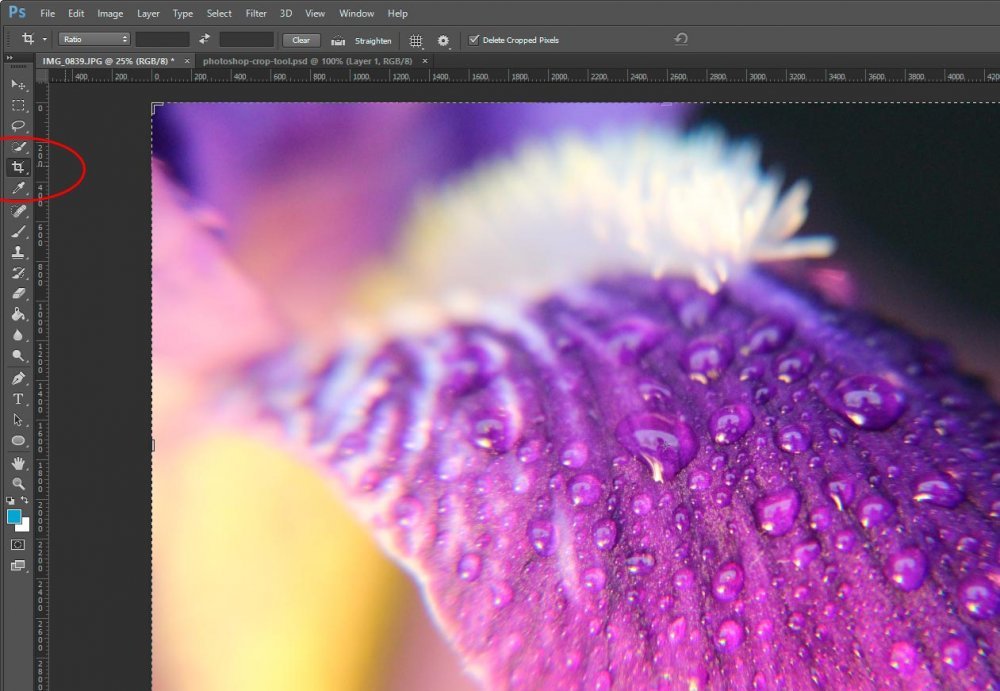
By the way, the photo I’m using as an example in this post is one that I shot back in 2012. I was experimenting with some macro photography and found a stunning purple iris to take advantage of on my property.
Cropping Non-Destructively
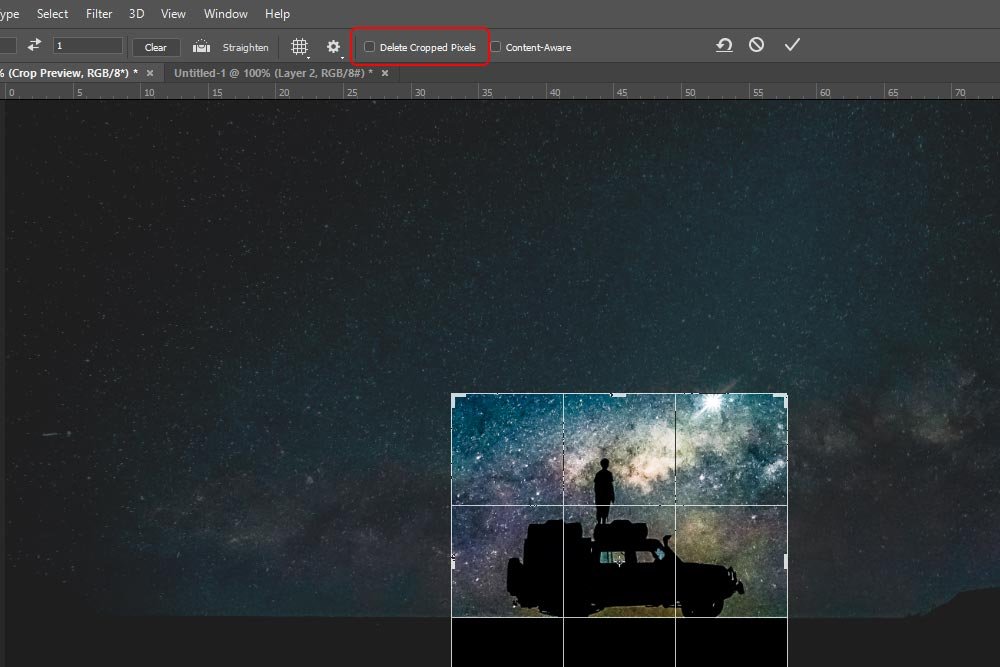
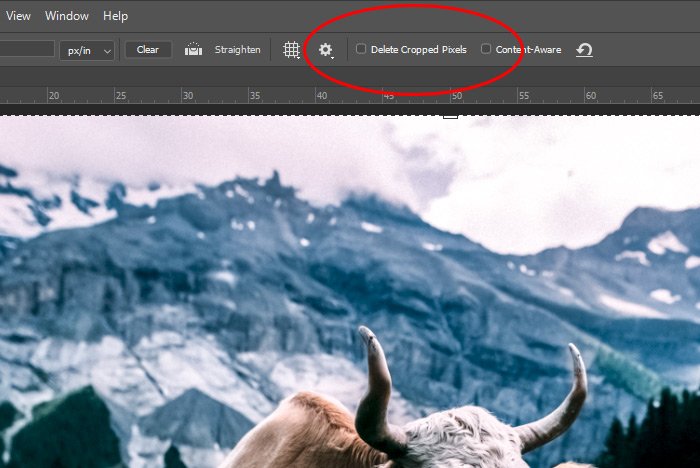
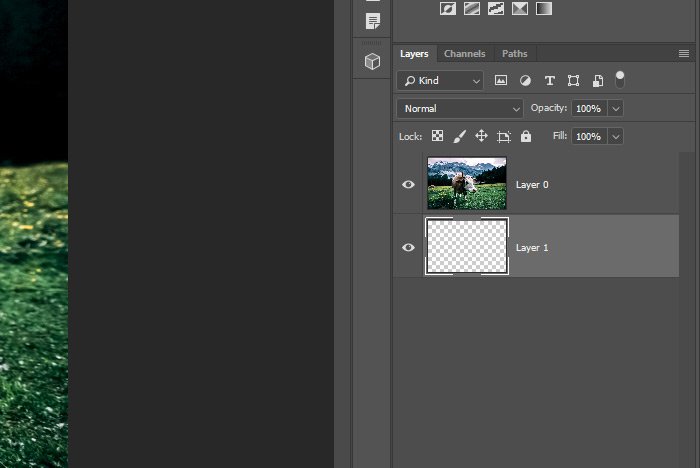
I’m going to let you in on a little secret. For years, when I first began using Photoshop, I used the marquee tool to crop anything and everything. It’s actually a great tool for cropping. The problem with it is that once you select an area to crop, the rest of the image is gone. It disappears and if you ever want it back again, you can’t have it.Using the crop tool is a much better choice for cropping because this tool enables you to crop non-destructively. This means that you can open your image in Photoshop, select an area to crop with the crop tool and crop it, all the while saving the remainder of the image for use later on. How do you do this? Well, there’s a check box that appears in the option menu once you click the crop tool icon. I’ll show you where it is in the screenshot below.
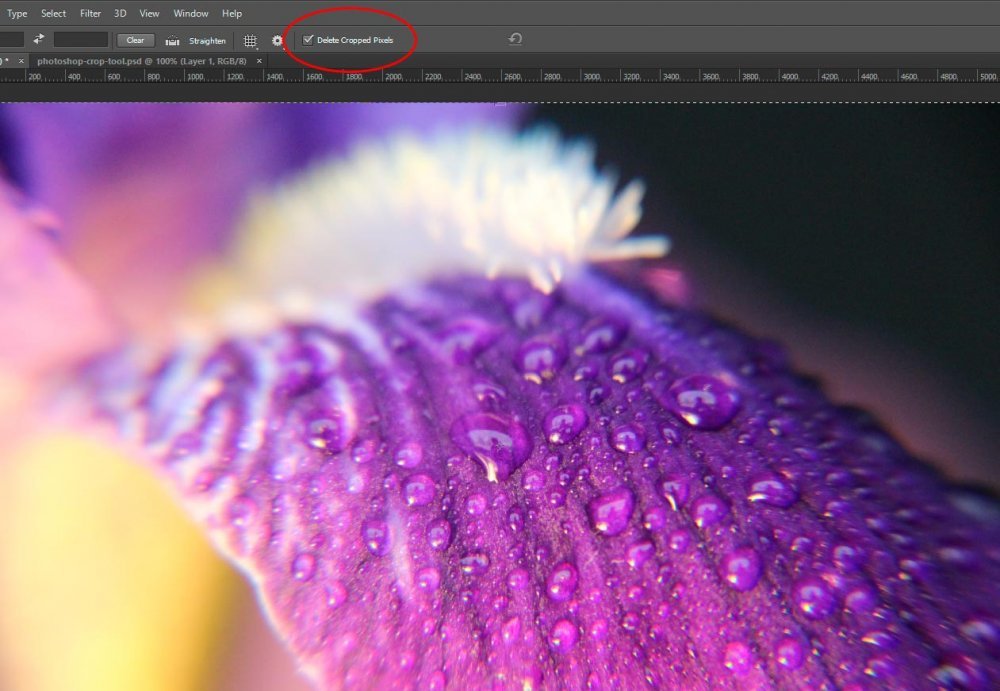
The area inside the red circle is the “Delete Cropped Pixels” check box. If you uncheck this box, you’ll save any cropped area within your file, so keep this unchecked.
Free Cropping by Clicking & Dragging
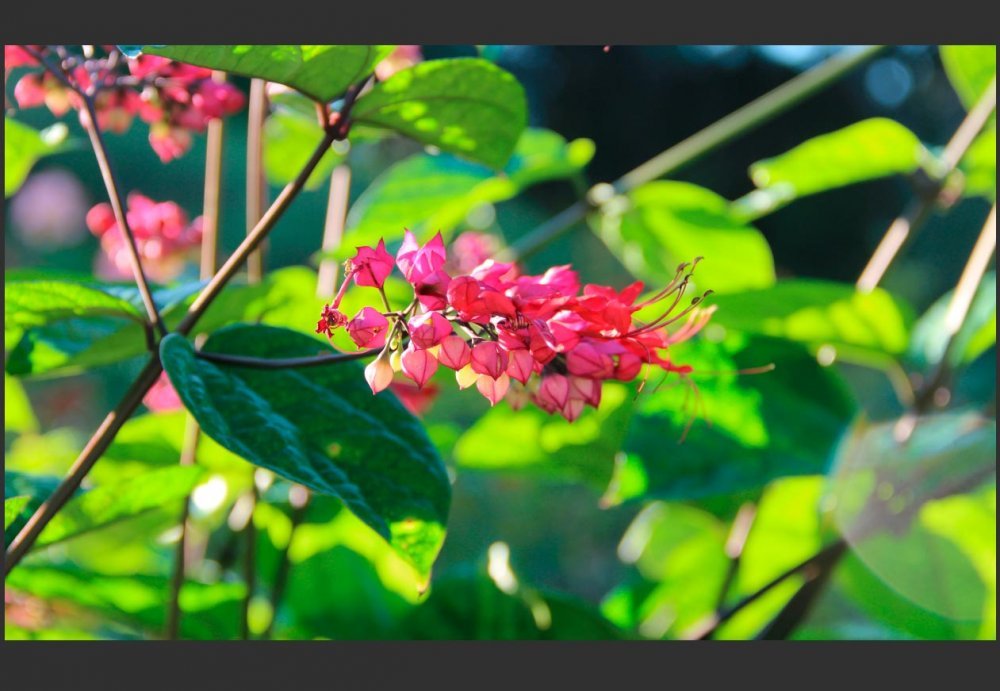
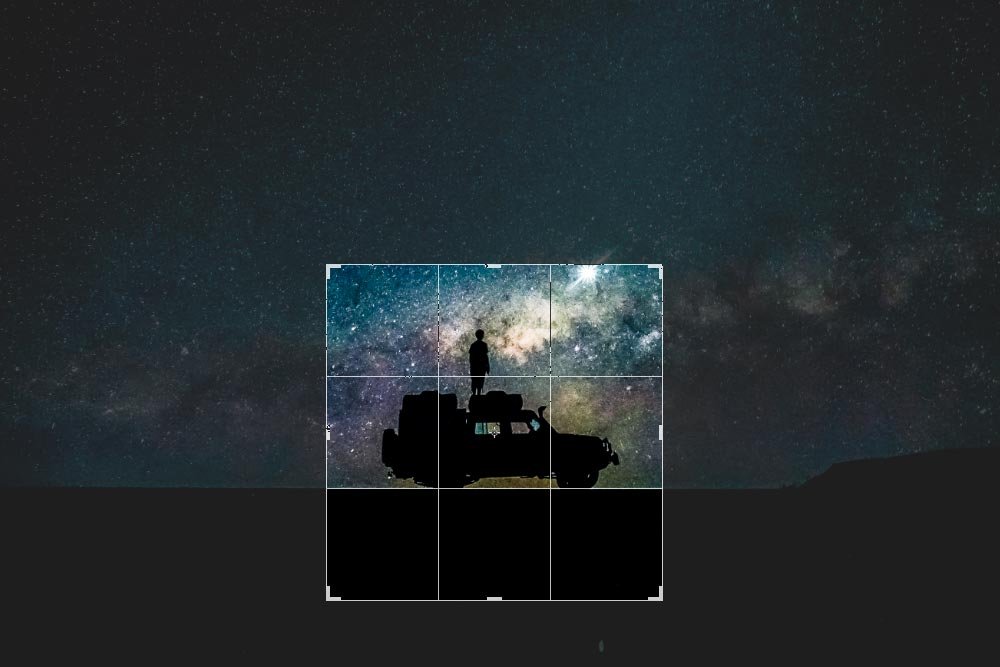
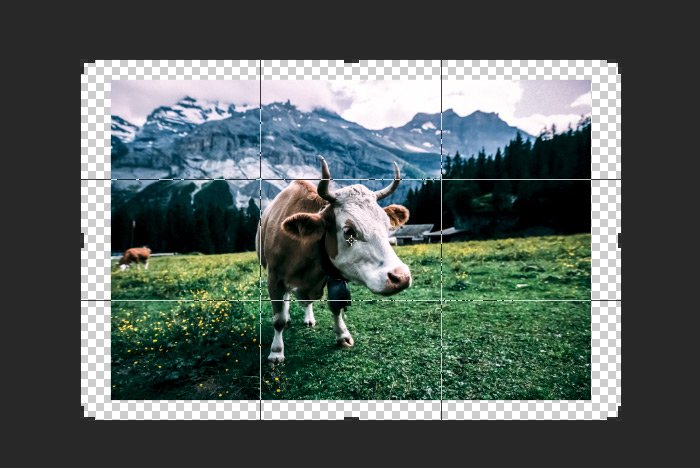
Once we select the crop tool and uncheck the box I just referred to above, how do we go about selecting the area we’d like to crop? That’s easy. All we need to do is to click and drag any part of the crop tool outline. We can click one side, drag it to where we want and then repeat the process over and over again. There’s no limit to how many times we can click and drag to select the perfect area we’re looking for. In the example below, I merely reduced the size of the entire image to select the center.If you want to add a bit of speed to your process, I suggest you make use of the corners. If you click and drag a corner, you’ll have the ability to move two sides of the selection area as opposed to only one.
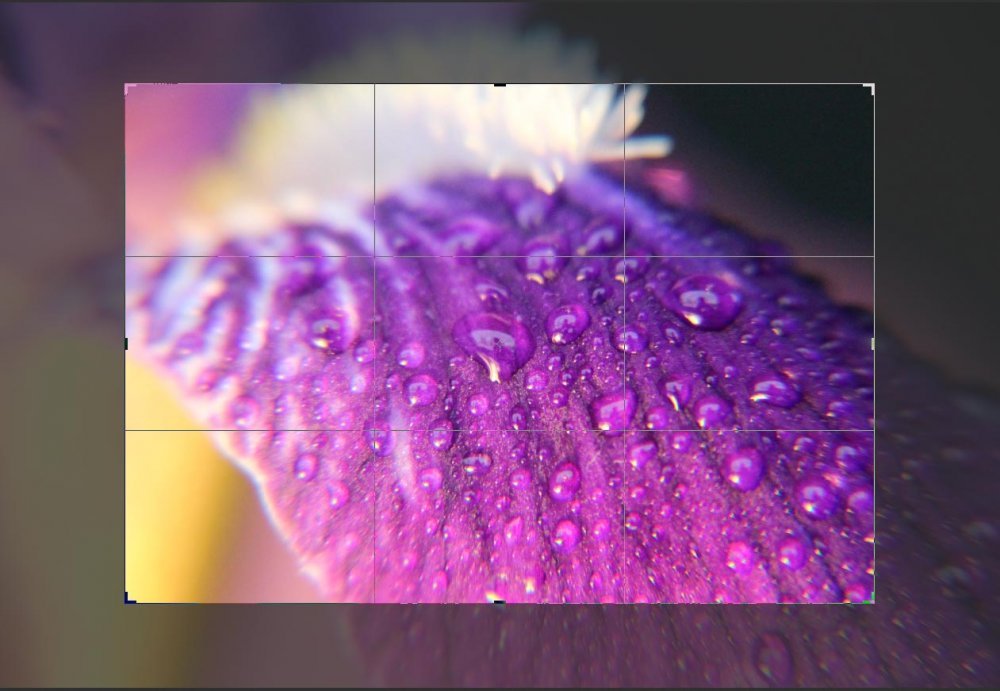
Also, if you size the area you’d like to crop and have it perfect, you can always click inside the crop area to drag your image around.
Actually Cropping Your Image
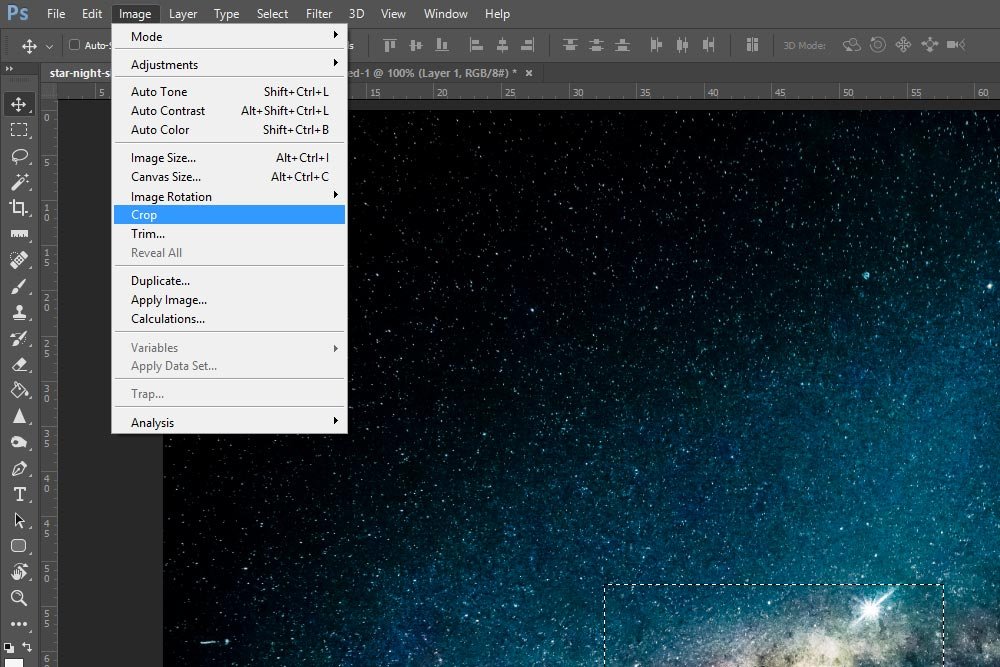
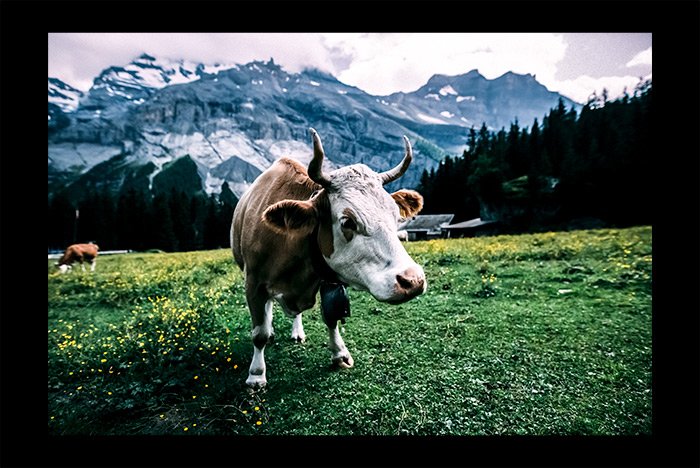
Now that we’ve selected the area we’d like to crop out of our image, let’s go ahead and actually crop it. In Photoshop, there are a few methods to accomplish this. First, we can simply click “Enter” on our keyboard. That’s probably the easiest and fastest. By clicking enter, Photoshop will remove any area of your image that’s outside your crop selection. Now, as you may have noticed, I italicized the word “remove” in the previous sentence. By removing, I mean that Photoshop will hide the area you want cropped out. If you work on your photo and then go back to select the crop tool and click around, you’ll see that your entire image is still available for recropping or any adjustments you’d like to make to your crop selection area. Also, if you select your pointer tool, you’ll notice that you can move your full image inside your crop selection area.If you don’t want to use the keyboard shortcut for cropping, you can always head up to the “Image > Crop” menu and click. This will have the same effect as clicking enter on your keyboard.
Lastly, if you double-click your mouse pointer inside of the crop selection area or click the “check” icon to the right, up in the option menu, you’ll have cropped your image the same way the previous two methods did.
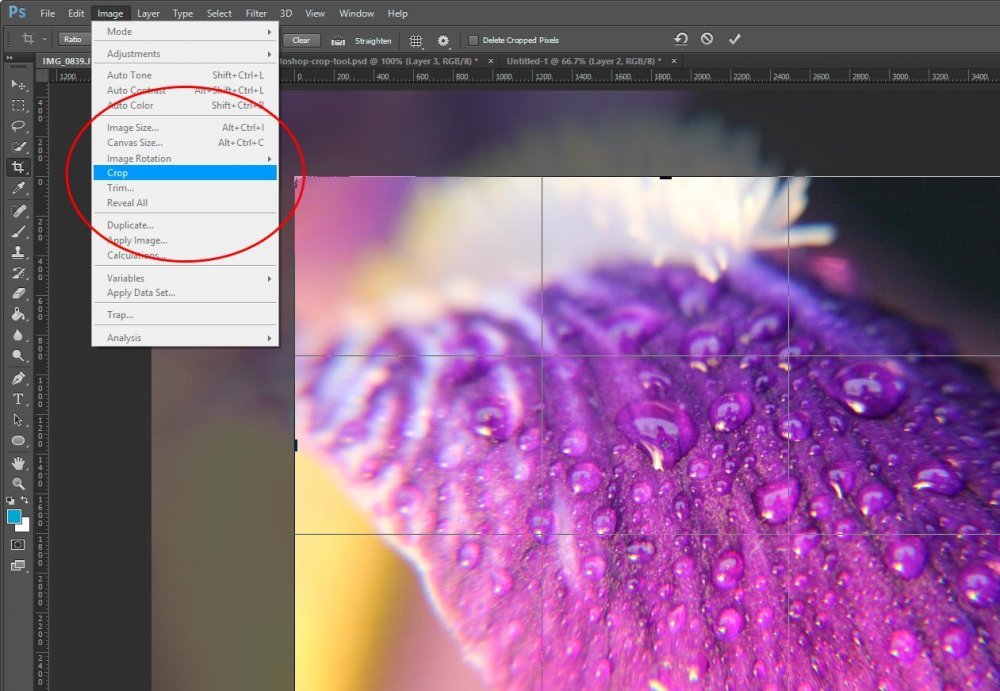
And as one final tip for when you’re dragging your edges around in an attempt to resize the visible area of your image, if you click and hold down the “Shift” key on your keyboard, you’ll lock in the ratio of what you’re currently working on. So if your photo has a ratio dimension of 9 inches wide and 6 inches tall and you click shift while dragging the crop edges, that ratio will be locked in while you work.
Changing the Overlay
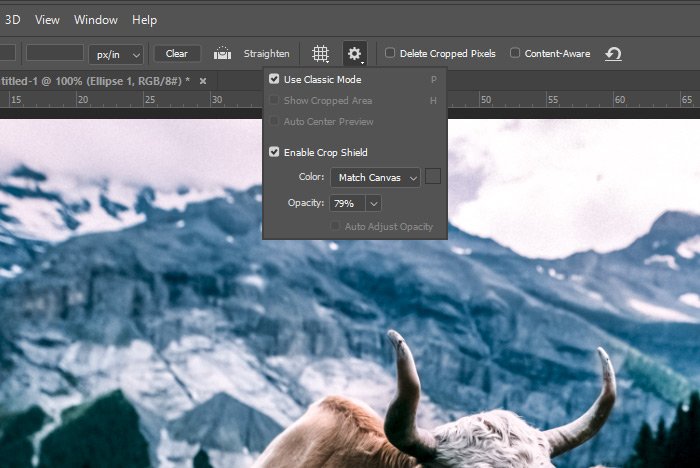
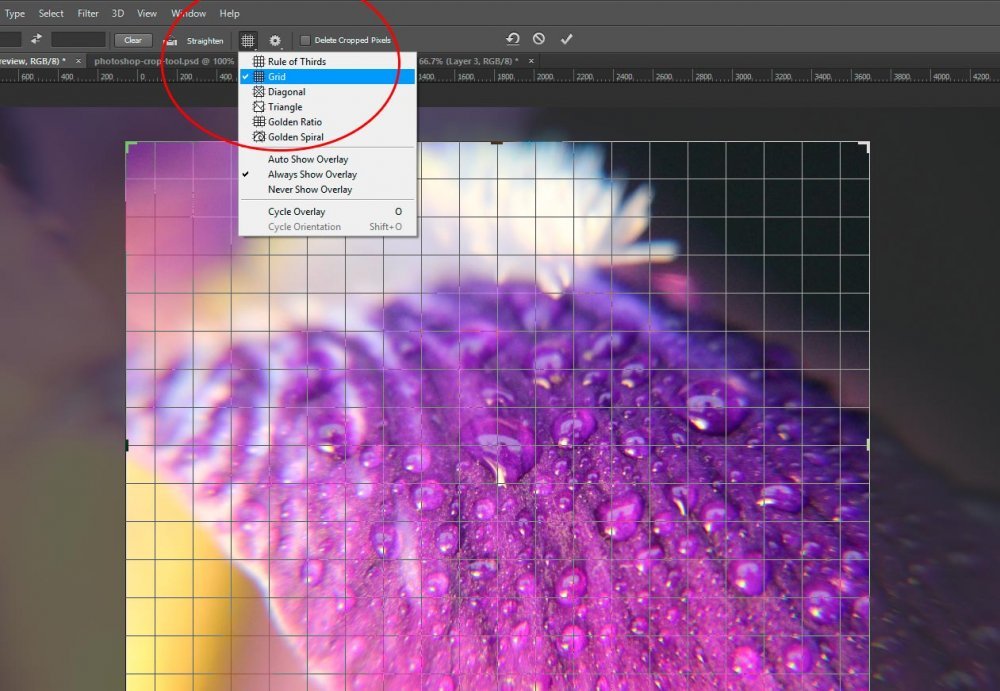
In my previous example screenshots, you most likely noticed that there were some grid lines inside the crop area. Those lines are referred to as an overlay. And so far in this post, I’ve used the “Rule of Thirds” overlay. Never heard of the rule of thirds? If this is the case, you may want to read up on composition when it comes to photography. I wrote a post that covers this topic a while back – it’ll explain everything.Anyway, if you don’t want to work with this specific overlay or want to shut the overlay off all together, simply click the “Overlay” drop-down box up in the option menu and make an alternative choice. As you can see in the screenshot below, I chose the “Grid” overlay.
Locking in a Crop Aspect Ratio
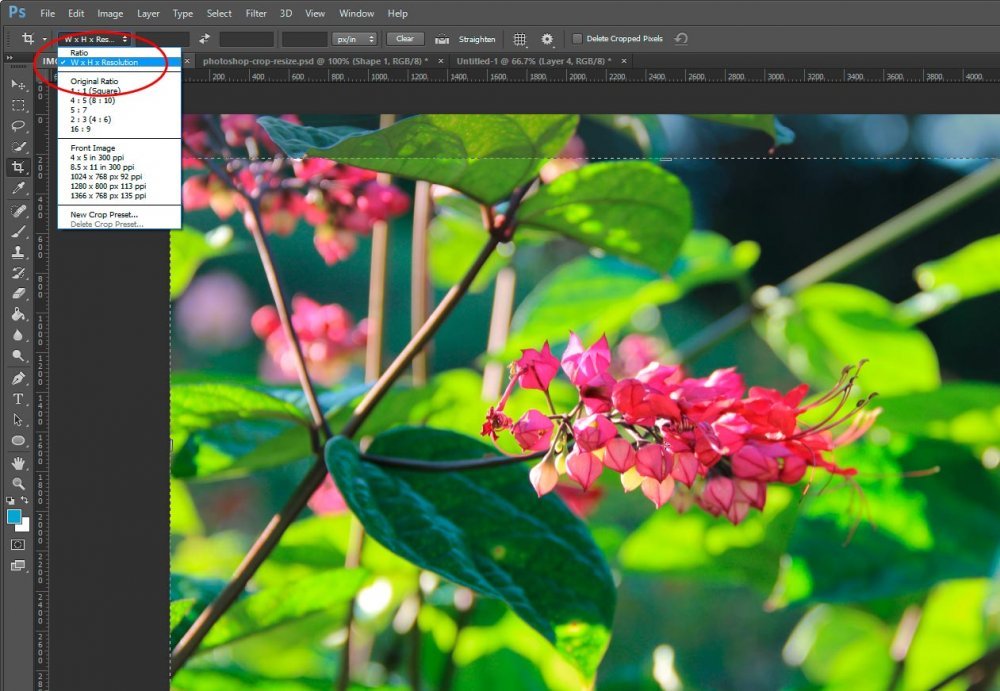
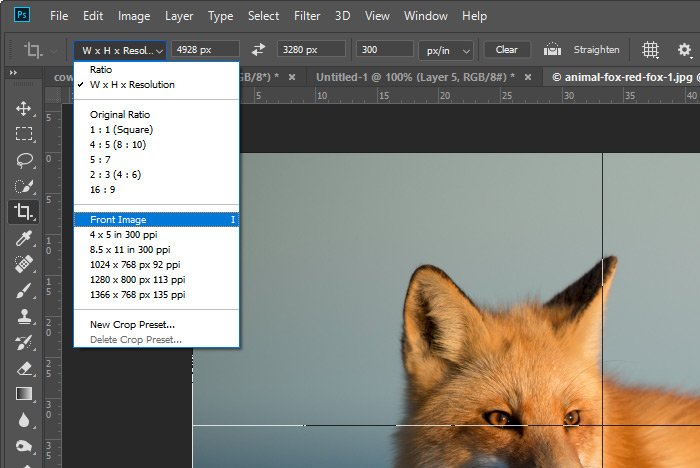
I alluded to locking in an aspect ratio in a previous section of this post. That was a simple shortcut method of getting something done quick and dirty. If you’re serious about cropping to a specific ratio, taking advantage of the “Ratio” drop-down box up in the option menu is a much better choice. You’ll have more maneuverability by using this tool.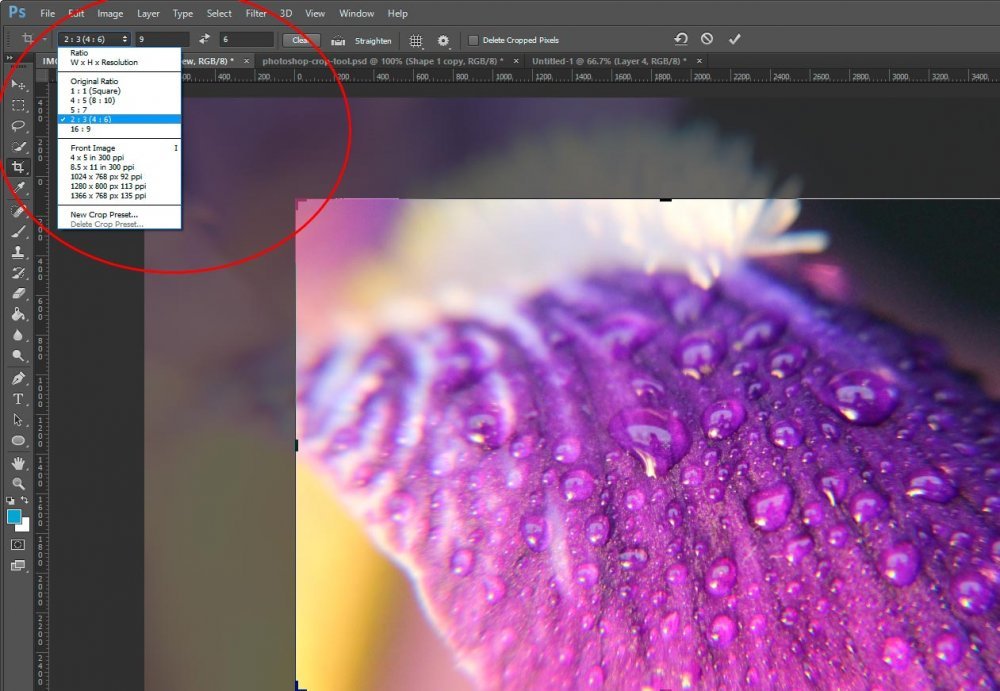
If you take a look at the choices you’ve got in that drop-down box, you’ll see that many different options are available. Go ahead and click a few of these to play around for a while. The results are interesting.
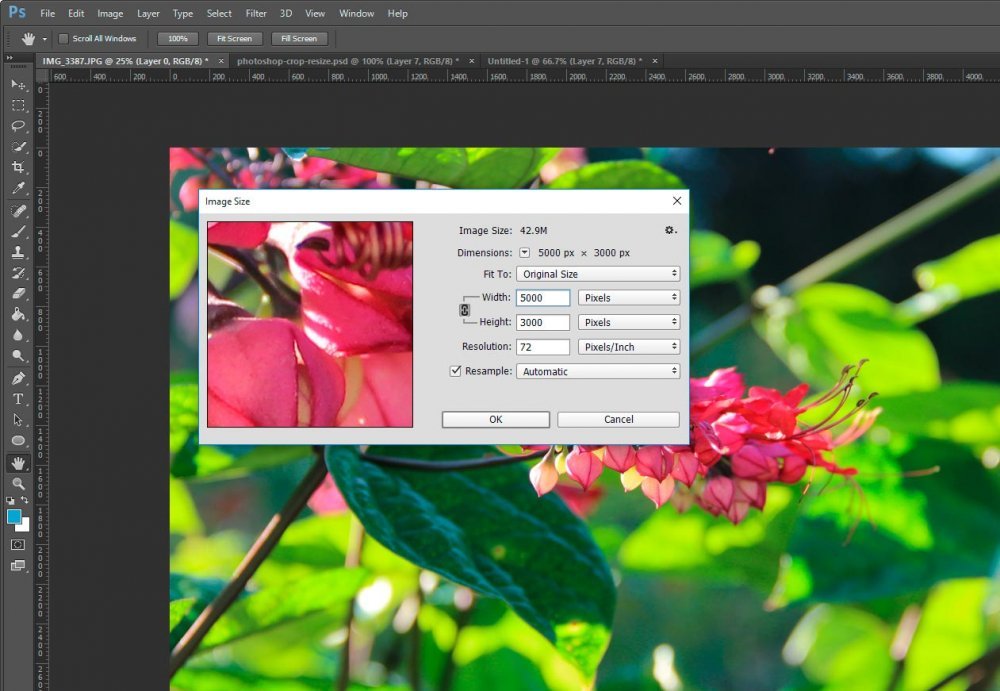
In general, I don’t use the presets in the drop-down. I tend to know the ratios I work with often and I simply type those ratios into the two boxes to the right of the drop-down menu. If you look closely at the screenshot above, you can see that I typed a “9” in the first box and a “6” in the second. This creates a 9×6 (width x height) ratio that will be locked in as I work. I tend to use this ratio when I resize and crop images for my blogs. For the header intro images on this very website, I use a 9×4 ratio.
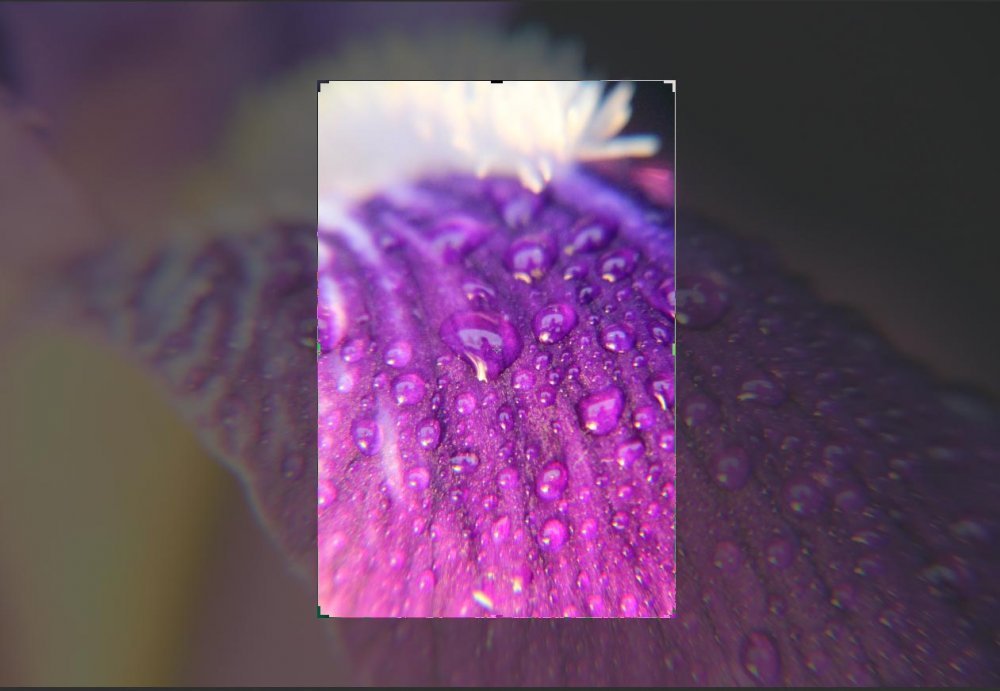
If I decided to select the 2:3 crop aspect ratio from the preset menu, my crop area would look something like this:
If you’ve enjoyed today’s post and found it helpful, please share it with a friend. Thanks!

