CampFireJack
Member
- Joined
- May 9, 2021
- Messages
- 118
- Reaction Score
- 1
- Points
- 16
- #1
There may come times when you need to align duplicate layers in Adobe Photoshop. I can’t tell you when those times may occur, but they will. And when they do, you’ll wish you had a method for accurately aligning those layers. That’s what I’m here for.
In this post, I’m going to let you in on a really neat tip that will help you greatly in aligning layers. I’ll be using example photos in this post, but rest assured that you can use anything – photos or graphics. The technique works with either. And the best part, it’s super simple. A word of warning though, this will be sort of a long and cumbersome post. Please follow it though because I think you’ll get something from it.
Example Photos
A while back, I talked about blend modes in Photoshop. I actually wrote some posts that covered various aspects of them. If you’d like, you can take a look at those posts here:What are Blending Modes in Adobe Photoshop?
Learning the Difference Between Blending Modes in Adobe Photoshop
Now, I’ll be the first to say that there are a zillion ways to go about using blend modes. In the previous posts though, I discussed duplicating a layer and applying a blend mode to the top one. By doing this, you can oftentimes achieve the look you’re after. The thing is, sometimes you accidentally move the top layer so it’s no longer aligned with the original. Or perhaps you resize it, so it’s not matching up the way it should. Or maybe you simply cropped just one section of the top layer out and you’d like to get it positioned where it’s supposed to be. Again, there are probably another zillion reasons why you’d need to square layers up. The challenge is getting them so they’re perfectly aligned. It’s tough under certain circumstances, such as when the layers are different sizes or shapes.
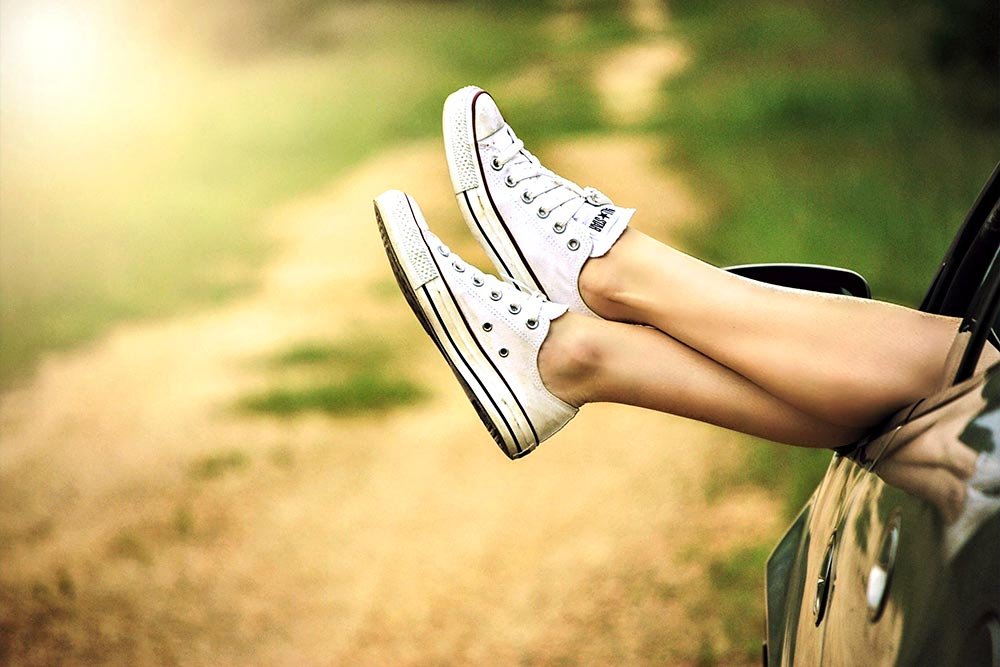
I’ll be using three example photos to get my point across, here they are. These are the originals.

The “Difference” Blend Mode
Let’s take a look at what Adobe says about the Difference blend mode.Difference – Looks at the color information in each channel and subtracts either the blend color from the base color or the base color from the blend color, depending on which has the greater brightness value. Blending with white inverts the base color values; blending with black produces no change.
Do you know what this means? Me neither. Let’s take a look at what happens when I create a new layer, fill that layer with pure white and then apply the Difference blend mode to it. I’ll use the first example photo here.
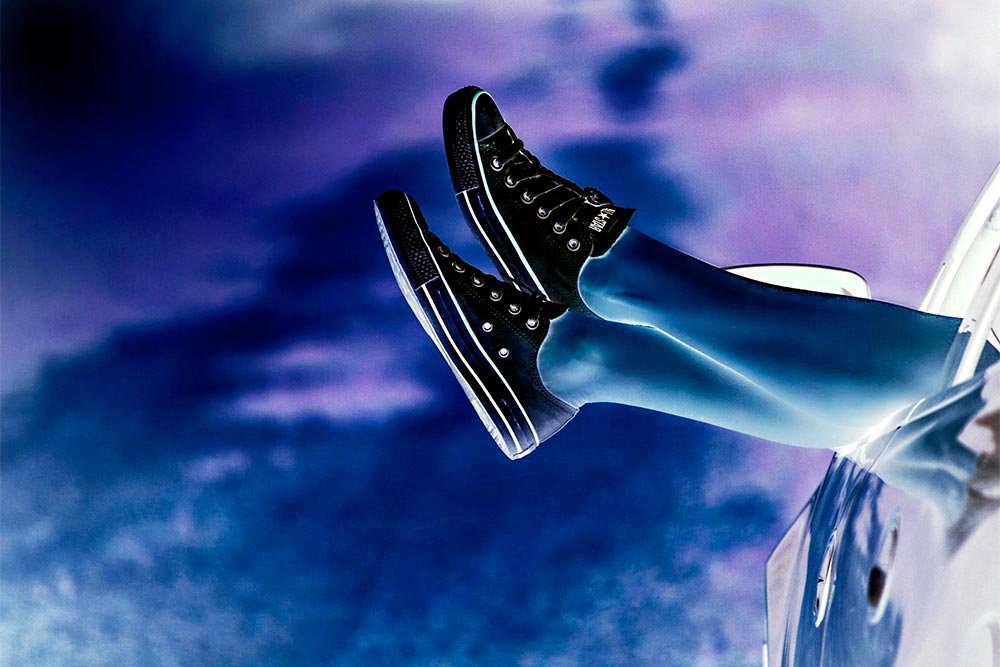
Now, I’ll fill the top layer with gray.
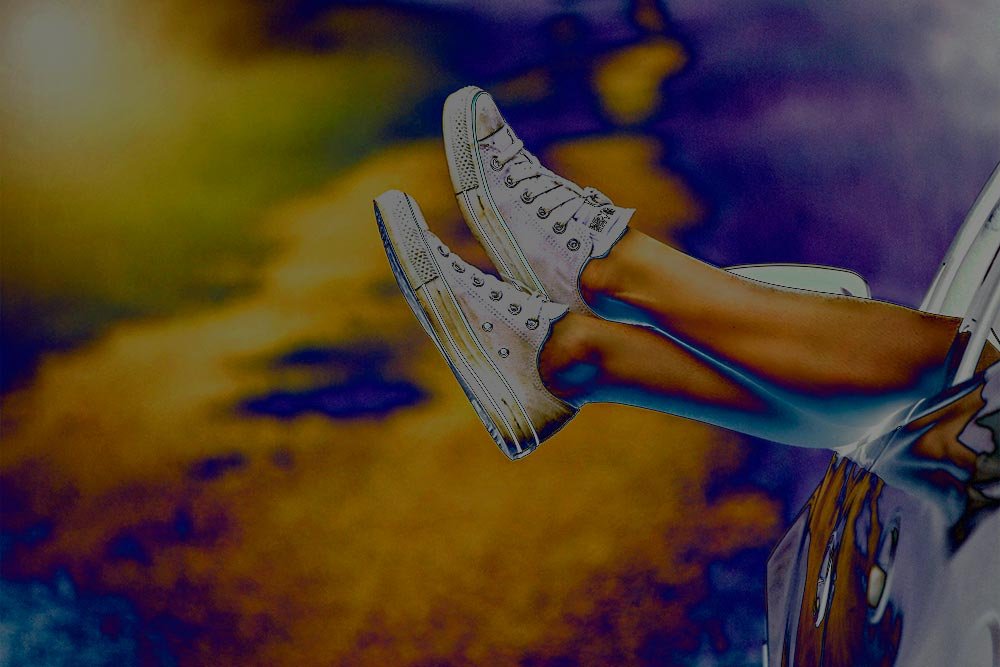
Now, I’ll fill the top layer with pure black.

What we get from this quick experiment is that Adobe’s description is right-on. When we used the Difference blend mode on the white top layer, it inverted the colors of the bottom layer. When we use gray in the top layer and use the same blend mode, it only inverts the bottom layer half way. When we use black in the top layer, the bottom layer isn’t inverted at all. Interesting.
Now, let’s see what happens when I fill the top layer with white again and shift it over to the left and up a bit.
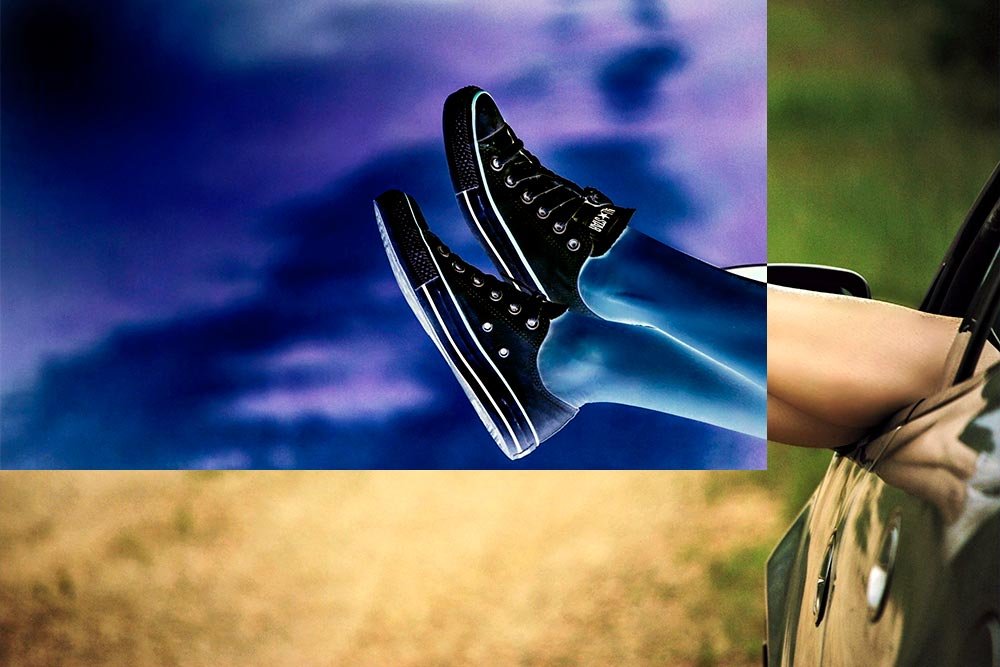
As you can see, the area of the top layer looks just like it should. We went over this a few example photos above. It’s now just moved over some.
To continue on with my demonstration, I’m going to get rid of the solidly colored top layer and simply duplicate the photo layer. I’ll then apply the Difference blend mode to the top layer and shift it to the left and up, just like I did above.
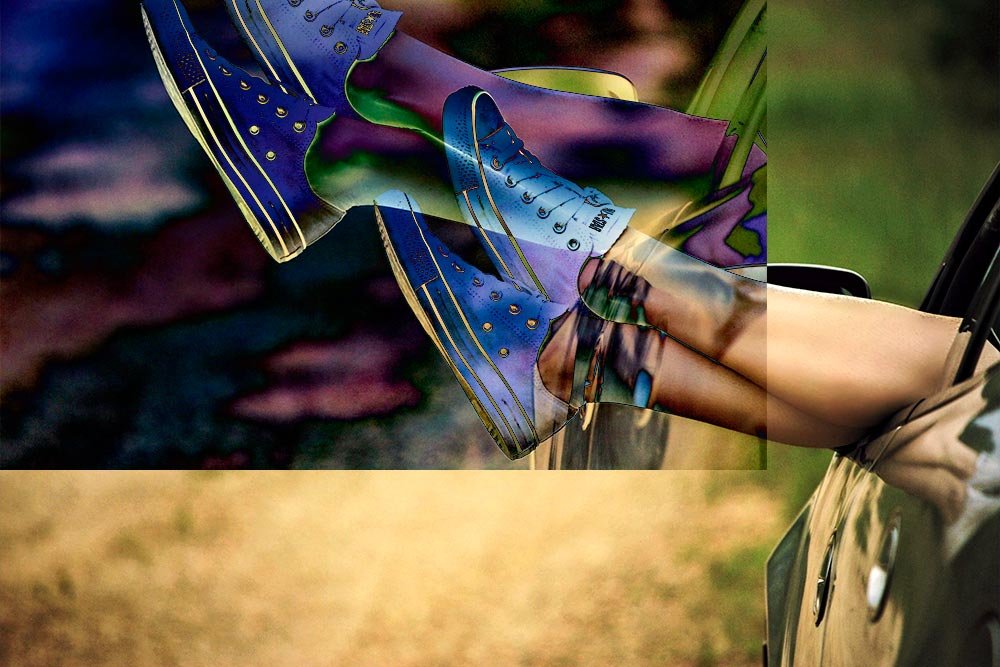
Nothing too exciting here. What I’m seeing is the bottom layer and the top layer now. Both have the same content, but the overlapping area has some funky coloring.
Now I’ll move the top layer a bit closer to the source layer.
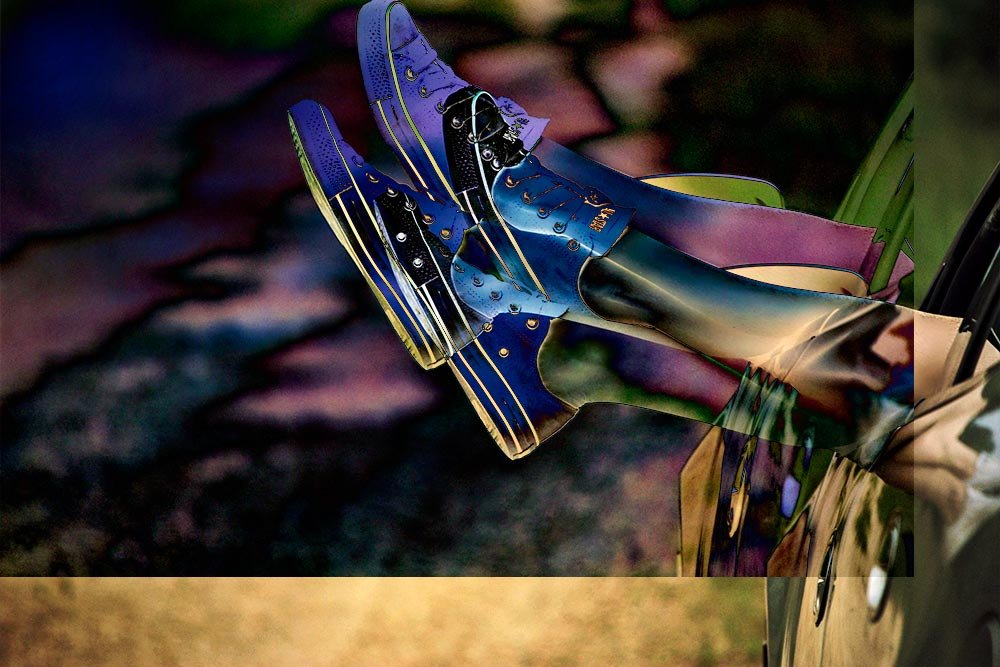
Still nothing too exciting. Sort of the same thing as above. Just difference positioning. Let me perfectly align the top and bottom layers to see what happens.

Oh wait, that’s pretty weird. I think we’re onto something. This may be helpful. Let me explain. When identical layers are perfectly aligned with one another and the Difference blend mode is applied to the top layer, the entire image will turn black. If you don’t yet see how this is helpful, let me move the top layer over to the left by just one pixel.
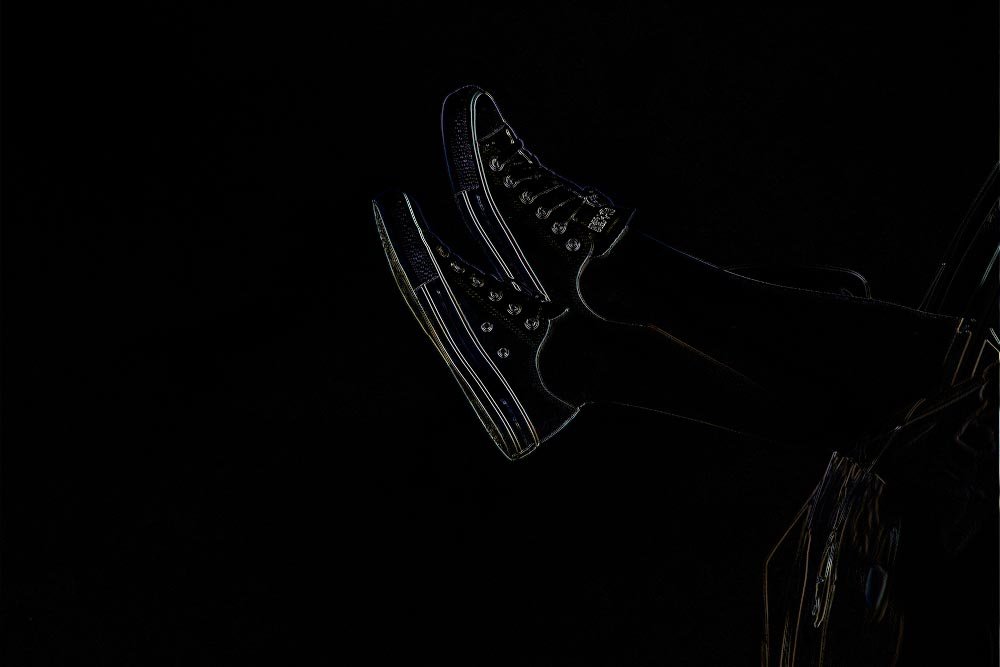
Do you see it now? Basically, if both layers are duplicates and identically sized, all you need to do to accurately align them is to apply the Difference blend mode to the top layer and move it around until you get solid black. How cool is that? The same is true for resizing. If you have the same conditions, but the layers are of different sizes, you can resize until you get black. I’m not saying this is easy, but it works.
For my next example, I’ll cut a perfect square from the bottom photo layer and paste it into its own layer. Then, I’ll apply the Difference blend mode to the top layer.
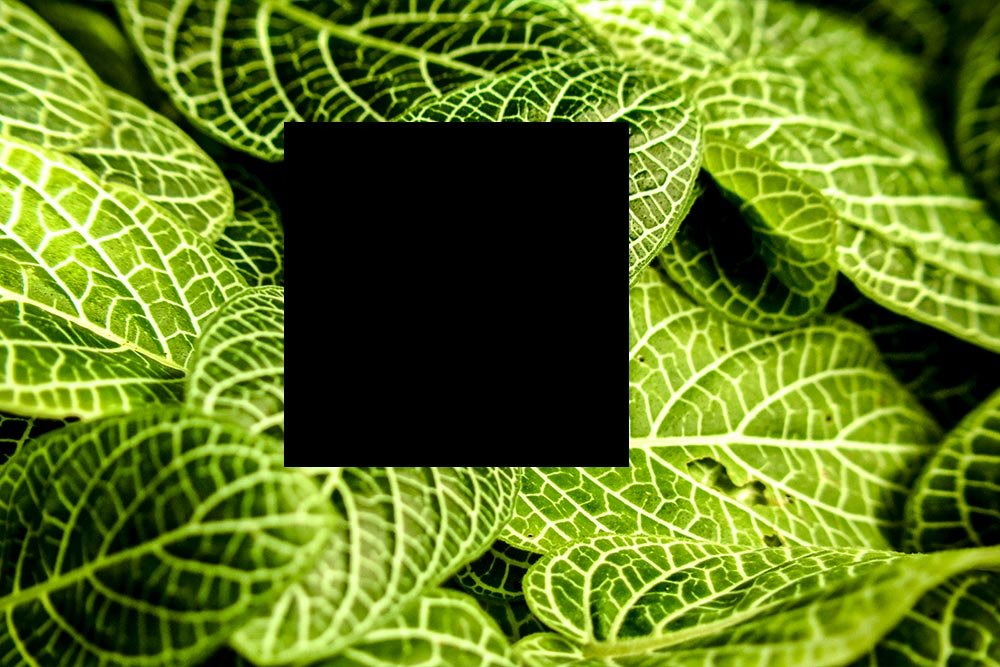
Now, I’ll shift the top layer (the square) over to the left by just one pixel.
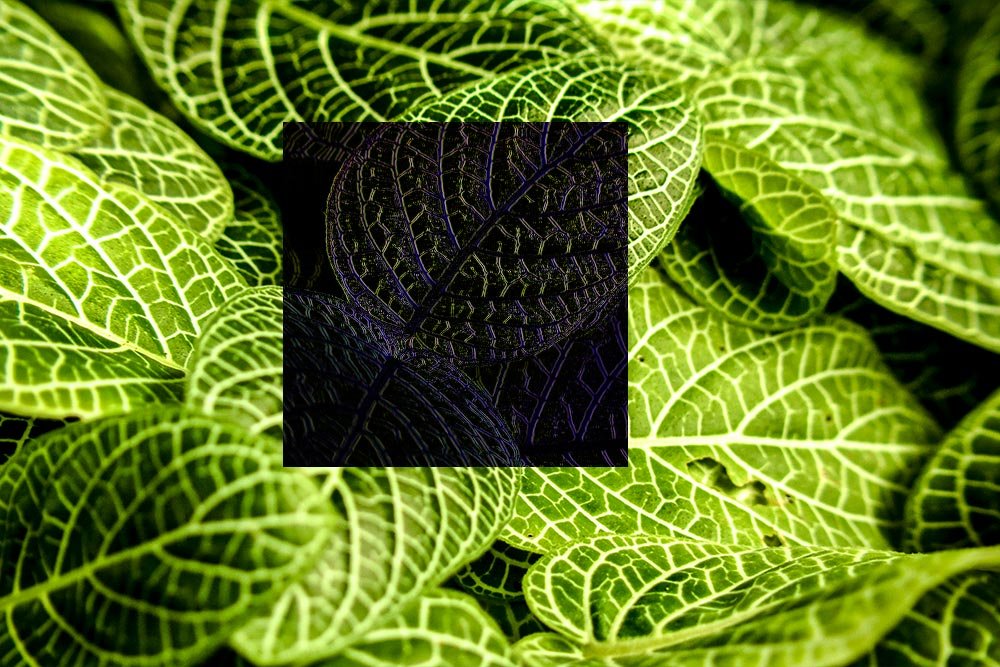
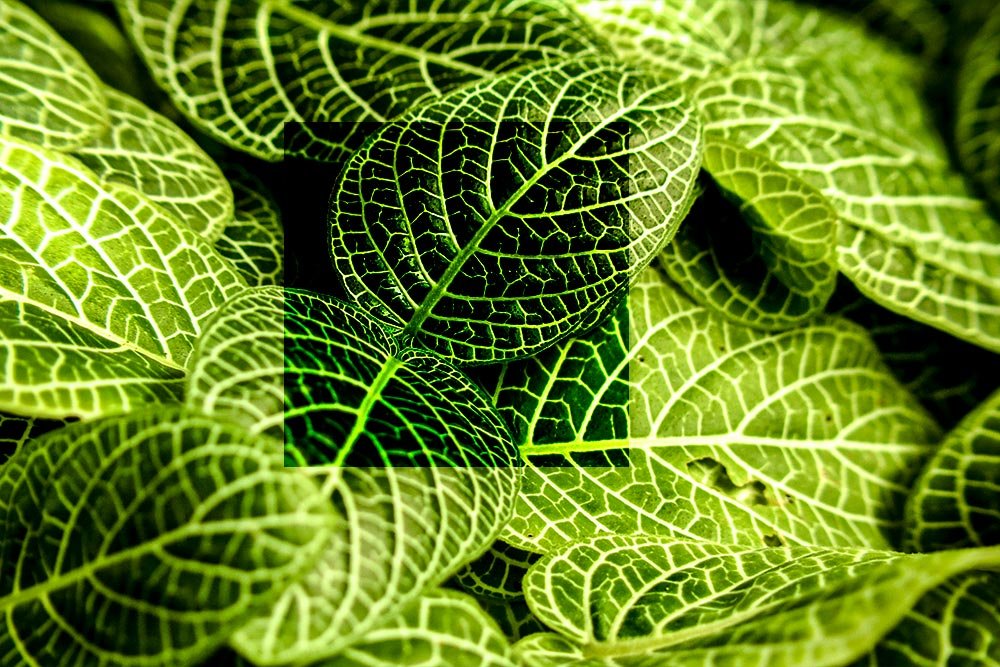
Pretty cool, huh? So, if you have just a portion of the bottom layer, you can still use this method to align the top with the bottom. Maybe you want to do this as an effect or something. You could treat the top layer as a callout. Maybe apply a different blend mode to it. In the photo below, I aligned the layers using my method and applied the Multiply blend mode to the top layer and then duplicated that layer twice more. Just think about if the top layer were circle or another shape. The possibilities are endless.
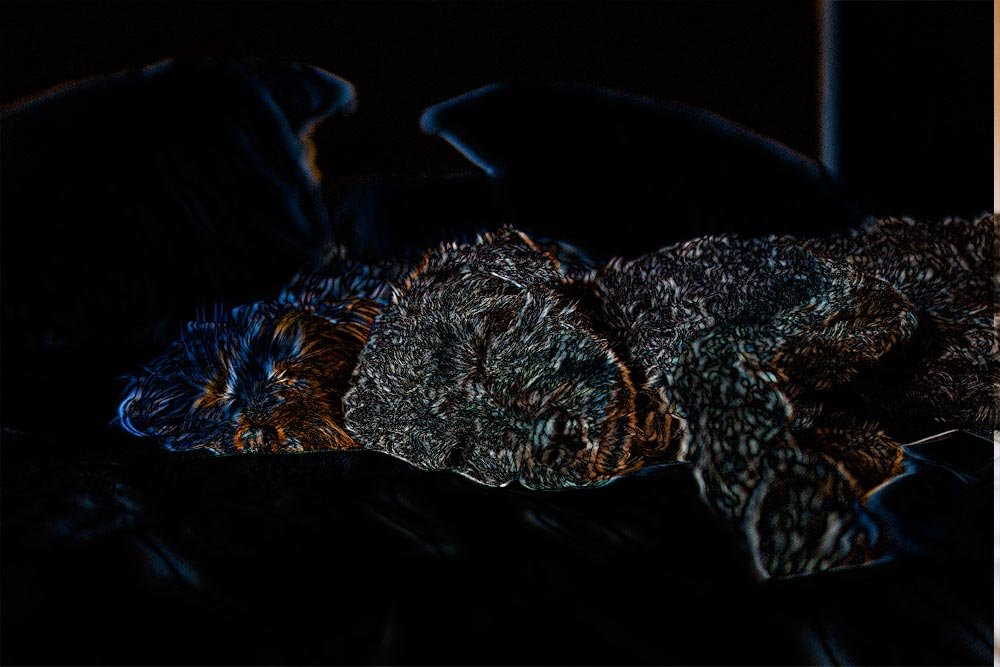
Finally, I’ll display the image with the two dogs in it to show you that this method of alignment works well with particularly tough to align photos. You know, the ones with tons of detail in them, like shaggy or curly dog hair. You really never quite know when these are aligned. Well, it’s simple now. I’ll merely show you what the photo looks like when I’ve duplicated the bottom layer applied the Difference blend mode to the top. I also moved the top layer over to the left a few pixels. You can see how much I moved it over by looking at the brighter vertical stripe over at the right side of the photo. If I didn’t shift the top layer at all, the entire image would be black, indicating that both layers are aligned.
Again, there may be any number of reasons why you might need to align identical layers in Photoshop and can’t use any traditional methods. What I’ve shown you above is simply another tool in your arsenal.
