LukeLewis
Member
- Joined
- May 7, 2021
- Messages
- 134
- Reaction Score
- 0
- Points
- 21
- #1
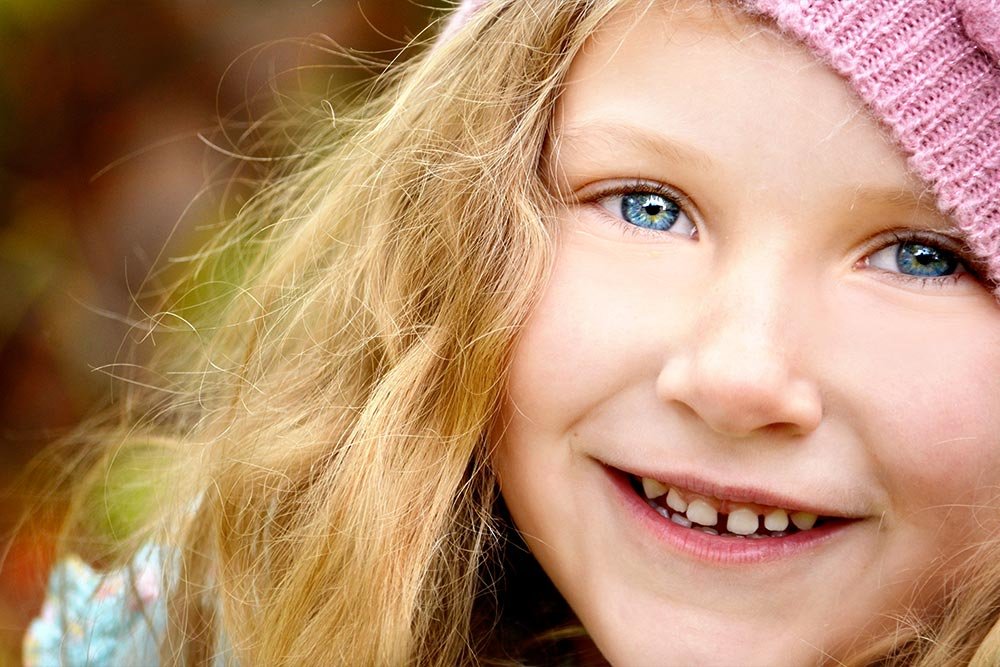
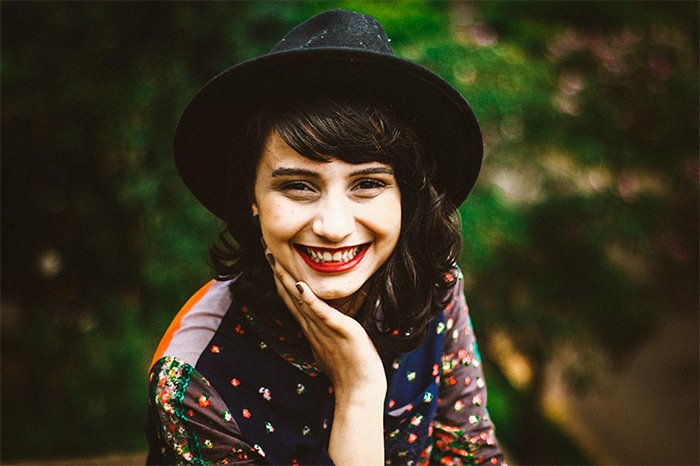
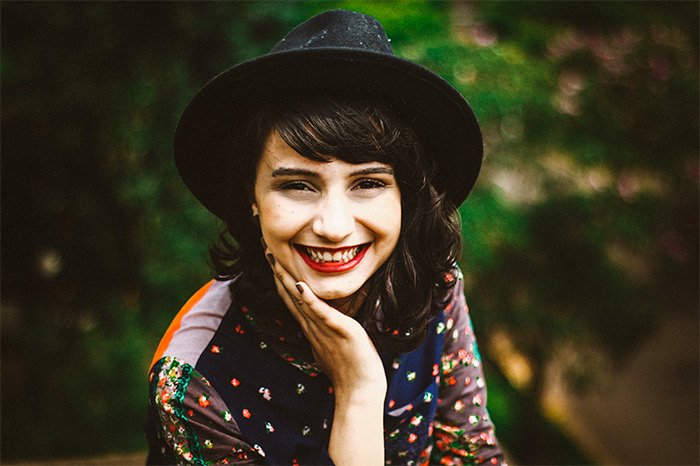
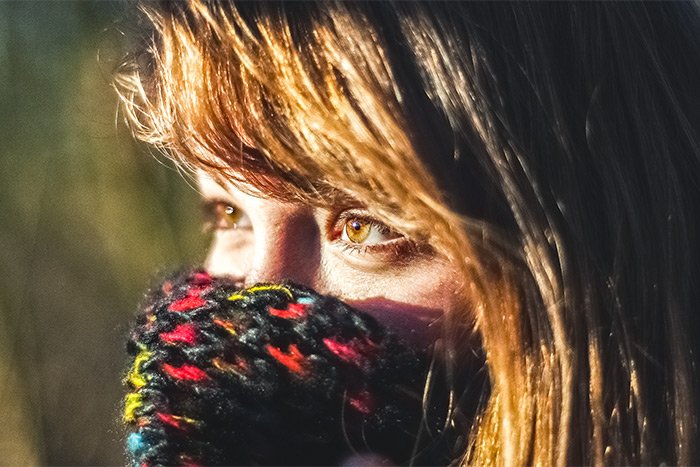
In today’s post, I’ll be continuing on with the project I began a while back. The goal here is to take a regular portrait photo of a young girl and funnel the natural surrounding light towards her eyes. I’d like to brighten them to give her face an overall sense of excitement and happiness. If you’d like to read the first part of this multi-post series, please visit this page:
How to Create a Freehand Vignette in Adobe Photoshop
In this earlier post, I basically reduced some of the noise of the environment in an effort to bring focus to the model’s face. With that accomplished, I now need to reduce some of the brightness on her face and funnel the viewer’s vision to the actual eyes themselves. While today’s tutorial will be short and sweet, rest assured that there are still a few more parts to come.
The Natural Darkness of the Eyes
If you think about it, pretty much everyone on the planet has shadows around their eyes. This is because they rest deeper in the skull than other features do. Due to their position, they oftentimes appear darker than other facial attributes, which can make for some unexpected lighting situations when it comes to photography. If someone isn’t staring directly into their light source, strange shadows can appear. Remember that Seinfeld episode where Jerry’s girlfriend was a two-face?Seinfeld “Two Face” Girlfriend
Luckily, there are some tricks to brighten shadows on people’s faces.
Removing Glare
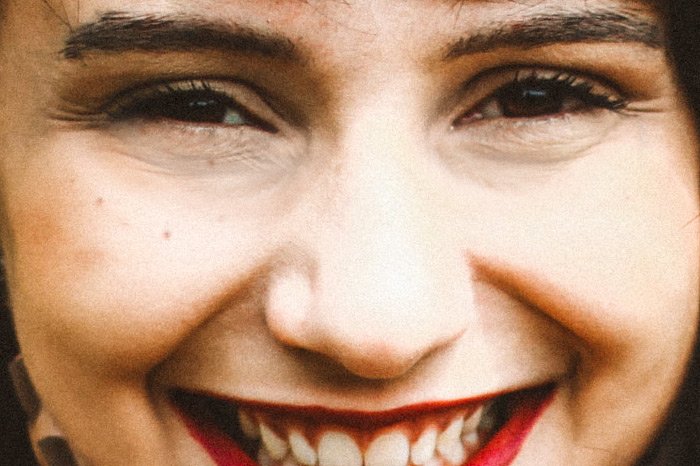
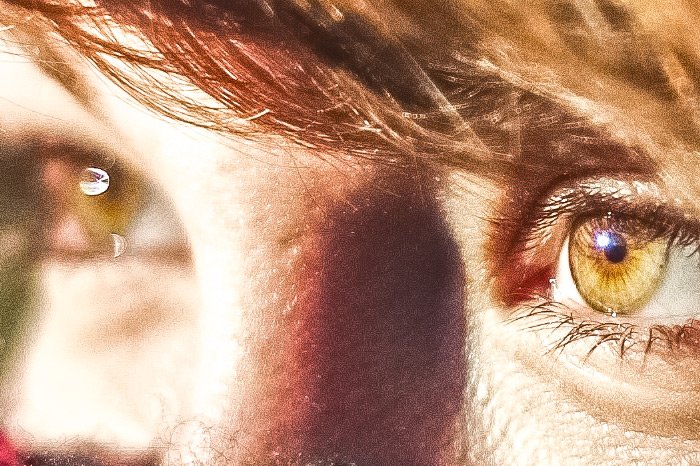
When you look at the photo of the model I’m using in this post, you can surely see that she’s no two-face. And honestly, there isn’t a whole lot that needs to be done to improve the photo. It is, however, a good one to use for a post like this because of the visibility of the face itself.Oftentimes, photographers need to increase the exposure of their photographs. When they do this, any glare that is currently on their subject will get brighter and more washed out looking. The brighter areas with the glare need to be slightly darkened. This will, in turn, bring the focus to the eyes more.
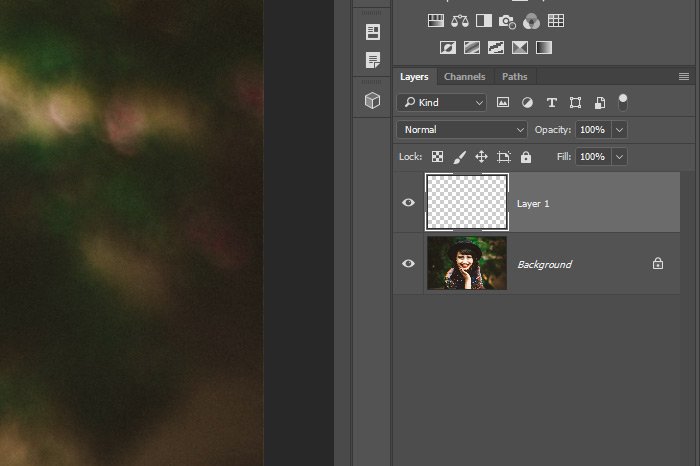
I can see some highlights that I would like to reduce on the model’s nose and chin. To accomplish this, I’m going to create a new layer, just as I did in the previous part of this project.
I’ll press the Option (Mac) or Alt (Windows) key on my keyboard and click on the New Layer icon at the bottom of the Layers panel. This will, again, introduce the New Layer dialog box. Inside the box, I’ll name the new layer Darken Face Highlights, change the mode to Soft Light and check off the box that says Fill With Soft Light Neutral Color (50% Gray). Doing this will give me a new layer that has a name and that’s 50% gray. Fairly simple. By the way, if you’d like a step-by-step view of this process, check out the previous post.
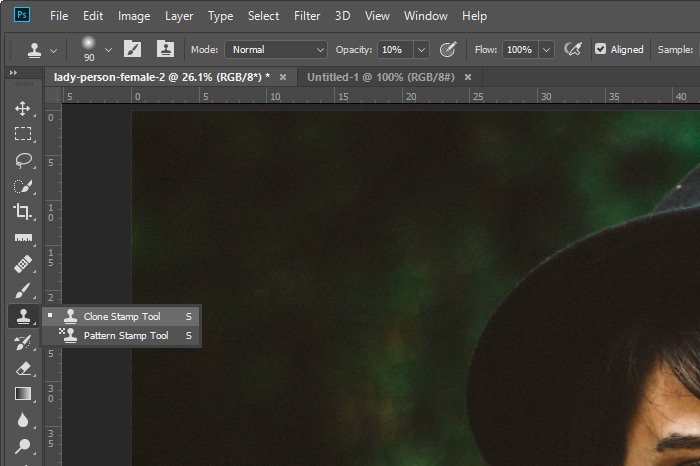
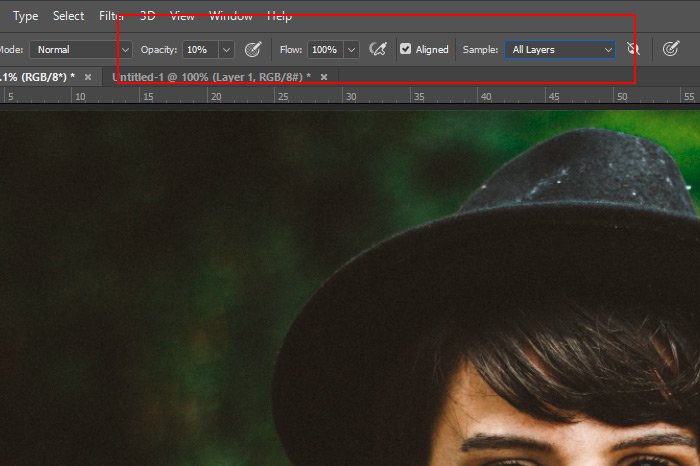
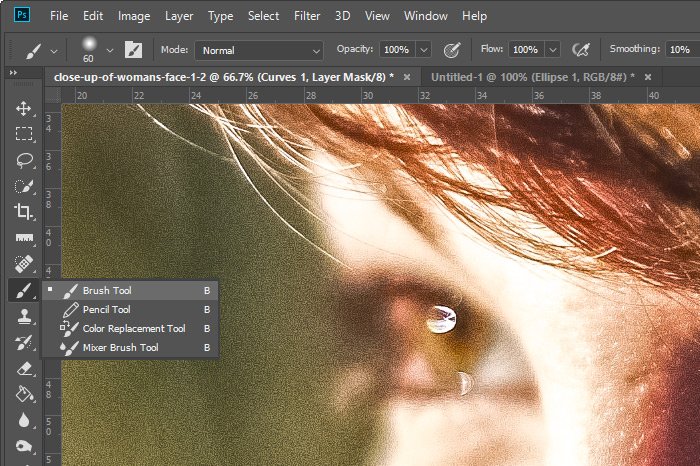
Next, I’ll make sure that black is set in the Color Picker and that I have a nice soft brush set for the Brush Tool. I’ll change the Opacity for the Brush Tool to 20% to keep any changes I make fairly mild and I’ll also resize the brush so it’s appropriate for this project. In this case, it’s set to 600 pixels.
Now, I’ll simply brush over the whitish parts of the nose and chin.
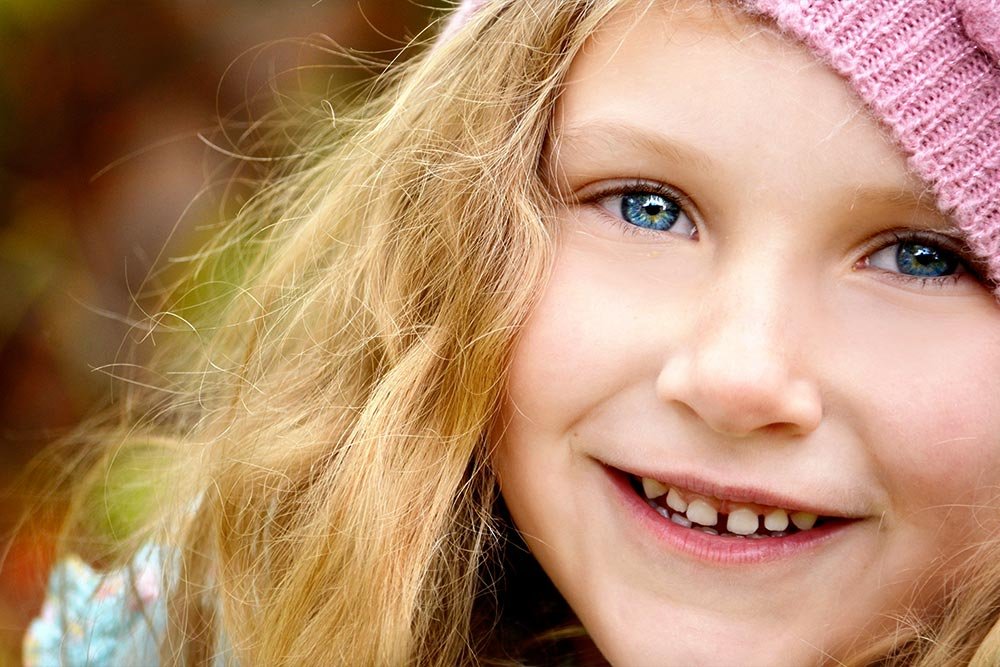
I know, you really can’t see any difference. I did make some though, as evidenced by the layer. If I show that, you can see where I brushed.
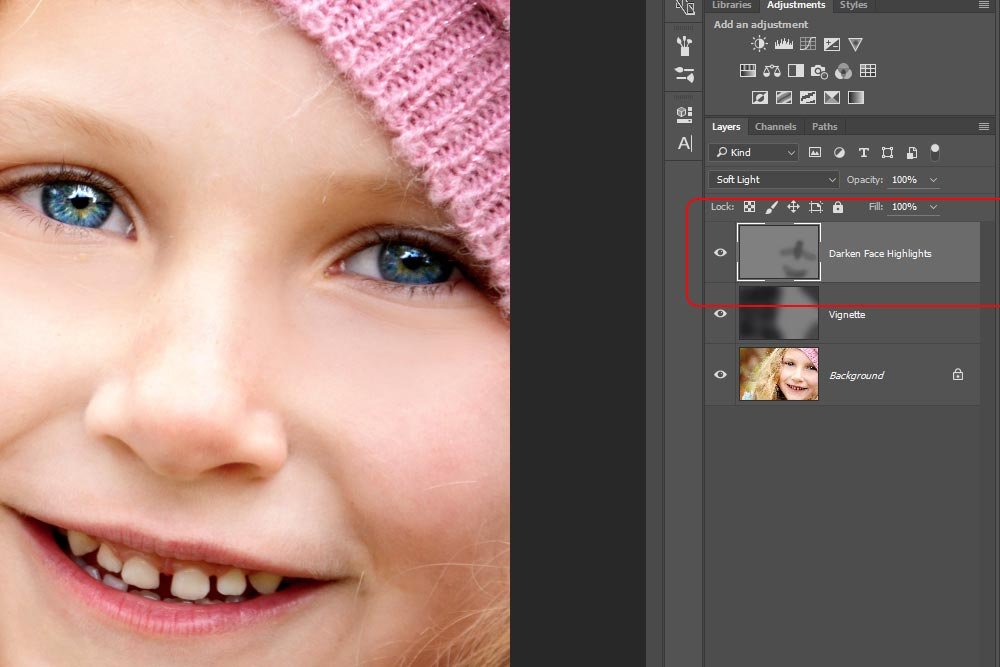
And if I change the blend mode back to normal, you can get an even better view.

Brightening the Eyes
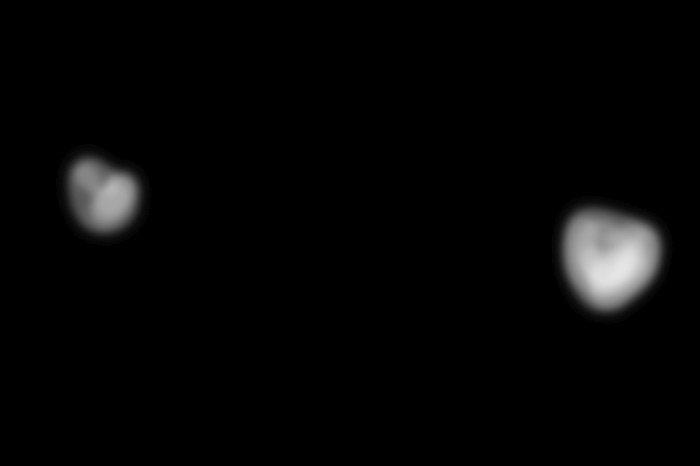
The key idea here is that I want control. As you may already know, you can use the Dodge Tool to increase the exposure of pretty much any part of a photo. And realistically, with that tool accompanied by the use of a mask, it might be the most efficient workflow you can take advantage of. Today though, I’m going to use an adjustment layer to achieve the result I’m after. That result is to simply brighten some of the shadows around the model’s eyes.I’ll click on the Lasso Tool to activate it. Next, I’ll draw around the shadow areas on the model’s face, being sure to avoid her hair and her hat as best as possible.
NOTE: After making one outline, I’ll hold the Shift key on my keyboard to continue on and draw the other outline. The Shift key lets me pick up where I left off, as opposed to deleting the other selection first.
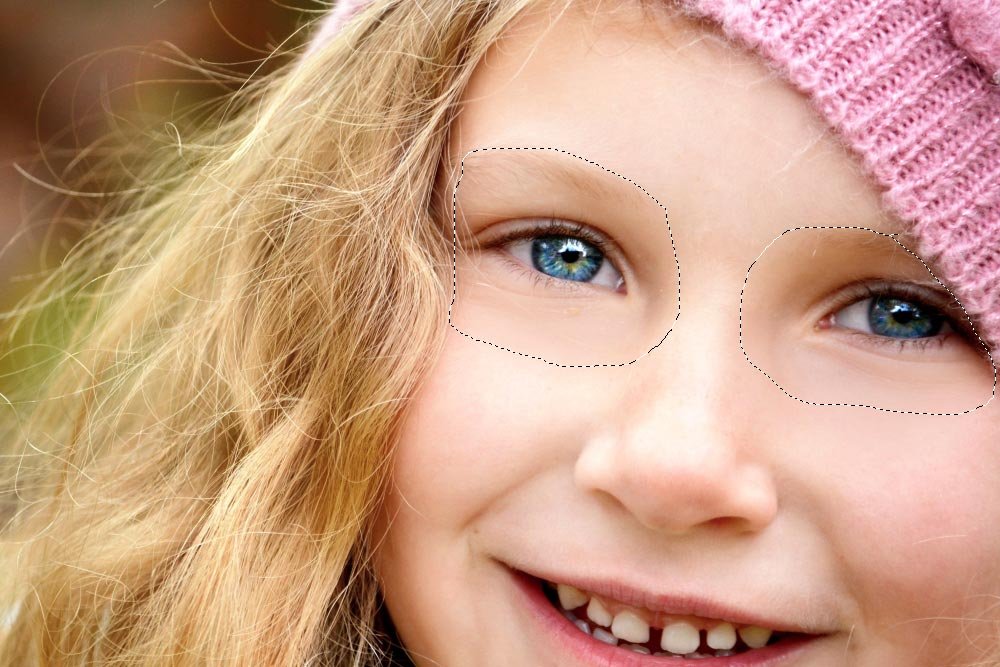
Now, I’d like to soften the edges of the selected areas. I don’t need any sharp definition when it comes to adjusting the lighting on someone’s face. To soften the edges, I’ll head up to the Select > Refine Edge menu item and click.
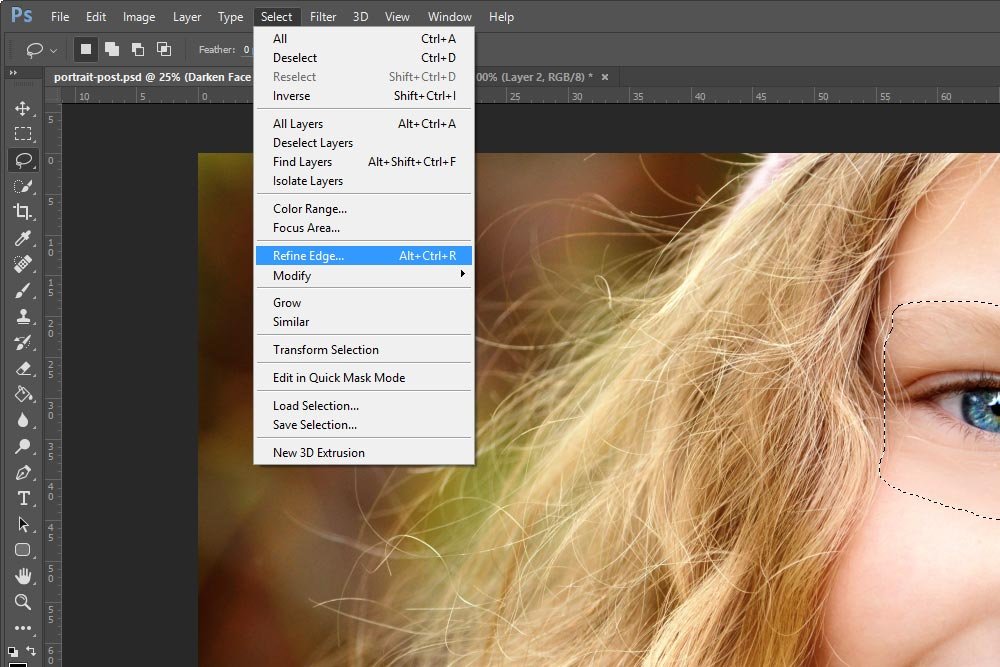
Once I do that, the Refine Edge dialog box will open. I’ll make sure the white background is set in the View Mode section.
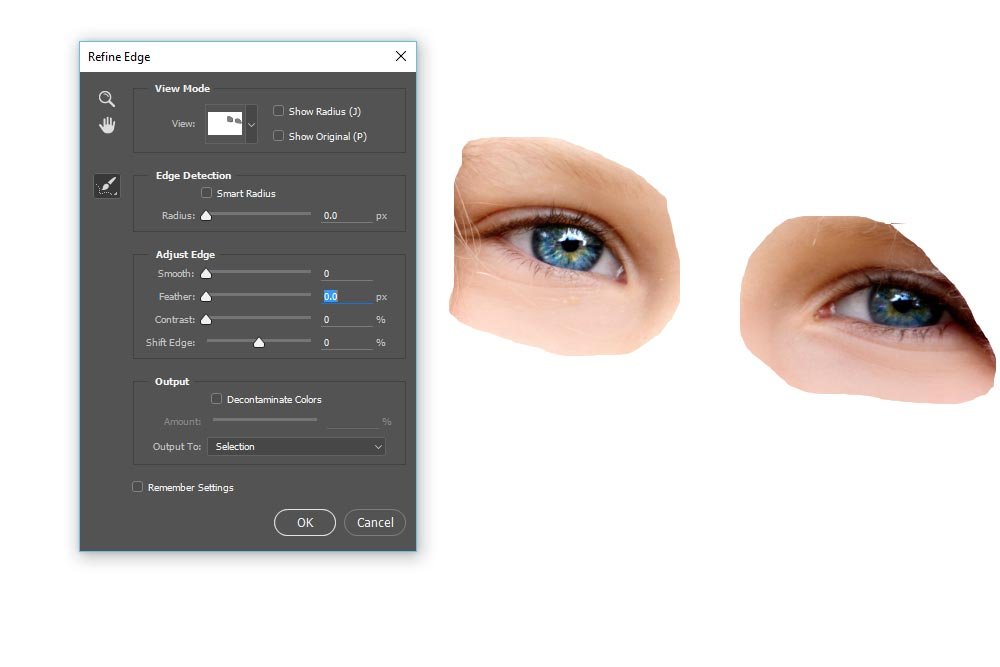
And then I’ll push the Feather slider to the right until the edges are nice and soft (currently 115 pixels). That should soften the edges enough for the blend to be unnoticeable.
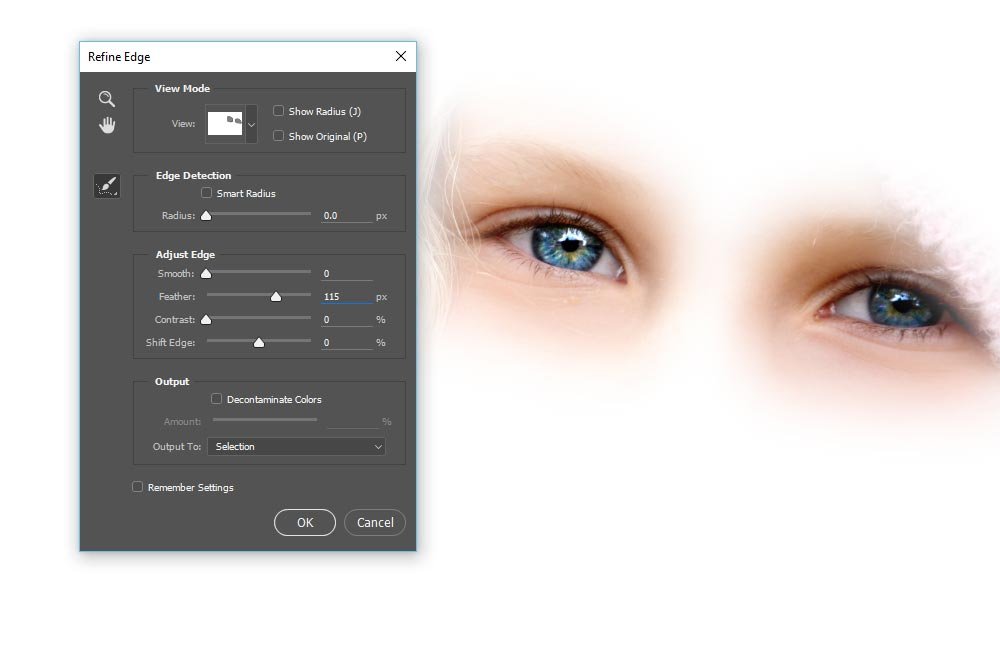
When finished, I’ll click the OK button, which will close the dialog box and return me to the image. The first thing I’ll notice is the the edges of the selections look more rounded. This is normal and a result of the feathering.
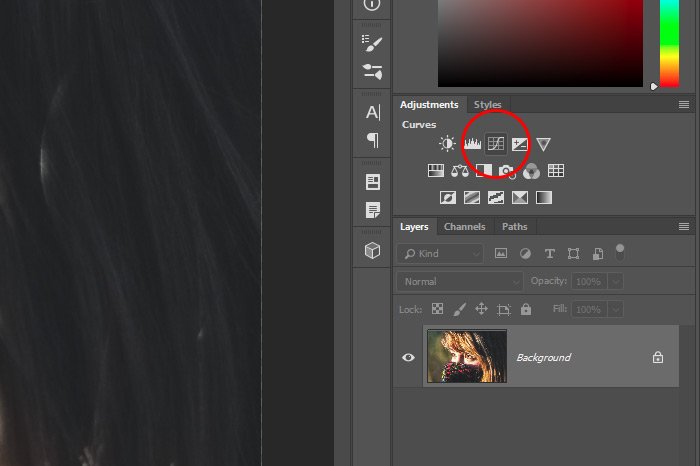
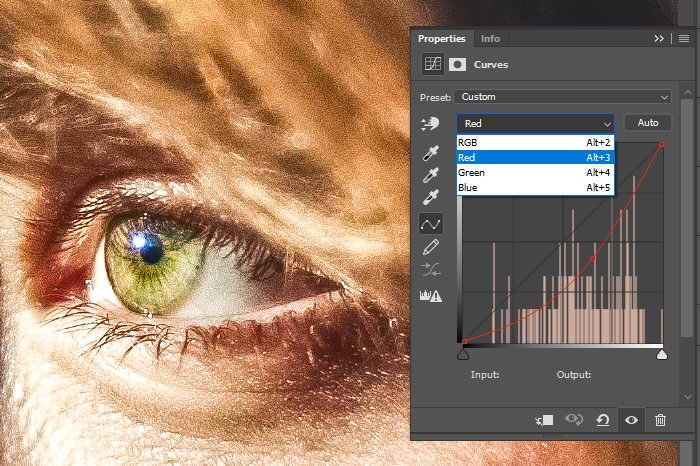
The next thing I’m going to do is to click on the New Adjustment Layer icon at the bottom of the Layers panel. This will pop up a menu that gives me all the available choices for adjustment types. I’ll select Levels.
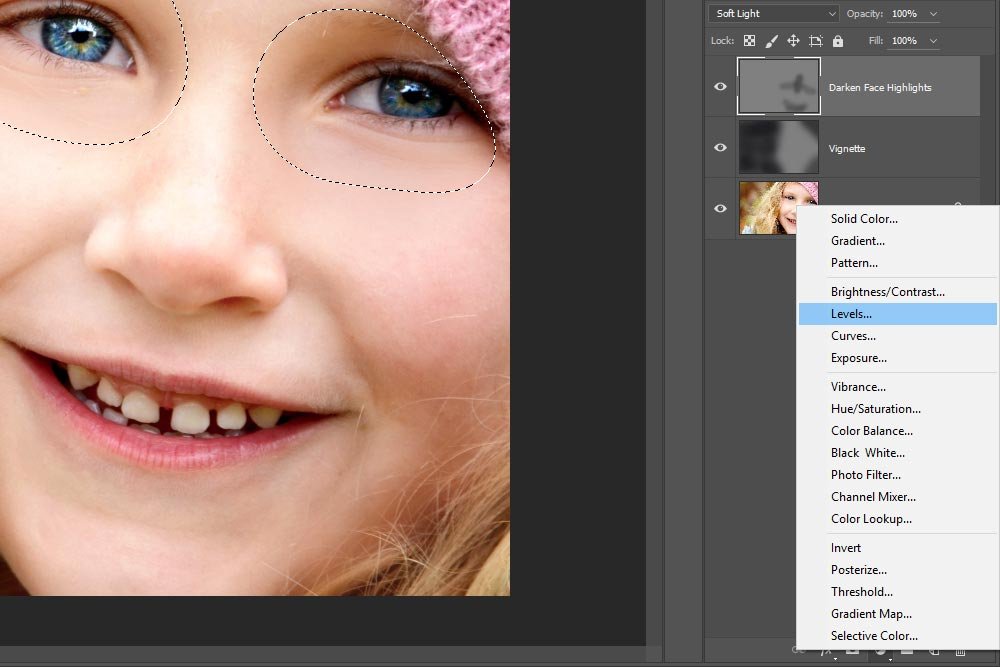
After I do that, a new adjustment layer will appear and the Levels Properties panel will open.
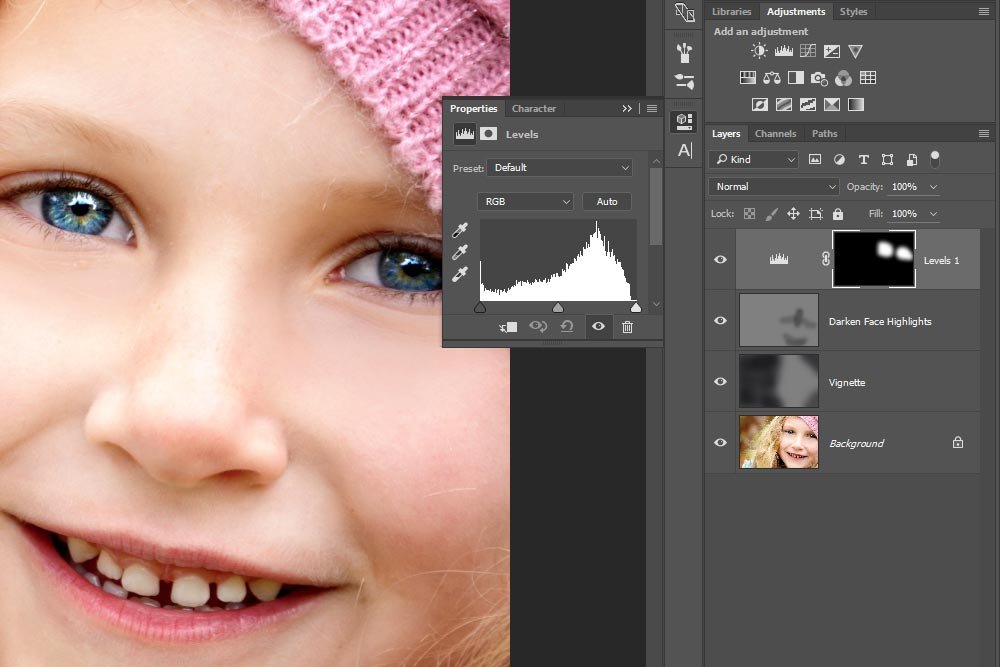
From here, all I need to do is push the right tick mark under the levels graph to the left until the eyes brighten up to my liking. In my case, I pushed it about a quarter inch. Every photo will be different here.
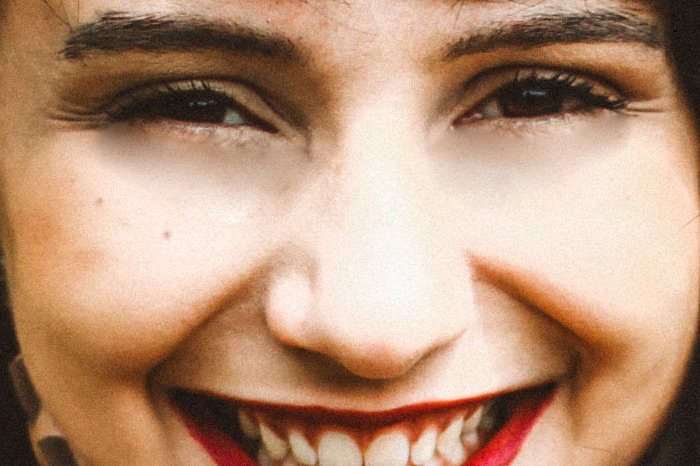
Take a look at the change. I’d sure say the eyes are bright now and that this photo is moving along smoothly.
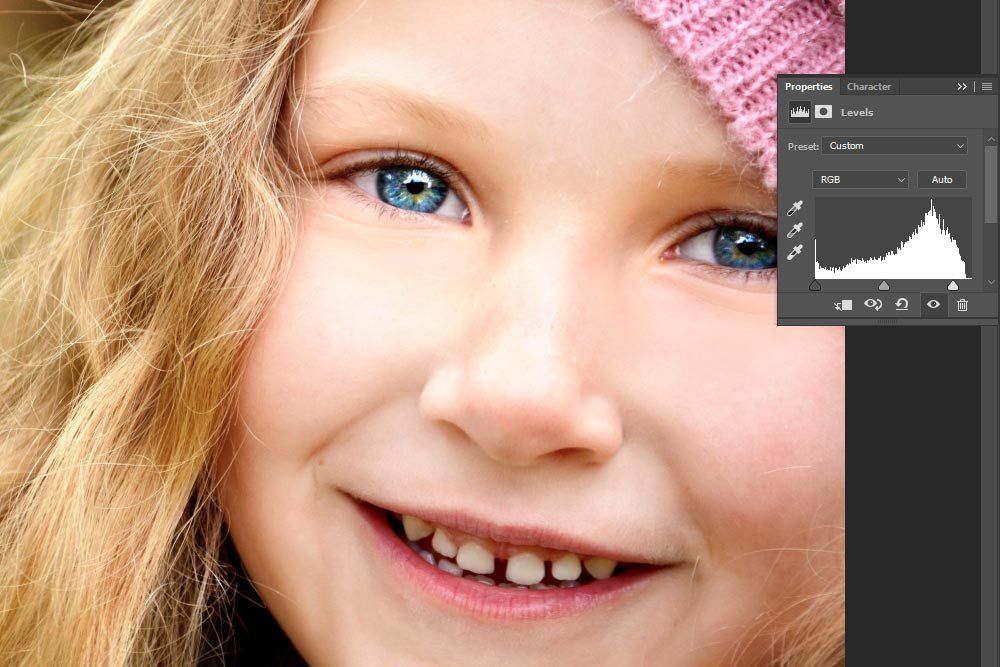
Again, in the photo I’m using, there isn’t a marked difference. I can see it if I turn the visibility of the layers on and off. If I were working on a photo of someone who had really dark eyes, there would be a much more noticeable change.
I’m going to stop here. I’ll pick up on this project in a later post, so stay tuned. Also, if you have any questions, comments or concerns, please leave them in the comments section below. Thanks!

