JodyBuchanan
Member
- Joined
- May 10, 2021
- Messages
- 138
- Reaction Score
- 0
- Points
- 21
- #1
The Various Types of Anchor Points Used With the Adobe Pen Tool
Every time I use the Pen Tool, I’m filled with amazement at its ability. Honestly, it can do so much. The problem with this tools is that it truly requires some training to use. You really can’t just pick it up, like we do with so many other tools, and willy nilly have at it. There are different related tools that control various aspects of what this tool can create. With this in mind and knowing that it can be sort of challenging to get used to and be proficient with the Pen Tool, I’ve decided to write a series of posts that tackle many of the issues surrounding it. If you’re an illustrator or someone who enjoys working with text or shapes in Adobe Photoshop, Illustrator or InDesign, you’ll surely get something from what I share. If you’re simply interested in learning more about this tool, read on because it’s actually not as difficult as you might think.If you’d like to catch up with the previously related posts I’ve written on the topic, please check these out below.
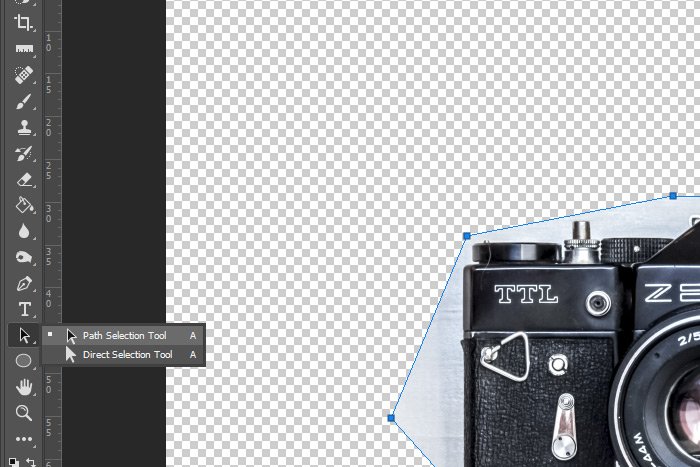
Introducing the Path & Direct Selection Tools in Adobe Photoshop
Identifying the Parts of a Path in Adobe Photoshop
In today’s post, I’d like to talk about the three different types of anchor points that exist in many areas of the applications I just mentioned above. Each anchor point, whether it be used in a drawn path with the Pen Tool, in a piece of text or part of a shape, does something different. It’s critical that you understand this foundational concept, because without it, there’s very little you can do in the way of drawing or modifying shapes, paths and outlines to any great extent.
To illustrate the characteristics of these anchor points, I’ll simply create an image of each one and describe what it does and how it operates right inside of Adobe Photoshop. My goal is to keep things ultra simple, so you can get the most out of the area of this tool in these applications.
The Corner Point
If I took the regular Pen Tool and decided to create a new path on a blank document, I could easily click once, click again someplace new and then click again somewhere else, I might end up with something that looks like a “V.” Here, take a look at what I just did.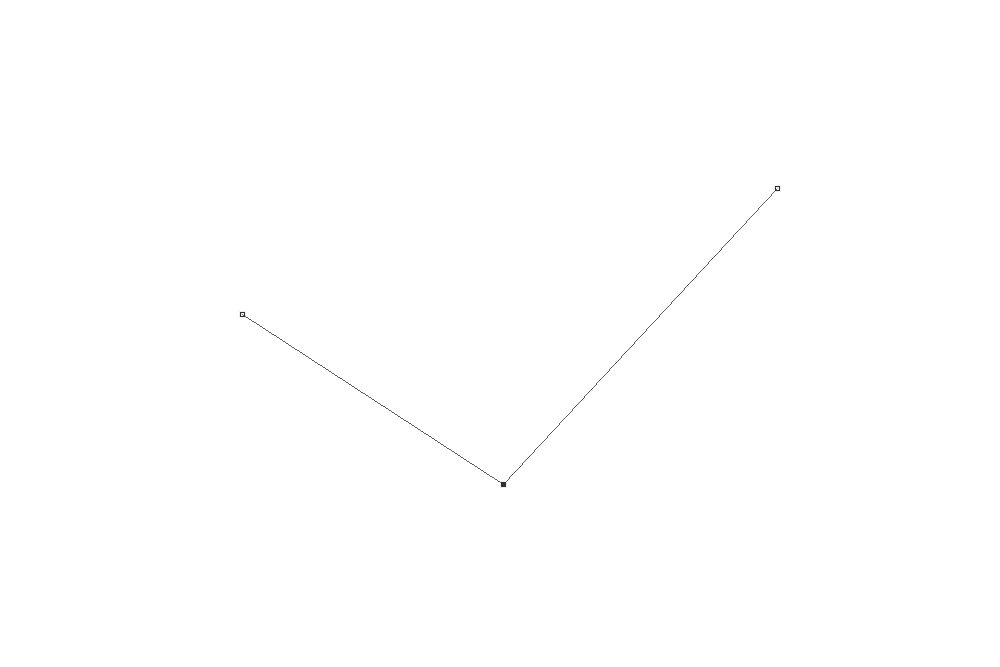
If you look super closely, you’ll see that the center anchor point is solid, which means it’s currently selected. The two end points are hollow, so they aren’t selected. If I wanted to select and move the entire path, I could use the Path Selection Tool and if I wanted to move just one of these anchor points, I could use the Direct Selection Tool. I wrote all about these tools in this post.
Now, I know the image above is absolutely terrible for use in a post such as this, so instead of boring you with its unattractiveness, I decided to create a nice, and more colorful, illustration of the same thing. Here we go with that.
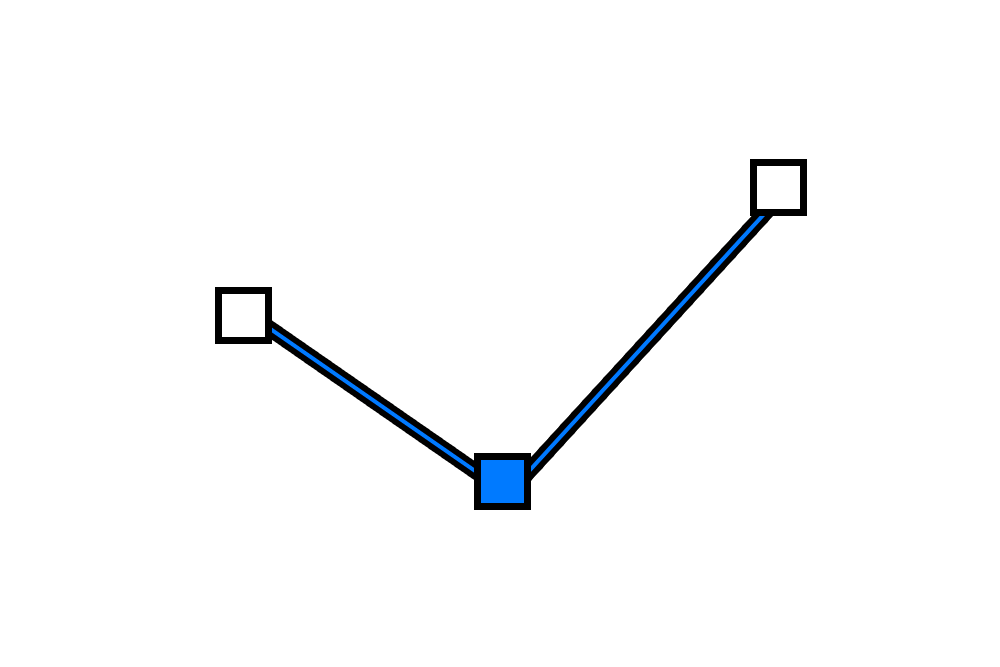
Again, the center point is solid and the two end ones are hollow.
The important thing to realize with these types of anchor points is that they are considered Corner Points. All this means is that there are no handles attached to any of the points to modify the direction and curvature of the paths that stem from them. If I moved one of these points, the distinct corner at the center would remain. Well, unless you made a straight line run through the center, of course. With Corner Points, you can’t bend any of the paths between them. In order to do that, you’ll need to use one of the types of points I share below.
The Smooth Point
If I were interested in warping the paths that travel between the anchor points, I’d have to convert the Corner Point into what’s called a Smooth Point.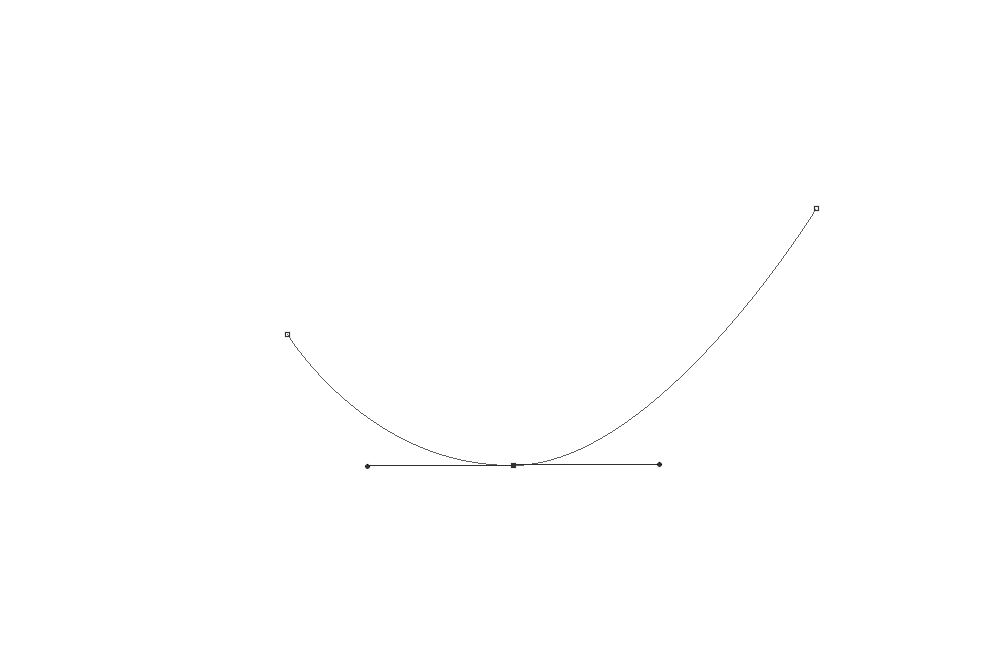
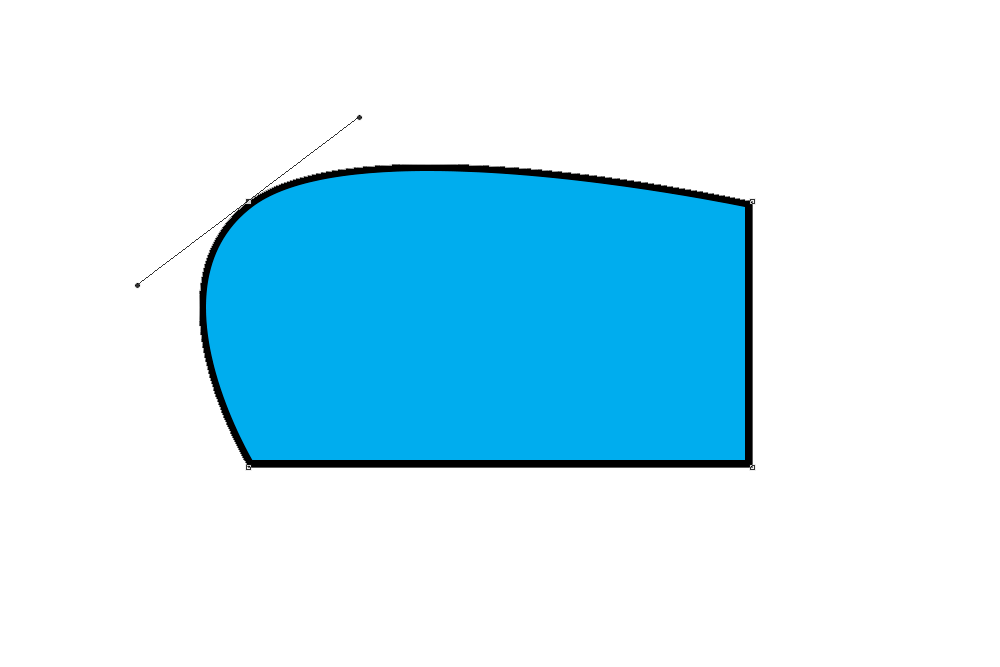
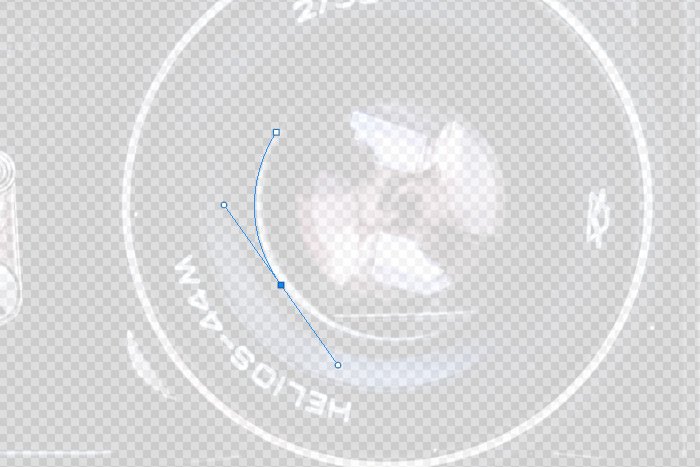
In later posts, I’ll get into how to convert anchor points, but for now, just know that a Smooth Point is an anchor point that has two handles protruding from it and those handles move in tandem. This means that if you move one handle in one direction, the other handle moves in the opposite direction. One handle controls the other, but it doesn’t matter which one is which.
In my “prettier” illustration, if I were to go ahead and add an anchor point with the Add Anchor Point Tool, I could get a better picture of what’s going on. I’ll add an anchor point towards the center of the right line. Once I do that, I’ll drag the path down and to the right. Let’s see how that looks.
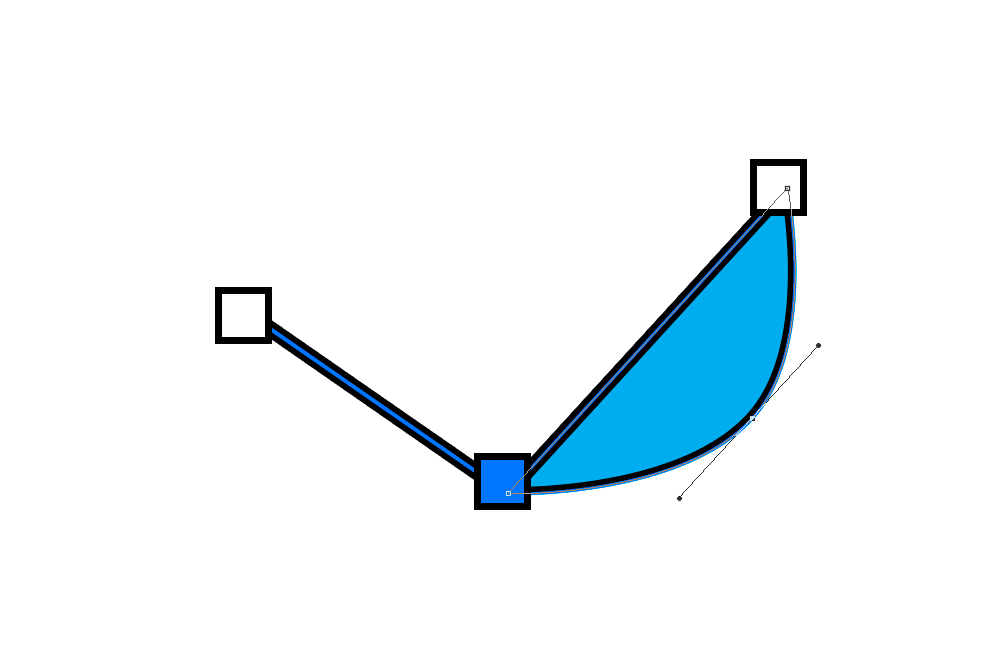
In the screenshot above, you can see how, after I created the anchor point, two handles were also created. Once I pulled the anchor point away from the other paths in the illustration segment, the handles became more apparent. Also, notice how, on either side of the anchor point, the two handles are shown and the path curves symmetrically. Like I said, one handle also controls the other.
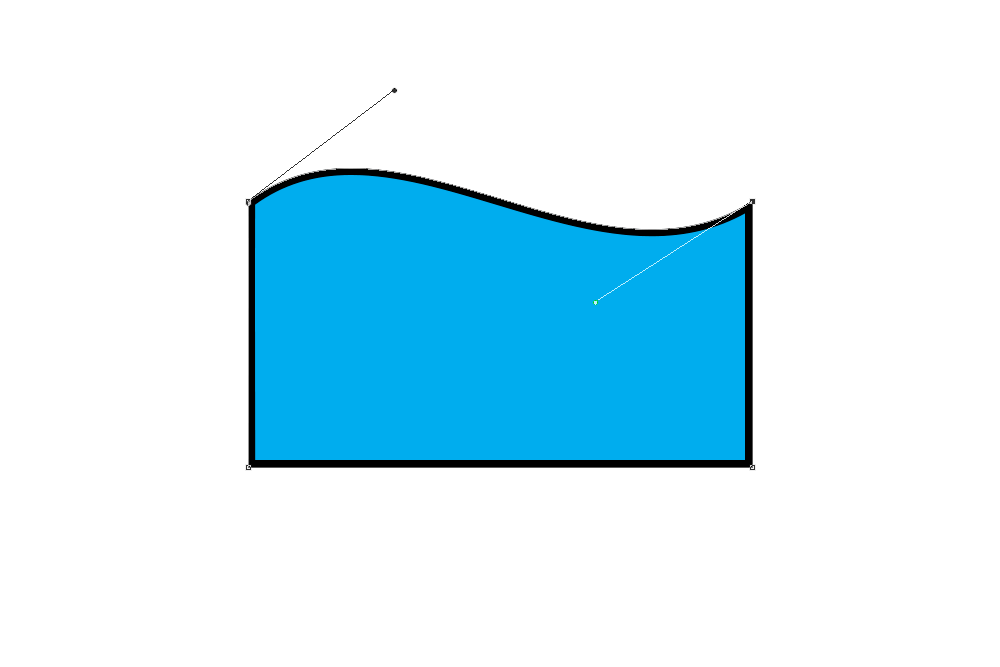
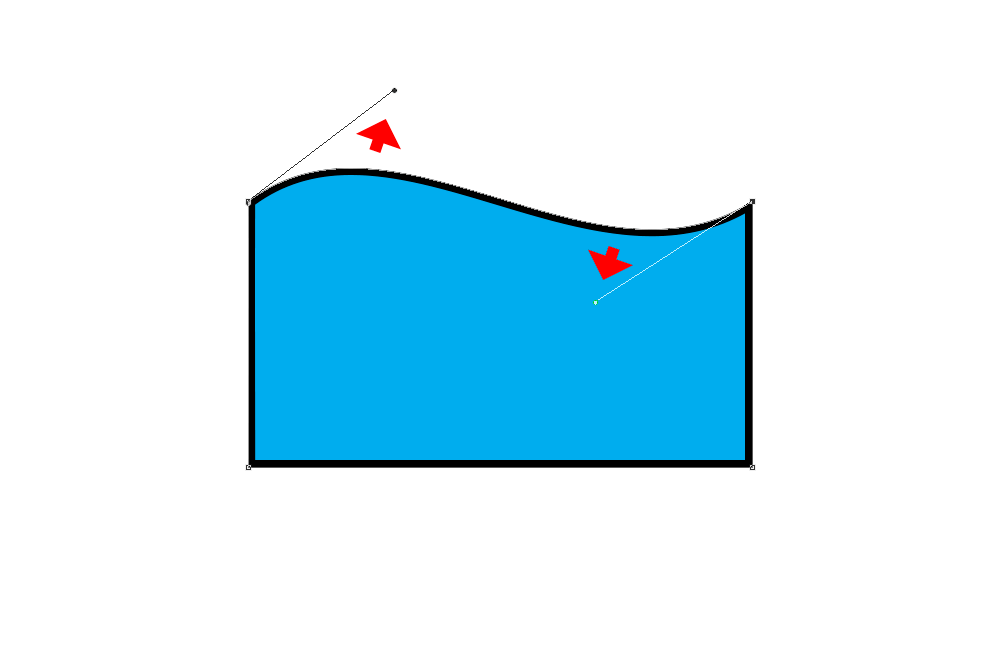
Let’s see if I can pretty my illustration up so it’s more fun to look at. I love drawing in Photoshop.
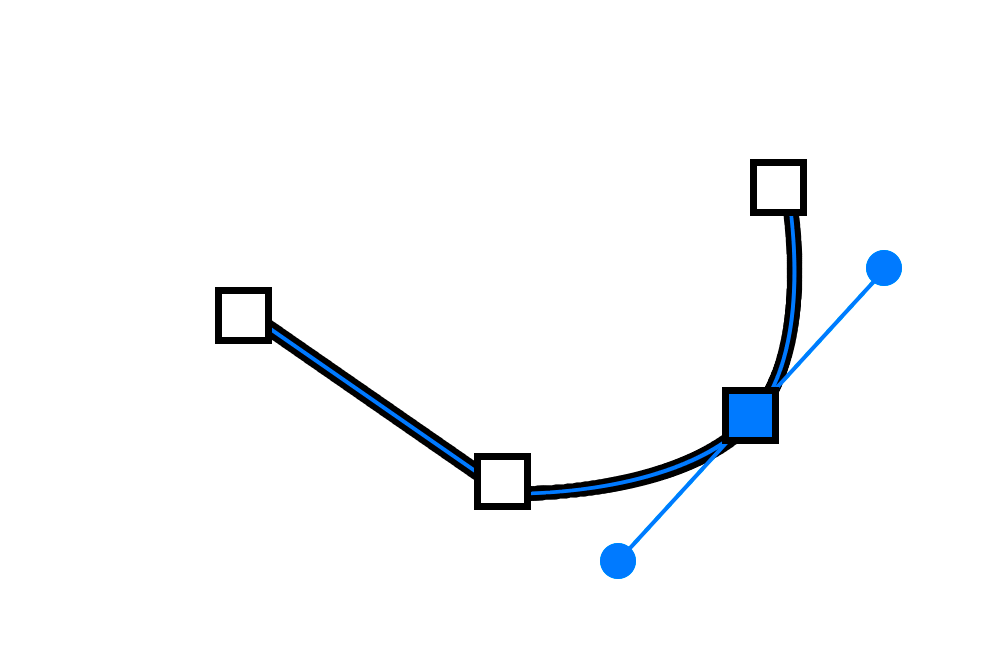
Wow, that looks pretty good. It took way too long though, so I think that will be my last pretty illustration.
The Cusp Point
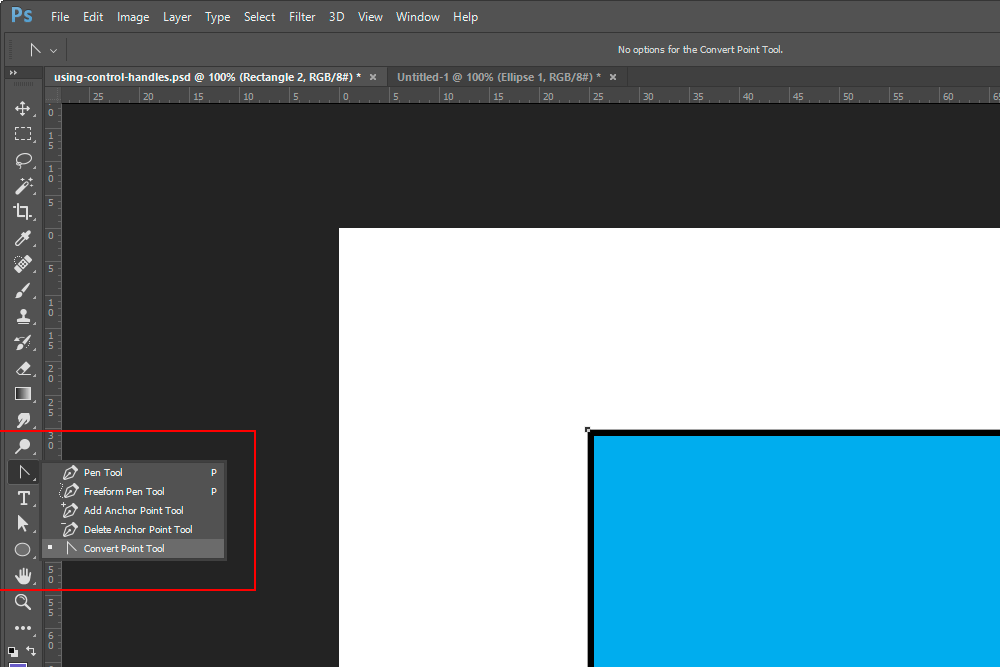
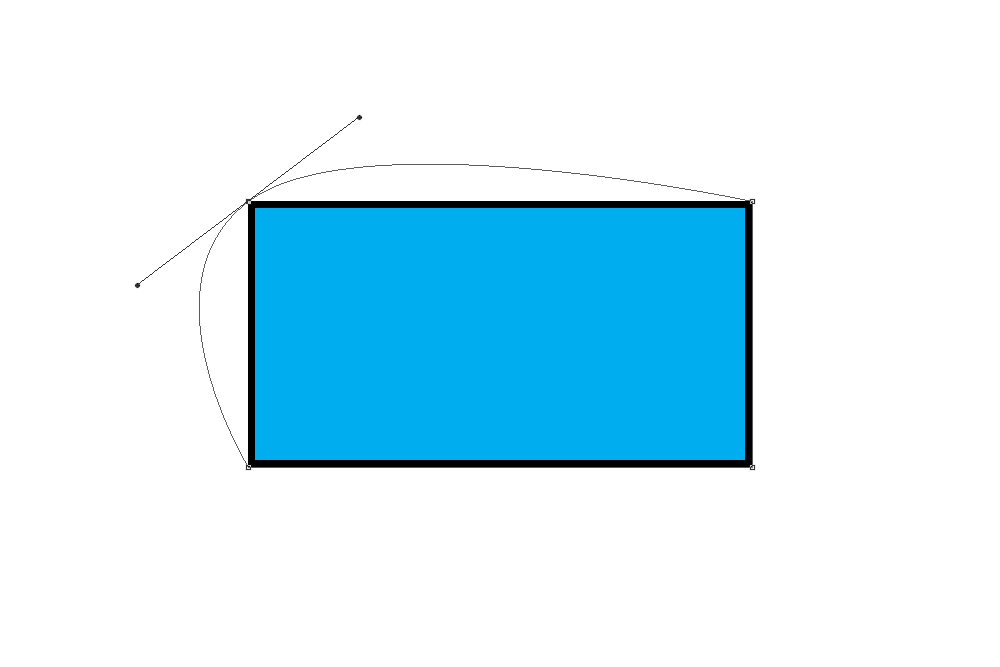
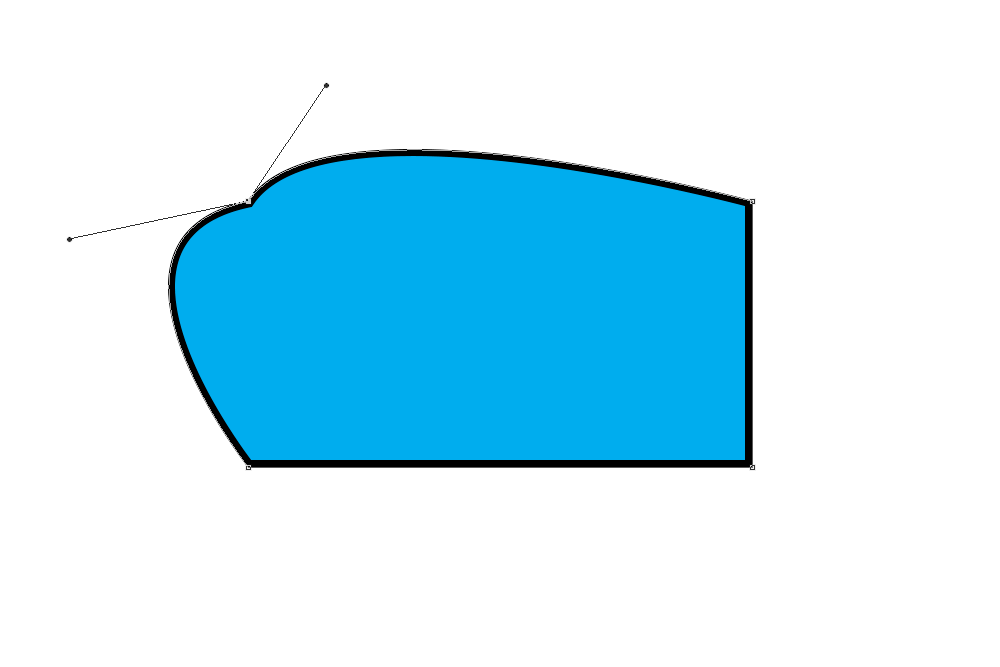
This final anchor point is quite interesting and is the most versatile of all three. Basically, if you were to cut the Smooth Point in half, you’d get the Cusp Point. Instead of having both handles locked together like they are with the Smooth Point, the Cusp Point’s handles operate independently.If I were to use the Convert Point Tool and click on one of the handles, the handles that belong to that Smooth Point would immediately belong to a Cusp Point. The Convert Point Tool converts the anchor point into something new and splits the actions of the handles. No longer do they move in tandem. They now move independently of one another. Take a look at the example below.
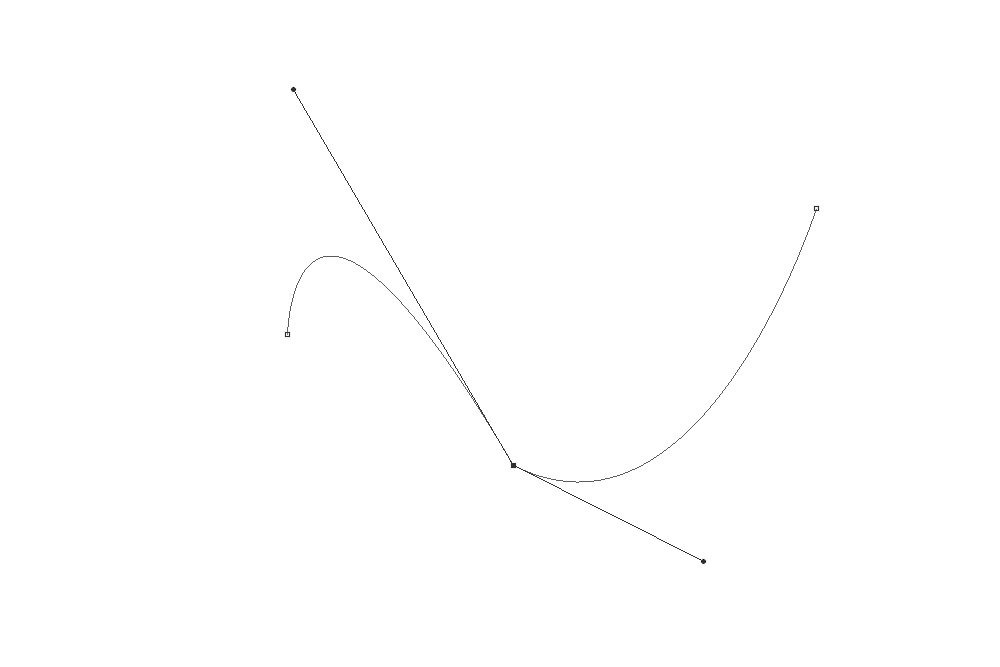
In the above screenshot, do you see the two handles with the round ends? Check out how they are now going in their own directions. Because of this flexibility, the anchor point they belong to can act like a Corner Point, a Smooth Point or a Cusp Point. That’s pretty good.
——
In future posts, I’ll be covering all of the Pen related tools. I know I briefly touched on a few of these, but I’ll be going into much greater detail. I’m looking forward to it too because, as I think I mentioned earlier, I really enjoy working with these tools in Photoshop. For today though, I merely wanted to identify and discuss what types of anchor points exist.
If you have any questions or concerns regarding this post, please leave them in the comment section below. Thanks for reading!

