Cameron
Member
- Joined
- May 10, 2021
- Messages
- 108
- Reaction Score
- 3
- Points
- 23
- #1
This is an “idea” post. There really isn’t going to be much to it other than an idea for you to incorporate into a video project of your own. Basically, I want to show you how you can add an effect to some text while editing video in Adobe Photoshop and then how to change the blending mode of that text so you can sort of see through it as the video is progressing behind it. While this is a simple and straightforward technique, it may prove valuable if needed in the future when the time comes.
In today’s post, I’d like to launch a video clip into Adobe Photoshop. After that, I’ll write out some text. Since the video will have to do with cars driving in various city locations, I think I’ll write something like “CITY STREETS.” I’ll then color the text black and add an outer glow to it so it stays visible throughout the entire clip. Finally, I’ll apply a blending mode to the text for a really cool effect. Again, this will be a simple technique, but I think you’ll agree that it has the potential for some incredible effects.
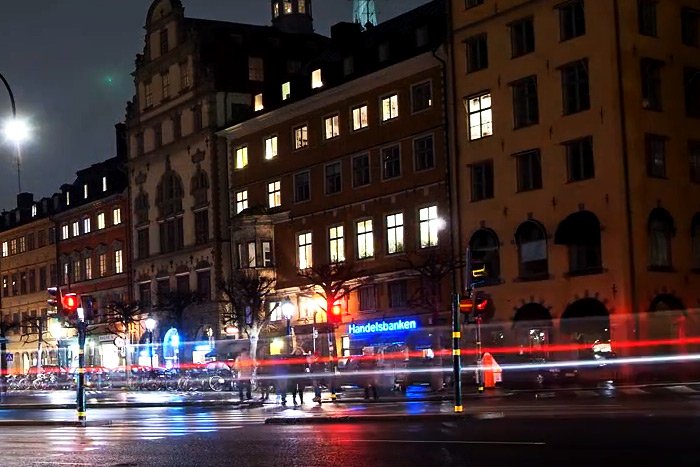
Ah, there we go. I think that looks pretty good. Basically, the video transitions, in fast motion, between different areas of a city with cars whizzing by at seemingly blazing speeds.
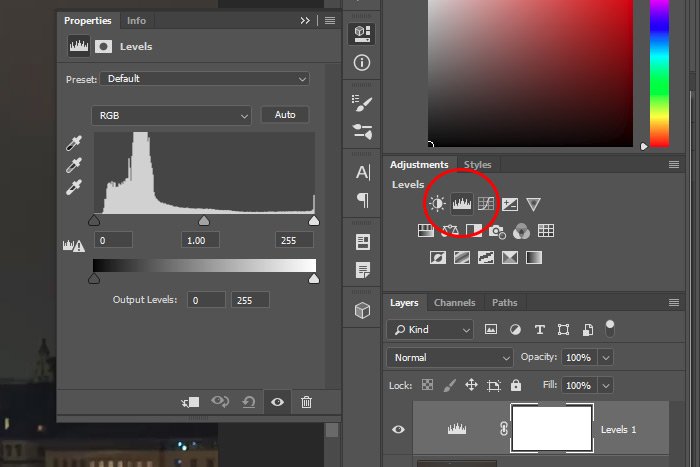
After that, I’ll head up to the Adjustments panel and I’ll click on the Levels adjustment icon.
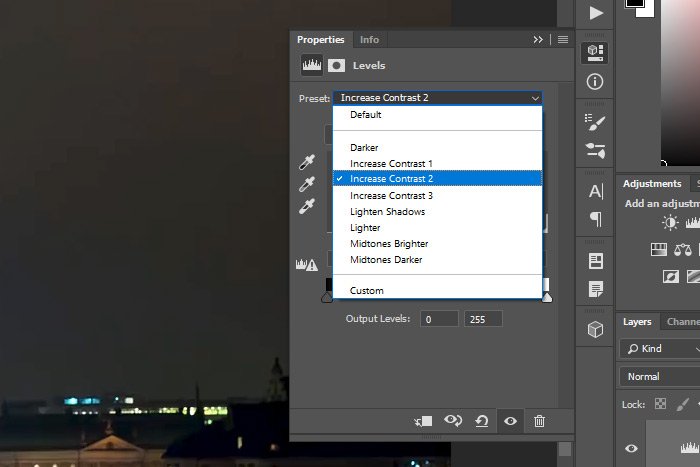
And finally, I’ll choose the Increase Contrast 2 option from the Presets drop-down box in the Properties panel.
That will give me the contrast I’m looking for.
I’ll then type out the phrase, “CITY STREETS.” Once the text is written, I’ll open the Character panel and set the Font Size to 250 pt, the Color to Black, the Font to Impact and the Tracking to -50. These are just values I thought looked good on my machine. If you’re following along, choose something that suits you. Just make sure the text is large and that it runs across the entire screen.
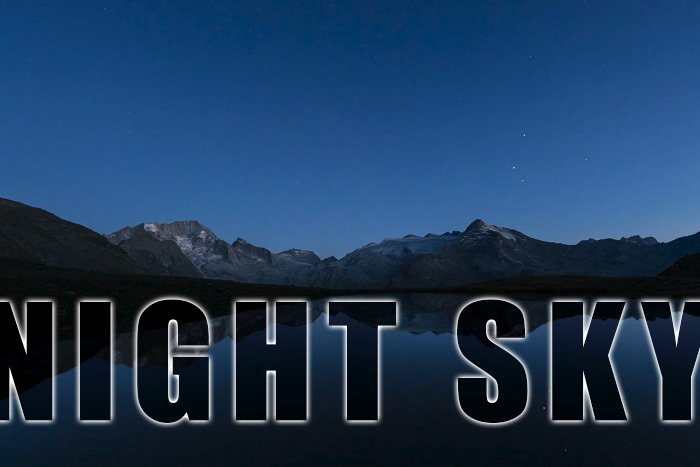
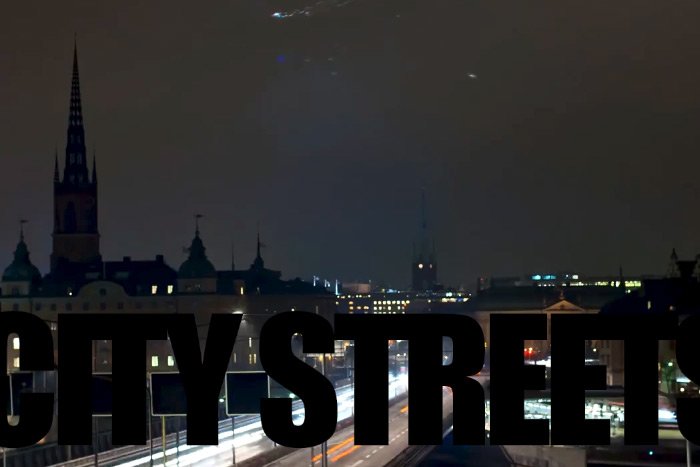
Here’s a screenshot of the text. It’s chopped off at both ends, but just ignore that. The video is wider than the screen capture.
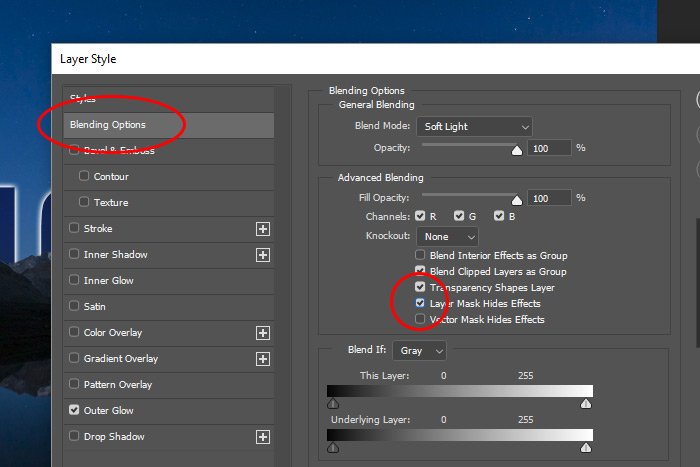
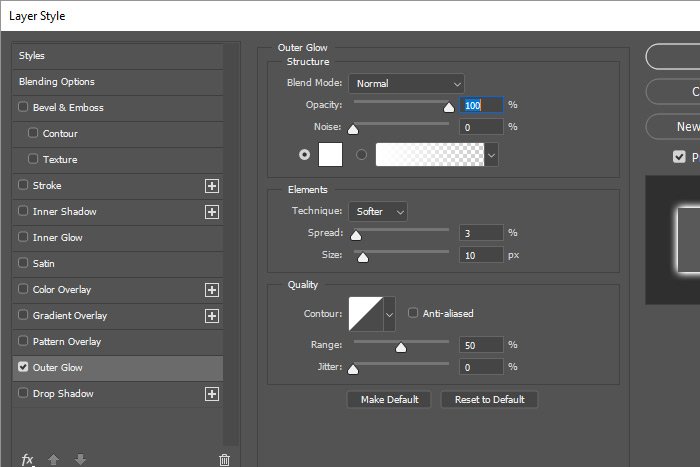
Now I’ll add a glow effect around the letters of the text. I’ll double-click on an empty area of the text layer in the Layers panel and when the Layer Style dialog box appears, I’ll click the Outer Glow option in the left column. Inside of the Outer Glow area to the right, I’ll change a few values until I see something I like.
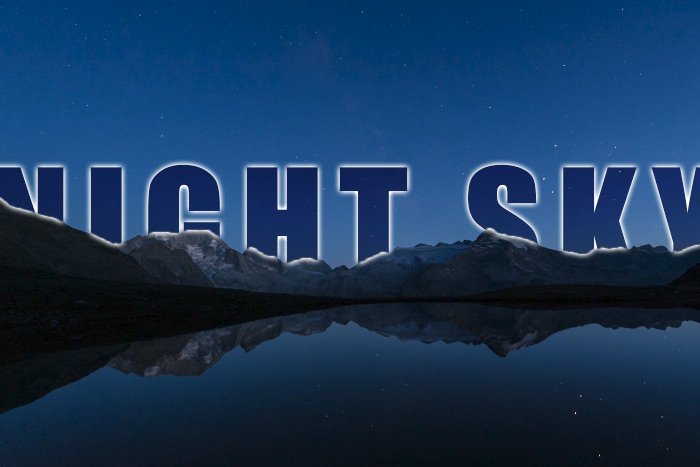
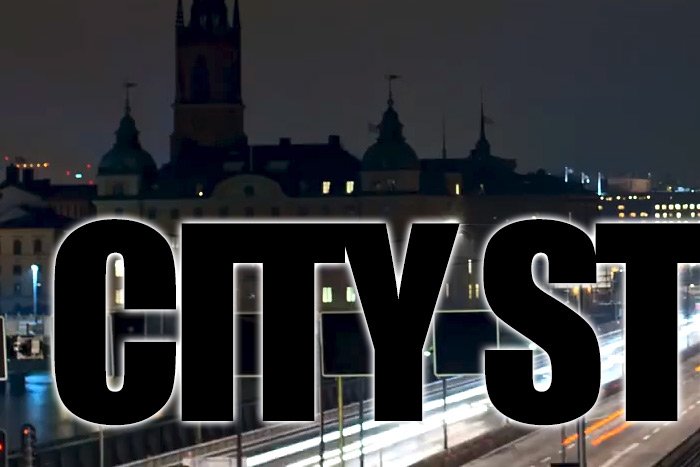
When I’m finished in there, I’ll click on the OK button to apply the style (or effect – whatever you want to call it). This is the type of white glow I’ll end up with that surrounds the black text.
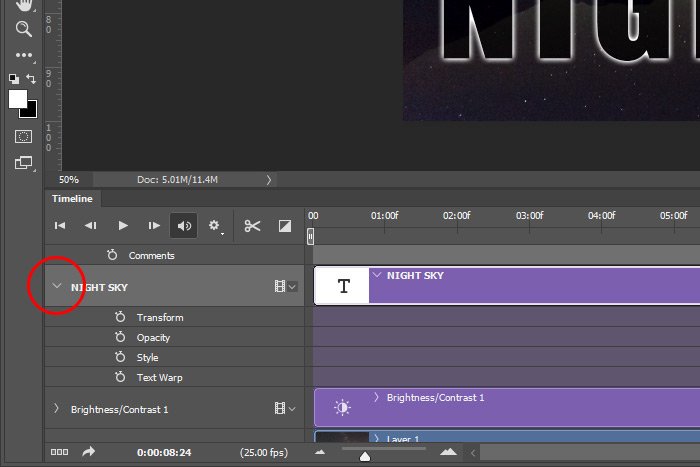
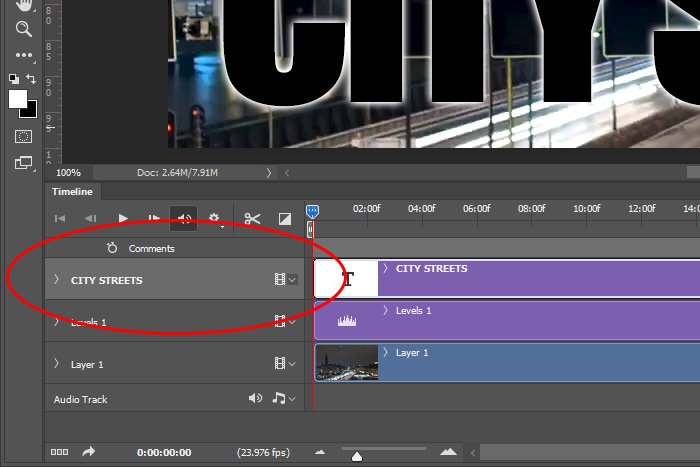
I’ll also make sure that this text layer runs until the end of the video. If it doesn’t, I’ll go down to the Timeline panel to click and drag it’s leading edge to the end.
If you think that looks cool, just wait until you see the video in action. At this point, I can go ahead and export this video file. Let’s see what we end up with.
I love that effect. Now, it’s your job to take this concept and apply it to one of your own projects. Let me know what you come up with.
I hope I clearly explained how to add a blending mode to text while working with video in Adobe Photoshop. If you have any questions regarding this post, please let me know in the comment section down below. Thanks for reading!
In today’s post, I’d like to launch a video clip into Adobe Photoshop. After that, I’ll write out some text. Since the video will have to do with cars driving in various city locations, I think I’ll write something like “CITY STREETS.” I’ll then color the text black and add an outer glow to it so it stays visible throughout the entire clip. Finally, I’ll apply a blending mode to the text for a really cool effect. Again, this will be a simple technique, but I think you’ll agree that it has the potential for some incredible effects.
The Demo Video Clip
Let’s see if I can grab a decent screen capture of the video clip for you. I just want to show you the general scenery that will be going on today.
Ah, there we go. I think that looks pretty good. Basically, the video transitions, in fast motion, between different areas of a city with cars whizzing by at seemingly blazing speeds.
Adding an Adjustment Layer
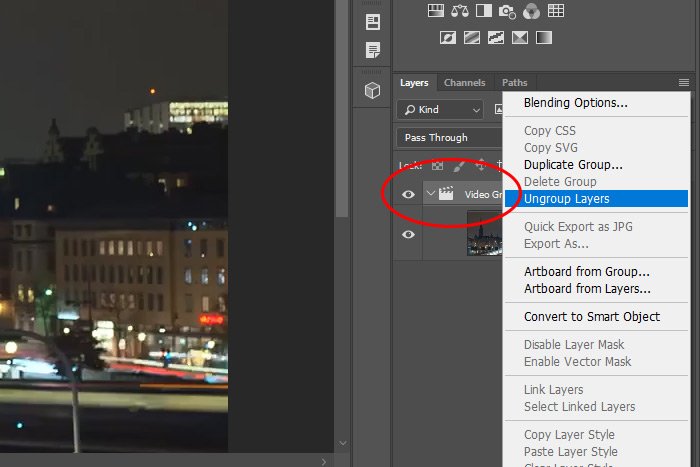
I’ve decided that this video could do with a bit more contrast, so I’ll add an adjustment layer to bring some of that out. To do this, I’ll first right-click on the Video Group 1 layer and then when the menu appears, I’ll click on the Ungroup Layers option. Doing this will remove the grouping and will leave the video layer all alone. If I didn’t do this, the video clip and the adjustment would run sequentially. I don’t want that. I want them to run in parallel with the adjustment as a layer over the video.
After that, I’ll head up to the Adjustments panel and I’ll click on the Levels adjustment icon.

And finally, I’ll choose the Increase Contrast 2 option from the Presets drop-down box in the Properties panel.

That will give me the contrast I’m looking for.
Adding Text & Layer Effect
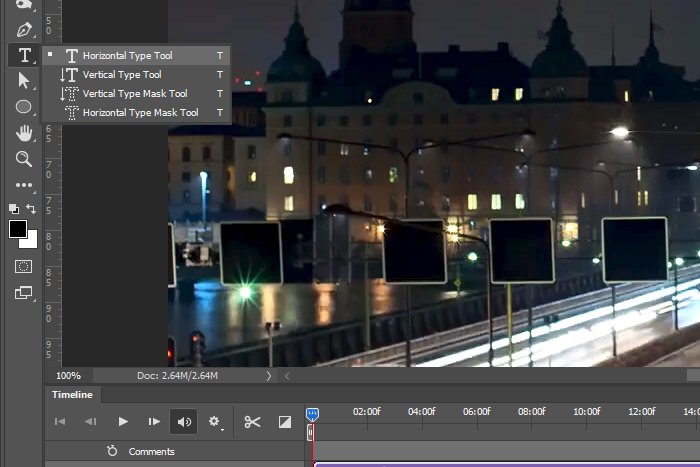
The next thing I’ll do is add the text. To do this, I’ll activate the Horizontal Type Tool in the left toolbar.
I’ll then type out the phrase, “CITY STREETS.” Once the text is written, I’ll open the Character panel and set the Font Size to 250 pt, the Color to Black, the Font to Impact and the Tracking to -50. These are just values I thought looked good on my machine. If you’re following along, choose something that suits you. Just make sure the text is large and that it runs across the entire screen.
Here’s a screenshot of the text. It’s chopped off at both ends, but just ignore that. The video is wider than the screen capture.

Now I’ll add a glow effect around the letters of the text. I’ll double-click on an empty area of the text layer in the Layers panel and when the Layer Style dialog box appears, I’ll click the Outer Glow option in the left column. Inside of the Outer Glow area to the right, I’ll change a few values until I see something I like.

When I’m finished in there, I’ll click on the OK button to apply the style (or effect – whatever you want to call it). This is the type of white glow I’ll end up with that surrounds the black text.

I’ll also make sure that this text layer runs until the end of the video. If it doesn’t, I’ll go down to the Timeline panel to click and drag it’s leading edge to the end.

Applying the Blending Mode
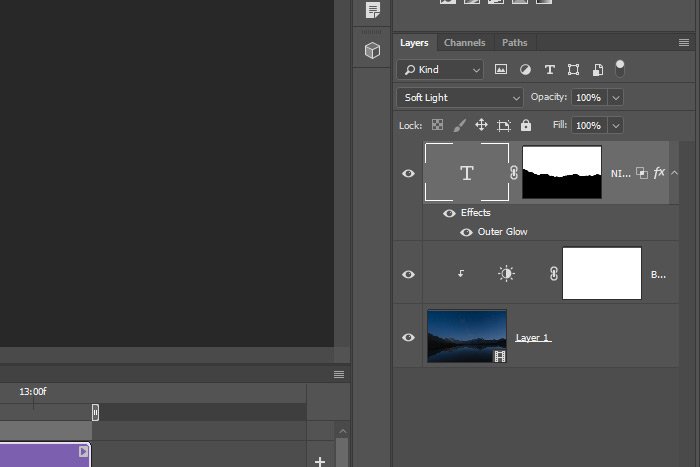
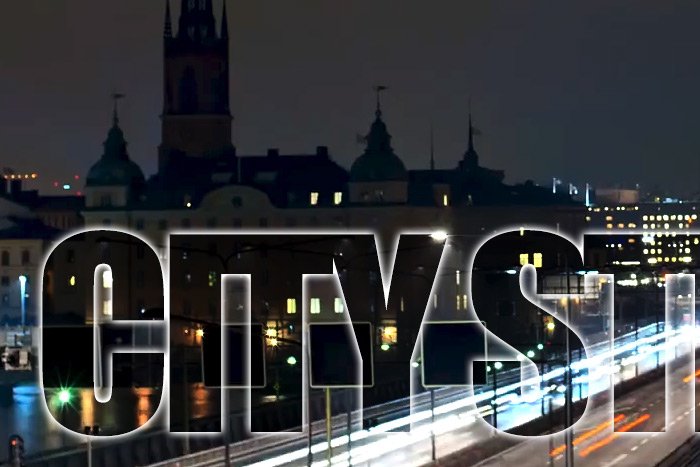
I did all that work just for this section. And this section is only one step. Basically, what I’d like to do is apply a blend mode that makes the text somewhat transparent. The one that I discovered does this best is called Soft Light. I’ll head over to the Layers panel and choose that blending mode from the drop-down and once I do that, I’ll see the text change. Take a look at this.
If you think that looks cool, just wait until you see the video in action. At this point, I can go ahead and export this video file. Let’s see what we end up with.
I love that effect. Now, it’s your job to take this concept and apply it to one of your own projects. Let me know what you come up with.
I hope I clearly explained how to add a blending mode to text while working with video in Adobe Photoshop. If you have any questions regarding this post, please let me know in the comment section down below. Thanks for reading!

