KristinaW
Member
- Joined
- May 7, 2021
- Messages
- 127
- Reaction Score
- 0
- Points
- 18
- #1
Photoshop offers many different types of selection tools, many of which I’ve already discussed on this website. One tool that I’ve been using since the very beginning is called the Magic Wand Tool. This tool is shaped like a, well, a magic wand and it has the capability to select very small and precise areas to very large and general ones, depending on the settings you choose. While it does take a little getting used to, the Magic Wand Tool should definitely be in your bag of tricks when working on photos and graphics. For me, it has come in very handy on countless occasions.
In today’s post, I’m not going to teach you how to make a selection. I’ve done all that before. What I am going to do is talk about what’s contained in the options bar for this tool, as it’s those options that make all the difference when attempting to garner as much value as possible while making your selections. This isn’t the type of tool that you can simply click on and begin using. You really do need to know how to set it up for maximum effect, so that’s what I’ll be talking about down below.
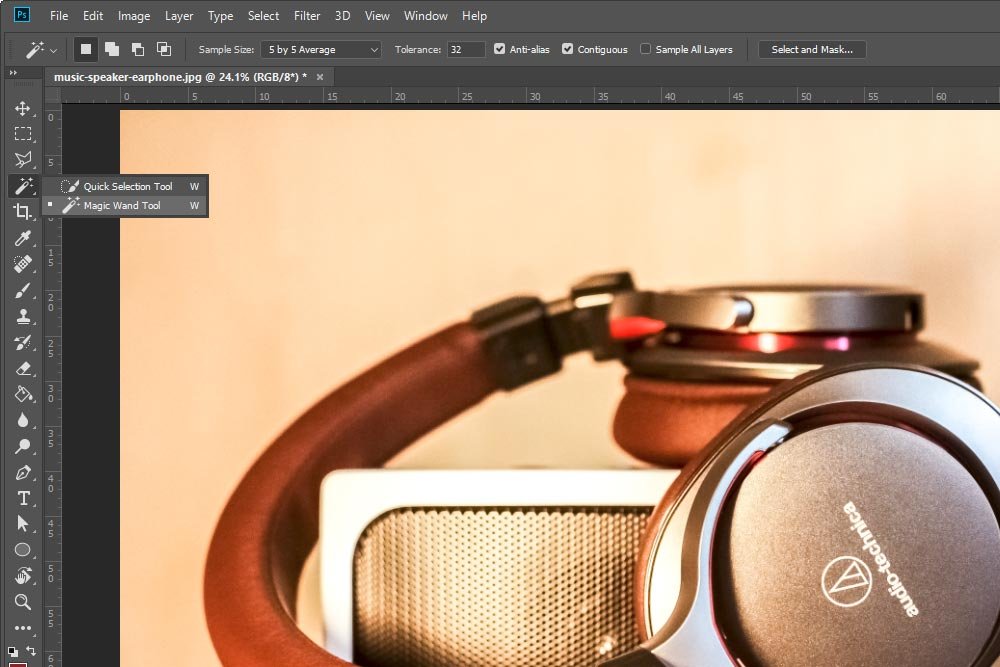
Once you select this tool, it’s activated.
Add to Selection (keyboard shortcut Shift + click): The next selection option is Add to Selection. If you’ve already made a selection and would like to add to it, you can click on this option and then go ahead and click around any area that you might want selected in the image. Any previous selections you may have made will remain where they are and any new ones will be added to them. So, with this option, you can grow your selection.
Subtract from Selection (keyboard shortcut Alt/Option + click): If you’d like to reduce the size of the selected area, just click on the third option. Once you do that, you can head back to the image and begin clicking around in the areas you don’t want to be selected. This third option is called Subtract from Selection.
Intersect with Selection (keyboard shortcut Alt/Option + Shift + click): The final option is the most confusing and you won’t find much description of it online at all. This one is called Intersect with Selection. Honestly, I don’t find much use for this option with the Magic Wand Tool, but it may be helpful with other selection tools. Think of it this way; if you draw a square with a selection tool and then activate the Intersect with Selection option, you can draw another square, over part of the original square. Once you let go, all that will remain of both selections is the area that were overlapped. So, if you draw a square the measures four square inches and then overlap a one inch corner of that square and let go, you’ll end up with a one square inch selection.
When you make a selection with the Magic Wand Tool, you’re clicking on an image with the tool itself (your mouse pointer). The moment you do that, Photoshop has to calculate which pixels will actually be selected because of your action. If your settings dictate a very narrow scope, you may only end up with one pixel being selected. If your settings dictate a very wide scope, you may end up with the entire photo being selected, as I mentioned up above. The Sample Size option is one factor in determining this scope.
The smallest option is the Point Sample. If you use this setting, when you click on the image with this tool, you’ll be telling Photoshop that it should take only one pixel color into account when deciding what to select. If you are working with a pure solid color, this setting will make no difference. The entire color will be selected every time. But if you’re working with various colors in a photo, all that will be selected is the one colored pixel you clicked on. Needless to say, this setting isn’t used very often.
Now, let’s go to the opposite side of the spectrum. If I chose the 101 by 101 Average as my setting, when I clicked on the photo with this tool, I’d be telling Photoshop to take a color average of the 101 by 101 square pixel area of the location I clicked and to select any colors like it. Oftentimes, this setting is too much because it’s far too generous for everyday use. Way too much area gets selected and all I’d end up doing is removing parts of the selection. It’s much more practical to stick with the 5 by 5 Average and the 11 by 11 Average options. Those work very well for most situations. Let me show you some examples of these two settings.
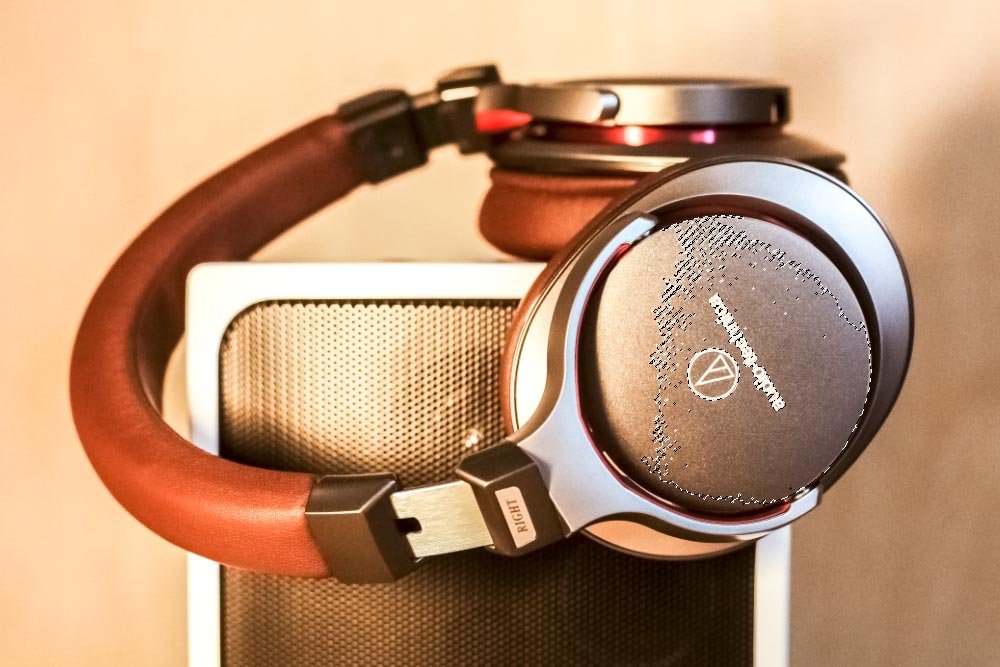
I went ahead and set this option to 5 by 5 Average and then clicked on part of the headphone. Let’s see what it selected.
Next, I changed this setting to 11 by 11 average. I then clicked on the same exact area. The selected area should be a bit larger.
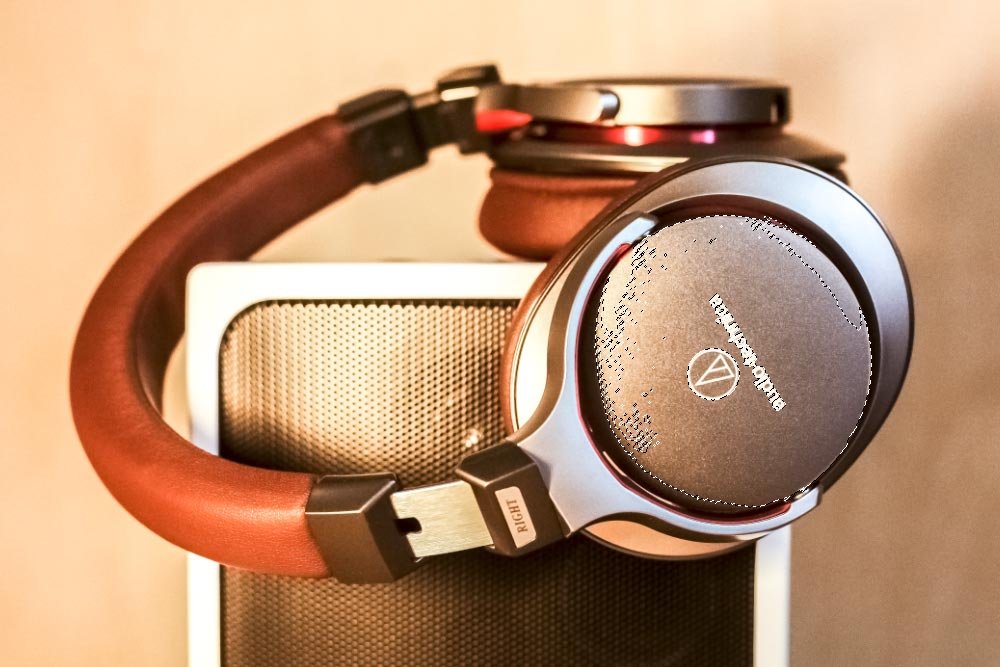
It is, which is perfect.
In this first example, I have the Tolerance value set to 32. I’ll go ahead and click on the cup of the earphone again. Let’s see what Photoshop selects.
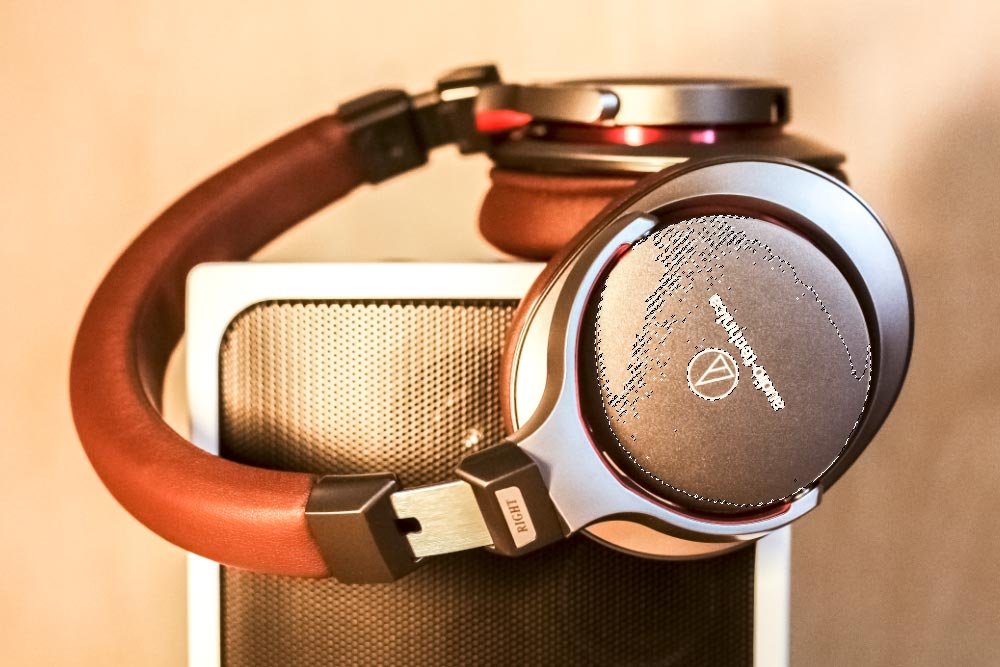
That’s fairly common. I selected what I thought I’d select. Now, let me increase the Tolerance value to 64. I’m sure the selection will be larger.
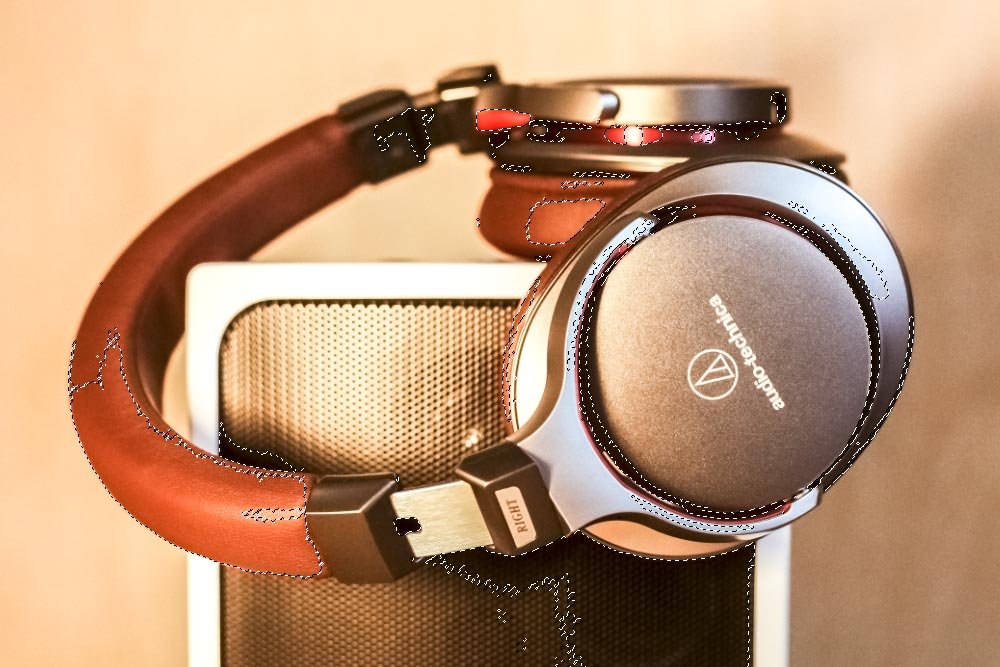
I was correct. It is larger. If I keep increasing this value, things will get out of control. For this photo anyway.
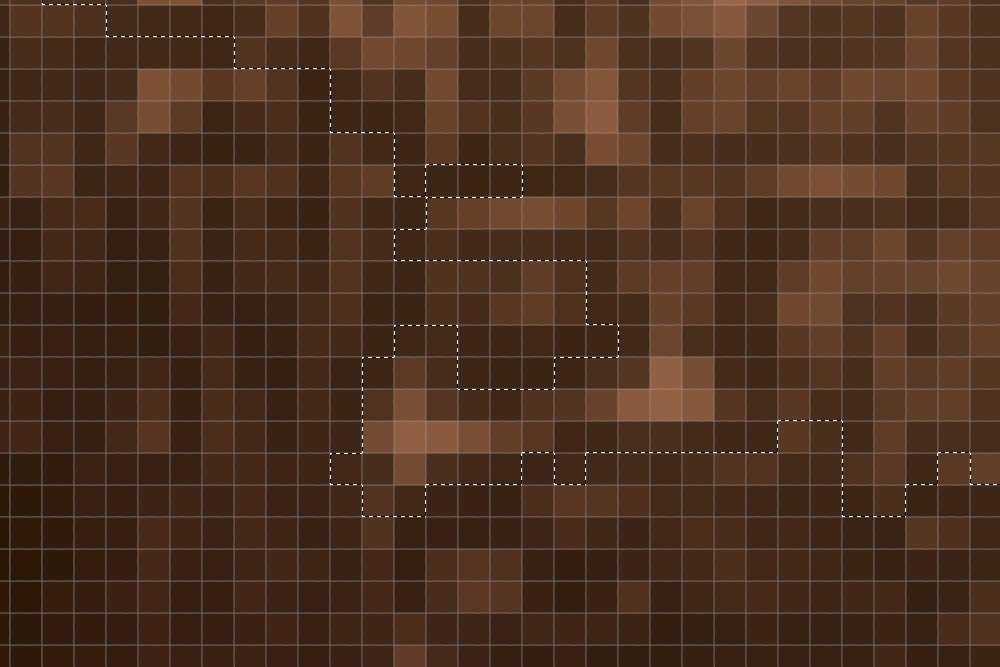
Even though the selection runs pixel by pixel, sometimes this rough edge is visible. By checking the Anti-alias box, you’re essentially adding some smoothness to the selection. It’s not perfect and it’s not completely smooth, but it’s better than without it.
Here’s an example of a selection with the Anti-alias box checked.
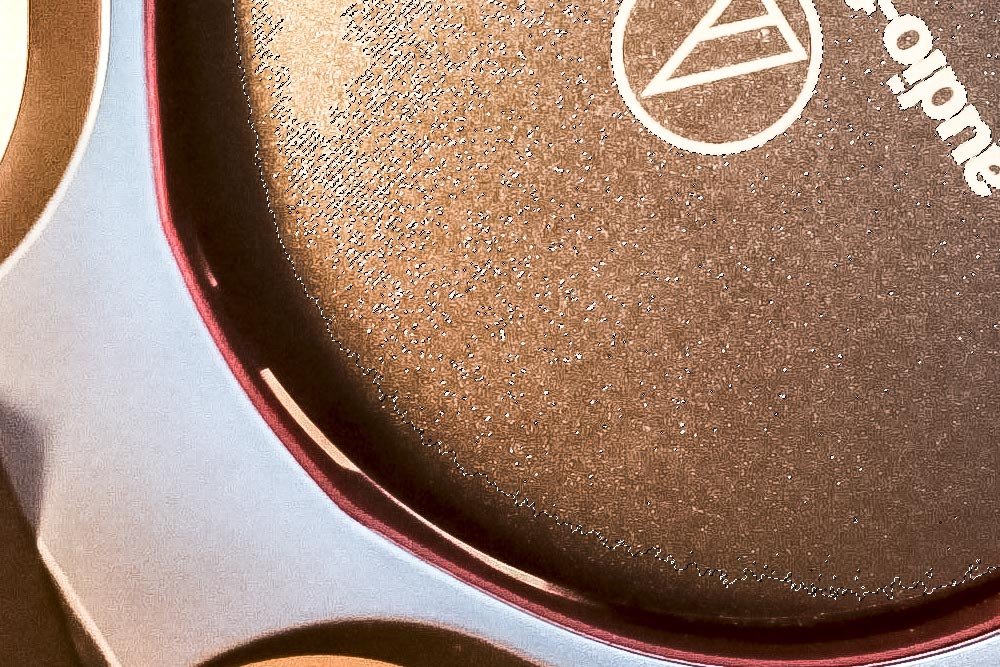
And here’s the same selection, but with the Anti-alias box left unchecked.
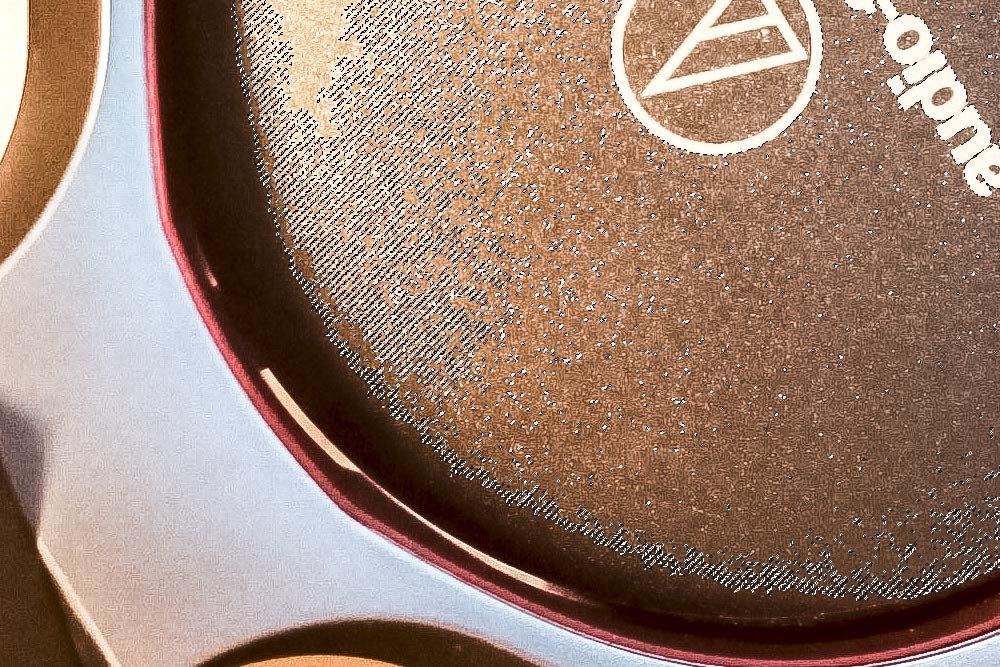
As you can see, there’s probably twice the amount of marching ants visible in the second screenshot. For most situations, you’ll want to keep this box checked.
Here’s an example of a simple selection with the Contiguous box checked.
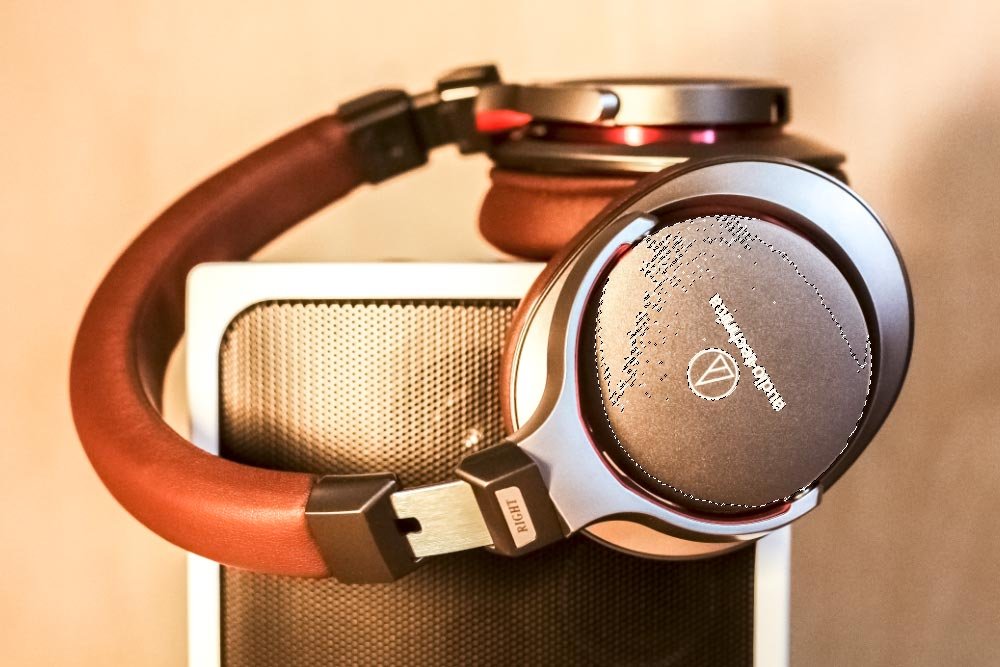
And here’s the same selection, but with the Contiguous box left unchecked.
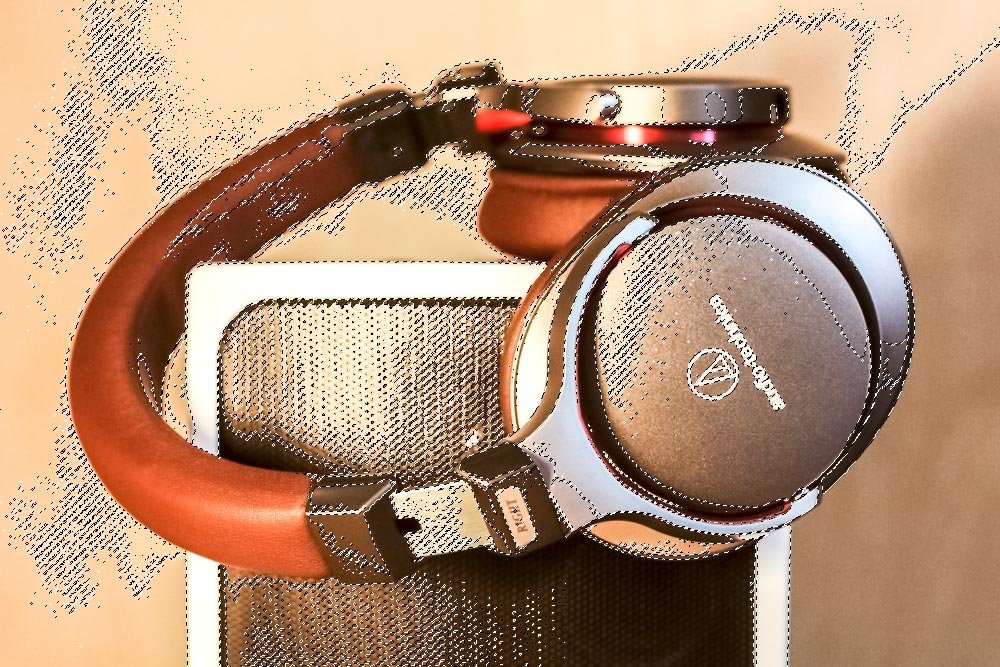
All those marching ants are from just one click. I’m sure you can see how that might drive you crazy.
How to Select & Mask Hair in Adobe Photoshop
Selecting Objects & Refining Edges in Adobe Photoshop
Also, if you’d like to learn more about making selections in Photoshop in general, please take a look at this post:
Selecting, Deselecting & Reselecting Tricks in Adobe Photoshop
Of course, there are more intricacies involved with each of these options, but I think I gave you a decent overview of them. If you have any questions or concerns regarding this post, please leave me a comment down below. Thanks for reading!
In today’s post, I’m not going to teach you how to make a selection. I’ve done all that before. What I am going to do is talk about what’s contained in the options bar for this tool, as it’s those options that make all the difference when attempting to garner as much value as possible while making your selections. This isn’t the type of tool that you can simply click on and begin using. You really do need to know how to set it up for maximum effect, so that’s what I’ll be talking about down below.
Demo Photo
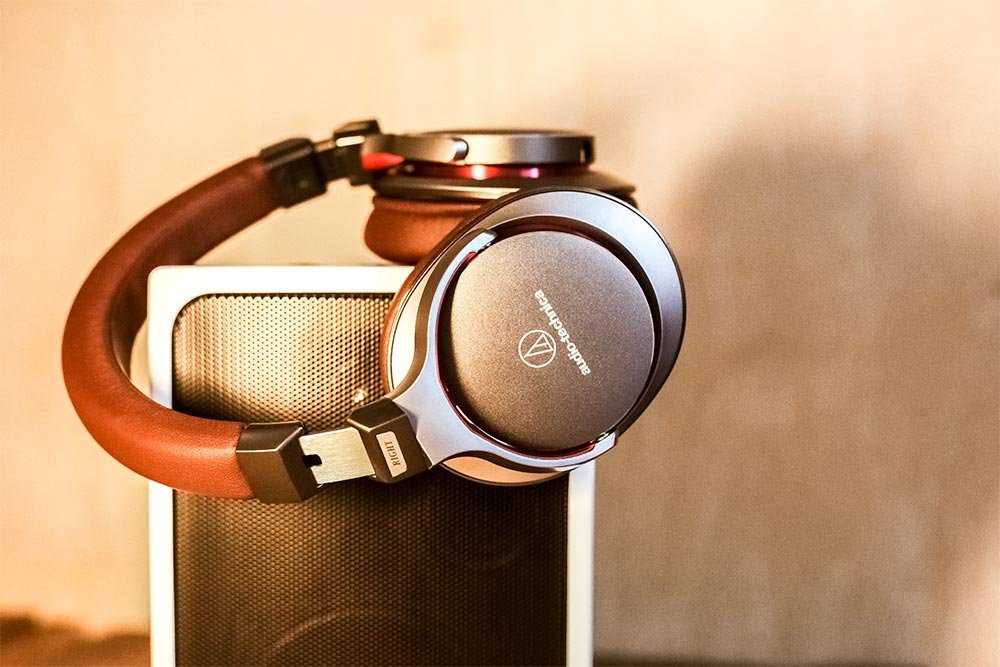
For this post, I’ll be using a photo of some headphones. The reason I chose this picture is because of all the gradients contained within it. As I discuss the various settings contained inside of this tool’s options bar, I’ll be displaying examples of each of the setting’s effects on a selection. Gradients help immensely with something like this.
What is the Magic Wand Tool?
Before I begin, I’ll give you a very brief description of what the Magic Wand Tool is. Basically, it’s a selection tool that bases what it selects off of a few different variables. For instance, if you alter one particular setting so it’s very low, the Magic Wand Tool may only select a few pixels. If you alter that same setting so it’s very high, you may select everything in the entire photograph. Both of these scenarios can be executed with just one click each. There are other options available that can alter the trajectory of what you end up selecting with the click and that’s what I’ll be discussing today. You can also make additional clicks of your mouse to select areas beyond what you’ve already selected and you can reduce the selected area as well. This is a very versatile tool and once you get the hang of it, it’s rather easy to take advantage of.Activating the Tool
The Magic Wand Tool is currently located in the fourth position from the top, in the left vertical toolbar. If you click and drag whatever tool is being displayed in that position, you’ll see the tool in question as the second available option.
Once you select this tool, it’s activated.
The Options Bar
Inside the options bar, there are a few points of interest that need to be discussed. I’ll do that below. For now, take a look at the bar in question.What To Select
New Selection: All the way to the left of the options bar are four options that are represented as squares and multiple squares. These options are used to dictate what you’ll be doing with the Magic Wand Tool. The first option is New Selection. This is the most simple option available. It’s set by default and with this option, you can click anywhere on the image to make a selection. That’s it. It’s that easy. The resulting selection will be based on the other settings I’ll discuss later on.Add to Selection (keyboard shortcut Shift + click): The next selection option is Add to Selection. If you’ve already made a selection and would like to add to it, you can click on this option and then go ahead and click around any area that you might want selected in the image. Any previous selections you may have made will remain where they are and any new ones will be added to them. So, with this option, you can grow your selection.
Subtract from Selection (keyboard shortcut Alt/Option + click): If you’d like to reduce the size of the selected area, just click on the third option. Once you do that, you can head back to the image and begin clicking around in the areas you don’t want to be selected. This third option is called Subtract from Selection.
Intersect with Selection (keyboard shortcut Alt/Option + Shift + click): The final option is the most confusing and you won’t find much description of it online at all. This one is called Intersect with Selection. Honestly, I don’t find much use for this option with the Magic Wand Tool, but it may be helpful with other selection tools. Think of it this way; if you draw a square with a selection tool and then activate the Intersect with Selection option, you can draw another square, over part of the original square. Once you let go, all that will remain of both selections is the area that were overlapped. So, if you draw a square the measures four square inches and then overlap a one inch corner of that square and let go, you’ll end up with a one square inch selection.
Sample Size
This one is easy. Inside the Sample Size drop-down are seven options. They range from Point Sample to 101 by 101 Average. I’ll give you a bit of background to help explain what these options mean.When you make a selection with the Magic Wand Tool, you’re clicking on an image with the tool itself (your mouse pointer). The moment you do that, Photoshop has to calculate which pixels will actually be selected because of your action. If your settings dictate a very narrow scope, you may only end up with one pixel being selected. If your settings dictate a very wide scope, you may end up with the entire photo being selected, as I mentioned up above. The Sample Size option is one factor in determining this scope.
The smallest option is the Point Sample. If you use this setting, when you click on the image with this tool, you’ll be telling Photoshop that it should take only one pixel color into account when deciding what to select. If you are working with a pure solid color, this setting will make no difference. The entire color will be selected every time. But if you’re working with various colors in a photo, all that will be selected is the one colored pixel you clicked on. Needless to say, this setting isn’t used very often.
Now, let’s go to the opposite side of the spectrum. If I chose the 101 by 101 Average as my setting, when I clicked on the photo with this tool, I’d be telling Photoshop to take a color average of the 101 by 101 square pixel area of the location I clicked and to select any colors like it. Oftentimes, this setting is too much because it’s far too generous for everyday use. Way too much area gets selected and all I’d end up doing is removing parts of the selection. It’s much more practical to stick with the 5 by 5 Average and the 11 by 11 Average options. Those work very well for most situations. Let me show you some examples of these two settings.
I went ahead and set this option to 5 by 5 Average and then clicked on part of the headphone. Let’s see what it selected.

Next, I changed this setting to 11 by 11 average. I then clicked on the same exact area. The selected area should be a bit larger.

It is, which is perfect.
Tolerance
By setting the Tolerance value, you’re taking advantage of another method to tell Photoshop what you would like selected. The Tolerance value controls what range of tone and color will be selected, based on the area you clicked. The lower the Tolerance value, the smaller the range. The larger the Tolerance value, the greater the range. If I were to keep this level at the default 32, I’d be telling Photoshop to deviate from the pixel’s color and tone that I clicked on by 32 brightness levels. So all in all, out of the 256 brightness levels available, I’ll be within the range of 64 of them. Thirty two on one side of the pixel I clicked and 32 on the other. Again, if I reduced this value to 1, I’d be selecting a very small range. If I changed it to 256, I’d have a huge range. Let me give you some examples.In this first example, I have the Tolerance value set to 32. I’ll go ahead and click on the cup of the earphone again. Let’s see what Photoshop selects.

That’s fairly common. I selected what I thought I’d select. Now, let me increase the Tolerance value to 64. I’m sure the selection will be larger.

I was correct. It is larger. If I keep increasing this value, things will get out of control. For this photo anyway.
Anti-Alias
Whenever you make a selection with the Magic Wand Tool in Adobe Photoshop, that selection, by default, has the potential to be jagged. If you zoom in far enough on the photo, you’ll see exactly what I’m talking about.
Even though the selection runs pixel by pixel, sometimes this rough edge is visible. By checking the Anti-alias box, you’re essentially adding some smoothness to the selection. It’s not perfect and it’s not completely smooth, but it’s better than without it.
Here’s an example of a selection with the Anti-alias box checked.

And here’s the same selection, but with the Anti-alias box left unchecked.

As you can see, there’s probably twice the amount of marching ants visible in the second screenshot. For most situations, you’ll want to keep this box checked.
Contiguous
This next setting is huge. It’s one that you’ll definitely need to be familiar with. It’s called Contiguous and it can either keep you sane or drive you mad. When making a selection with the Contiguous box checked, you’re telling Photoshop to stick to the area in which you’re making the selection. Don’t stray too far. You’re saying that you would like areas that are side by side selected. If you uncheck the Contiguous box, you’re essentially telling Photoshop to select parts of the photo, based on your other settings, but that don’t necessarily need to be near each other. By default, the Contiguous box is checked and you should keep it like that most of the time, unless you have a good reason to uncheck it.Here’s an example of a simple selection with the Contiguous box checked.

And here’s the same selection, but with the Contiguous box left unchecked.

All those marching ants are from just one click. I’m sure you can see how that might drive you crazy.
Sample All Layers
This is an easy setting to remember. It’s also one I’ve already discussed a few times on this site. If you keep the Sample All Layers box checked, you’re telling Photoshop that you want to base your selection on the conditions of each and every visible layer, not just the one that’s active. If this box is unchecked, you’ll only make your selection based on the topmost, active layer. This is one setting that you’ll need to turn on and off, based on your needs. I can’t say that it should be one way or the other because every project is unique.Select & Mask
I’ve already written a few posts that cover this topic, so I’ll simply point to them here. Basically, once you make a selection, you can refine it and clean it up substantially with the Select & Mask feature. Once you click this button, a new window will appear that will give you this ability. Please read my past posts to learn all about this.How to Select & Mask Hair in Adobe Photoshop
Selecting Objects & Refining Edges in Adobe Photoshop
Also, if you’d like to learn more about making selections in Photoshop in general, please take a look at this post:
Selecting, Deselecting & Reselecting Tricks in Adobe Photoshop
Of course, there are more intricacies involved with each of these options, but I think I gave you a decent overview of them. If you have any questions or concerns regarding this post, please leave me a comment down below. Thanks for reading!
